How to Fix 0xc00007b Error on Windows 10 & Main Causes
Surefire solutions to get your apps running again
![]() 5 min. read
5 min. read
![]() Updated on
Updated on
Share this article

Improve this guide
Read our disclosure page to find out how can you help Windows Report sustain the editorial team Read more
Key notes
- If you are facing the 0xc00007b error on Windows 10, it might be because of outdated DirectX.
- One quick and effective solution to this issue is to download a DLL and file and move it to the right folder.
- Another excellent solution you can try is to reinstall your Microsoft Visual C++ files.
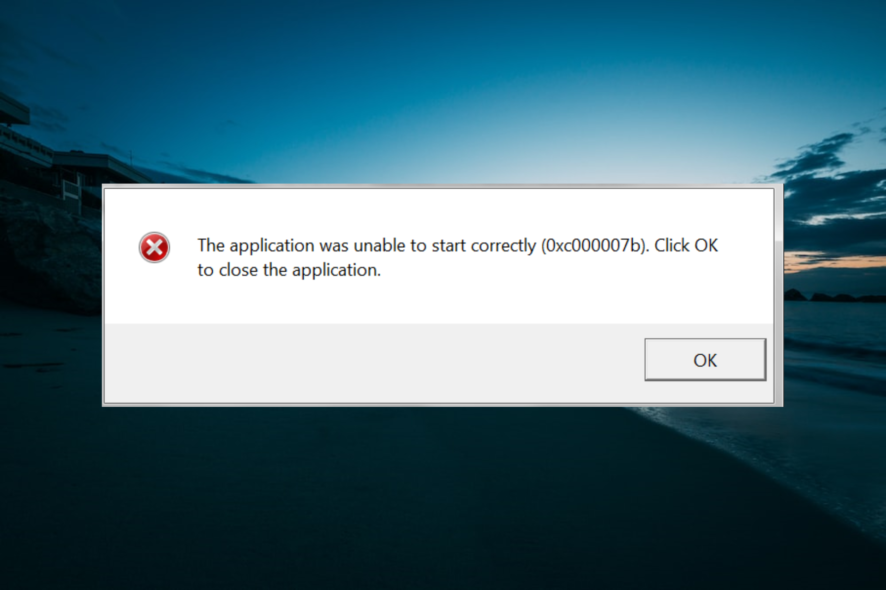
Windows 10 has a bucket load of errors that trouble users from time to time, and a recent one is the error code 0xc00007b. This error shows up when users try to open an app, and it fails to start.
This can be exasperating, as the app will be useless until you resolve the issue. Therefore, this guide will show the surefire ways to fix the 0xc00007b error for good on your PC.
What is the reason for the 0xc00007b error?
Below are some of the factors that can cause the Your pc needs to be repaired error code 0xc000007b message to appear on Windows 10:
- Faulty app: In most cases, the major cause of the 0xc00007b error on Windows 10 64-bit is a faulty app. This can happen if you download the app from an unauthorized source. The easiest way out of this is to remove the app using an uninstaller software and reinstall it.
- Bad memory sector: Sometimes, this problem can be caused by a bad memory sector. The solution to this is to run the CHKDSK command to fix your PC memory,
- Missing DLL files: Another known cause of this problem is a missing DLL file. This can be fixed by downloading the required files and copying them to the Syswow64 folder.
How do I fix error 0xc000007b on Windows 10?
Below are some preliminary troubleshooting steps to try before exploring the solutions in this guide:
- Download and install the latest version of DirectX.
- Run the problematic app as an admin.
- Make sure your PC is up to date.
If the issue persists, proceed with the solutions below in this exact order to fix the problem.
1. Copy DLL files to the right folder
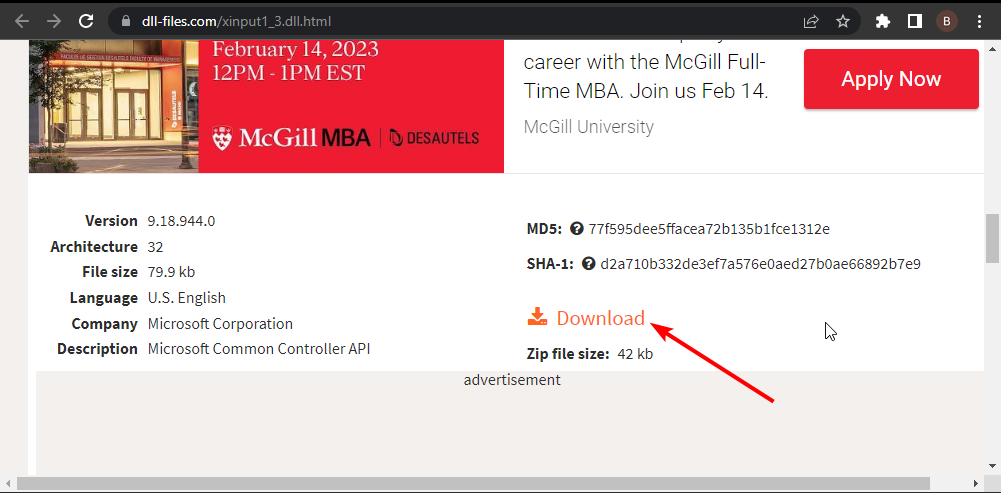
- Download the 32-bit XINPUT1_3.DLL file.

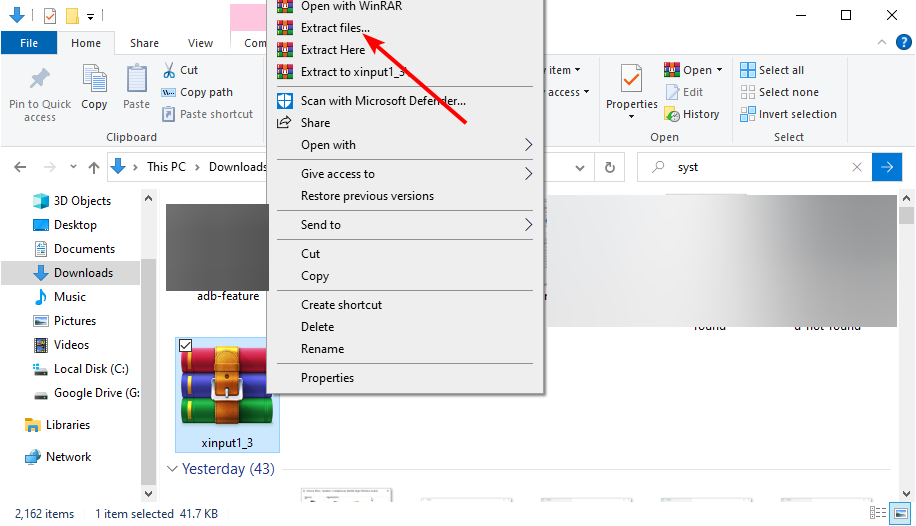
- Right-click the downloaded file and select Extract files.

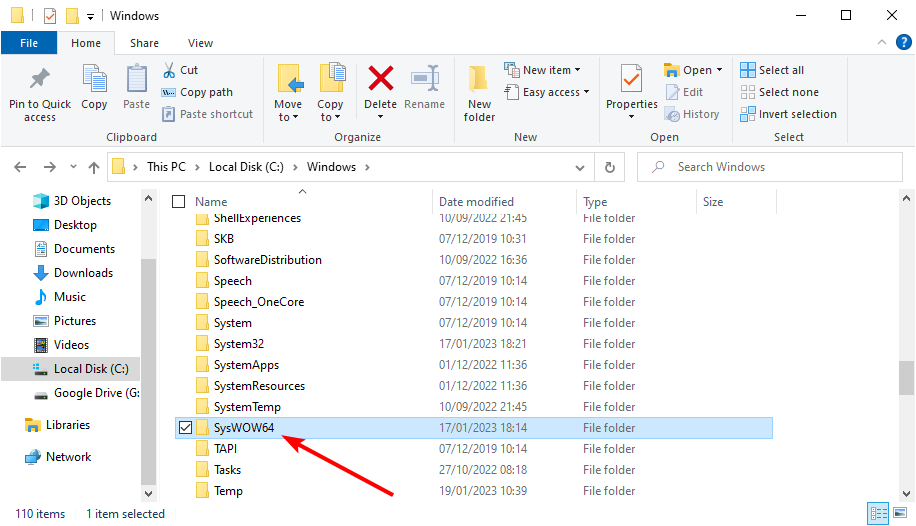
- Now, copy the extract files and paste them into the SysWOW64 folder by following the path below:
C:\Windows\SysWOW64 - Click the Copy and Replace button if you get any prompts.
- Finally, restart your PC and try to relaunch the faulty app.
The first thing to try if you are getting the 0xc00007b error on Windows 10 is to get the needed DLL files. This has fixed the issue for many users. Note that reinstalling the DirectX is a good practice using the link provided earlier in this article.
Also, some users have fixed this error by pasting the DLL files into the immediate directory of the executable with this error. So, you can try that too.
2. Reinstall the latest version of the problematic app
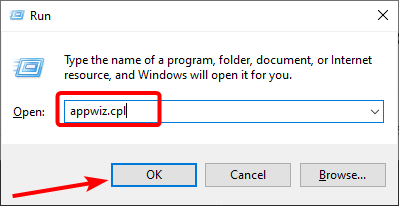
- Press the Windows key + R, type appwiz.cpl, and click OK.

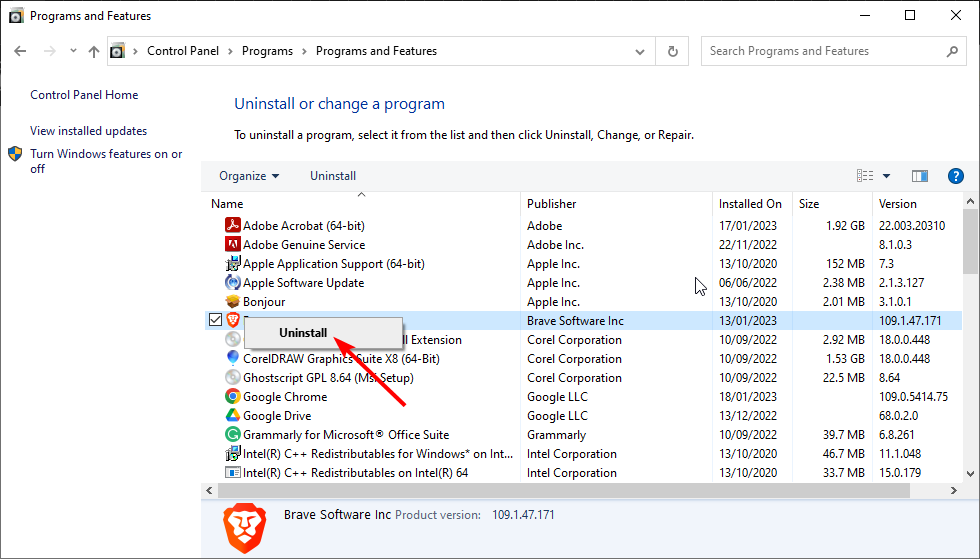
- Right-click the problematic app and select Uninstall.

- Now, follow the onscreen instruction to complete the process.
- Finally, visit the official website to download the app again and restart your PC.
In some cases, the 0xc00007b error on Windows 10 is caused by issues with the app. This can be due to some missing files or incomplete downloads.
The easiest way to fix this is to redownload the app.
3. Run the CHKDSK scan
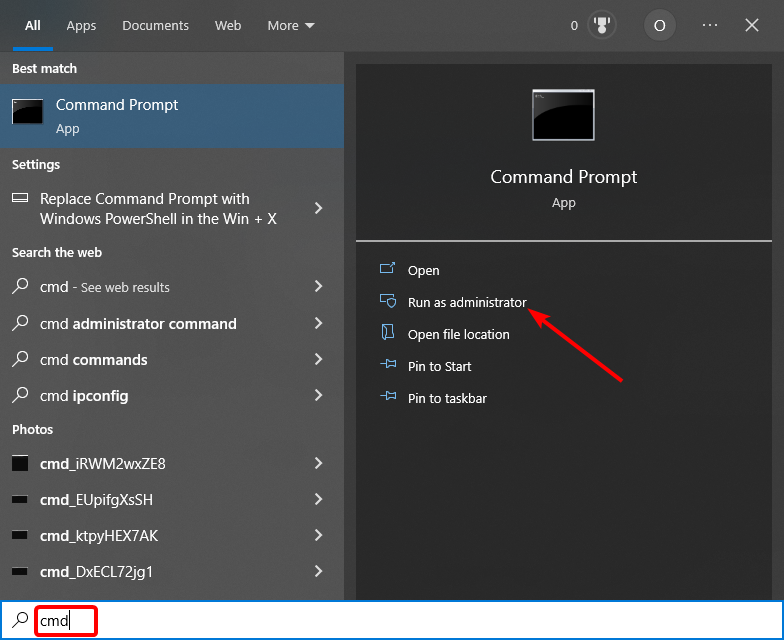
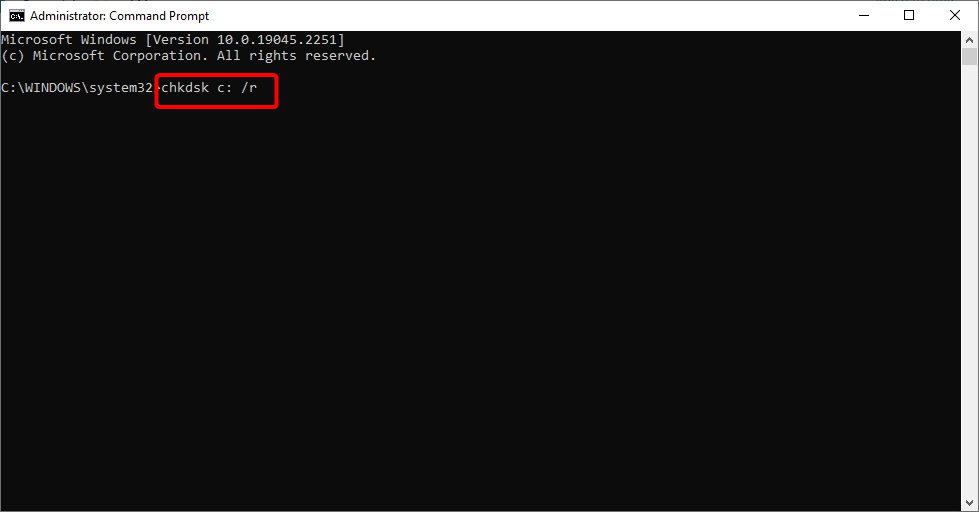
- Press the Windows key, type cmd, and select Run as administrator under Command Prompt.

- Type the command below and hit Enter:
chkdsk c: /r
- Finally, press Y if prompted and wait for the command to finish running.
Your hard drive memory sector can get corrupted from time to time and can be the cause of the 0xc00007b error on Windows 10. Running the command above should fix this issue quickly.
Alternatively, you can use one of the best software for fixing bad memory sectors to repair your hard disk.
4. Install the latest Visual C++
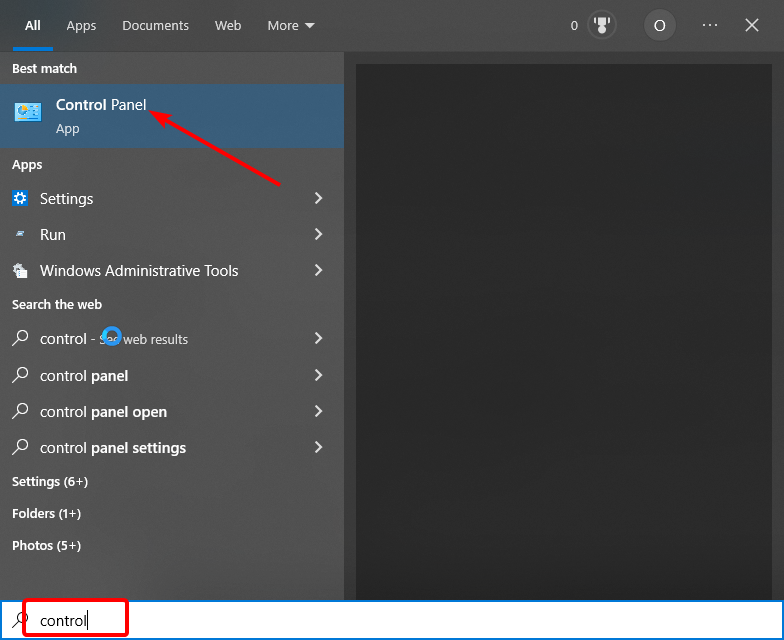
- Press the Windows key + S, type control, and select Control Panel.
- Now, right-click each of the Microsoft Visual C++ options and select Uninstall.
- Next, follow the onscreen instructions to complete the removal process.
- Finally, go to the official website to download and install the uninstalled Microsoft Visual C++ files again and restart your PC.
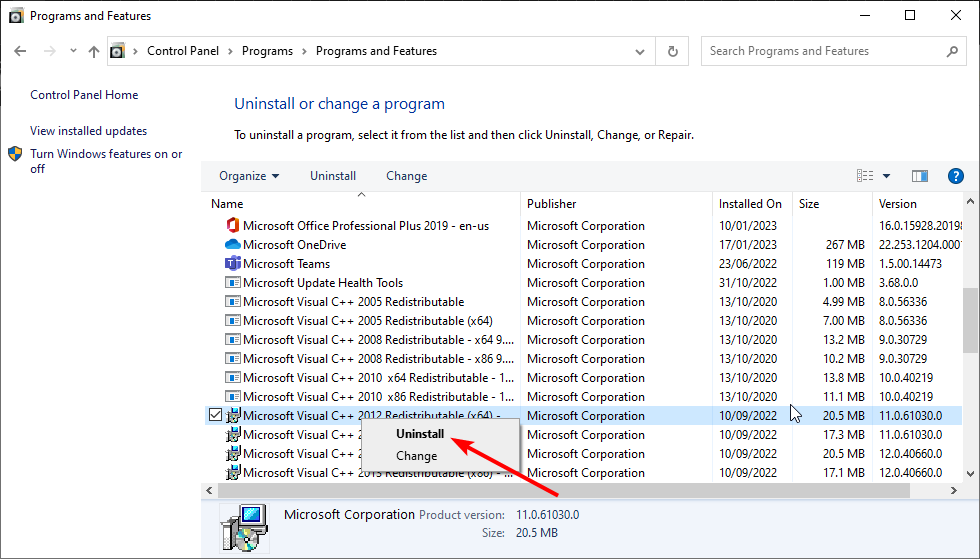
Another possible cause of the Windows 10 0xc00007b error is a faulty or outdated Microsoft Visual C++ file. Users have found the Microsoft Visual C 2012 (x64), Microsoft Visual C 2012 (x86), and Microsoft Visual C 2010 x86 Redistributable to be especially culpable.
So make sure you remove them and reinstall them using the links provided. Note that if you use a 64-bit processor, you need to download the x86 and x64 files.
Finally, some users have reported that using an all-in-one installer fixed this issue for them too. So, you can try it.
5. Install or repair .NET framework
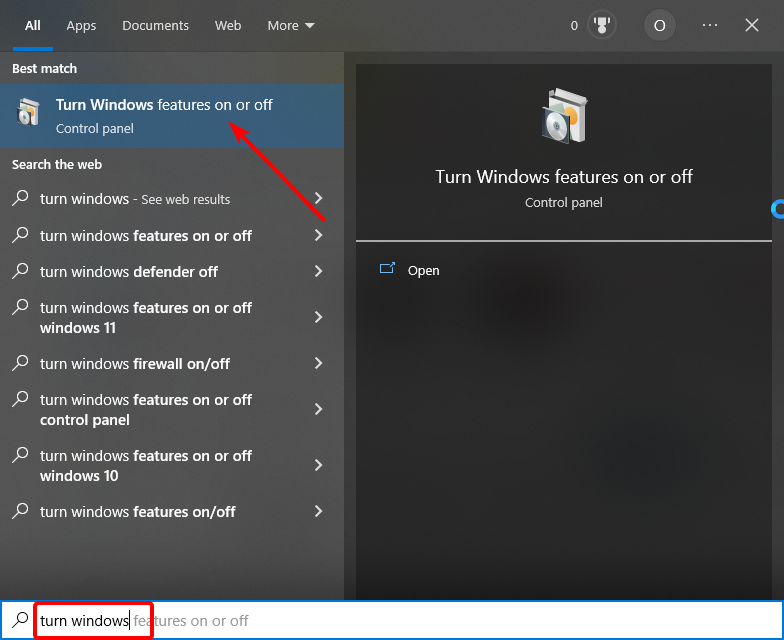
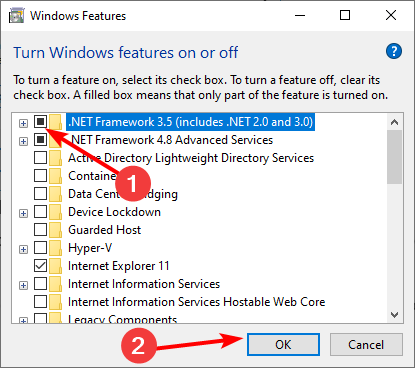
- Press the Windows key, type turn windows, and select Turn Windows feature on or off.
- Tick the box next to .Net Framework 3.5 (includes .NET 2.0 and 3.0) and click the OK button.

- Wait for the installation to complete and restart your PC.
The .NET Framework is important for smoothly running apps on your PC. If this feature is disabled, you might experience the 0xc00007b error on Windows 10.
If you can’t install the .NET Framework 3.5 using the method above, check the linked guide to fix the problem. Finally, you can check out our detailed guide if you need more methods to install the .NET Framework.
There you have it: everything you need to fix the 0xc00007b error on Windows 10. You only need to follow the steps carefully, and you should be able to open your apps normally again.
If the solutions above fail to fix the issue, you might need to reinstall Windows 10.
In the same vein, if you face the 0xc00007b error on Windows 11, check our detailed guide to fix it effectively.
Feel free to let us know the solution that helped you fix this issue in the comments below.