Application Not Found Error on Windows 10 [Fix]
If you're getting this error message, modify your default apps settings
![]() 9 min. read
9 min. read
![]() Updated on
Updated on
Share this article

Improve this guide
Read our disclosure page to find out how can you help Windows Report sustain the editorial team Read more
Key notes
- Application not found is a rather common error many Windows users encounter.
- The issue can be caused by various culprits, including outdated drivers or faulty autoplay settings.
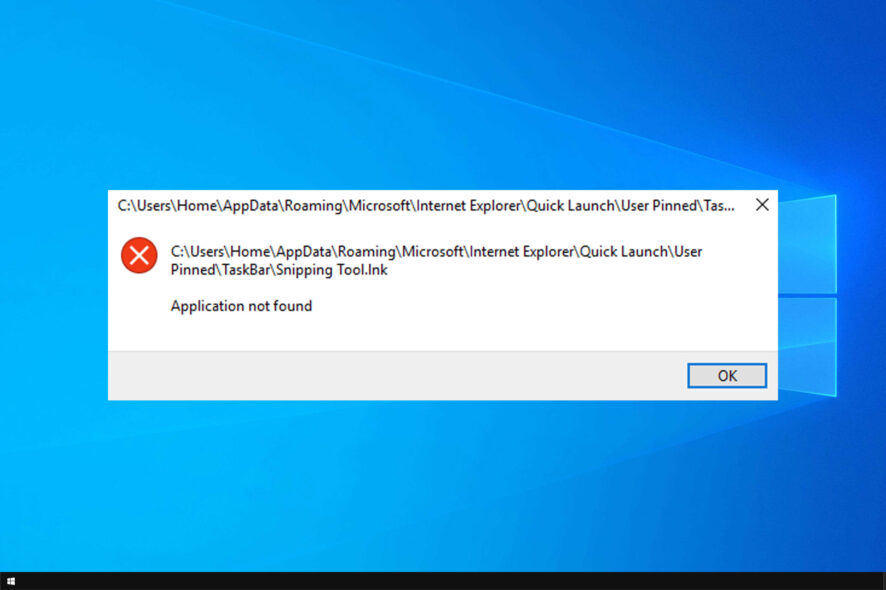
Many users use optical media or USB flash drives to share files, but some users complained about the Application not found error on Windows 10.
It seems that this error appears whenever a user inserts CD, DVD or any other removable storage. This isn’t the only DVD issue, and many reported that DVD only reads CDs.
However, today we’re going to focus on the application not found issues, so let’s get started.
Why does it say Application not found?
- Sometimes issues with the AutoPlay settings can cause this and many other errors.
- In some rare instances, outdated drivers can cause this problem.
- Problems with file association and default apps can lead to this issue.
- Sometimes an autorun file on your removable storage causes this error message.
How can I fix the Application not found error in Windows 10?
1. Use the Populate option
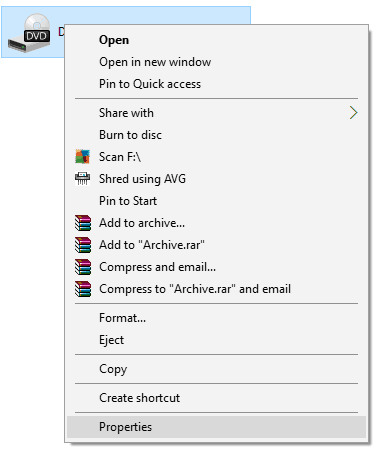
- Open This PC.
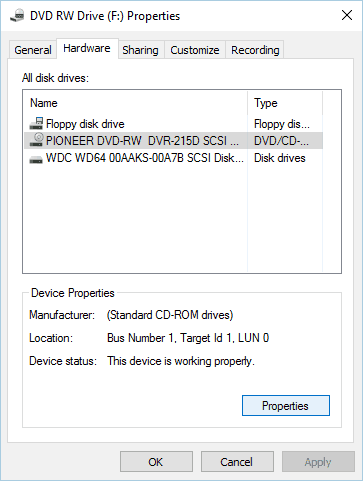
- Locate your DVD drive, right-click it and choose Properties from the menu.

- Go to Hardware tab and select your DVD drive. Now click the Properties button.

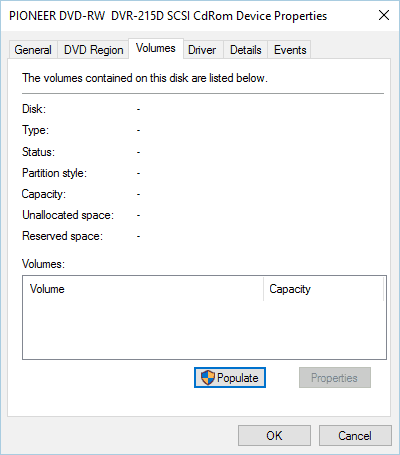
- Go to the Volumes tab and click the Populate button.

- After doing that, restart your PC and check if that fixes the problem.
2. Change Autoplay settings
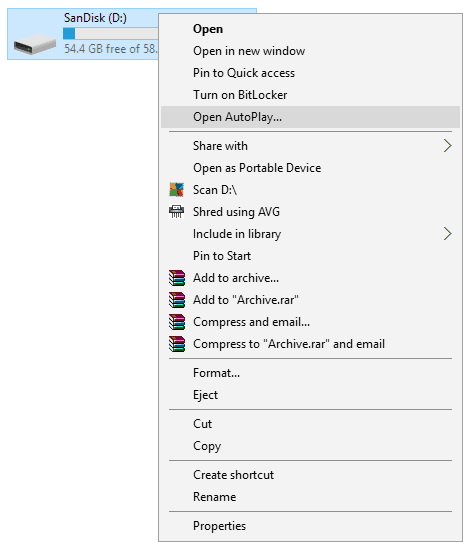
- Open This PC.
- Locate the problematic drive and right-click it. Choose Open Autoplay option.

- Select Take No Action from the menu.


After turning off Autoplay for this drive, the problem will be fixed. We have to mention that this isn’t the best solution, so it might be better to use Ask me every time option instead. You can do that by following these steps:
- Press the Windows key + I to open the Settings app.
- Go to Devices section and then navigate to AutoPlay tab.
- In Choose AutoPlay defaults section set Removable drive and Memory card to Ask me every time.


You can also change AutoPlay settings by using Control Panel. To do that, follow these steps:
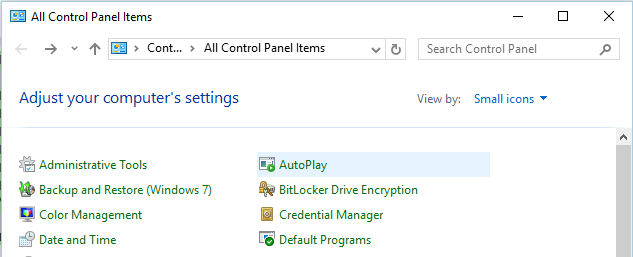
- Open Control Panel.
- When Control Panel opens, select AutoPlay.

- When AutoPlay window opens, set Ask me every time for both Removable drive and Memory card.
- Optional: If you have this problem with CDs and DVDs, you can also change their autoplay settings from this window.
- After you’re done, click the Save button to save changes.
Both methods are similar, but if you need to change Autoplay settings for a DVD drive or you want to set special settings for different types of files, we suggest that you configure Autoplay settings from Control Panel.
After doing that, check if Application not found error on Windows 10 is gone.
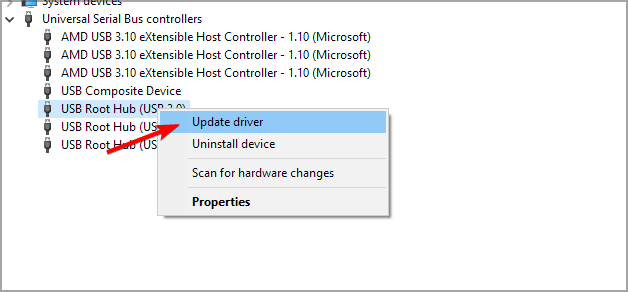
3. Update USB drivers
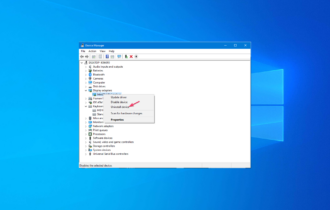
- Go to Search, type devicemngr, and open the Device Manager.
- Expand Universal Serial Bus controllers, and find your device.
- Right-click your router and go to Update driver.

- Follow further on-screen instructions and finish installing drivers.
- Restart your computer.
3.1 Update drivers automatically
If you don’t want the hassle of searching for drivers on your own, you can use a tool that will do this for you automatically. Of course, as you’re not able to connect to the internet at the moment, this tool won’t be useful.
However, once you get online, it will help you to keep all your drivers up to date, so you won’t be in this situation anymore. Outbyte Driver Updater is very easy to use and also very lightweight, being able to take care of the drivers on any device.
Once you install it and let it run its course, and you’ll have the latest drivers installed in no time.
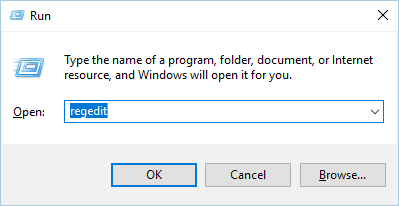
4. Edit your registry
- Press Windows key + R and enter regedit. Click OK or press Enter.

- When Registry Editor opens, in the left pane navigate to
HKEY_CURRENT_USER\Software\Microsoft\Windows\CurrentVersion\Explorer\MountPoints2 - Right-click the MountPoints2 key and choose Delete from the menu.

- Close Registry Editor and restart your PC.
- After your PC restarts, check if the DVD drive is working properly.

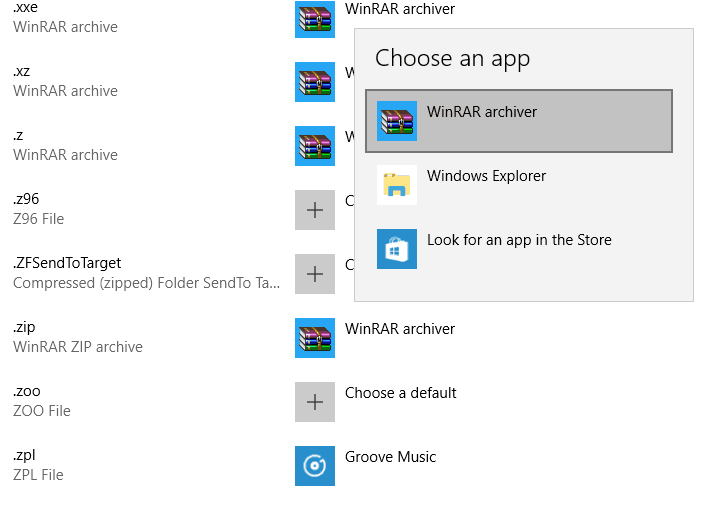
5. Change the default zip program
- Press the Windows key + I to open the Settings app.
- When the Settings app opens, go to System and select Default apps.
- Scroll all the way down and select Choose default apps by file type.

- A list of file types and default apps will appear. Locate .zip and choose the desired default application for it.

- Close the Settings app and check if the issue is fixed.
If you don’t want to use the Settings app, you can also use Default Programs from Control Panel. To do that, follow these steps:
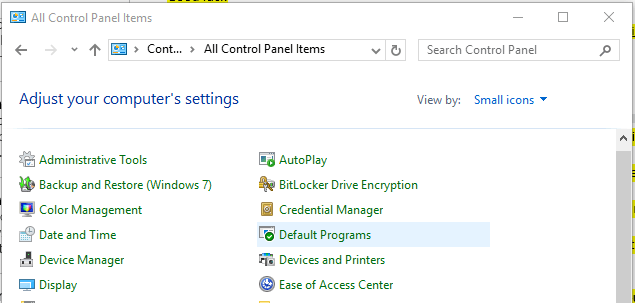
- Open Control Panel.
- When Control Panel opens, select Default Programs.

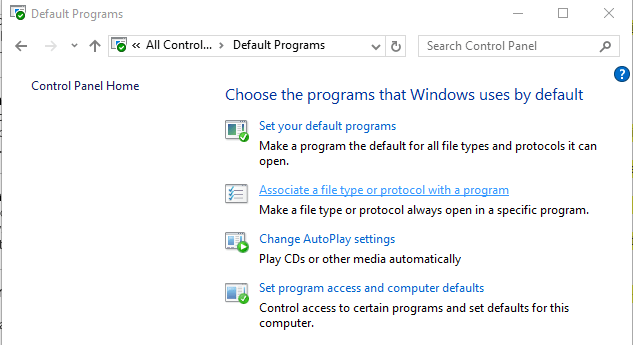
- Select Associate a file type or protocol with a program option.

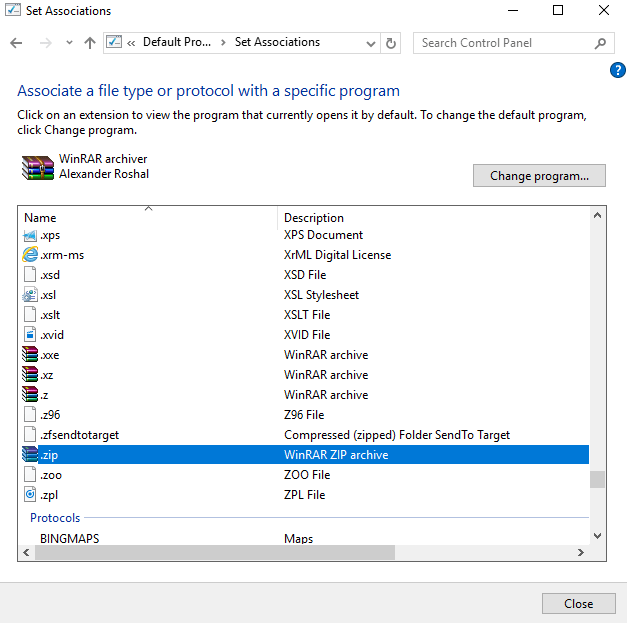
- When the list of file extensions opens, locate .zip extension and double-click it.

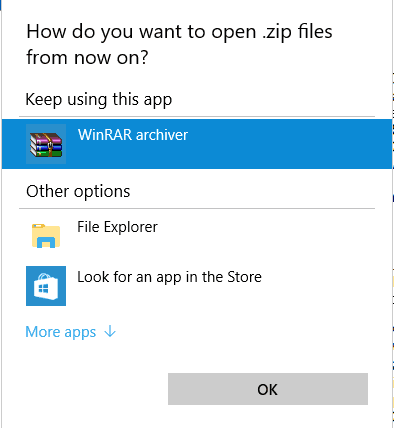
- Select the desired default application for .zip files.

We have to mention that this problem can affect other types of files and not just .zip. If you’re having this issue while opening any other file type, be sure to change the default application for that file type.
This is another way to fix Application not found error on Windows 10, so be sure to try it.
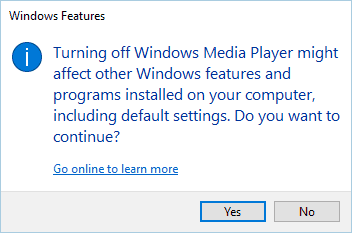
6. Turn off Windows Media Player feature
- Press Windows key + S and enter windows features. Select Turn Windows features on or off from the menu.

- Once the Windows Features window opens, expand the Media Features folder. Locate the Windows Media Player and uncheck it.

- A confirmation menu will appear. Click Yes.

- Now click OK to save changes.
- Restart your computer.
- When your PC restarts, repeat the same steps and turn Windows Media Player back on again.


7. Install VLC player
- Visit VLC download page.
- Click on Download VLC.

- Once the software is downloaded, install it.
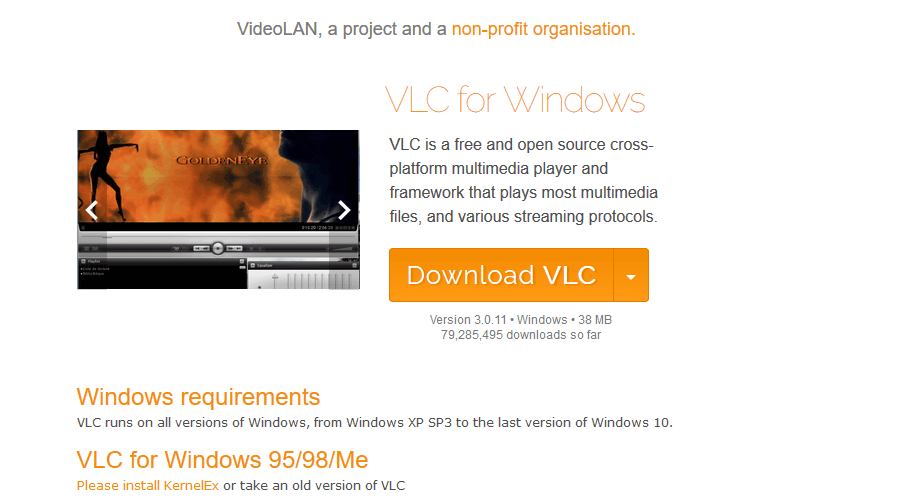
This should help if this error occurs while playing multimedia files, such as DVDs.
8. Use Open command to access your files
- Open This PC.
- When This PC window opens, locate the drive that you can’t access and right-click it.
- Choose Open from the menu.

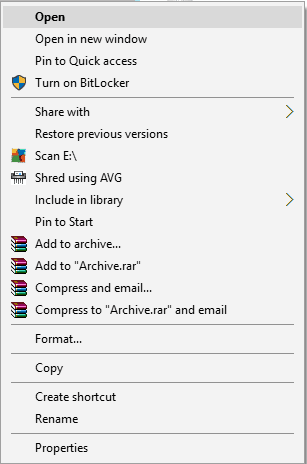
After doing that, you should be able to access your files without any problems. Keep in mind that this is just a workaround, but you should be able to avoid the error message by using this solution.
9. Delete autorun.inf file
- Insert the removable storage.
- Open the removable storage by following the steps from the previous solution. If the Open option doesn’t work, choose to Explore option instead.
- Once you access your removable storage, click the View menu and turn on Hidden items option.

- Locate the autorun.inf file and delete it.
- Disconnect the removable storage and connect it again.

Few users reported that autorun.inf isn’t available on their removable storage, and if that’s the case, you’ll need to use Command Prompt to fix this problem. To do that, follow these steps:
- Press Windows key + X and choose Command Prompt (Admin).

- When Command Prompt opens, enter the following lines. Keep in mind that you need to replace X with the letter that represents your drive:
attrib -s -r -h X:\autorun.inf
del X:\autorun.inf - After running those commands, close Command Prompt and check if your removable storage works.

10. Change the drive letter
- Press Windows key + X and choose Disk Management from the menu.

- Locate your DVD drive or removable storage and right-click it. Choose Change Drive Letter and Paths.

- Click the Change button.

- Select the desired letter for the drive and click OK.


After changing the drive letter, your drive should start working again without any problems.
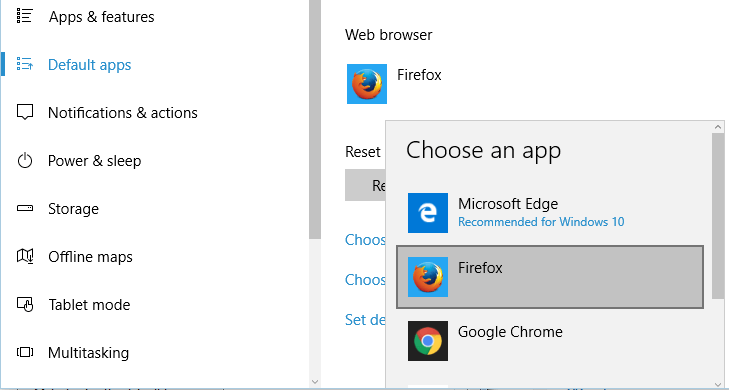
11. Set your current browser as the default browser
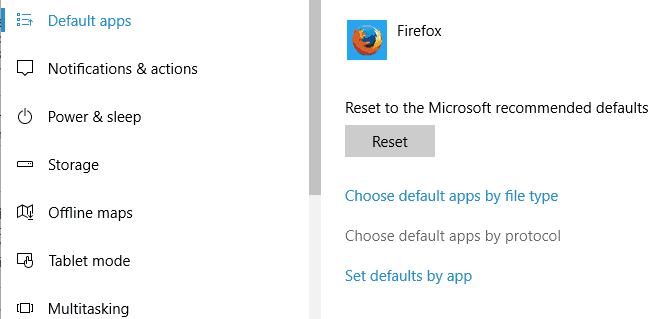
- Open the Settings app by pressing Windows key + I shortcut.
- Go to System section and then navigate to Default apps tab.
- Scroll down to the Web browser section and make sure that your current browser is set as default.

- Optional: You also need to check if your browser is set to work with certain protocols. To do that click the Choose default apps by protocol.

Locate FTP, HTTP, and HTTPS protocols and make sure that they are set to work with your default browser. - Optional: If you want, you can also check if your default browser is set to work with necessary file extensions. To see how to assign applications to work with specific file types, be sure to check Solution 4.
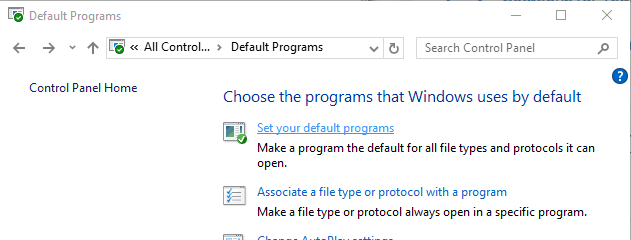
You can also change the default browser right from Control Panel. To do that, follow these steps:
- Open Control Panel and select Default Programs.
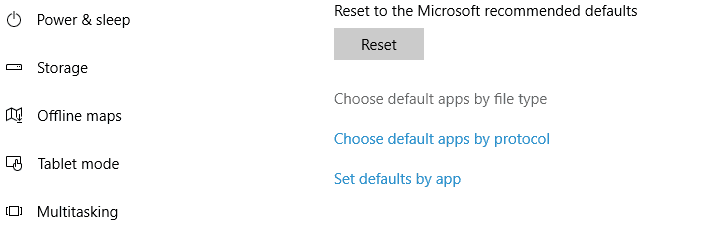
- Select Set your default programs option.

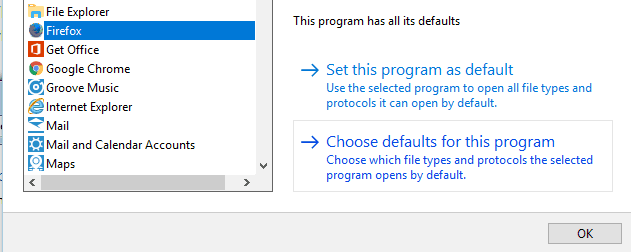
- A list of all installed applications will appear. Select your current web browser and choose Set this program as default option.

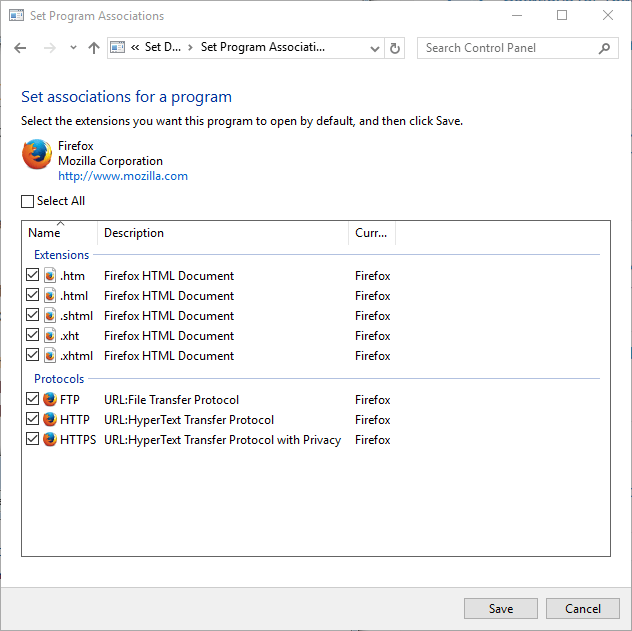
- Optional: Click on Choose defaults for this program and check if necessary file types and protocols are assigned to it.

If not, you can assign them by following similar steps like in Solution 4.

12. Use Reset Settings to Default for AutoCAD
Users reported that this issue occurs when trying to open AutoCAD files. According to them, AutoCAD doesn’t start and instead they are getting Application not found error message.
- Re-register AutoCAD with the appropriate actions.
- This process is fully automatic, and you just need to run Reset Settings to Default AutoCAD application.
- This application should be located somewhere in your AutoCAD directory, so be sure to search for it.
After running the application, AutoCAD will start working again, if the problem still persists, you might have to reinstall AutoCAD in order to fix it.
13. Try your USB flash drive on a different computer
- Try connecting your removable storage to a different computer.
- If you have an extra PC or laptop, try connecting your USB flash drive to it.
- If the error doesn’t appear on a different computer, unplug the flash drive and try using it on your PC.
Few users claim that this workaround fixed the error for them, so be sure to try it out.
14. Use CCleaner
- Start CCleaner on your PC.
- Let it scan your PC.
- After scanning their PC and registry, CCleaner should fix all the issues along with the Application not found error.
15. Replace your DVD drive
- Turn off your PC and open the computer case.
- Carefully remove the DVD drive.
- Now insert a new DVD instead.
Boot your PC and check if the solution works.
16. Reinstall your browser
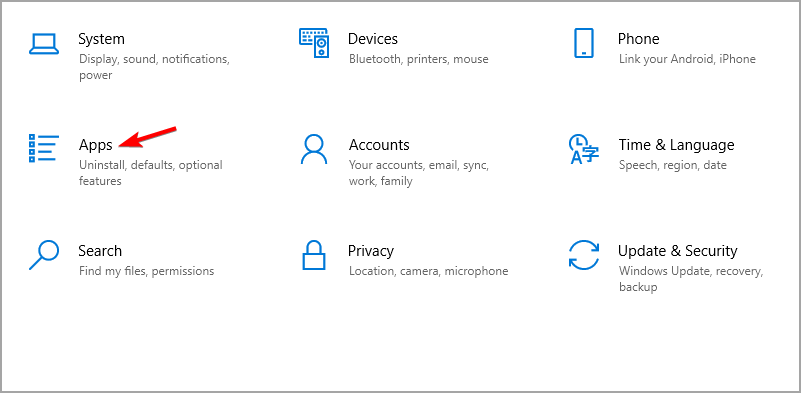
- Open the Settings app.
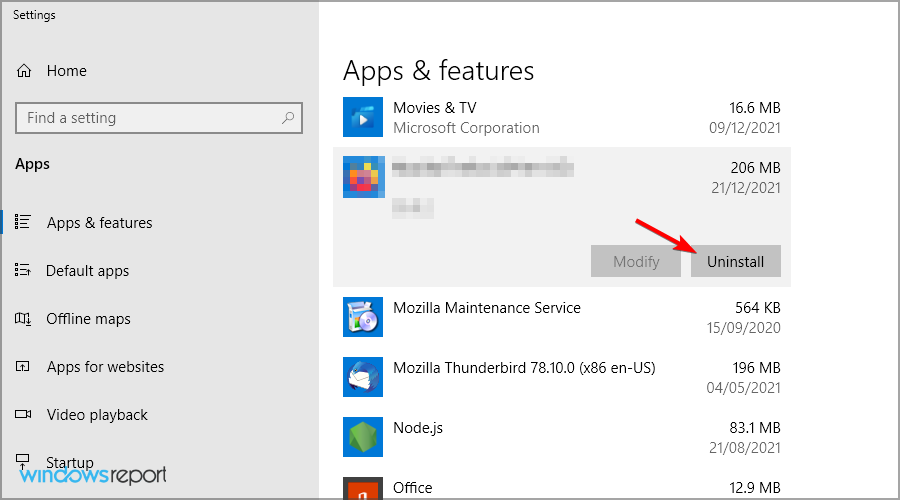
- Navigate to the Apps section.

- Locate your browser and click on Uninstall.
- Follow the instructions on the screen to complete the process.
After performing the browser reinstallation, the issue was completely resolved.
Application not found error on Windows 10 can cause various problems, so it’s important to fix it as soon as you can.
In case you’re having additional problems, our Windows 10 apps not opening guide should be able to help you.
Did you find a different method to fix this error? Let us know in the comments below!