How to Easily Disable Office 2013 Sign-in Feature
![]() 3 min. read
3 min. read
![]() Updated on
Updated on
Share this article

Improve this guide
Read our disclosure page to find out how can you help Windows Report sustain the editorial team Read more
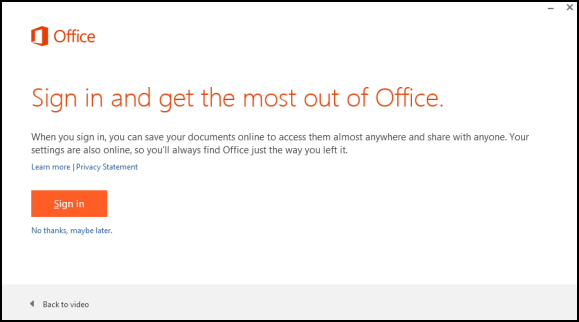
If you are using Office 2013 on your Windows 10, 8 or Windows 8.1 device, then you are probably familiar with the “sign in” feature and with the in-built cloud support offered by the Office package. Now, if these features might be useful in some situations, in others you might find it useless and also annoying. So, because of that, in this guide, I will show you how to easily disable/enable Office 2013 sign in and cloud features.
Office 2013 is great especially for those who are using the Office package on a daily basis. The program comes with useful features and capabilities that can really ease your work. Furthermore, Office 2013 has an easy to use interface, so even a newbie can manage this Windows service.
The “sign in” feature which is included on Office 2013 can be used for saving data or accessing saved data online, on any device that is running Windows 10, 8 and Windows 8.1 along with Microsoft Office 2013. A cloud service is used in that matter which means that you can store your documents without using your own device and furthermore you can have your personal docs on the go.
But, if you don’t use this feature, the best will be to disable it, as it can become quite annoying. Thus, don’t hesitate and use the guidelines from below and learn how to disable Office 2013 sign in feature on Windows 10, Windows 8 and Windows 8.1.
How to Disable Office 2013 sign in prompt
1. Use the Registry Editor
- On your computer, notebook or laptop go to your Start Screen.
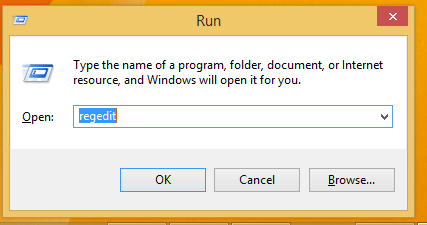
- From there press “Win + R” dedicated keyboard keys.
- The Run box will be displayed.
- There enter “regedit” in order to run Registry Editor.

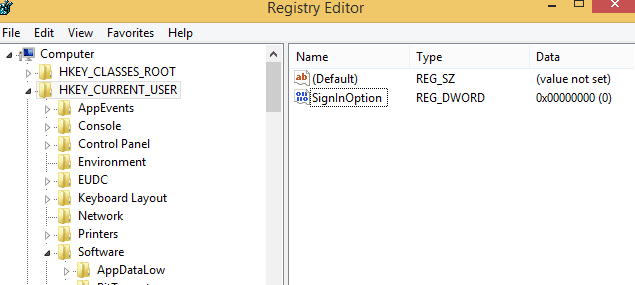
- Good; on Registry go to path “HKEY_CURRENT_USERSoftwareMicrosoftOffice15.0CommonSignIn”.
- Then, go to the right panel of Registry and right-click on a blank space.
- Select “New” and pick “DWORD Value”.
- Name this new value “SignInOption”.

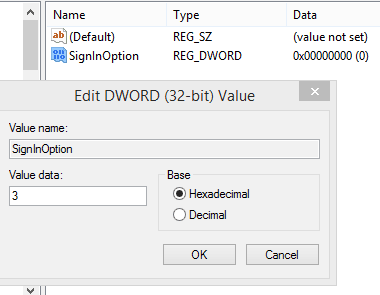
- Right-click on the new key and set its value to 3.

- Close Registry Editor and reboot your Windows 8 or Windows 8.1 device.
2. Use the GroupPolicy
Keep in mind that the Group Policy Editor is available only on Windows 10 Pro, so you can use this method only if you use this particular OS version. Here are the steps to follow:
- Download the Office 2013 Administrative Template files
- Go to Start > type gpedit.msc > hit Enter to launch the Group Policy Editor
- Go to this path: Local Computer Policy > User Configuration > Administrative Templates > Microsoft Office 2013 > Miscellaneous
- You should now see the option ‘Block signing into Office‘ > double click on it
- Select ‘None allowed’ to disable the sign-in prompt.
That’s it. The Office 2013 “sign in” feature should be disabled now, so test the same. If you are still having issues in removing the cloud feature from Office 2013, don’t hesitate and use the comments field from below and we will assist you as soon as possible.
RELATED STORIES TO CHECK OUT:
- How to repair Office 2013 on Windows 10
- How to Rollback to Office 2013 From Office 2016
- FIX: Couldn’t repair Office 2007/2010/2013/2016