Diagnose & Fix the Most Common DNS Issues on Windows 10
Encompassing solutions to tackle most DNS issues
![]() 8 min. read
8 min. read
![]() Updated on
Updated on
Share this article

Improve this guide
Read our disclosure page to find out how can you help Windows Report sustain the editorial team Read more
Key notes
- Making some changes in the settings or changing the provider are good options if your DNS server is not responding.
- You can turn off the peer-to-peer download for the Windows updates to quickly fix Windows 10 DNS errors.
- Changing power options and reinstalling network adapters will solve any DNS problem on Windows 10.
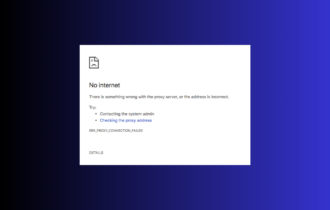
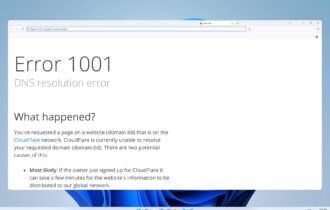
To access the internet, your DNS has to work without any problems. Unfortunately, users reported various DNS issues on Windows 10 that prevent them from accessing the internet.
There’s a spread of DNS issues, especially the DNS server not responding error which plagues Windows 10 users as well.
In this guide, we’ll help you tweak some DNS settings in Windows 10 and hopefully resolve the issue on your Windows 10 PC or laptop.
Why is my computer having DNS issues?
A problem from your end usually causes DNS issues on your computer. This can be in the form of wrong configuration, network issues, and other problems.
Below are some of the well-known causes:
- Outdated or faulty network adapters
- Unfavorable power settings
- Wrong wireless router configuration
- Malware affecting the DNS
- Weak internet signals
- Misconfigured DNS settings
- Old and outdated DNS cache
❔Can a router cause DNS issues?
Being an integral part of your connection, a router can cause DNS issues. When your router is wrongly configured, it might lead to the DNS not working on Windows 10.
Also, if the router is faulty, it can cause DNS errors on your PC.
How do I fix DNS server on Windows 10?
1. Use Command Prompt
- Press the Windows key + X to open the Power User Menu.
- Select Command Prompt (Admin) from the menu.
- When Command Prompt opens, enter the following lines and press Enter after each:
ipconfig /flushdnsipconfig /registerdnsipconfig /releaseipconfig /renewNETSH winsock reset catalogNETSH int ipv4 reset reset.logNETSH int ipv6 reset reset.logExit
After you close the Command Prompt, check if the issue is resolved. According to users, you can fix DNS issues, like the error you experience after Windows 10 update, by flushing the DNS and resetting some settings.
2. Turn off the peer-to-peer download for Windows updates
- Press the Windows key + I to open the Settings app.
- Select the Update & Security option.

- Click Advanced options.
- Now, click the Delivery Optimization option.
- Toggle the switch for Allow downloads from other PCs.
- Finally, select PCs on my local network.

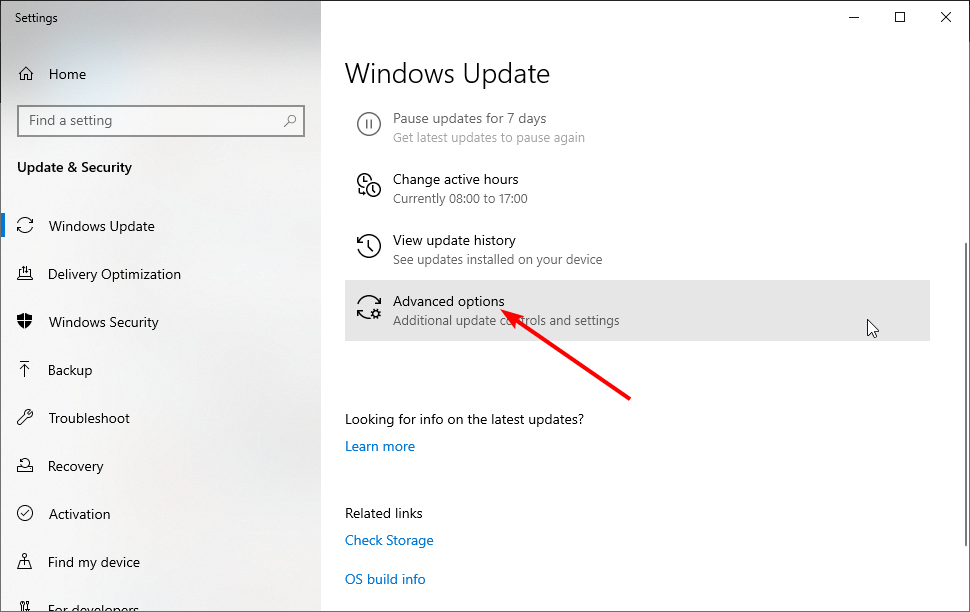
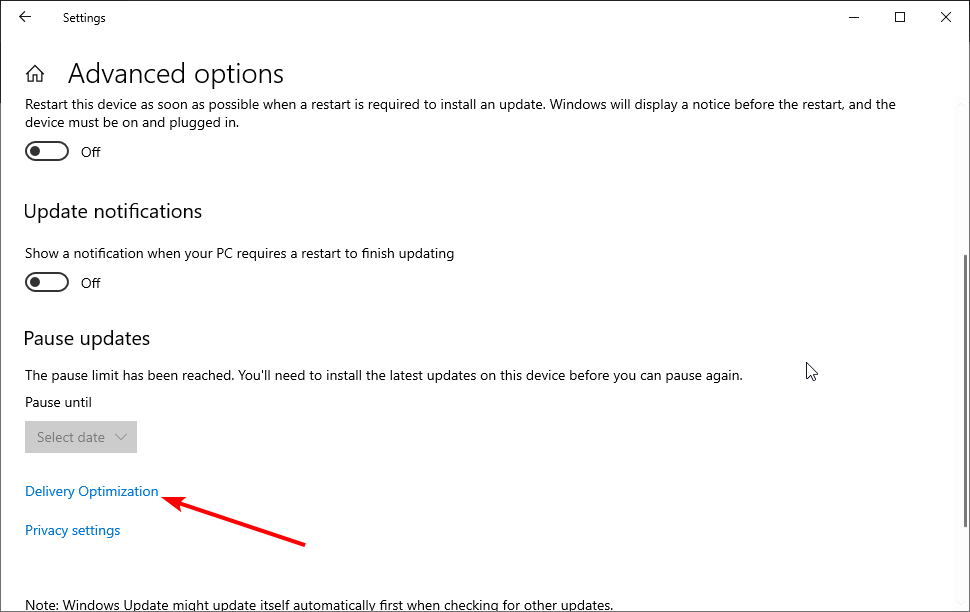
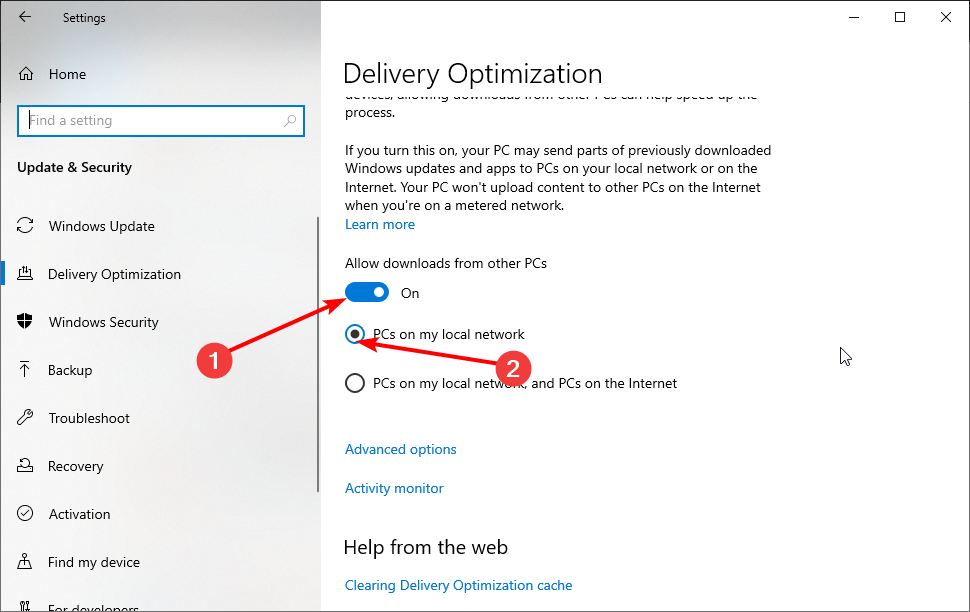
Sometimes Windows updates can cause issues with DNS. One potential solution that users found is to disable peer-to-peer download for Windows updates.
3. Reinstall your network adapter drivers
3.1. Update driver manually
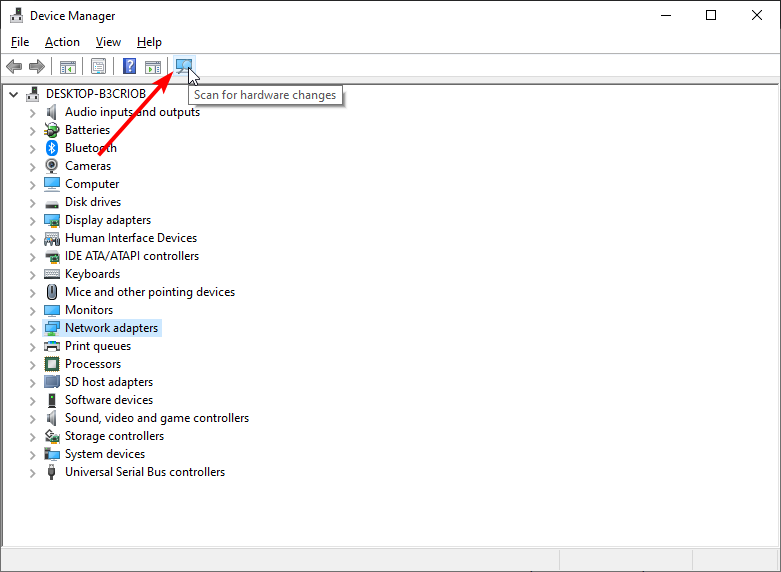
- Press Windows key + X and select Device Manager from the results list.

- Double-click on the Network adapters option to expand it.
- Right-click on the drivers there and select Uninstall device.

- After you uninstall it, click the Scan for hardware changes button.
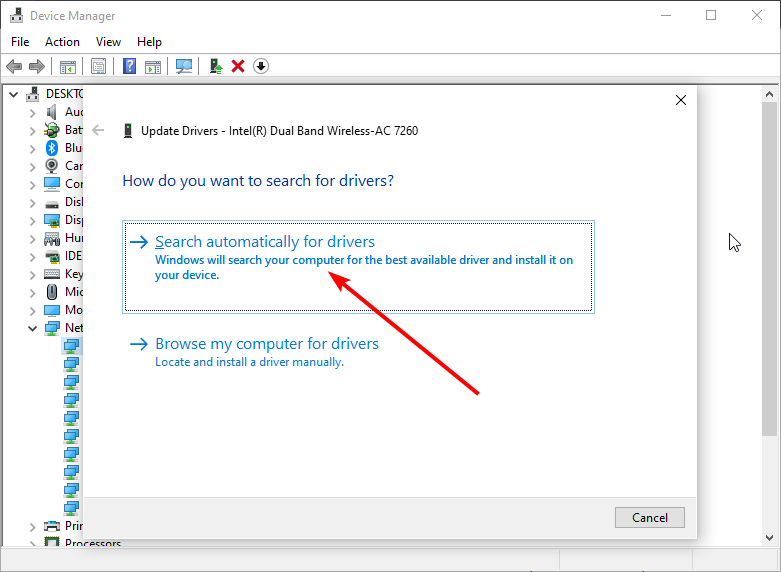
- Locate your network adapter once again, right-click it and choose Update driver.
- Choose the option to Search automatically for drivers.
- Wait for Windows 10 to download and install the necessary software on your device.
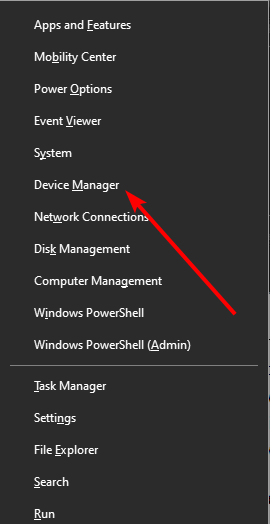


Some users claim you can fix this issue by removing and reinstalling your network adapter driver.
3.2. Update drivers automatically
Updating your drivers using the Device Manager is not the best way to find the latest network drivers. Therefore, we strongly suggest installing a third-party driver installer.
You won’t need to search for drivers manually anymore. Dedicated driver updater software such as Outbyte Driver Updater will help you do it automatically by performing periodic scans and making sure everything is up-to-date.
Outbyte Driver Updater is meant to be as lightweight as possible, and the only components you actually download and install on your PC are the driver scanner and downloader.

Outbyte Driver Updater
Use this performant tool to keep all your drivers up to date.4. Change Power Options settings
- Press Windows key + S and enter power options.
- Select Power Options from the menu.

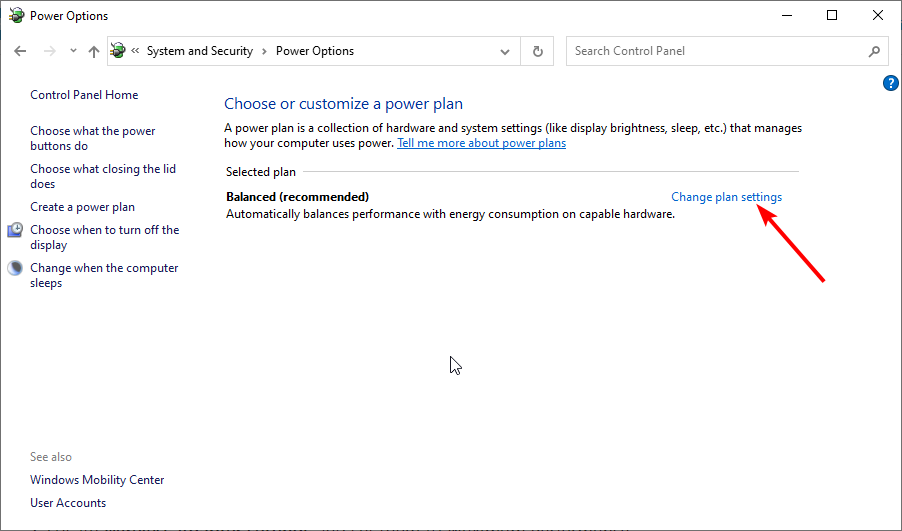
- Locate your current power plan and click Change plan settings.

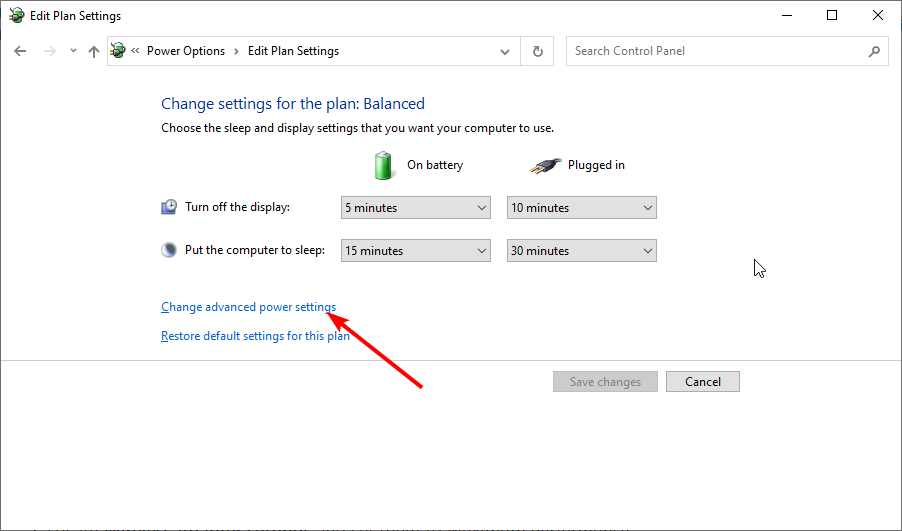
- Now click on Change advanced power settings.
- Locate Wireless Adapter settings and set them to Maximum Performance.
- Click Apply and OK to save changes.
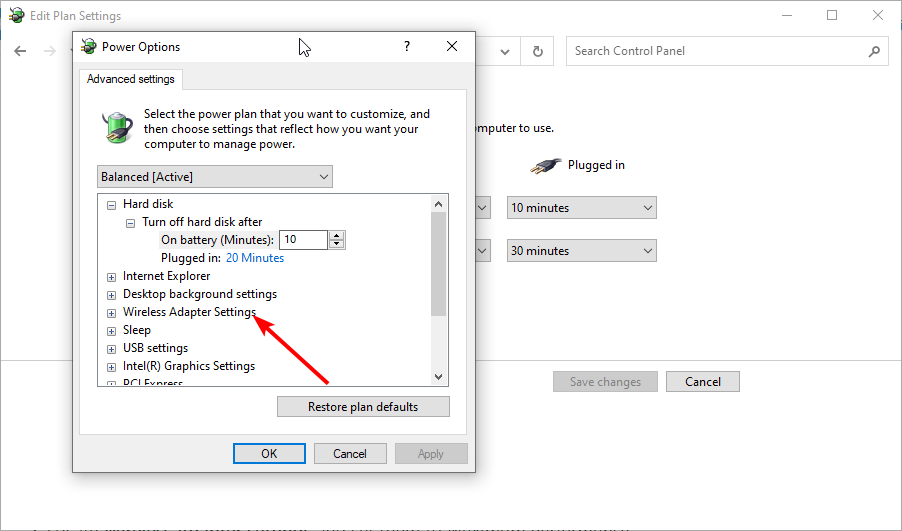
You can fix this problem by changing the power settings of your wireless network adapter.
5. Make sure that Microsoft LLDP Protocol Driver is enabled
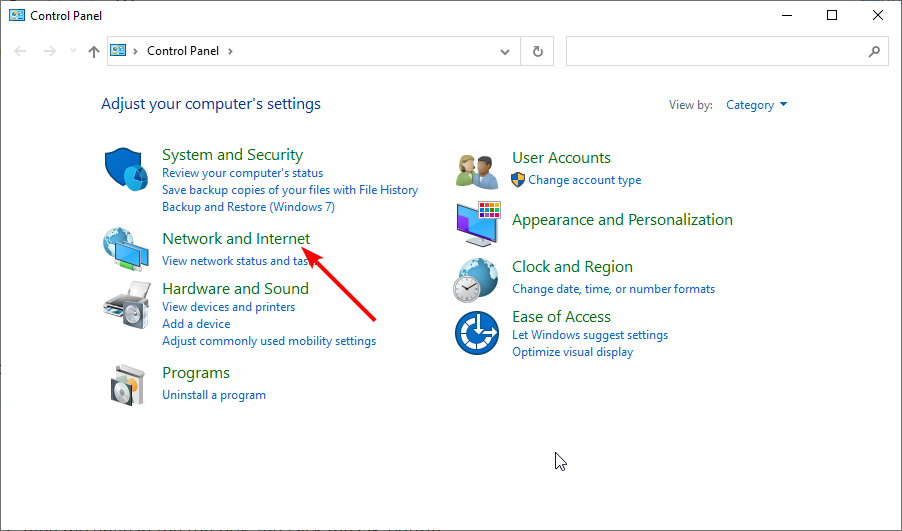
- Press Windows key + R and type control to open Control Panel.
- Select Network and Internet.
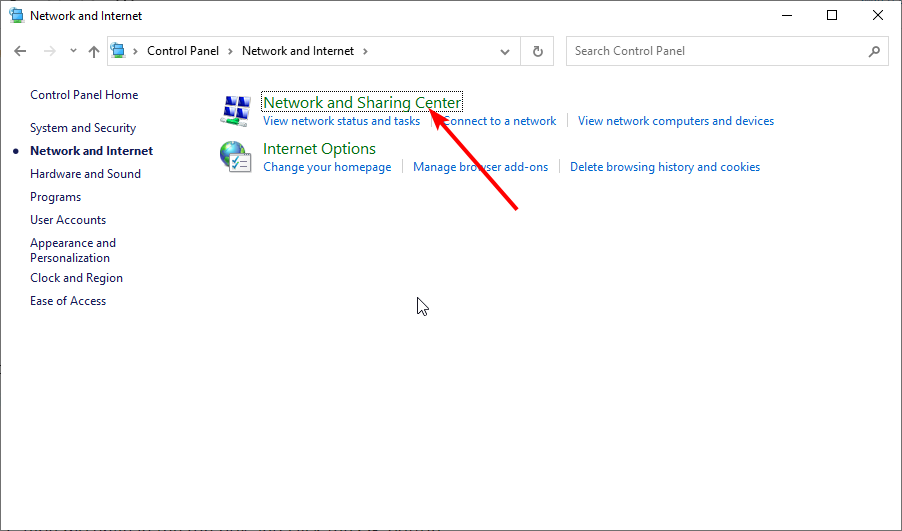
- Choose the Network and Sharing Center option.
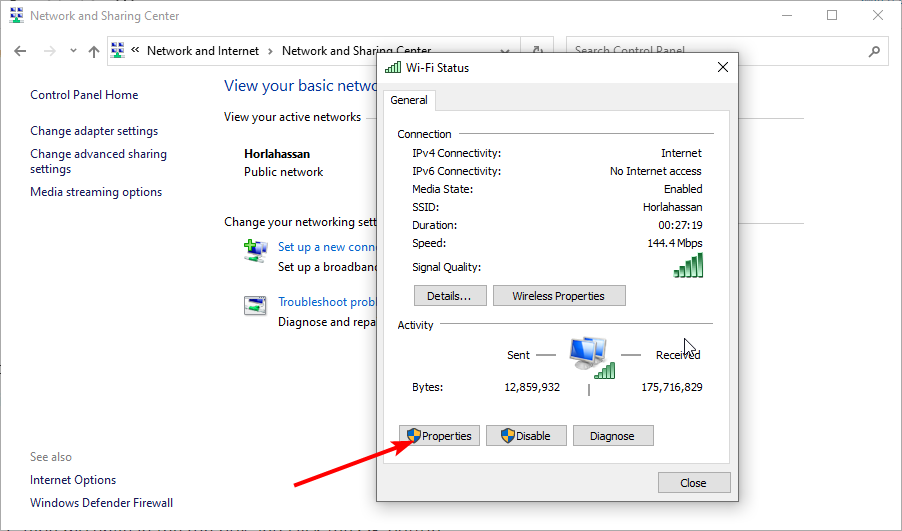
- Click on your active internet connection.
- Now, click on the Properties button.
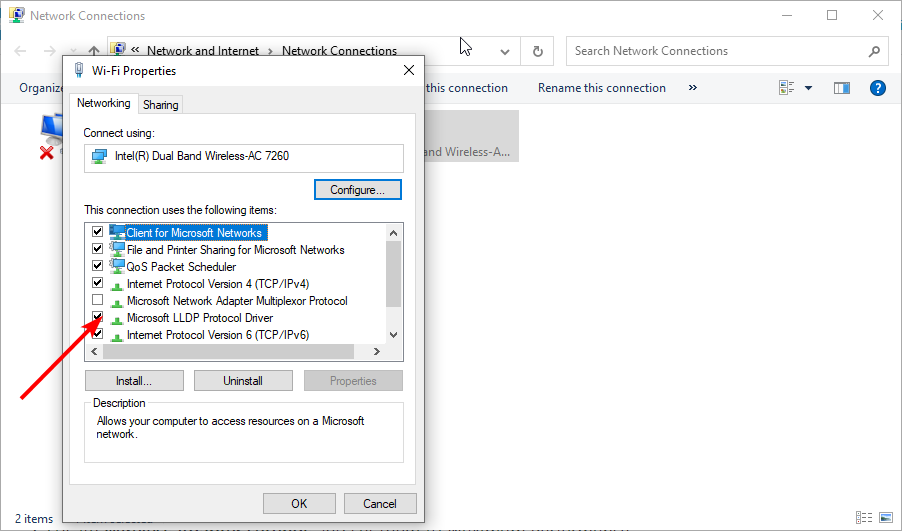
- Check if the Microsoft LLDP Protocol Driver checkbox is marked.
- Finally, click the OK button to save the changes.
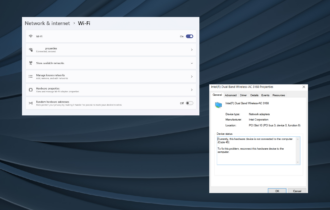
If the DNS server is not responding with ethernet or WiFion Windows 10, we suggest you check if the Microsoft LLDP Protocol Driver is enabled for your connection.
6. Perform Clean boot to fix DNS issues on Windows 10
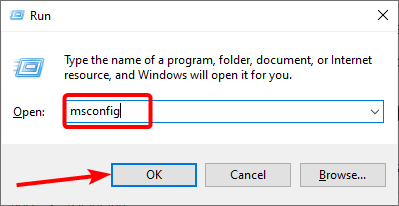
- Press Windows key + R to open the Run utility.
- Type msconfig in the run box and click the OK button.

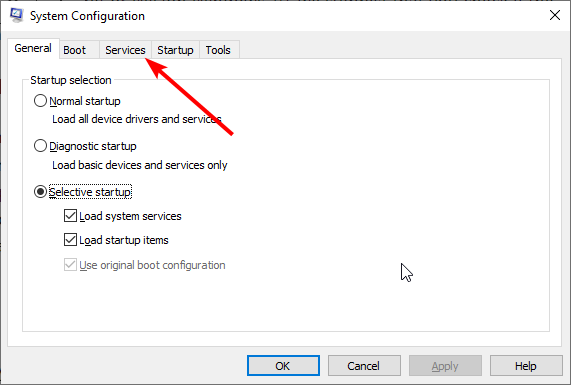
- Click the Services tab at the top.

- Check Hide all Microsoft services and click Disable all button.
- Click Apply and OK to save changes.
- Restart your PC.
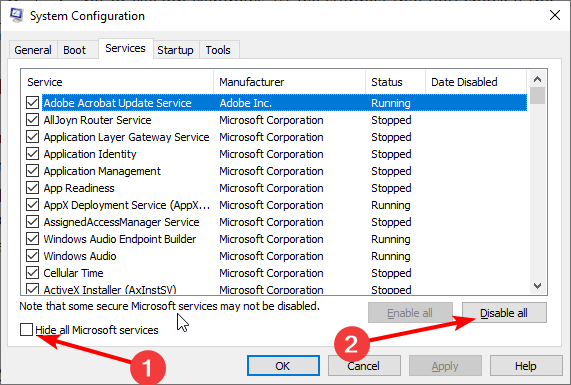
Now you can repeat the same steps and enable services one by one until you find the problematic one.
According to them, some third-party service was interfering with DNS, and the issue was resolved after finding and disabling the problematic service.
7. Change the configuration of the wireless router
Users reported that Windows 10 has some issues with certain wireless frequencies and standards.
To fix this issue, you need to change your wireless router settings.
It seems that Windows 10 has problems with 2.4GHz networks. Therefore if your wireless adapter supports 5GHz frequency, make sure you use it.
If your adapter doesn’t work with a 5GHz frequency, use the 2.4GHz Legacy option instead. For more details on how to change these settings, be sure to check your wireless router manual.
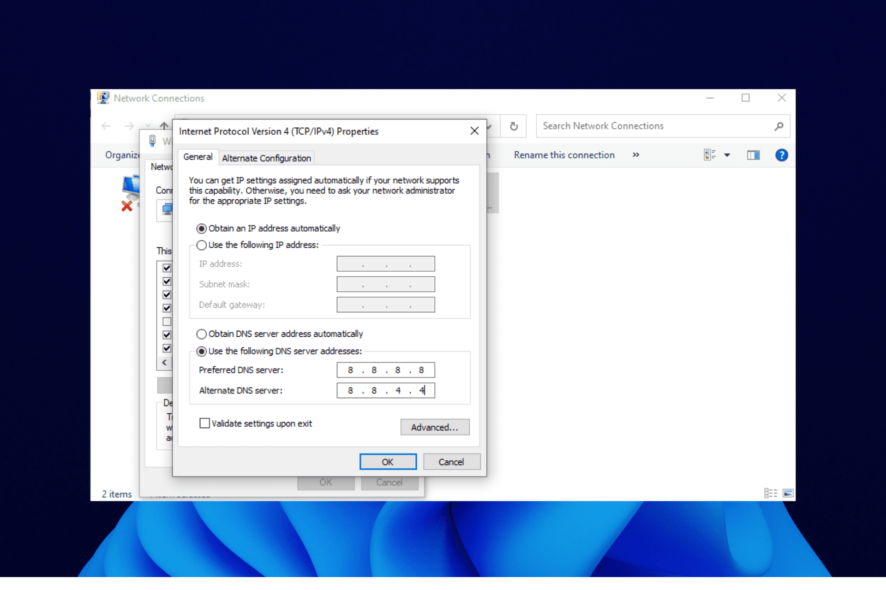
8. Use Google’s public DNS server
- Open the Control Panel and select Network and Internet.
- Click Network and Sharing Center.
- Select your active network.
- Click on the Properties button.
- Now, click Internet Protocol Version 4 (TCP/IPv4), followed by the Properties button.
- Tick the radio button for Use the following DNS server addresses.
- Set the Preferred DNS server to 8.8.8.8.
- Now, set the Alternate DNS server to 8.8.4.4.
- Finally, click the OK button.

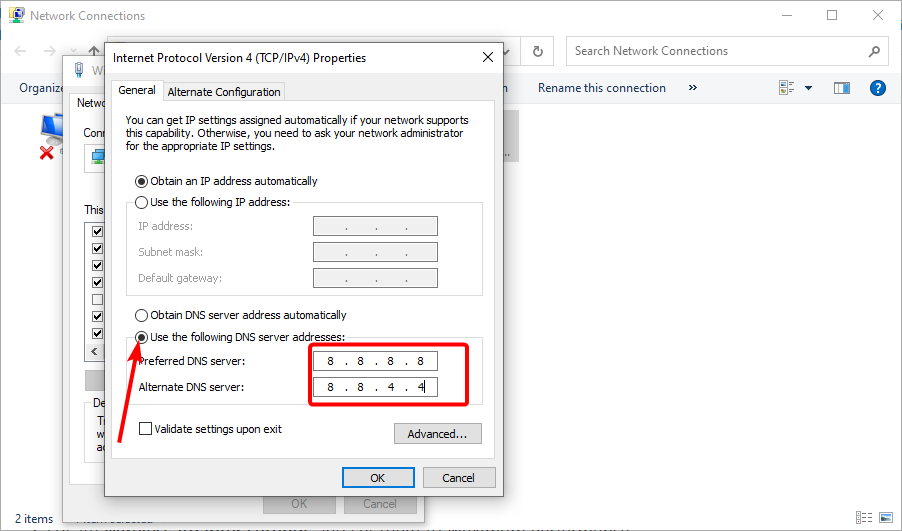
Your ISP’s DNS server might have some issues, so you might want to use Google’s public DNS instead. To do that, follow these steps.
Alternatively, some users suggest using 208.67.222.222 as the Preferred DNS server and 208.67.222.220 as the Alternate DNS server.
 NOTE
NOTE
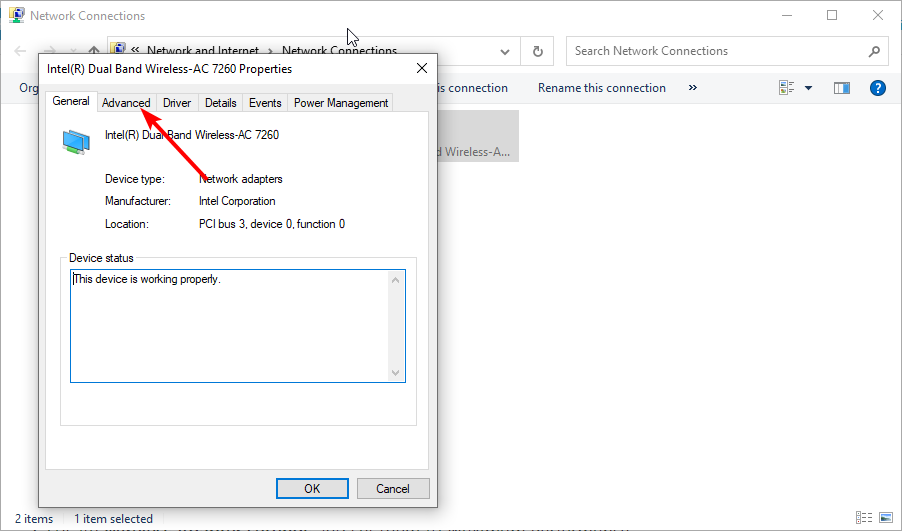
9. Change the MAC address of your network adapter
- Start Command Prompt as administrator.
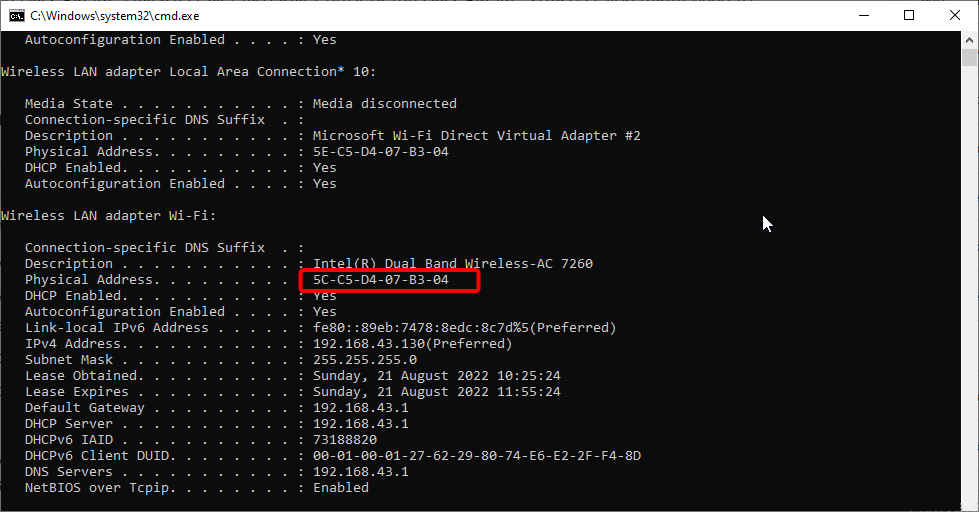
- Type ipconfig /all and press Enter.

- Locate the Physical Address and copy the value.
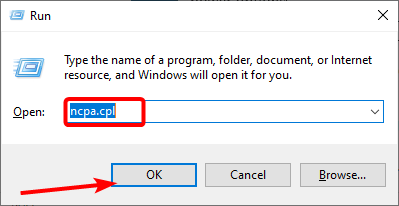
- Now, press the Windows key + R to open the Run utility.
- Type ncpa.cpl and click the OK button.
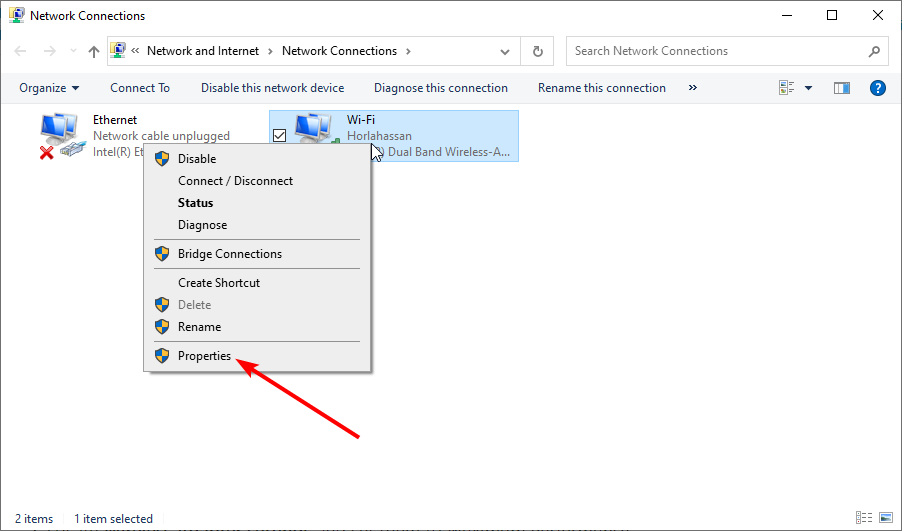
- Right-click on your active network and select Properties.
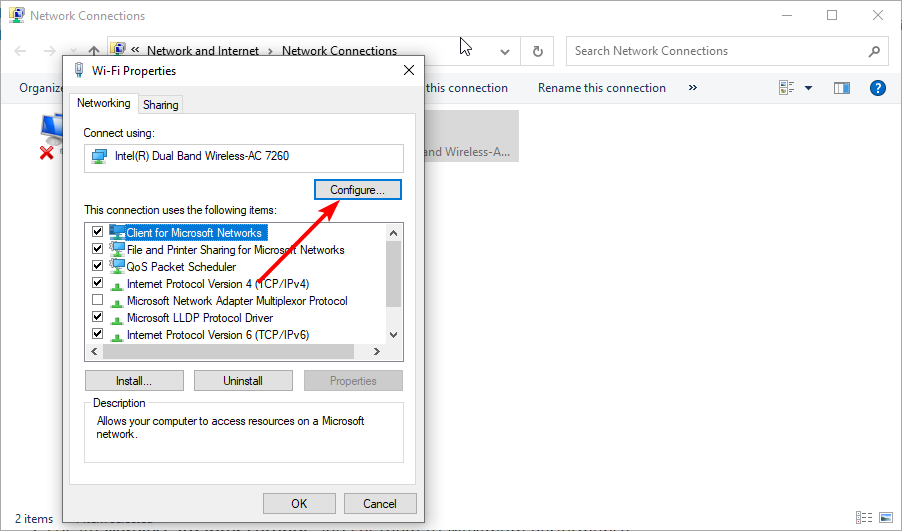
- Click the Configure button.
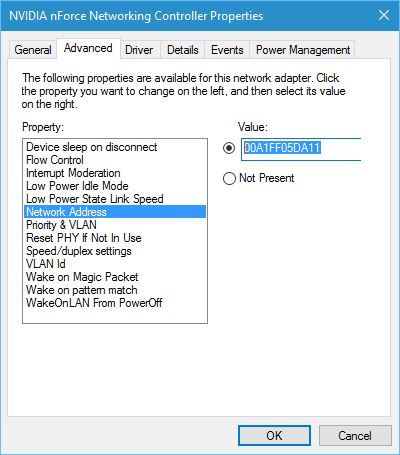
- Go to the Advanced tab and select Network Address.
- Check the Value option and enter the MAC address that you got in Step 3. Note that you don’t need to add the dashes.

- Click the OK button when you are done.

Restart your PC after applying this fix and check if the DNS issue is resolved.
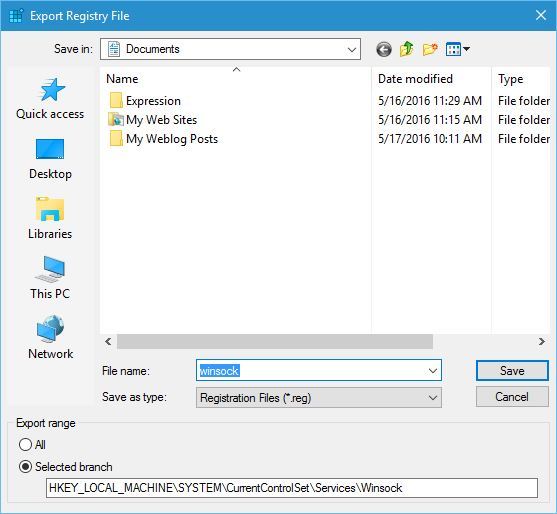
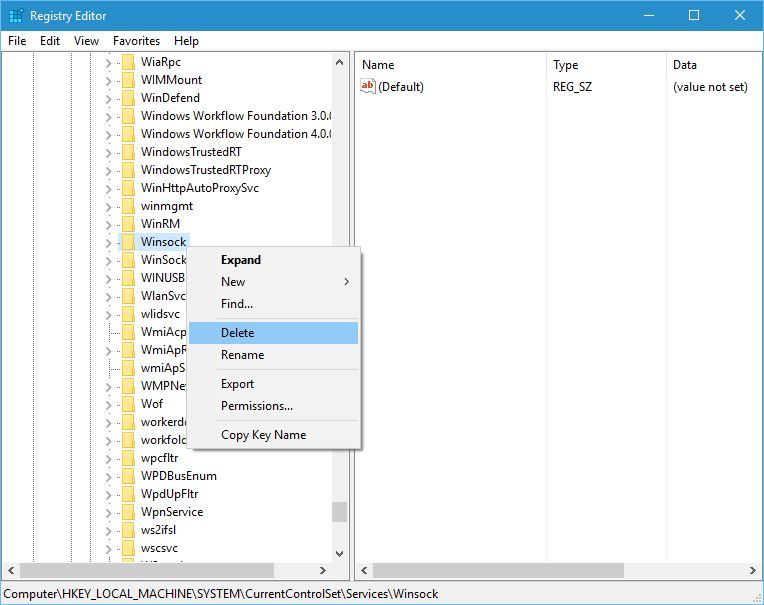
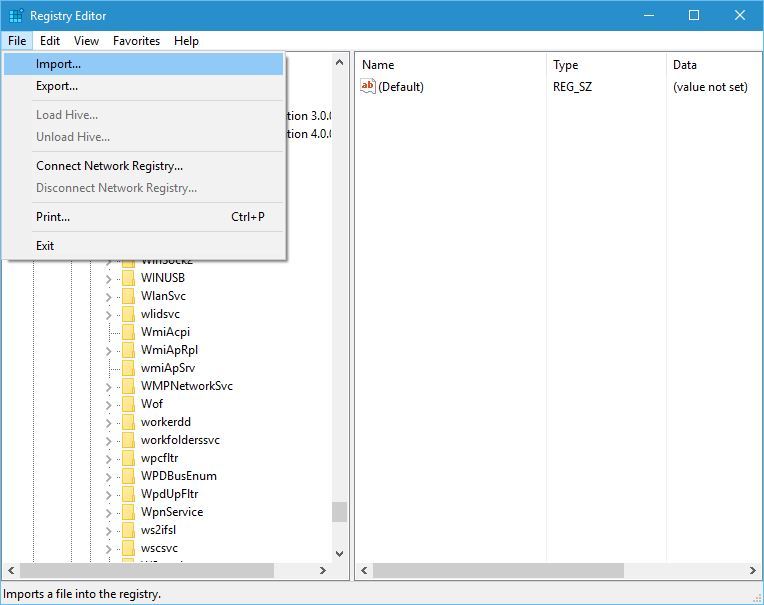
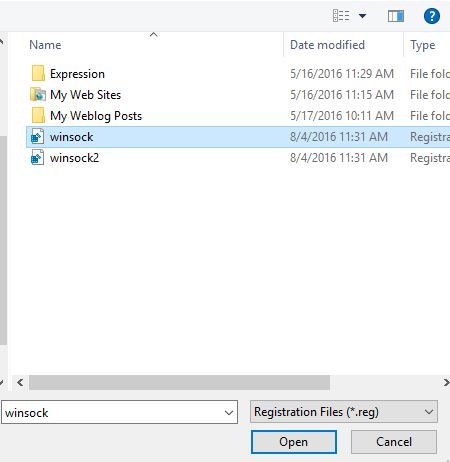
10. Remove Winsock keys from the registry
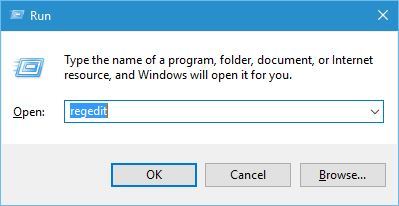
- Launch the Run utility and type regedit in the run box.
- Press the Enter key to start Registry Editor.
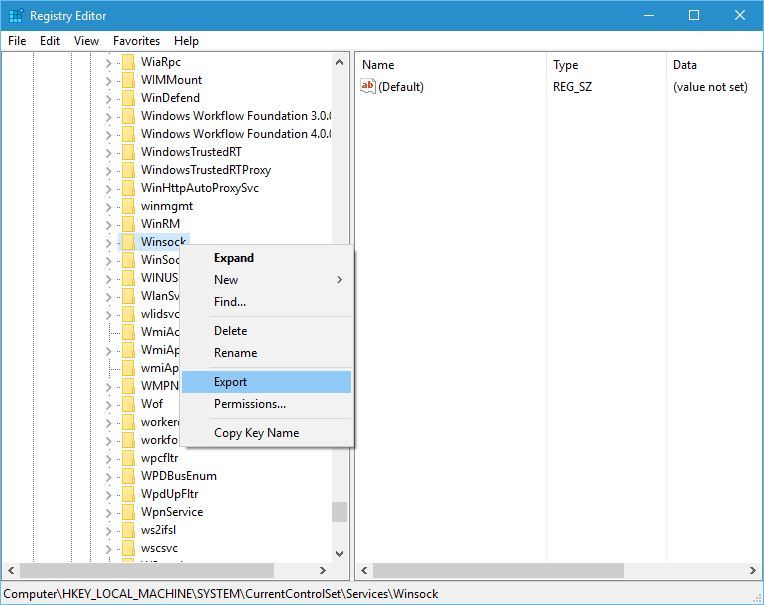
- In the left pane, navigate to:
ComputerHKEY_LOCAL_MACHINE - Then go to:
SYSTEMCurrentControlSetServices - Locate Winsock and Winsock2 keys.
- Right-click each key and choose Export.

- Save them as winsock and winsock2.

- After you’ve exported both Winsock and Winsock2 keys, you need to delete them.
- Right-click each key and choose Delete from the menu.
- Restart your PC.
- Once your computer restarts, start Registry Editor once again.
- Go to File > Import.
- Select winsock and click Open.

- After importing the winsock file, import winsock2 as well.
- Restart your PC once again and check if the problem is resolved.
If your DNS is not responding, you can try removing the Winsock keys from the registry.
Is it OK to clear the DNS cache?
It is a good practice to clear your DNS cache often. This is important for privacy and security purposes.
The DNS cache works like a virtual address book that contains information about your websites. Clearing the info often is a good way to keep it away from hackers and bad actors online.
DNS issues on Windows 10/11 can be frustrating, as they can stop you from accessing the internet. But with the right information we provided in this guide, you should be able to get past it easily.
If you need a guide to fix a specific issue like DNS server unavailable on Windows 11, check our detailed guide.
Feel free to let us know the fix that helped you solve the problem in the comments below.