DRIVER VERIFIER DMA VIOLATION Error in Windows 10 & 11 [Fixed]
Here how to fix the DRIVER VERIFIER DMA VIOLATION error
![]() 6 min. read
6 min. read
![]() Updated on
Updated on
Share this article
This article is translated in


Improve this guide
Read our disclosure page to find out how can you help Windows Report sustain the editorial team Read more
Key notes
- Driver verifier DMA violation error can be serious and cause instability issues and crashes.
- In most cases, these issues are caused by outdated or corrupted drivers, so be sure to update or reinstall them.
- Another cause for this problem can be your SSD firmware or BIOS, so you might need to update both.
- In case you’re getting a Driver verifier DMA violation error on your HP or Dell computer, make sure that your hardware is working properly.
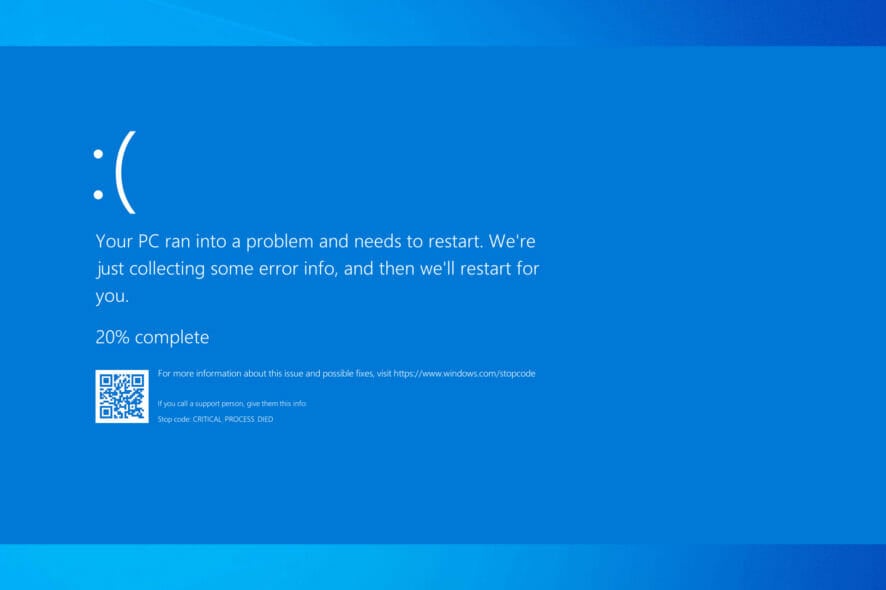
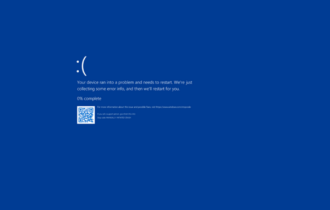
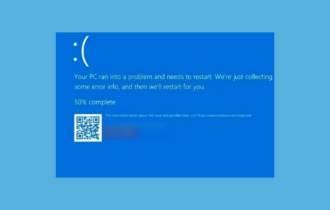
BSoD errors are one of the most serious errors that you can encounter, and it’s common for these errors to crash Windows 10 & 11 and restart your PC to prevent damage.
These types of errors can be serious; therefore, today we’re going to show you how to fix DRIVER VERIFIER DMA VIOLATION error.
What causes the DRIVER VERIFIER DMA VIOLATION error?
There are many causes for the DRIVER DMA VIOLATION error, but we will highlight the most important here:
- Old or corrupt drivers – This issue is similar to Driver Verifier Detected Violation, and it’s caused by old or corrupt drivers, so updating them would be the best thing to do if you want to fix the issue.
- Incompatible driver – Driver Violation error can also appear if you install new drivers that are not compatible with your system. Consider rolling back to the older version, or using the default drivers.
- Hardware issues – Driver Verifier Iomanager Violation and similar errors can be caused by your hardware; therefore, we suggest that you check the components and ensure that they are working properly.
- Corrupted system files – If the system files are corrupted, this may trigger the blue screen DRIVER VERIFIER DMA VIOLATION.
Now that we know the reasons behind the DRIVER VERIFIER DMA VIOLATION stop code let’s apply the solutions below to fix it.
How do I fix the DRIVER VERIFIER DMA VIOLATION BSoD error?
1. Update your drivers
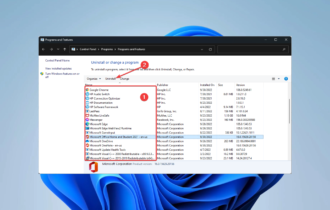
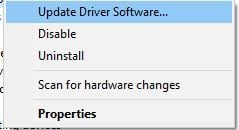
- Press Windows key + X on your keyboard to open the Power User menu and choose Device Manager from the list.
- When Device Manager opens, locate the driver you wish to update, right-click it and choose Update Driver Software.

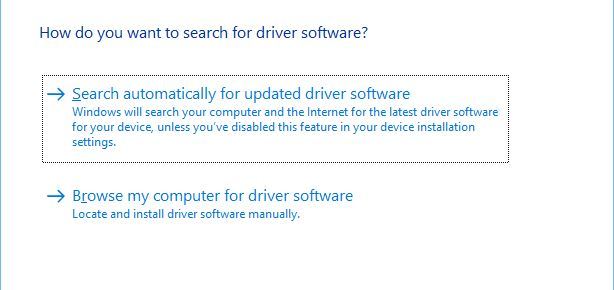
- Select Search automatically for updated driver software. Windows 10 will now download and install the best driver for your PC.

Every PC requires drivers in order to work properly with hardware, and if your drivers are outdated or just not compatible with Windows 10, you’ll probably encounter the Driver Verifier DMA error.
Many users tend to download their drivers manually since Device Manager doesn’t always download the latest drivers.
However, there’s a faster and better way to update your drivers. With third-party driver updater software, you can automatically update your drivers easily and safely.
- Download and install Outbyte Driver Updater.
- Launch the software.
- Wait for the app to detect all faulty drivers.

- Now, it will show you all the malfunctioning drivers listed to select the ones to Update or Ignore.
- Click on Update & Apply Selected to download and install the newest versions.
- Restart your PC to ensure the applied changes.


Outbyte Driver Updater
Secure your Windows PC with Outbyte from various errors caused by problematic drivers.2. Run SFC and DISM scans
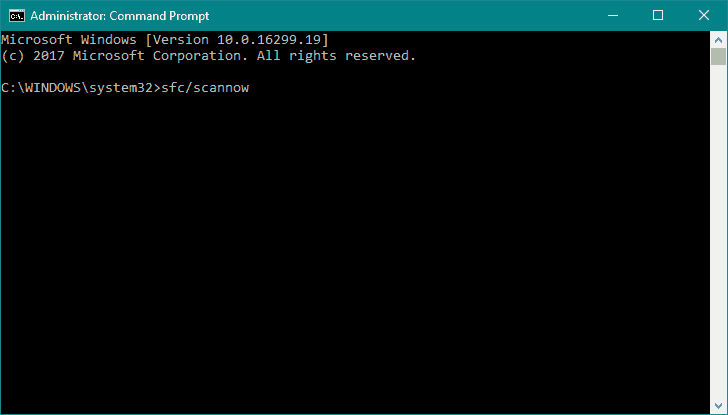
- Click the Start button, type cmd, and select Run as administrator to open Command Prompt with full privileges.
- Enter the following line and press Enter:
sfc/scannow
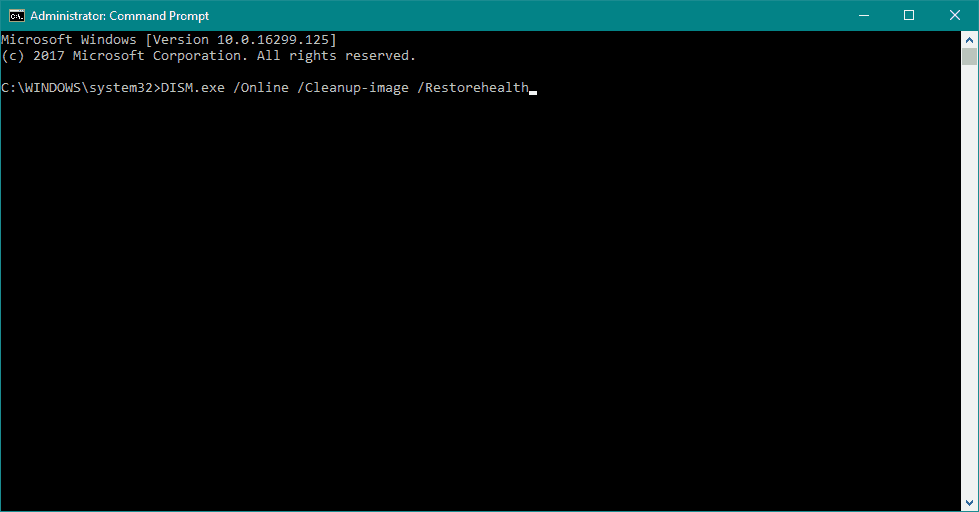
- Wait until the process is done, then type or paste the following command and press Enter to start a DISM scan:
DISM /Online /Cleanup-Image /RestoreHealth
- If the solution is found, it will automatically be applied.
- Now, close the Command Prompt and restart your computer.
The System File Checker and DISM scans will help you fix all the problems with the system files and disk issues.
3. Update your SSD firmware
 NOTE
NOTE
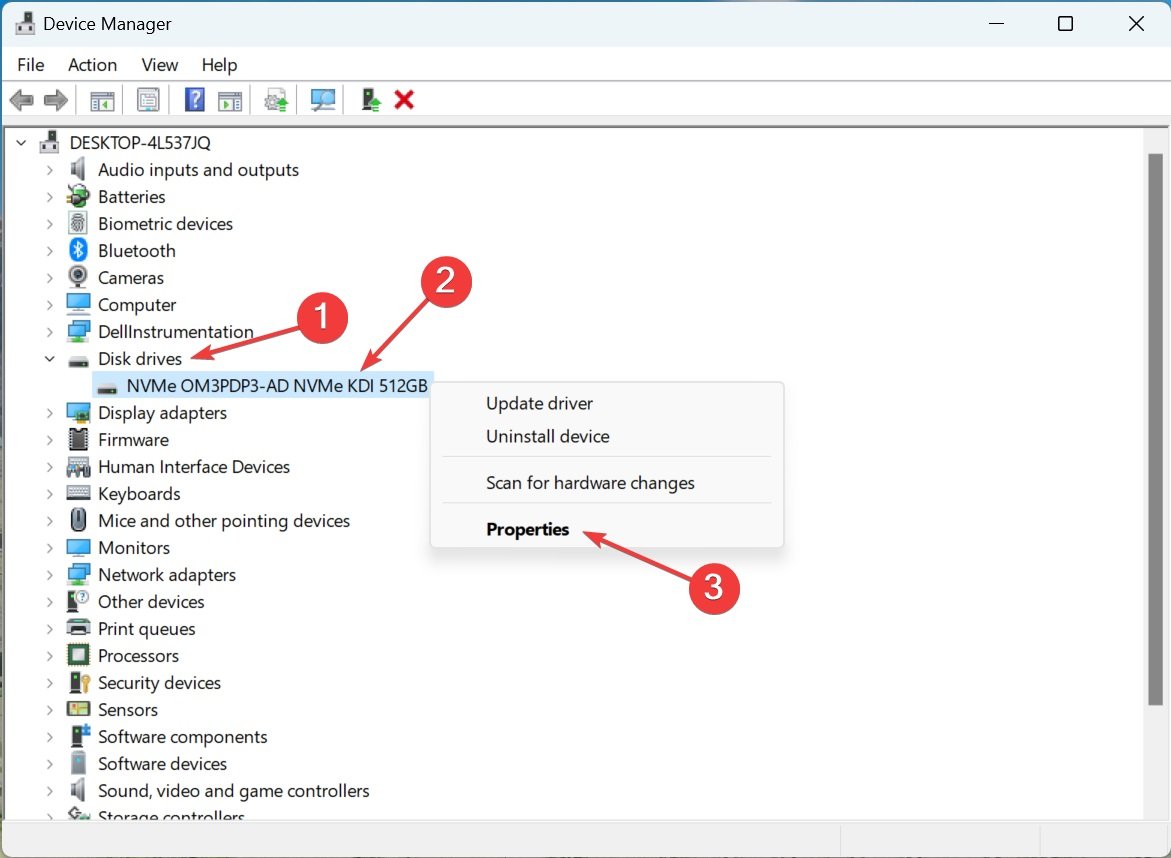
- Right-click the Start button and select Device Manager.
- Expand Disk drives, right-click on the SSD, and choose Properties.

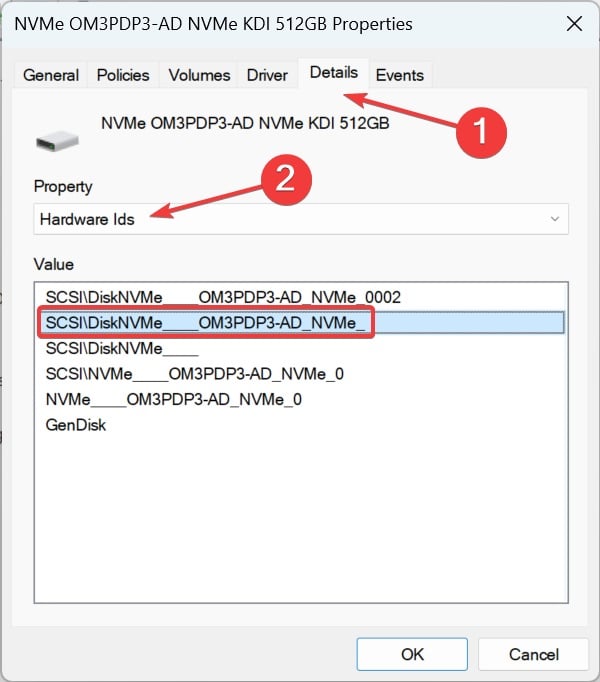
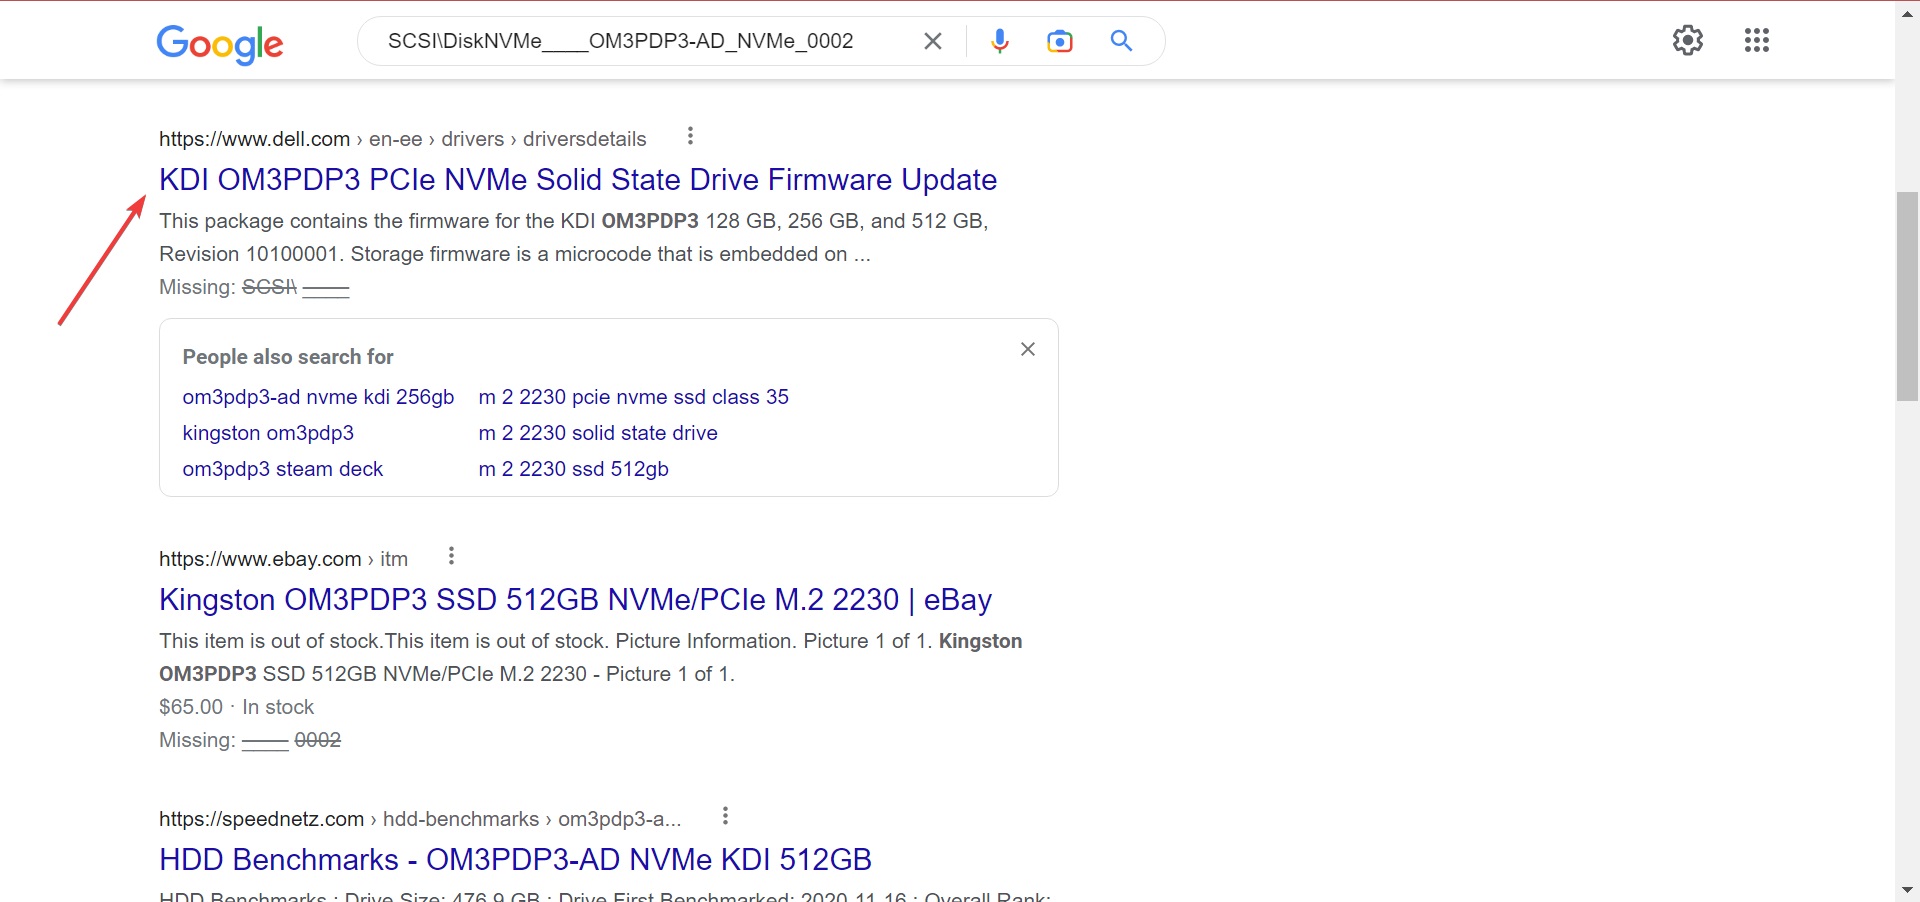
- Head to the Details tab, choose Hardware Ids from the dropdown menu, and note the one for the SSD.

- Now, search for the Hardware ID using Google or another search engine and open the firmware update webpage on the manufacturer’s website.


- Download the firmware and run the setup to complete the installation process. Since we are running a Dell computer, we went to its official website. In your case, it might be different depending on the manufacturer.
After downloading and installing the firmware update, check if it can fix the dead SSD. For many users, it did the trick, and we recommend you update the SSD firmware.
If you have Windows 10 installed on your SSD, we suggest that you update your SSD firmware.
Outdated firmware can sometimes cause DRIVER VERIFIER DMA errors and other BSoD errors, so be sure that you update it.
4. Update your BIOS
- Download the newest BIOS version from your motherboard manufacturer’s website and copy it onto a USB flash drive.
- Open the Start Menu and click the Power button.
- Hold the Shift key and choose the Restart option.
- You should see several options available. Choose Troubleshoot.

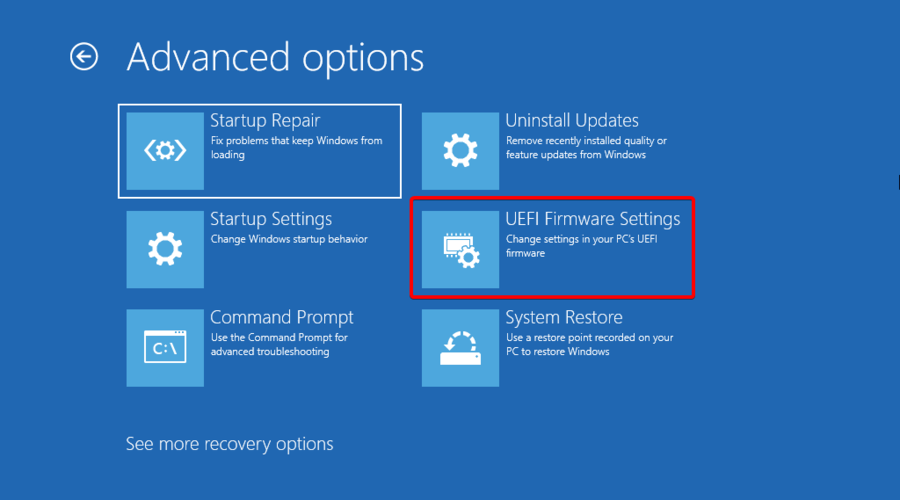
- Now select Advanced options and select UEFI Firmware Settings.
- Hit the Restart button and your computer will now boot to BIOS.
- Now, look for the BIOS update option and select it.
- Finally, choose the BIOS update file from your USB flash drive and wait while your BIOS updates.

Sometimes outdated BIOS can cause Blue Screen of Death errors to appear, and if your BIOS is outdated, we advise that you upgrade it to a newer version.
For more information, we also have a complete guide on how to update your BIOS on Windows 10.
5. Perform System Restore
- Restart your computer few times during the boot sequence to start Automatic Repair.
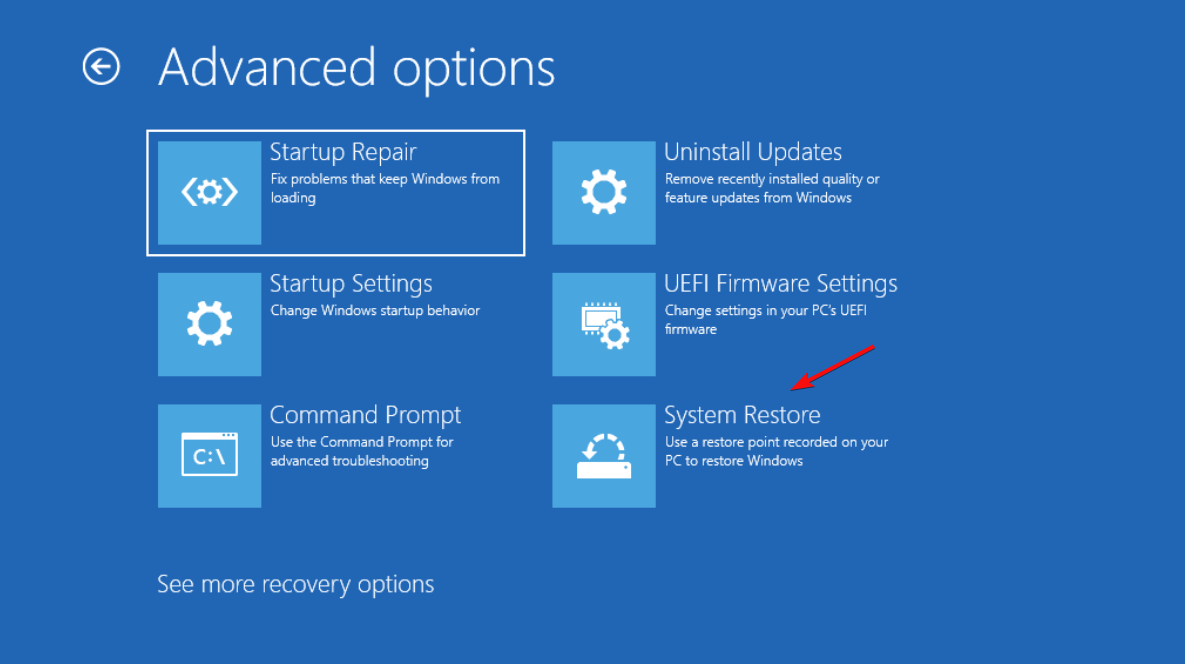
- Select Troubleshoot and go to Advanced options. Now select System Restore.

- Select your username and enter your password.
- Select Choose a different restore point and click Next.
- Choose a restore point you wish to return to and click Next.
- Wait for the process to finish.
Windows stop code DRIVER VERIFIER DMA VIOLATION can be caused by certain third-party software, but you can easily fix it by performing a System Restore.
6. Reset Windows 10
- Start Automatic Repair by restarting your computer a few times during the boot.
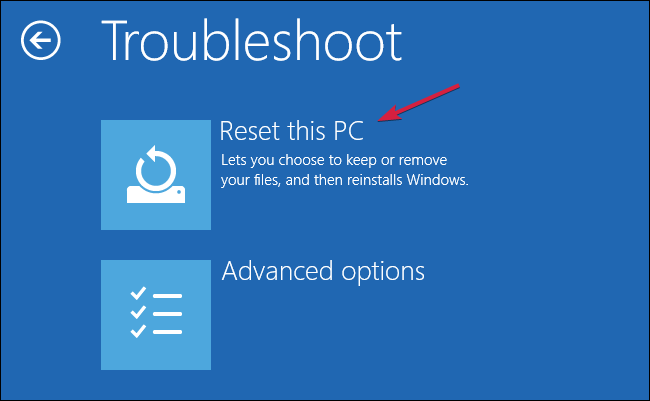
- Choose Troubleshoot and select Reset this PC.

- Go to Remove everything. You might get asked to insert Windows 10 installation media, so be sure to have a bootable USB flash drive ready.
- Select Only the drive where Windows is installed and select Just remove my files and click the Reset button.
- Follow the instructions on the screen and complete the reset.
If System Restore didn’t fix the problem, you might have to perform Windows 10 reset.
Before you start resetting your PC, we strongly suggest that you create a backup for your important files since this procedure will delete all files from your C partition.
You might also need a bootable USB flash drive with Windows 10 in order to complete this step, so be sure to create one. To perform Windows 10 reset, do the following:
7. Check for faulty hardware
Hardware issues are a common cause for BSoD errors. Therefore we strongly advise you to check if your hardware is working properly.
Several users reported that DRIVER VERIFIER DMA VIOLATION error was fixed after replacing the faulty RAM, so be sure to check your RAM first.
If RAM is not the problem, check if all other hardware components are working properly.
How do I fix the DRIVER VERIFIER DMA VIOLATION error on Windows 11?
Luckily, Windows 11 is not so different from the older version, so all the solutions from our guide also work on the new OS.
Blue Screen of Death errors such as DRIVER VERIFIER DMA VIOLATION can create many problems, but you can easily fix this error using one of our solutions.