How to fix error 0x80041003 on Windows 10, 8, 7
![]() 8 min. read
8 min. read
![]() Updated on
Updated on
Share this article

Improve this guide
Read our disclosure page to find out how can you help Windows Report sustain the editorial team Read more
Key notes
- Error 0x80041003 is usually caused by a security feature or intrusive system files.
- Users have experienced error 0x80041003 on Windows 7, 8, or 10 devices.
- No matter the OS, running a Windows system troubleshooter is always a good shot.
- Also, checking the device RAM or BIOS for certain details, as explained below, is also a good idea.

Windows 10 is a solid operating system, but it’s not error-free. Speaking of Windows errors, users reported error 0x80041003 in Event Viewer.
This can be an annoying error, and in this article, we’re going to show you how to fix it. The solution below applies to Windows 10 but will work on Windows 8 or 7 as well.
How do I fix error 0x80041003 on a Windows device?
1. Disable User Account Control
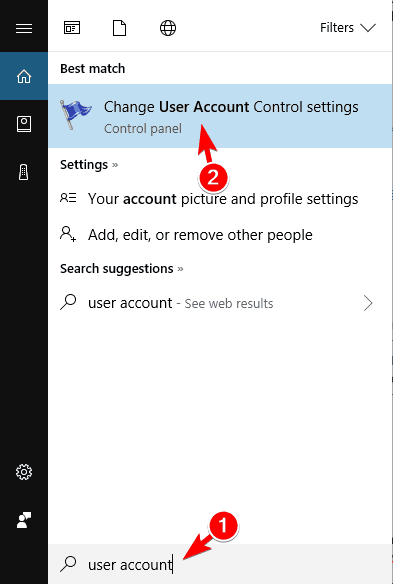
- Press Windows Key + S and type user account. Choose User Account Control from the menu. Alternatively, you can just open the Start Menu and search for user control.

- The User Account Control Settings window will appear. Move the slider all the way down to Never notify and click OK to save changes.


User Account Control is a security feature in Windows that prevents users from changing settings that require administrative privileges.
Even though this feature can be useful, many users tend to disable it because it can become rather annoying over time. This feature can sometimes interfere with Windows and cause this and other errors to appear.
After you disable User Account Control, the problem should be completely resolved. Disabling this option might slightly reduce your security, but you shouldn’t worry about it too much.
2. Create a vbs script and run it
- Open Notepad.
- Now copy/paste the following code lines:
strComputer = "."Set objWMIService = GetObject("winmgmts:" _& "{impersonationLevel=impersonate}!\\" _& strComputer & "\root\subscription")Set obj1 = objWMIService.ExecQuery("select * from __eventfilter where name='BVTFilter' and query='SELECT * FROM __InstanceModificationEvent WITHIN 60 WHERE TargetInstance ISA ""Win32_Processor"" AND TargetInstance.LoadPercentage > 99'")For Each obj1elem in obj1set obj2set = obj1elem.Associators_("__FilterToConsumerBinding")set obj3set = obj1elem.References_("__FilterToConsumerBinding")For each obj2 in obj2setWScript.echo "Deleting the object"WScript.echo obj2.GetObjectText_obj2.Delete_nextFor each obj3 in obj3setWScript.echo "Deleting the object"WScript.echo obj3.GetObjectText_obj3.Delete_nextWScript.echo "Deleting the object"WScript.echo obj1elem.GetObjectText_obj1elem.Delete_Next
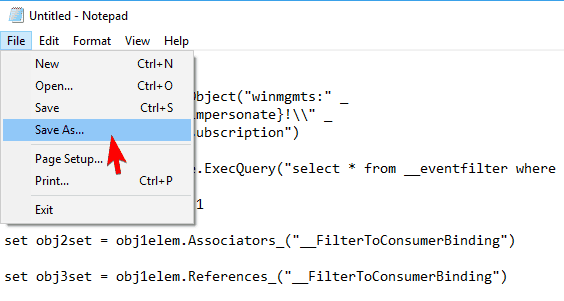
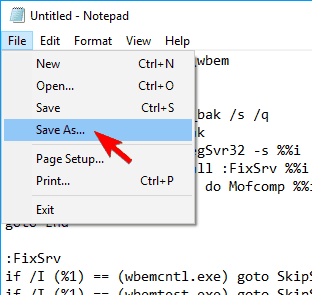
- Now choose File > Save as.

- Set Save as type to All Files and enter myscript.vbs as File name. Choose your desktop as a save location and click the Save button.

- After doing that, close Notepad.

Now that you have your script ready, you need to run it using Command Prompt. To do that, follow these steps:
- Press Windows Key + X to open Win + X menu and choose Command Prompt (Admin) from the menu. If Command Prompt isn’t available, choose PowerShell (Admin) instead.
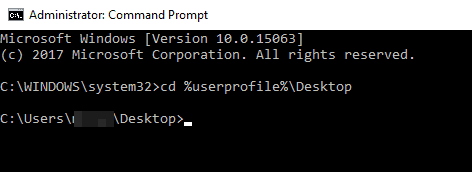
- When Command Prompt starts enter cd %userprofile%\Desktop and press Enter to run it.

- Now enter cscript myscript.vbs and press Enter to run it.


After running this script, the problem should disappear completely. Keep in mind that older warnings related to this error will still remain in Event Viewer, so you’ll have to delete them manually.
3. Create a bat file and run it
- Open Notepad.
- Now copy/paste the following code:
@echo oncd /d c:\tempif not exist %windir%\system32\wbem goto TryInstallcd /d %windir%\system32\wbemnet stop winmgmtwinmgmt /killif exist Rep_bak rd Rep_bak /s /qrename Repository Rep_bakfor %%i in (*.dll) do RegSvr32 -s %%ifor %%i in (*.exe) do call :FixSrv %%ifor %%i in (*.mof,*.mfl) do Mofcomp %%inet start winmgmtgoto End:FixSrvif /I (%1) == (wbemcntl.exe) goto SkipSrvif /I (%1) == (wbemtest.exe) goto SkipSrvif /I (%1) == (mofcomp.exe) goto SkipSrv%1 /Regserver:SkipSrvgoto End:TryInstallif not exist wmicore.exe goto Endwmicore /snet start winmgmt:End
- Now go to File > Save as.

- Set Save as type to All Files and enter script.bat as the File name. Set your Desktop as a save location and click the Save button.

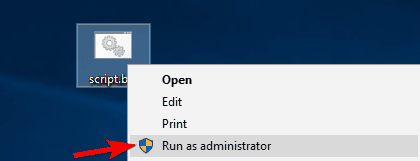
- Close Notepad. Locate script.bat on the Desktop, right click it and choose Run as administrator from the menu.


After running the script, the problem should be completely resolved. According to users, this issue appears because the current user doesn’t have the necessary privileges to perform the operation in WMI.
To fix the problem, you might have to change your security permissions. Changing the permissions could be potentially dangerous, so keep that in mind. To change the permissions, follow these steps:
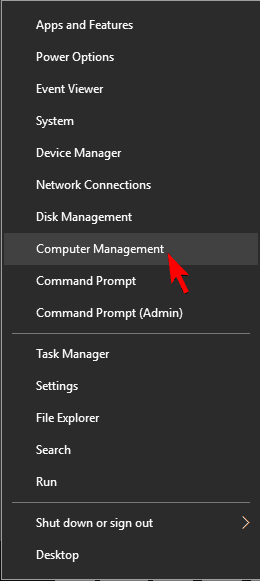
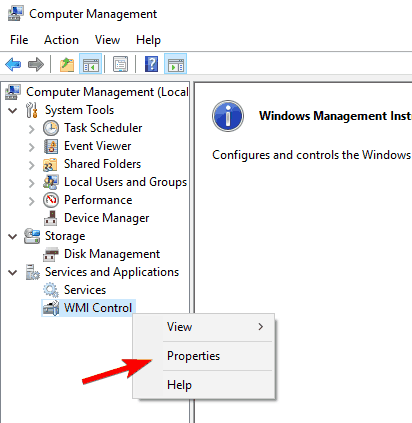
- Press Windows Key + X and choose Computer Management from the menu.

- When Computer Management opens, in the left pane navigate to Services and Applications > WMI Control. Right-click WMI Control and choose Properties from the menu.

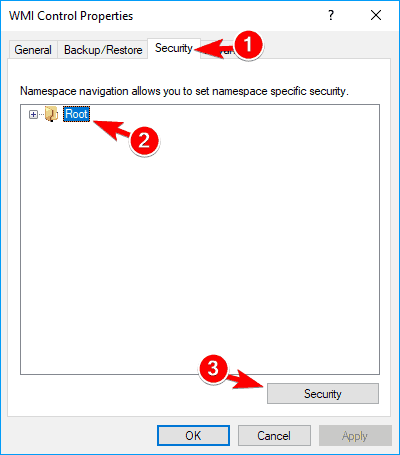
- When Properties window appears, navigate to Security tab. Now select Root from the menu and click on Security.

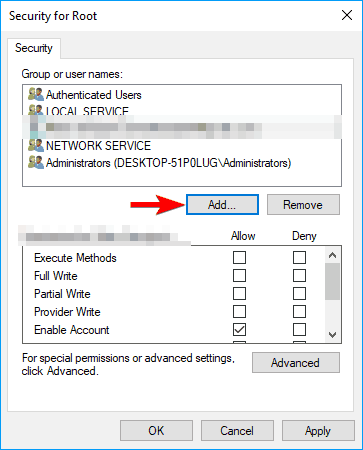
- If you’re a member of Administrators group, check if Administrators have full control option checked. If you aren’t a member, you might have to add your account and give it full control. To do that, click on Add button.

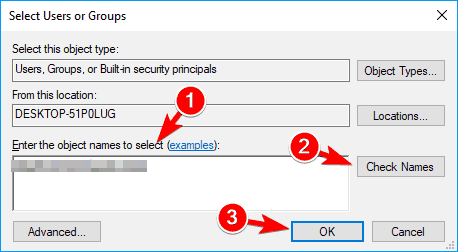
- In Enter the object names to select field enter your user name and click on Check Names. If everything is in order click on OK.

- Now select your user name from the list and check all options in the Allow column. Click on Apply and OK to save changes.

After you change your security permissions, you just have to restart your PC in order to apply the changes.
4. Delete the Repository folder
- Press Windows Key + R and enter services.msc. Press Enter or click OK.

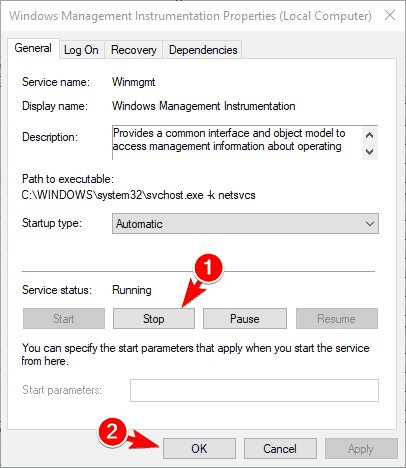
- When Services window opens, locate Windows Management Instrumentation service and double click it.

- Once the Properties window opens, click on Stop button and click on Apply and OK. If you get a warning message, just click on Yes or OK.

- After you stop the service, close the Services window.


Now you need to delete the Repository directory. To do that, follow these steps:
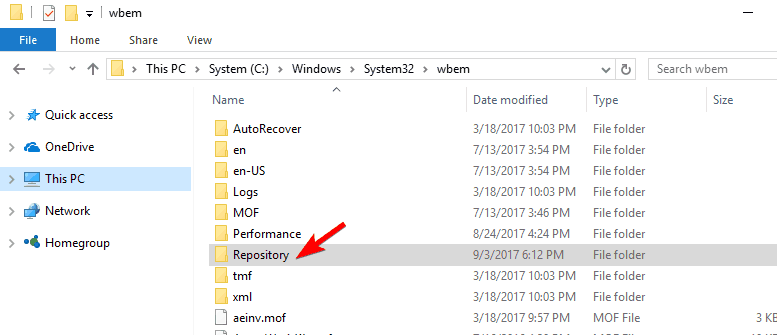
- Go to this directory
C:\Windows\System32\WBEM - Locate the Repository directory and copy it to a safe location on your PC. If anything goes wrong, you can copy this directory back to the original location and fix the problem.

- Now delete the Repository directory from WBEM folder.
- After doing that, close all applications and shut down your PC.
- Turn on your PC again. After the PC turns on, leave it idle for about 10-15 minutes. During this time your PC will recreate Repository directory.
- Turn off and back on your PC and the problem should be resolved.
Few users reported that this solution worked for them, so feel free to try it out.
5. Check your RAM
Sometimes you can get a BSOD error followed by error code 0x80041003. This type of error might be related to your RAM, so it’s advised to check it.
The simplest way to do that is to leave only one memory module connected and test it for errors with Memtest86+. Keep in mind that you need to scan your RAM for a couple of hours in order to test it thoroughly.
If you have more than one RAM module, you’ll have to repeat this solution with every RAM module individually.
This solution requires you to remove your RAM from the PC case, so if your PC is under warranty or if you don’t know how to do it properly, you might want to skip this solution.
This only applies if you’re getting a Blue Screen of Death followed by a 0x80041003 error code. If your PC doesn’t restart due to this error, you should skip this step.
6. Check your BIOS
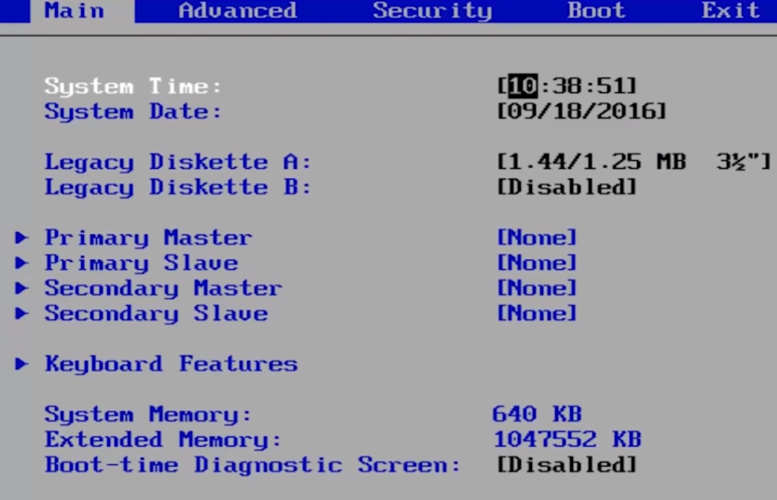
If you’re experiencing high CPU usage due to this error, you might want to check your BIOS. According to users, the cause for this problem is the Turbo Mode option in your BIOS.
To fix the issue, you need to navigate to BIOS and turn Turbo Mode off. For detailed instructions on how to do that, we advise you to check your motherboard manual.
7. Run a dedicated troubleshooting tool
You can resolve this system error by getting help from a specialized third-party tool that can sure repair Windows errors.
These tools provide professional automated support for this type of system error, thus you can run exhaustive scans to detect complex malfunctions.
8. Reset Windows 10
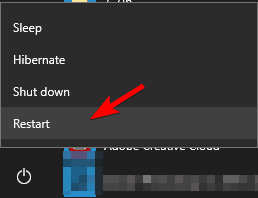
- In Windows, open the Start Menu, click the Power button, press and hold the Shift key and click on Restart.

- Choose Troubleshoot > Reset this PC > Remove everything.
- To proceed to the next step, you might be asked to insert a Windows 10 installation media, so be sure to have it ready.
- Select your version of Windows. Now click on Only the drive where Windows is installed > Just remove my files.
- You’ll see a list of changes that reset will perform. If you’re ready to start click the Reset button.
- Follow the instructions on the screen to complete the reset.
Resetting Windows will remove all your files from your system drive, therefore we advise you to back up important files beforehand.
After the reset is completed you’ll have a fresh installation of Windows 10. Now you just have to move your files from the backup and install the applications again. This is a drastic solution, so you should use it only if other solutions can’t fix the problem.
Error code 0x80041003 usually isn’t dangerous, but if your PC starts restarting or freezing due to this error, feel free to try any of our solutions.