FIX: Filename contains a virus and was deleted
![]() 5 min. read
5 min. read
![]() Updated on
Updated on
Share this article

Improve this guide
Read our disclosure page to find out how can you help Windows Report sustain the editorial team Read more
Key notes
- The Filename contains a virus and was deleted message appears when you download an email attachment or other file.
- The problem is likely caused by an antivirus that was improperly uninstalled.
- A great solution is to disable your current antivirus and see if the issue persists.
- As this situation is most likely produced by your current security solution, you should consider changing it to a better one.

When you’re trying to download an email attachment or other file online and you get a message saying the filename contains a virus and was deleted, the issue may be on your computer’s performance after using antivirus.
The error filename contains a virus and was deleted indicates that you had an antivirus that you tried to uninstall, but it wasn’t executed properly, and this is why you’re facing the problem.
It is important also to note the antivirus software you tried to uninstall and uninstall it properly by downloading the appropriate removal tool and removing it completely.
However, you need not worry about this file contained a virus and was deleted issue as we have some quick fixes you can try to resolve it.
What can I do if the file contains a virus and was deleted?
- Disable your antivirus program
- Boot in Safe Mode with Networking
- Perform a Clean Boot
- Run the Microsoft Safety Scanner
- Check for the issue in another user account or create a new one
1. Disable your antivirus program
Firewalls and your antivirus program software may prevent some functions on your computer and cause the filename contains a virus and was deleted error.
It isn’t recommended to permanently turn the security software off, but you will still be protected by Windows Defender.
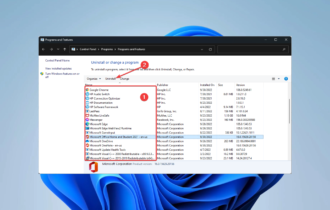
If the issue persists, you may need to uninstall your antivirus completely and check if you still get the same error.
However, if the problem disappeared, it means you need another antivirus and we recommend the security solution below for that job.
It’s faster than most other solutions, it offers unsurpassed protection, and, more important, it doesn’t interfere with your system or files.
This tool comes with virus, malware, and spyware protection by using modern machine learning technologies that can identify and block even zero-day threats before they reach your system.
⇒ Get ESET HOME Security Essential
2. Boot in Safe Mode with Networking
- Restart your computer.
- When the sign-in screen is displayed, hold down the Shift key while you select Power then Restart.
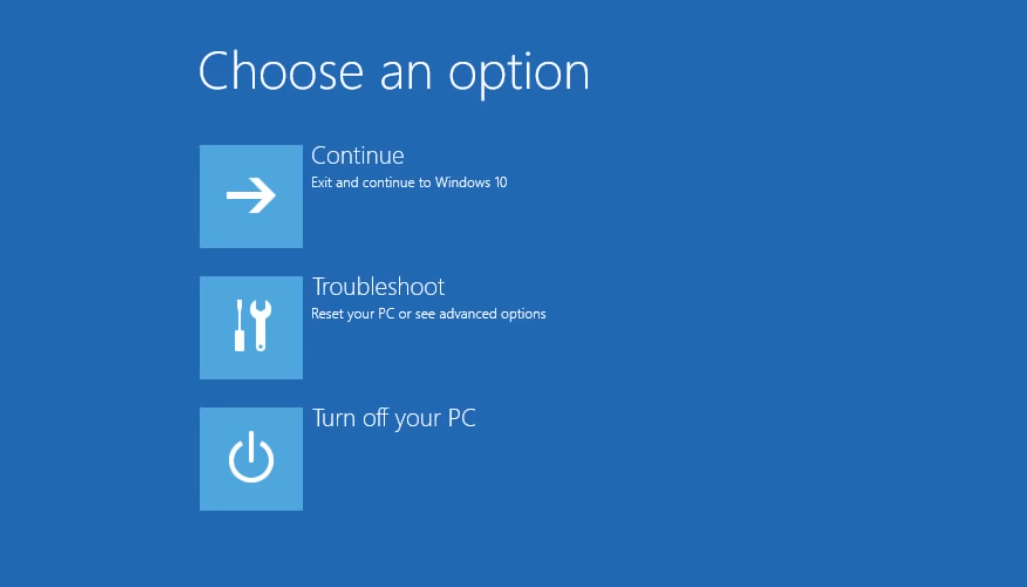
- After the computer restarts to the Choose an option screen, select Troubleshoot.

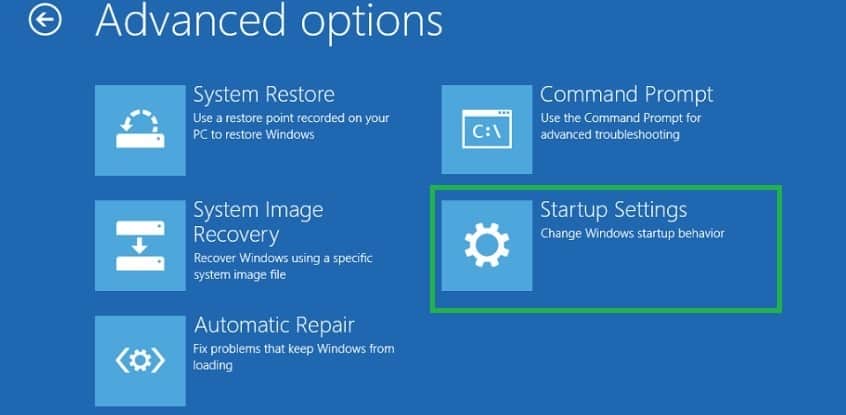
- Click Advanced options.
- Click Startup Settings.
- Click Restart.
- Once it restarts, you will see a list of options. select 5 or F5 for Safe Mode with Networking.
Safe Mode with Networking starts Windows in safe mode, including the network drivers and services you need to access the internet or other computers on the same network.
Once you’re in safe mode, try to perform a clean boot.
3. Perform a Clean Boot and exit Safe Mode
3.1 Perform a clean boot
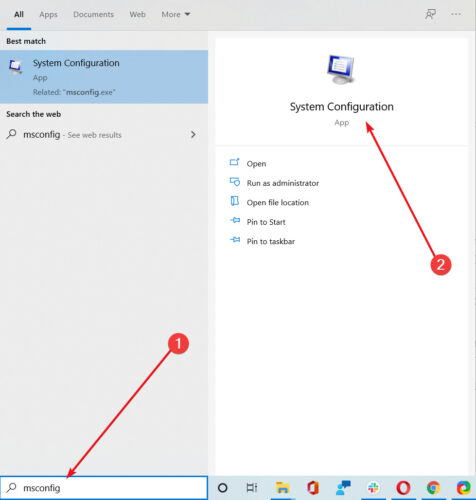
- Go to the search box, type msconfig, and select System Configuration

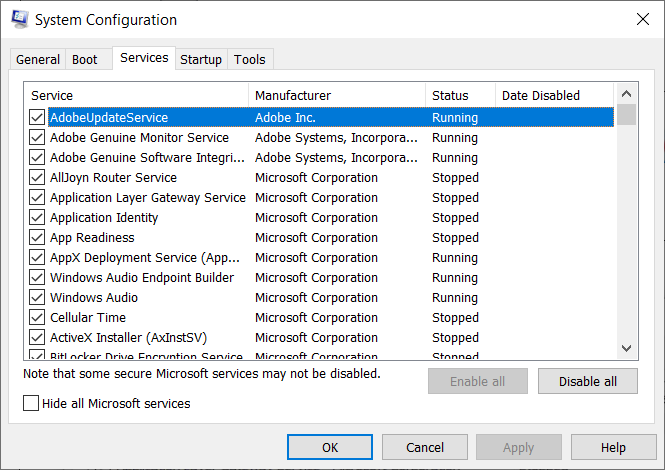
- Find the Services tab.

- Select Hide all Microsoft services box.
- Click Disable all.
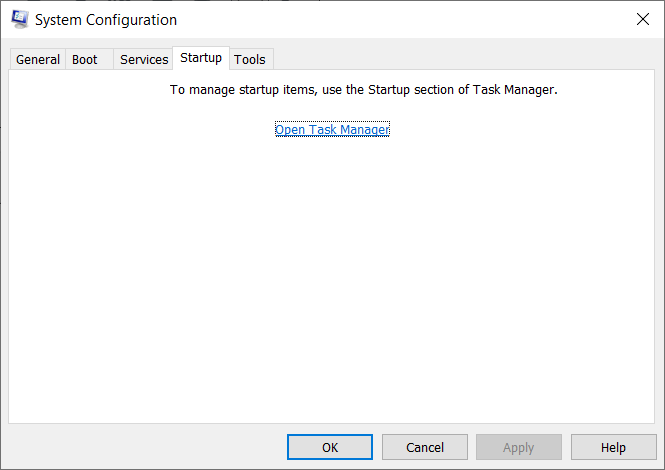
- Go to the Startup tab.
- Click Open Task Manager.
- Close Task Manager then click OK.
- Reboot your computer.
You will have a clean boot environment after all these steps are carefully followed, after which you can try and check if the problem is gone.
3.2 Exit Safe Mode with Networking
- Right-click the Start button.
- Select Run, type msconfig, and press Enter.

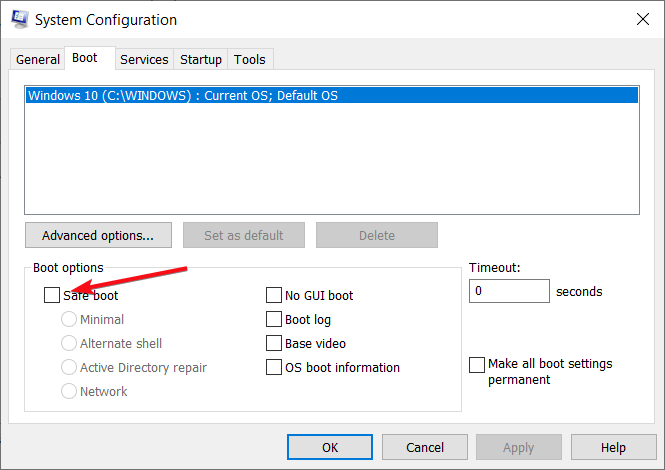
- Go to the Boot tab.
- Deselect or uncheck the Safe Boot option box.
- Restart your computer.

This procedure will complete the process and next time you restart the computer it will not boot in Safe Mode anymore.
4. Run the Microsoft Safety Scanner
- Download the tool from the official Microsoft page.
- Open it and select the type of scan you want to run.
- Start the scan and review the scan results on the screen, which lists all malware identified on your computer
When a virus infects your computer, it makes the machine’s performance slows down greatly.
Running a virus scan means any infected files may be cleaned by deleting the file completely, meaning you may experience data loss.
Microsoft Safety Scanner is a tool designed to locate and remove malware from Windows PCs. It only scans when manually triggered, then you get to use it 10 days after you download it.
This means you need to download the latest version of the tool before you perform each scan on your computer.
However, the Microsoft Safety Scanner tool doesn’t replace your antimalware program. It helps remove malicious software from your Windows 10 computer.
To remove the Microsoft Safety Scanner tool, just delete the msert.exe file from your computer.
5. Check for the issue in another user account or create a new one
5.1 Create a new account
- Click Start.
- Select Settings.
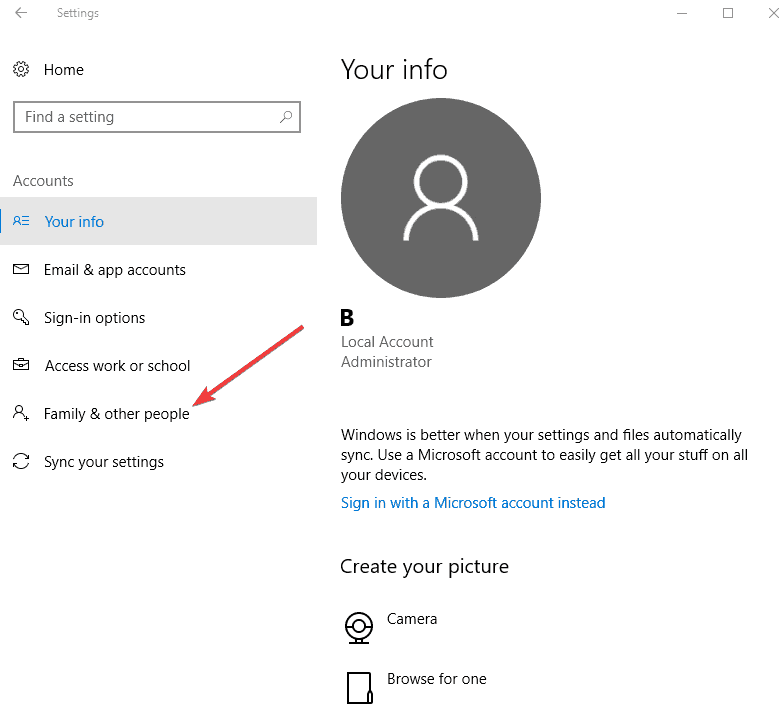
- Then, select Accounts.

- Choose Family & other people.

- Click Add someone else to this PC.

- Fill in the form with the user name and password. Your new user account will be created.
- Click on Change account type.
- Click the drop-down arrow and choose Administrator to set the account to administrator level.
- Restart your computer.
- Login to the new account you just created.


If the issue goes away, then it may mean your other user profile is corrupted.
5.2 Try to repair a corrupt user profile
- On your new account, use it to downgrade your usual account.
- Click Apply or OK.
- Raise back your old account to its default admin level.
- Repeat a few times as this will help to remove any corruption.
- Leave your account on as Administrator.
Check whether you still get the filename contains a virus and was deleted error when using the newly created account.
If it persists, then you can either fix the old user account or migrate to the new account. If you have different user accounts, log in to each and check if the problem persists or goes away.
As this issue may be caused by your antivirus, it wouldn’t hurt to also look at our selection including the best antiviruses with unlimited license validity.
Did our contained a virus and was deleted fix for Windows 10 worked for you? Let us know by leaving a comment in the section below.