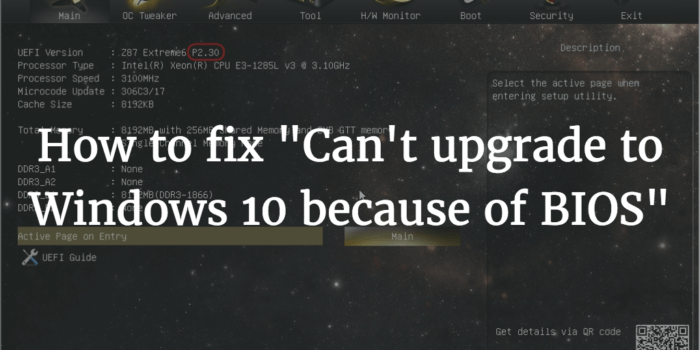
How to fix 'Can't upgrade to Windows 10/11 because of BIOS'
![]() 3 min. read
3 min. read
![]() Updated on
Updated on
Share this article

Improve this guide
Read our disclosure page to find out how can you help Windows Report sustain the editorial team Read more
Microsoft played a bold move by offering the Windows 10 upgrade for free to every genuine Windows 7 and 8.1 user, but as it happens with every Windows iteration – it came with its own problems.
Windows 10 is an incredible improvement over Windows 8, and is well worth to effort you would put into an upgrade – if the official Microsoft upgrade tool lets you commit to it. The tool might tell you that your BIOS is not supported with Windows 10 – this is an issue not easily fixable, and it might not even have a fix at all but it is worth a shot to try some things.
BIOS is a computer’s very basic firmware – it is what drives the computer before you the operating system gets its hands on it. The BIOS is essential to a system, as without it you wouldn’t even get to the stage of booting into an operating system, and therefore compatibility between the BIOS and the operating system is crucial. There are various acronyms for BIOS features that let an operating system talk with it, and many of them are necessary for Windows 10 but one of them is something called the “NX Bit”.
One of the reasons the Windows 10 upgrade tool can tell you that your CPU or BIOS is not supported is because of the NX Bit, and so we can attempt a fix if it is supported by your CPU – and it is an easy one. Simply follow these steps:
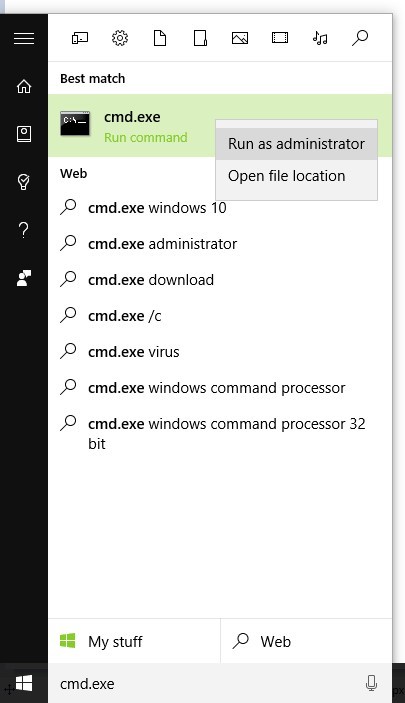
- Open the Start Menu and type “cmd.exe”, then right click on the top result and click on Run as Administrator.

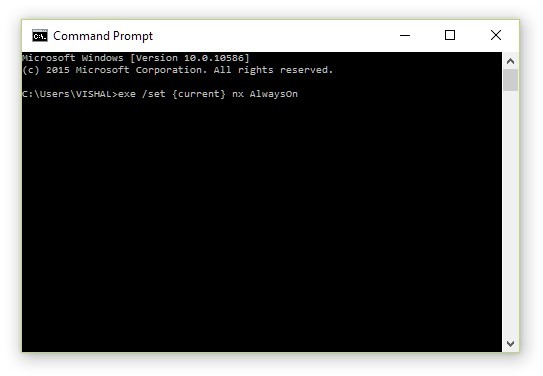
- Once you have the command prompt opened as administrator, type this exactly as it is as the command.
- exe /set {current} nx AlwaysOn
- Now press Enter and it should do its magic.

- After the process is complete you will have to shutdown the computer and start it again – do not use the restart option of Windows for this.
Now try running the Windows 10 Upgrade tool once more – in all likelihood it should now say you are good to go for a Windows 10 upgrade.
If this however did not work, you must attempt something that is not very easy to follow. You can try to update your BIOS – a process that is extremely delicate and could result in complete loss of your computer if done wrong, so you must be very careful with it.
Unfortunately, it is also a process very hard to describe because it is different for every motherboard manufacturer. The steps henceforth are not necessarily how you should do the upgrade on your PC but it gives you a general idea of how to do it.
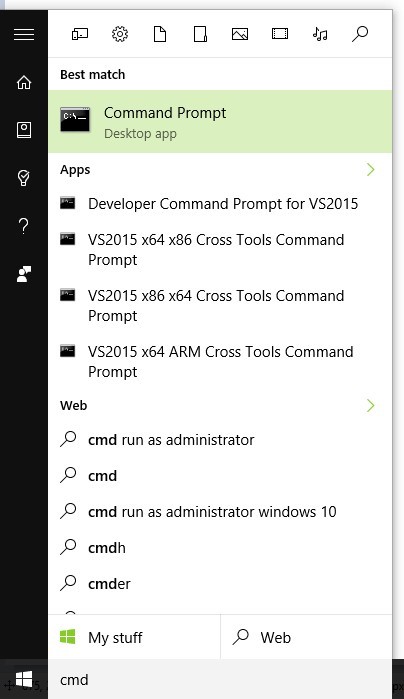
- Open the Start Menu and type “cmd.exe”, and open the first result.

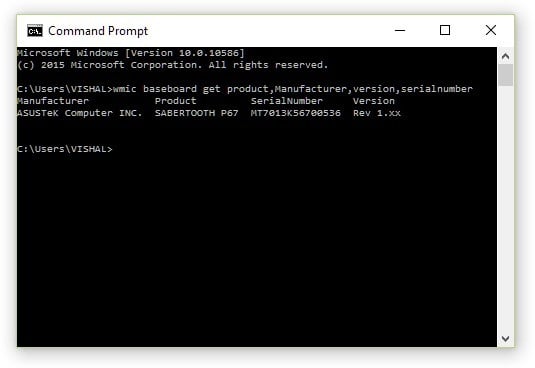
- Now type this exact command in the command prompt and press Enter.
- wmic baseboard get product,Manufacturer,version,serialnumber
- This should give you your motherboard’s manufacturer and model number.

- Use the manufacturer and model number to Google the exact steps for upgrading the BIOS on that specific motherboard.
While this is a complicated procedure with a lot at stake – Windows 10 is worth it and you get the added bonus of performance improvements with the new BIOS firmware if you succeed in the upgrade process..Staying up to date with the latest technology and standards can get hard and sometimes expensive but it is important to do so for security and stability.