How To Run Windows Update Troubleshooter
Everything you need to know about the built-in update repair tool
![]() 3 min. read
3 min. read
![]() Updated on
Updated on
Share this article

Improve this guide
Read our disclosure page to find out how can you help Windows Report sustain the editorial team Read more
Key notes
- The Windows Update troubleshooter comes in handy when something goes wrong with the update process.
- Using the tool on Windows 10 and 11 is easy and efficient in most cases.
- If the issue is more serious, we recommend running a debugging software.
Updating Windows 10 can often turn into a nightmare. In some cases, users can’t install updates on their devices due to various bugs.
From the Windows Update option not working to many update error codes, situations are varied and require particular attention. The good news is that anyone can attempt to troubleshoot update issues using the Windows Update troubleshooter, even without much technical knowledge.
However, you still need to know how to run the Windows Update Troubleshooter, and that is what we will show you in this guide.
What is the Windows Update troubleshooter?
The Windows Update troubleshooter on Windows 11, 10, and older versions help to fix issues preventing you from installing updates and update-related error codes. It saves you from performing so many troubleshooting steps by diagnosing and fixing the causes of these issues.
Below are some of the features of this tool:
- Cleans any update-related temporary file that could be causing problems
- Repairs and resets any defaulting update-related components
- Clears the SoftwareDistribution folder
- Checks for any available updates
- Checks the status of services related to updates
How can I run the Windows Update Troubleshooter?
1. Run the troubleshooter on Windows 10
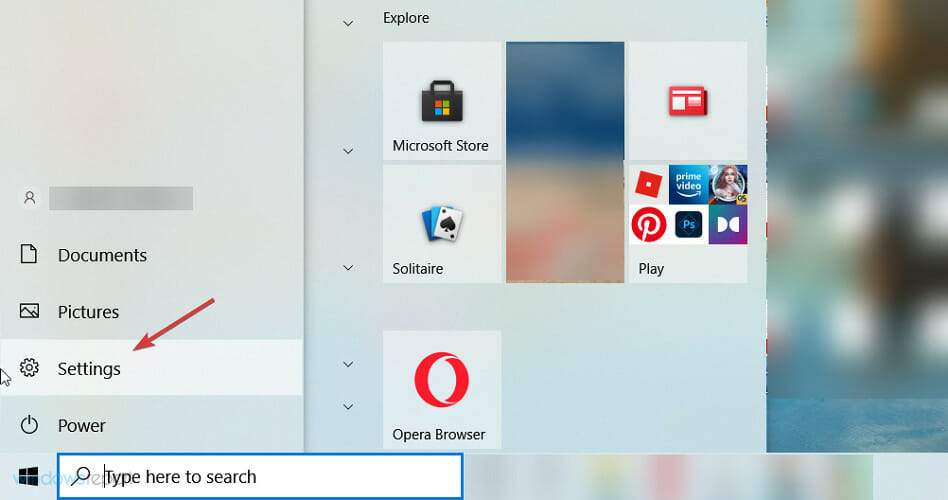
- Press the Windows Start button and click on Settings.

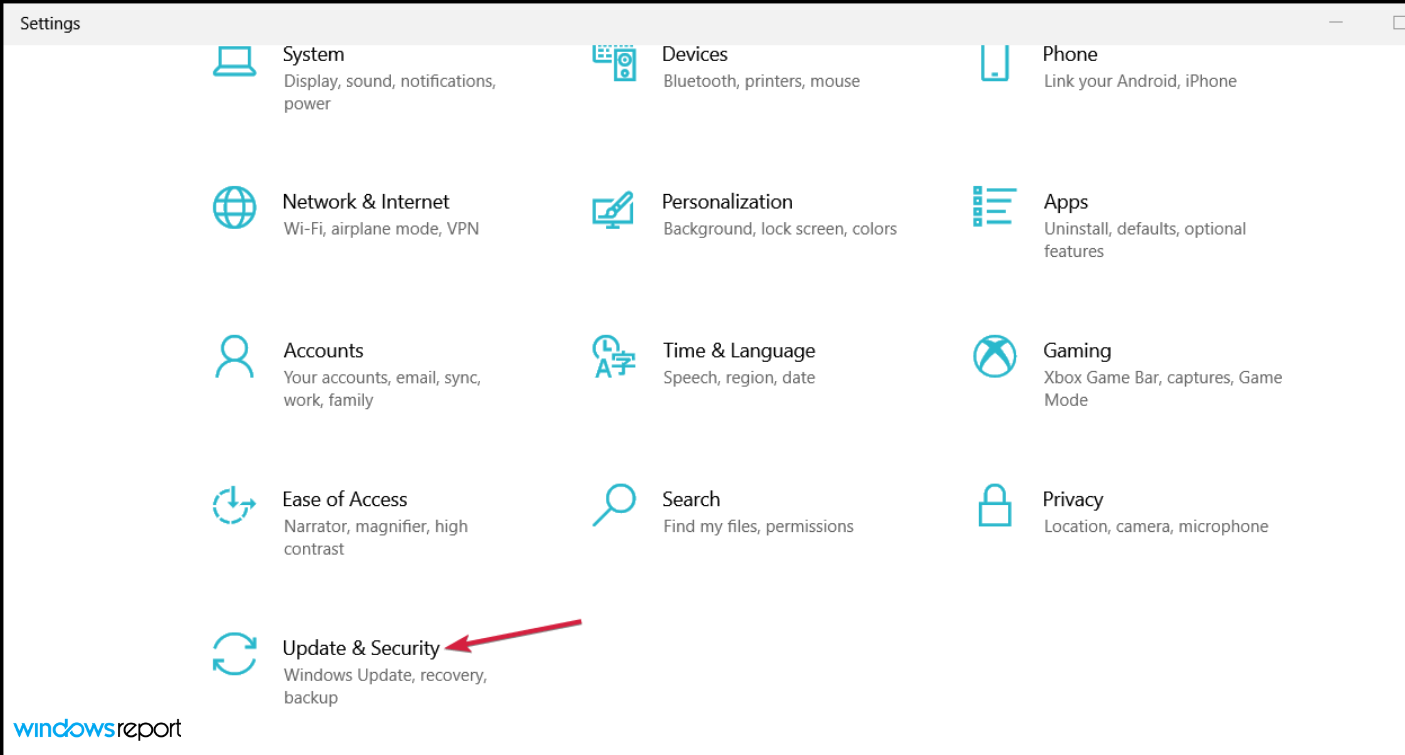
- Choose Update & Security from the options.

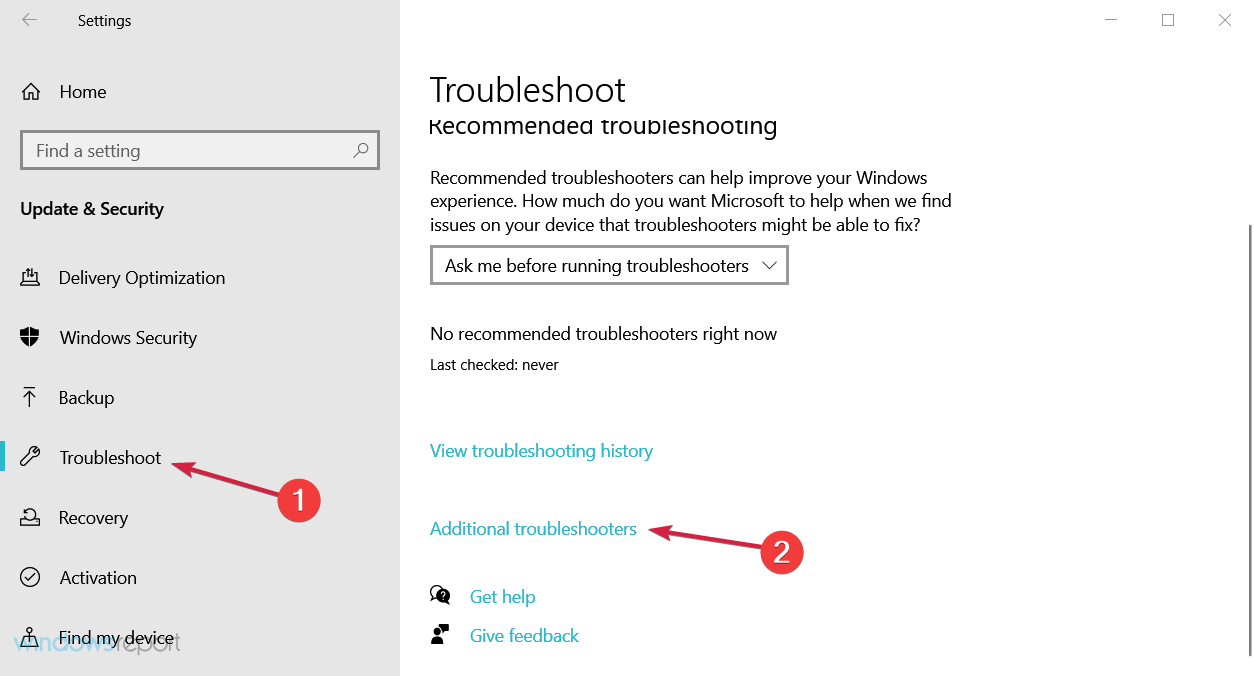
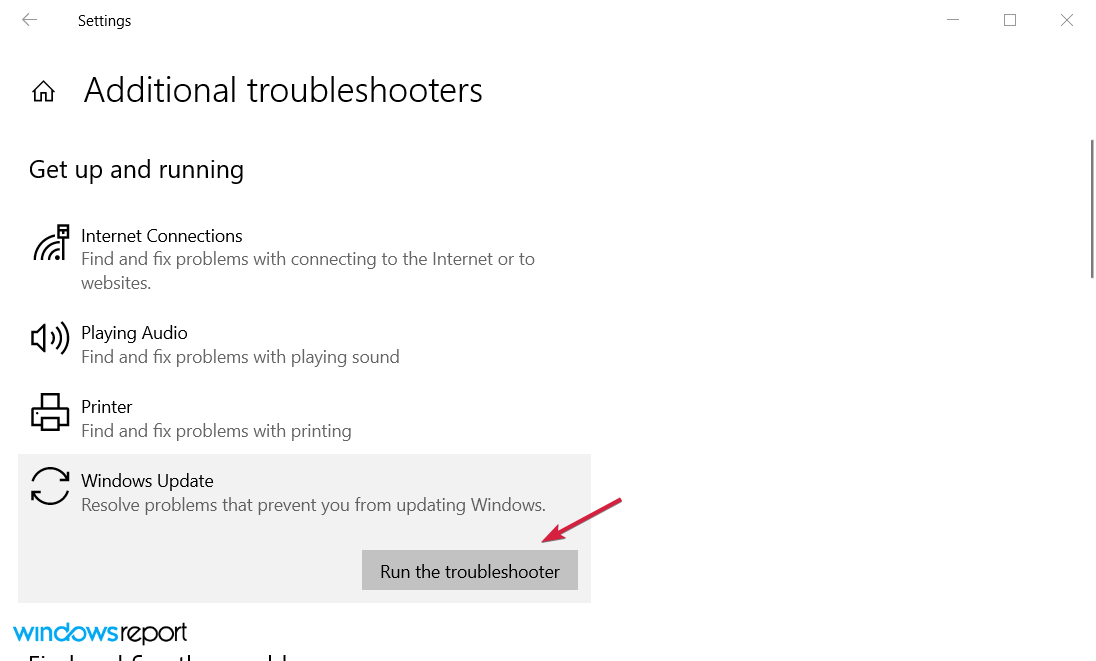
- Now, select Troubleshoot from the left pane and click on Additional troubleshooters from the right.

- Click on Windows Update to expand it, then hit the Run the troubleshooter button.

Windows 10 has a built-in tool, a convenient, free method to check out what went wrong during the update process.
Additionally, Microsoft offers a Windows Update troubleshooter guide. First, you need to select the Windows version you’re running.
The tool will then ask you to run the built-in troubleshooter, and you already know how to do that.
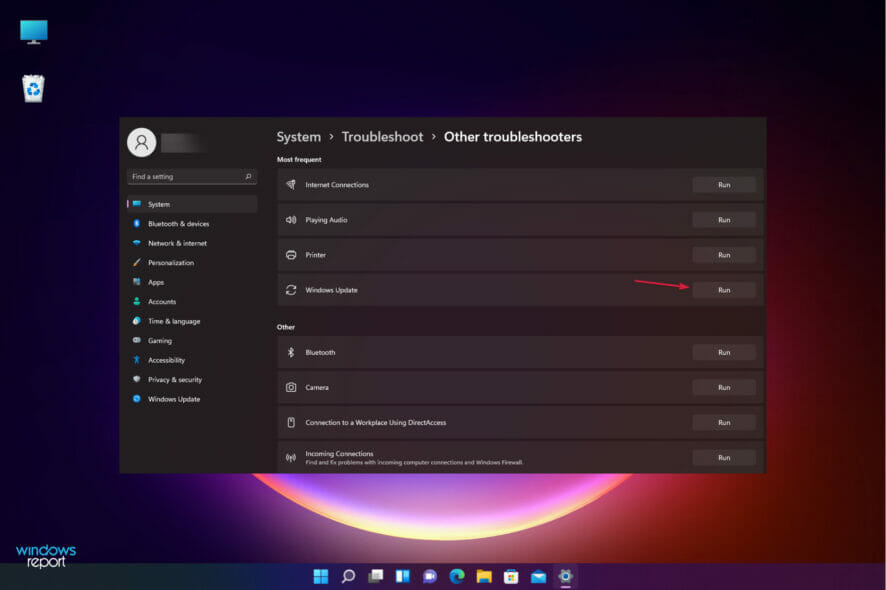
2. Run the troubleshooter on Windows 11
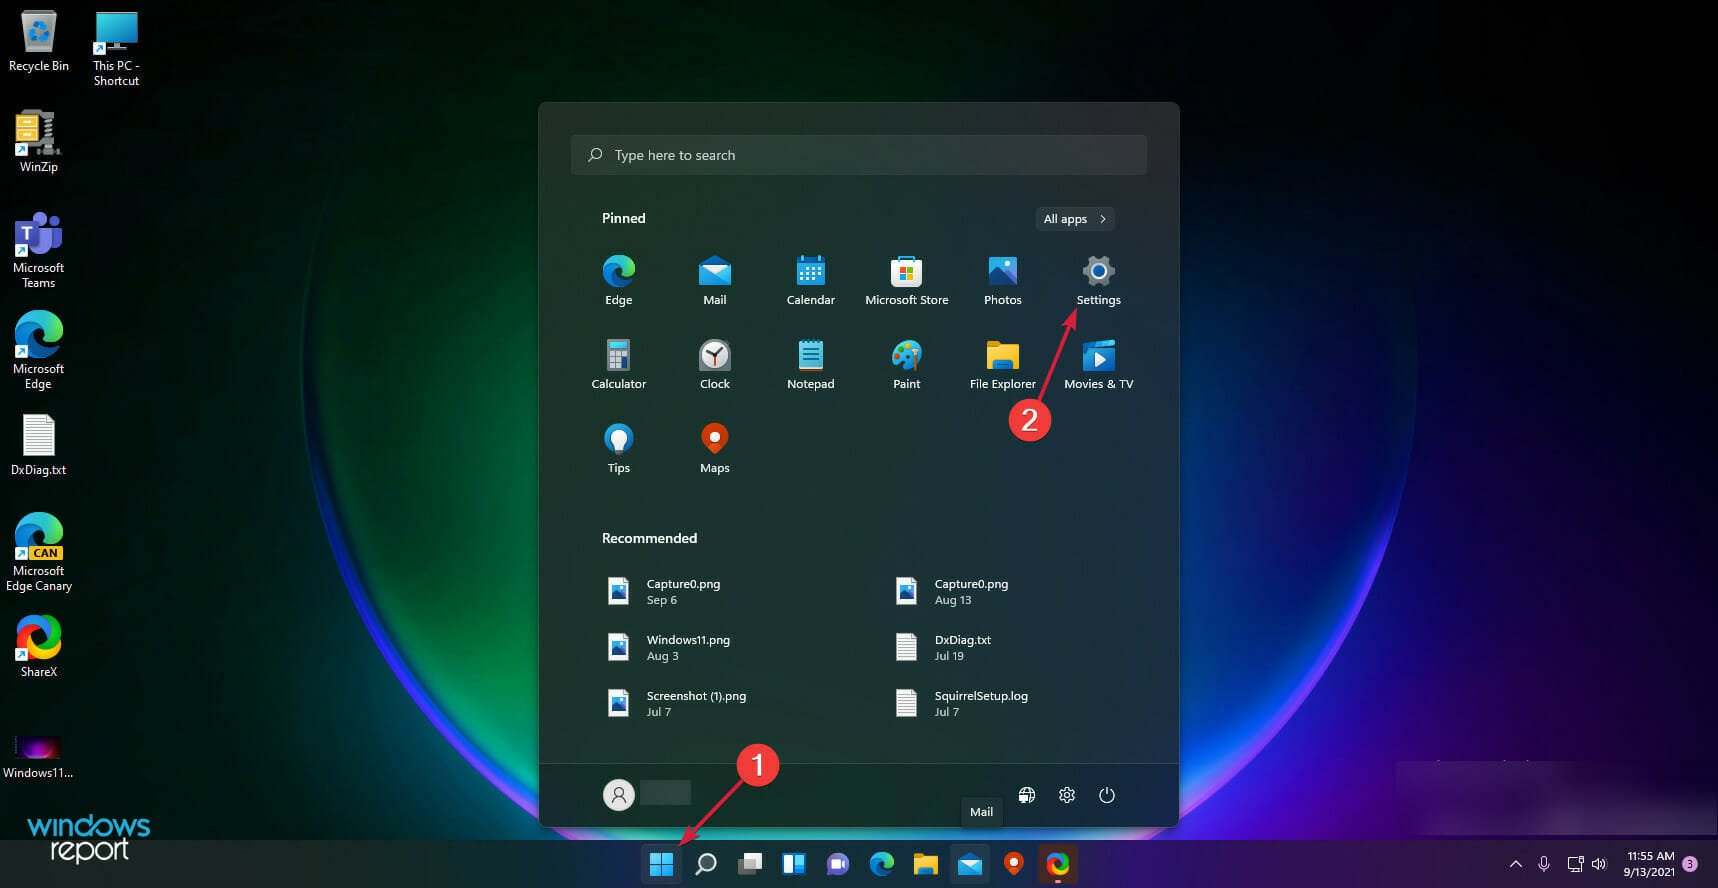
- Click the Start button and select Settings.

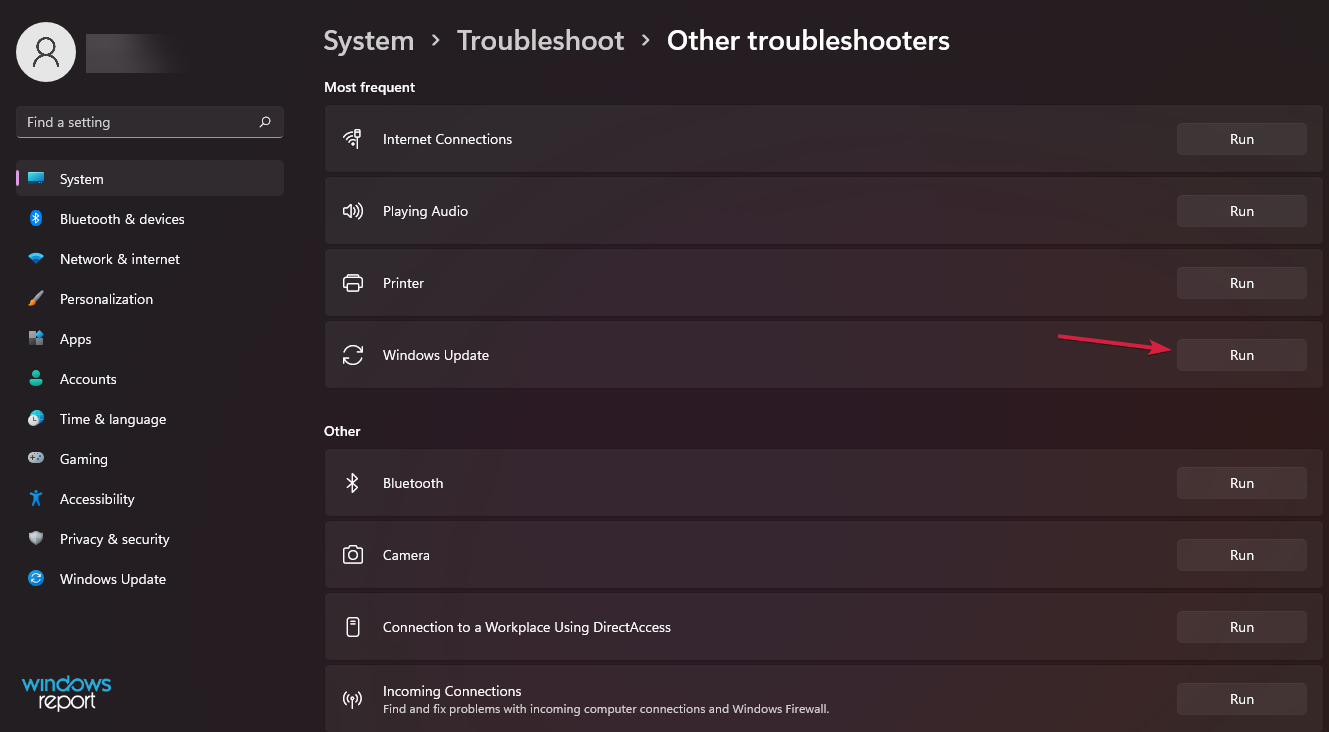
- Choose System from the left side, then pick Troubleshoot from the right pane.
- Click on Other troubleshooters.
- Finally, hit the Run button for the Windows Update troubleshooter.

- Follow the on-screen instructions to go through with the process.
The Windows Update troubleshooter carries so much importance and can save you a lot of stress. It is not a complicated tool to use, as we have shown in this guide.
If you can’t fix the Windows Update issue you’re experiencing with this tool, choose from our list of dedicated Windows update repair tools to solve the problem.
Should you encounter any additional problems or you have any other suggestions, don’t hesitate to write us in the comments section below.