High DPI issues with Remote Desktop in Windows 10/11 [Fix]
![]() 4 min. read
4 min. read
![]() Updated on
Updated on
Share this article

Improve this guide
Read our disclosure page to find out how can you help Windows Report sustain the editorial team Read more
Key notes
- Many users reported issues with Remote Desktop and high DPI, and in this guide, we’ll show you how to fix that.
- If you’re having issues with Remote Desktop, perhaps you should consider switching to a reliable third-party solution.
- Fix issues with Remove Desktop Protocol by modifying a couple of values in your manually.
- If the Remote Desktop resolution is too small on Windows 10, be sure to follow the solutions listed below to fix it.

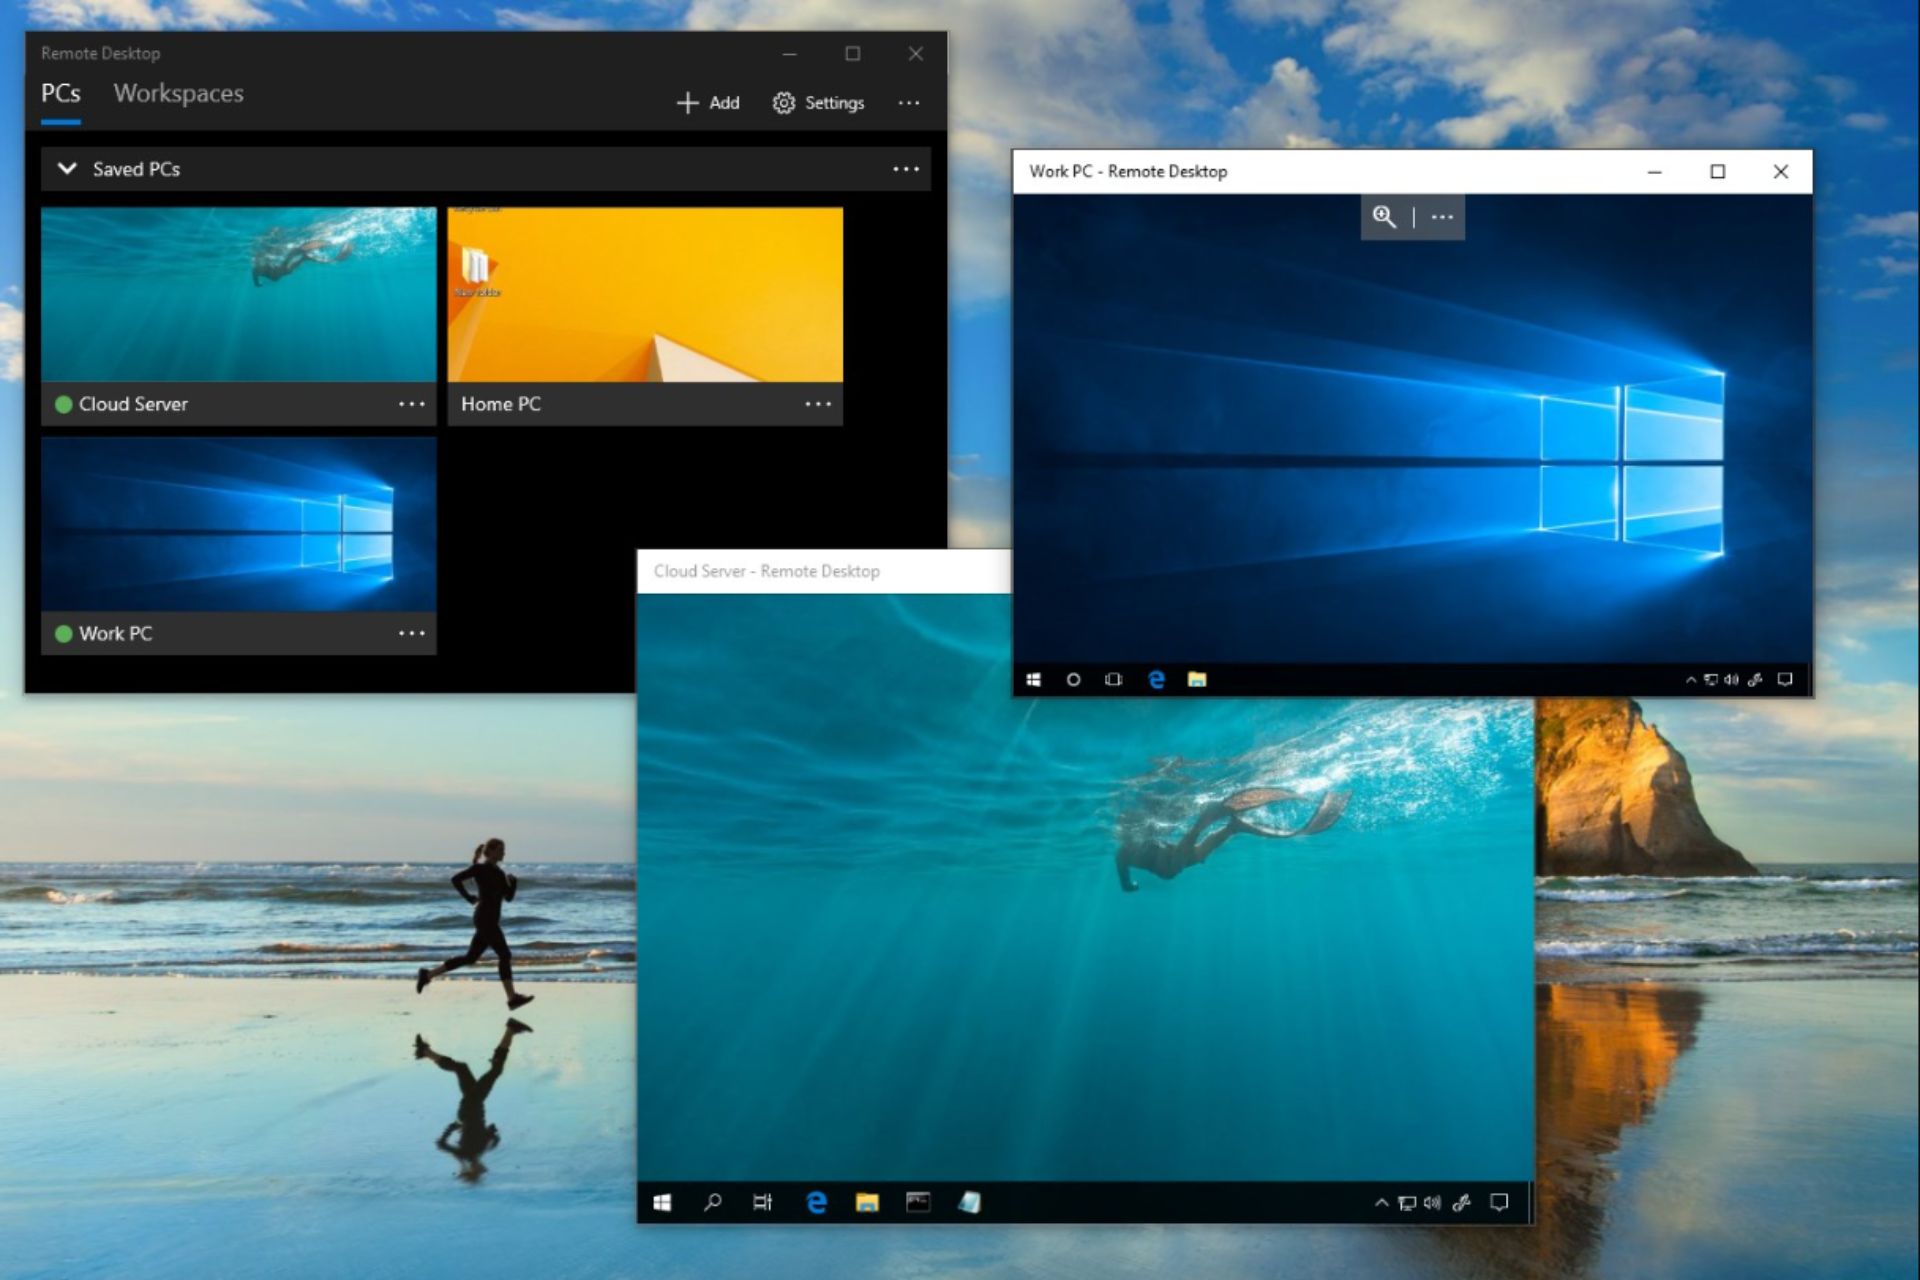
Remote Desktop is an ancient and nifty Windows tool that can make your life so much easier in many regards. With it, you can manipulate more than one Desktop via the Internet connection.
However, it’s not without its problems, especially when it comes to secondary monitors and DPI scaling.
For example, let’s say that you use a high-DPI monitor and try to duplicate it to monitor with lower DPI. An alternative monitor will project small icons, blurry screen, and barely readable interface.
In addition, it’s hard to address this issue with built-in system tools.
Luckily, there’s always a solution. Or multiple solutions, in this case. So, if you’ve experienced issues with DPI on your Windows 10 PC, follow the instructions below to resolve them successfully.
How can I fix DPI issues with Remote Desktop Protocol?
1. Update your system
- Press Windows Key + I to open the Settings app.
- Navigate to Update & Security section.

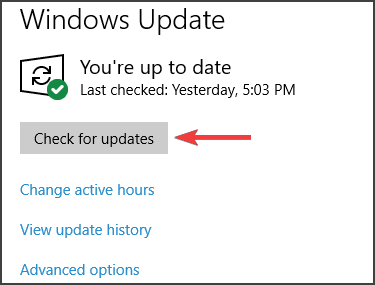
- Now click on Check for updates button.

- Windows will now check for updates and install them.
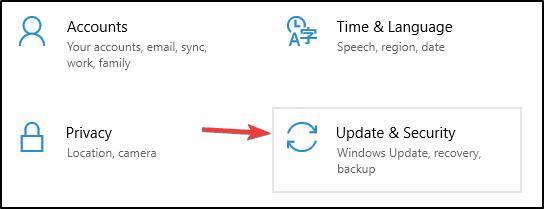
The first thing you should do is to make sure that your system is up to date. Additionally, all drivers need to be on point in order to experience optimal DPI transfer to an alternative, remote monitor.
Some users reported certain DPI issues after the major updates, so there’s a chance that these and similar problems may get resolved with the upcoming patches and cumulative updates.
So, make sure to install all of the updates that are provided trough Windows Update and hope for the best.
2. Log off prior to connecting peripherals
Another thing that’s quite important when it comes to any hardware changes, especially the ones related to monitors, is to log off before you connect peripheral devices.
So, log off, connect everything and log in again. That should resolve some of the DPI problems inflicted by changes of the hardware configuration.
In addition, make sure that everything is set as it should by following the instructions provided by the Remote Desktop Assistant application.
3. Use Manifest file
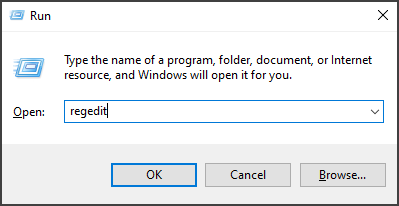
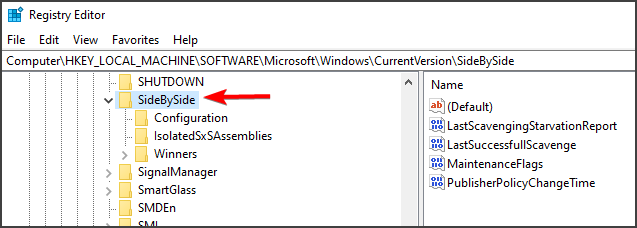
- Press Windows Key + R, type regedit and press Enter.

- Navigate to
HKEY_LOCAL_MACHINE\SOFTWARE\Microsoft\Windows\CurrentVersion\SideBySide
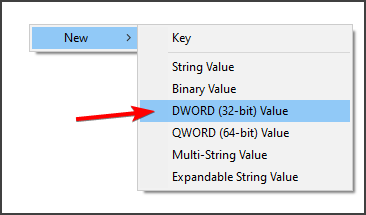
- Right-click in the right pane and choose New and select DWORD (32 bit) Value.

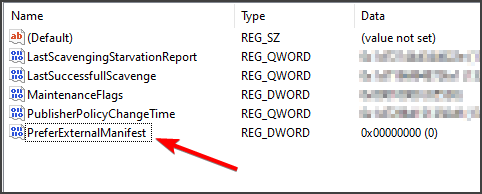
- Name the newly created value PreferExternalManifest.
- Double-click the PreferExternalManifest DWORD.

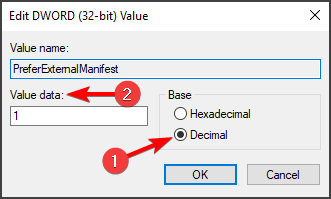
- Select Decimal and change Value Data to 1.

- Confirm changes and close the Registry Editor.
Now, after we dealt with Registry, open Notepad and paste the following:
<?xml version="1.0" encoding="UTF-8" standalone="yes"?>
 <assembly xmlns="urn:schemas-microsoft-com:asm.v1" manifestVersion="1.0" xmlns:asmv3="urn:schemas-microsoft-com:asm.v3">
 <dependency>
 <dependentAssembly>
 <assemblyIdentity
 type="win32"
 name="Microsoft.Windows.Common-Controls"
 "version"="6.0.0.0" processorArchitecture="*"
 publicKeyToken="6595b64144ccf1df"
 language="*">
 </assemblyIdentity>
 </dependentAssembly>
 </dependency>
 <dependency>
 <dependentAssembly>
 <assemblyIdentity
 type="win32"
 name="Microsoft.VC90.CRT"
 "version="9.0.21022.8"
 processorArchitecture="amd64"
 publicKeyToken="1fc8b3b9a1e18e3b">
 </assemblyIdentity>
 </dependentAssembly>
 </dependency>
 <trustInfo xmlns="urn:schemas-microsoft-com:asm.v3">
 <security>
 <requestedPrivileges>
 <requestedExecutionLevel
 level="asInvoker"
 uiAccess="false"/>
 </requestedPrivileges>
 </security>
 </trustInfo>
 <asmv3:application>
 <asmv3:windowsSettings xmlns="http://schemas.microsoft.com/SMI/2005/WindowsSettings">
 <ms_windowsSettings:dpiAware xmlns:ms_windowsSettings="http://schemas.microsoft.com/SMI/2005/WindowsSettings">false</ms_windowsSettings:dpiAware>
 </asmv3:windowsSettings>
 </asmv3:application>
 </assembly>
Save the file and name it mstsc.exe.manifest. After you’ve done that, copy the file to this location:
C:\Windows\System32
Restart your PC and check for changes with the DPI scaling. This should resolve your problems.
Additionally, some users reported registry changes that occurred after an update and rendered this workaround unusable. What you got to do in that situation is to just repeat the steps we presented above and you should be good to go.
Note: This procedure demands some registry tweaks so make sure to backup your registry before we start with the steps.
To give you more options when you need to choose another way to do your work without disruption, we outlined the best screen-sharing software and apps to give you a fresh start with third-party assistance. One of these options that we strongly recommend is Mikogo, a reliable and safe remote desktop software.
With that, we conclude this article, and we hope that this guide helped you fix the Remote Desktop high DPI issues on your PC.
If you have any questions or alternative workarounds that solved the problem for you, make sure to tell us in the comments section below.