What Can You Do in Network and Sharing Center in Windows 10?
The Network and Sharing Center in Windows 10 lets you change network settings
![]() 6 min. read
6 min. read
![]() Updated on
Updated on
Share this article

Improve this guide
Read our disclosure page to find out how can you help Windows Report sustain the editorial team Read more
Key notes
- Network and Sharing Center is a feature in all Windows versions that allows users to change network settings.
- Users can access Network and Sharing Center by right-clicking the network icon, using Control Panel, or searching for it in the search bar.
Today, most of us access the internet on daily basis, and although our internet connections are created automatically by Windows 10, sometimes you need to change your network settings and make certain adjustments.
The simplest way to do that is to use Network and Sharing Center, so today we’re going to explain to you what is Network and Sharing Center and how to use it.
What is Network and Sharing Center and how does it work?
Network and Sharing Center was first introduced in Windows 7, as a part of the Control Panel, and it has remained a part of Windows through Windows 8 and Windows 10.
If you ever used Network and Sharing Center in Windows 7, you should know that it looks almost the same in Windows 10.
The only option that you might miss is the Manage wireless networks option which is now moved to a different place in order to allow users to connect quickly to a certain wireless network or change the wireless settings.
If you never used Network and Sharing Center before, you should know that you can access it with just a few clicks.
How to open the Network and Sharing Center in Windows 10?
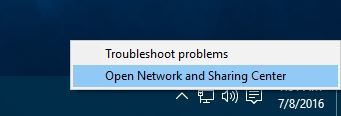
1. From the taskbar
The simplest way to open Network and Sharing Center is to right-click your network icon in the bottom right corner and select Open Network and Sharing Center.
2. Using the Control Panel
Another way to open Network and Sharing Center is to use Control Panel. To access Control Panel and Network and Sharing Center do the following:
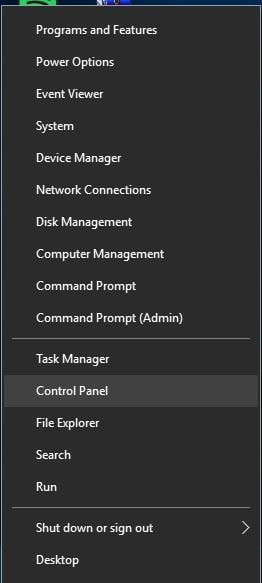
- Press Windows Key + X to open Power User Menu. Select Control Panel from the list.

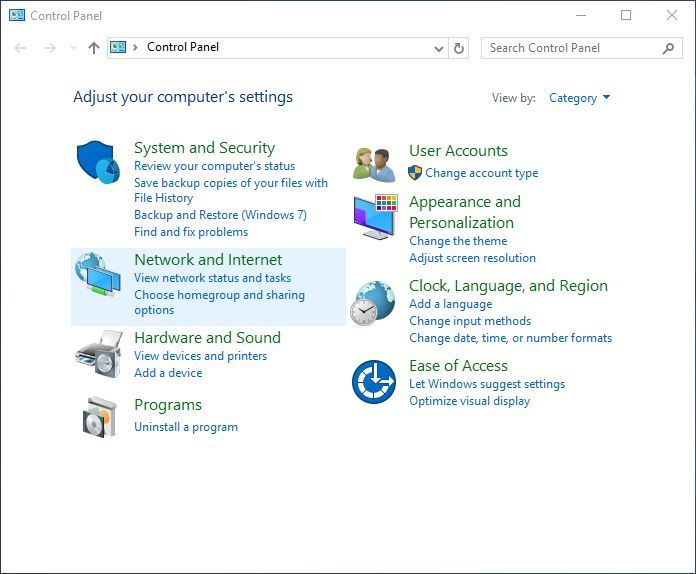
- When Control Panel opens, click on Network and Internet section.

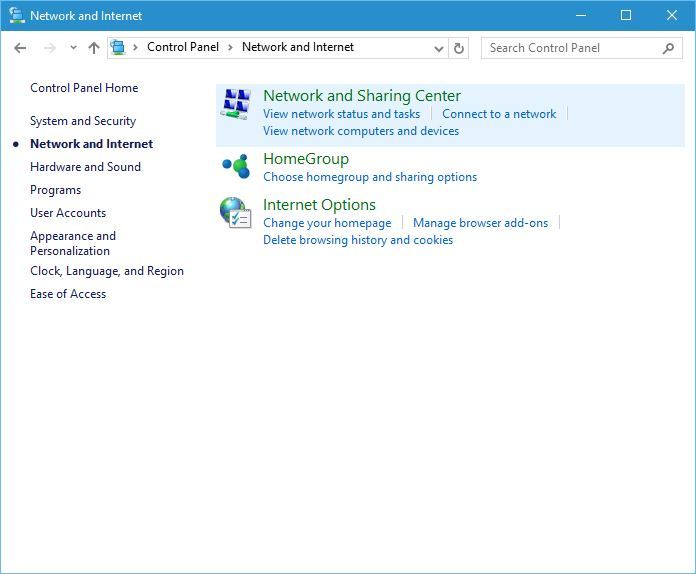
- Now select Network and Sharing Center.
3. By searching with the search bar
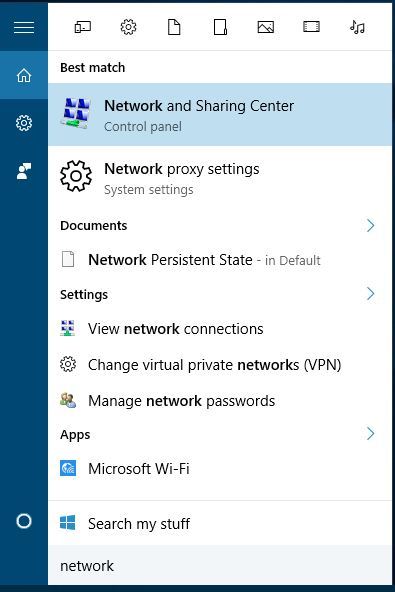
You can also access Network and Sharing Center by using the Search bar. To do that just press Windows Key + S, enter Network, and select Network and Sharing Center from the list of results.
Most users don’t know what to do when the Windows search box goes missing. Read this article to learn how you can get it back in just a couple of steps.
What are the things that you can do in the network and sharing center?
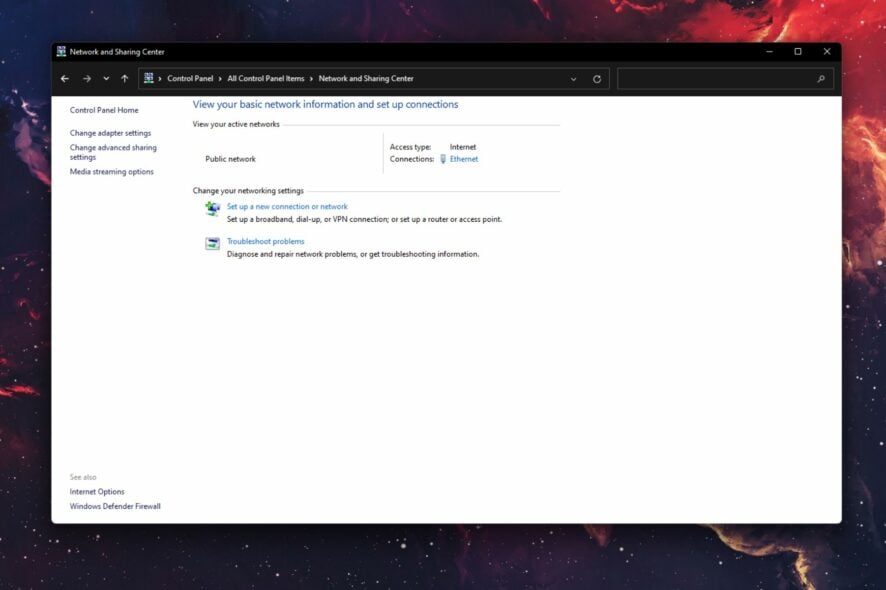
The first thing that you’ll notice when you open Network and Sharing Center is the View your active networks section.
This section gives you all the important information such as the name of your currently connected network as well as the type of network you’re connected to.
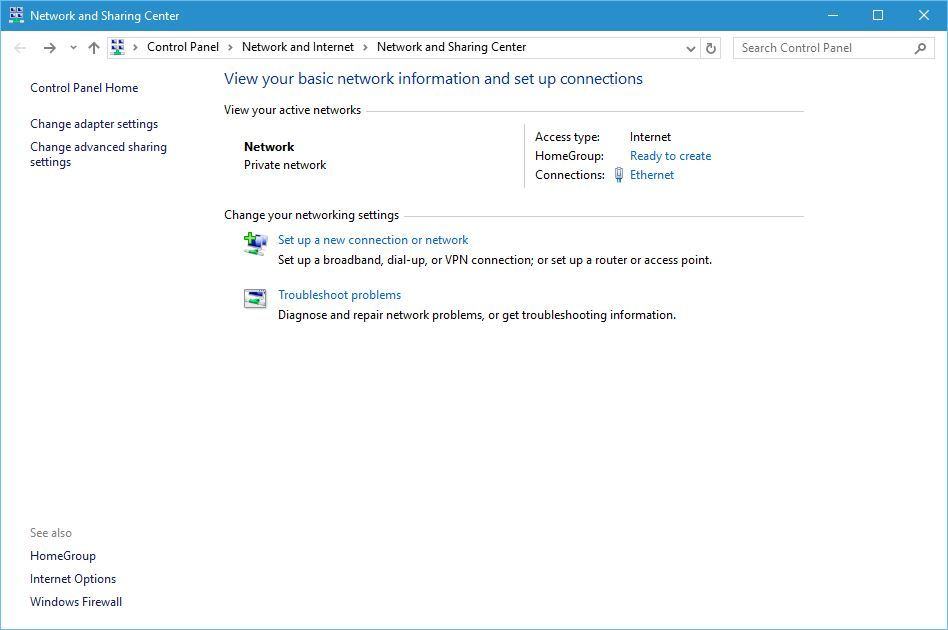
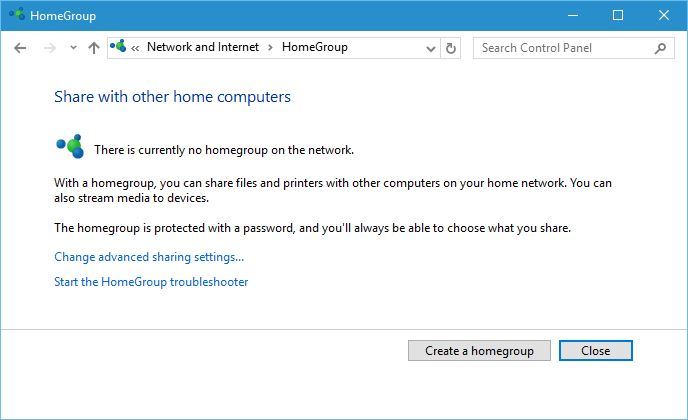
From this section, you can also use create your Homegroup by clicking Ready to create a link.
Homegroups allow computers on the same network to quickly and easily share files and printers, so if you have several computers connected to a network, you might want to create a Homegroup.
Next, there’s a Connections section, and you can click the connection that is listed there to see its details. For example, you can see the speed of your network connection and the number of received or sent bytes.
If you want to know more about your connection, there’s a Details section that shows you the name of the network adapter, your current IP address, as well as your MAC address.
If you want to know more about IP addresses, we already answered what is an IP address in one of our previous articles.
Due to privacy and security concerns, we strongly recommend to secure your network with a reliable VPN (Virtual Private Network). Get now Cyberghost VPN, a leader in the VPN market. It protects your PC from attacks while browsing, masks your IP address, and blocks all unwanted access.
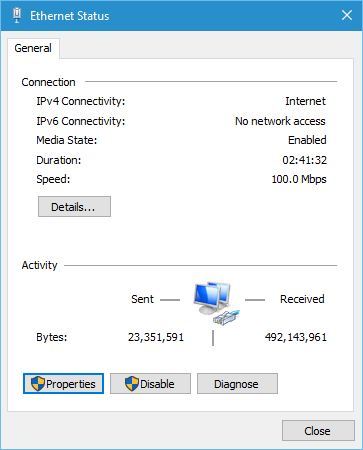
We should also mention that you can disable your network connection from this window by clicking the Disable button.
Sometimes your network connection might have certain problems, and one of the simplest solutions is to disable your network connection and enable it again.
If disabling the connection doesn’t work, you can always use the Diagnose button that will scan for problems and automatically repair them.
Lastly, there’s a Properties button that allows you to update or remove your network driver and configure your network adapter. In addition, by using this window you can also set your IP address to be dynamic or static in your network.

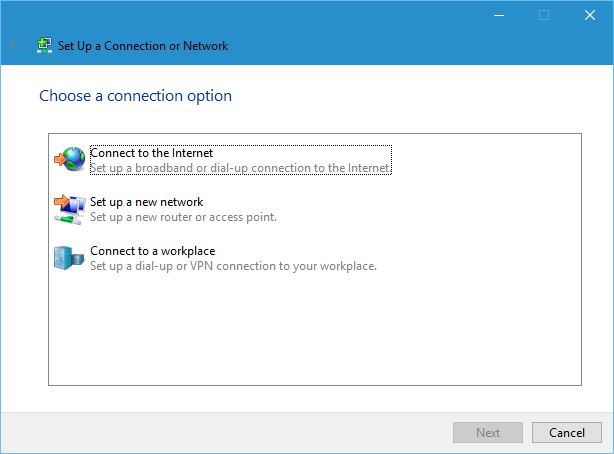
Next, we have changed your networking settings section. In this section, you can create a new connection by using the Set up a new connection or network link.
When creating a new connection you’ll have three options: Connect to the Internet, Set up a new network, and Connect to a workplace.
Depending on what you need, you just need to click one of the options and follow the instructions in order to create a new connection.
If you have issues with your network adapter, there’s a Troubleshoot problems section that allows you to automatically fix various problems.
When you open Troubleshoot problems section you’ll see Internet Connections, Shared Folders, HomeGroup, Network Adapter, Incoming Connections, and Printer options.
By choosing one of these options you’ll run a troubleshooter for a specific option that will automatically scan and fix problems for you.

Does the troubleshooter fail to load with an error? Follow this useful guide and fix it in just a couple of simple steps.
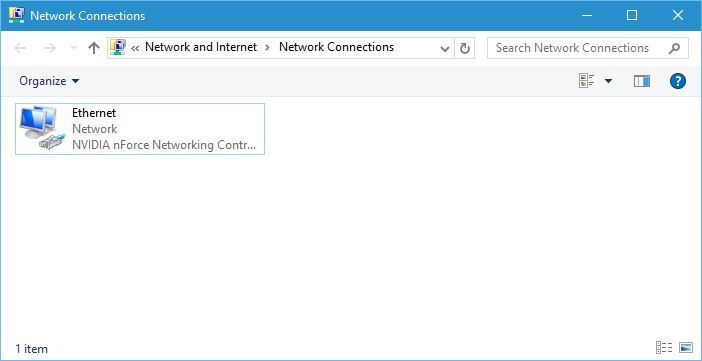
There are also several options available in the sidebar. The change adapter settings option will list all network adapters that you have and allow you to quickly disable them, rename them or change any of their settings.
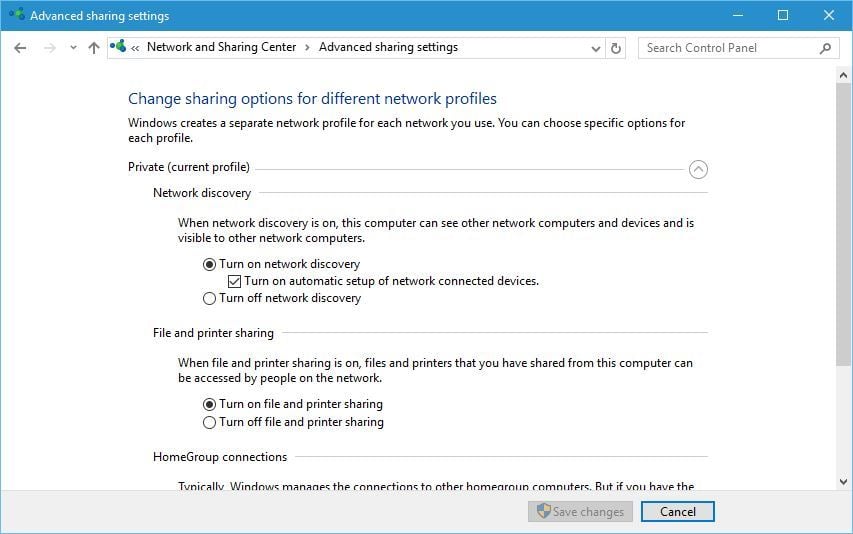
The next option is Change advanced sharing settings, and this option allows you to change how certain network profile works.
For example, you can turn network discovery on or off, thus allowing your computer to see other network devices that are connected to this network.
You can also turn on or off file and printer sharing, and change the way how homegroups work.
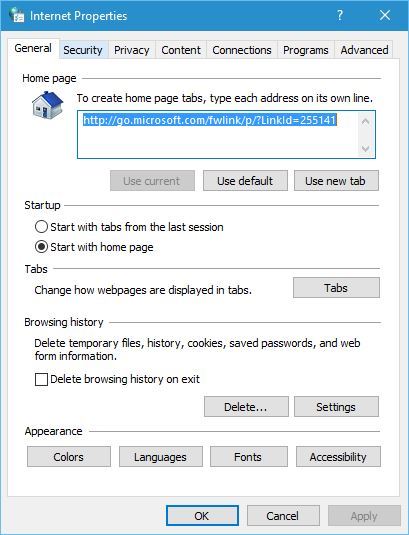
The next option is Internet Options, and from here you can change various settings related to your internet connection and Microsoft Edge or Internet Explorer.
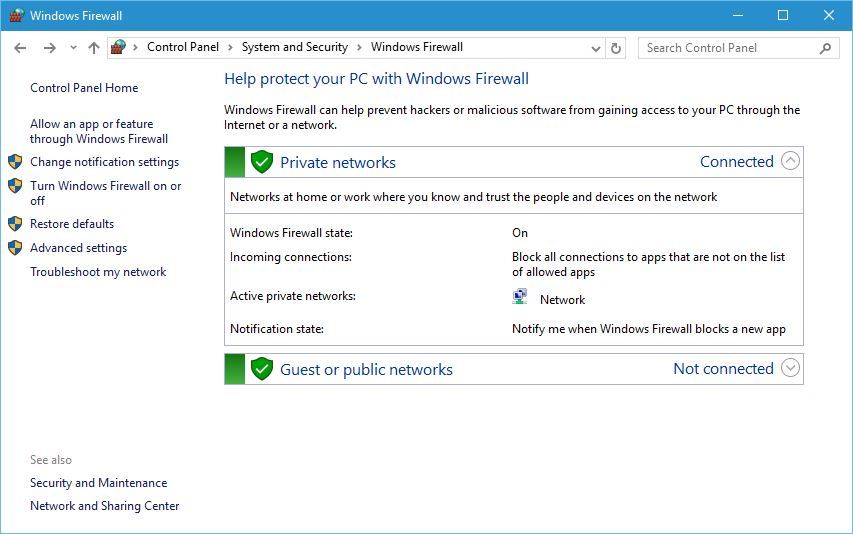
The last option is Windows Firewall, and by using this option you can turn Windows Firewall on or off, change firewall rules or block a certain application from accessing the Internet.
Network and Sharing Center on Windows 10 allows you to quickly access both basic and advanced options, and we hope that you now better understand how Network and Sharing Center works on Windows 10 after reading this article.
If you have any other questions, feel free to leave them in the comments section below.
READ ALSO: