Nvidia Control Panel Crashes or Stops Working: 3 Easy Fixes
Nvidia Control Panel crashes are mostly due to problematic drivers
![]() 4 min. read
4 min. read
![]() Updated on
Updated on
Share this article

Improve this guide
Read our disclosure page to find out how can you help Windows Report sustain the editorial team Read more
Key notes
- The Nvidia Control Panel is a useful piece of software that lets you adjust the hardware settings on your graphics card and media processor.
- This problem is usually caused by faulty or old drivers, but it can also be due to the app itself.
- A complete and easy guide to help you tackle Nvidia Control Panel crashes is found below.
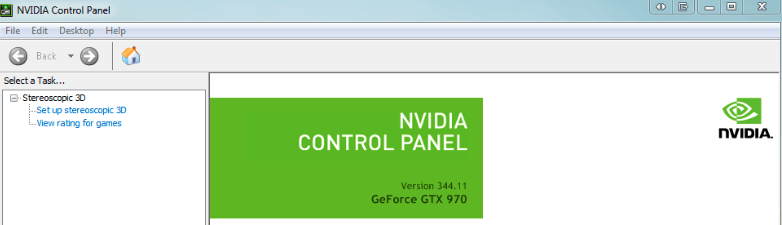
Many gamers use Nvidia graphics cards and one key part of their correct functioning is the Nvidia Control Panel software.
Speaking of which, our readers are reporting that the Nvidia Control Panel has stopped working in Windows 10.
If this is your problem as well, let’s see what is causing this issue and how to resolve it in no time.
What causes the Nvidia Control Panel to crush?
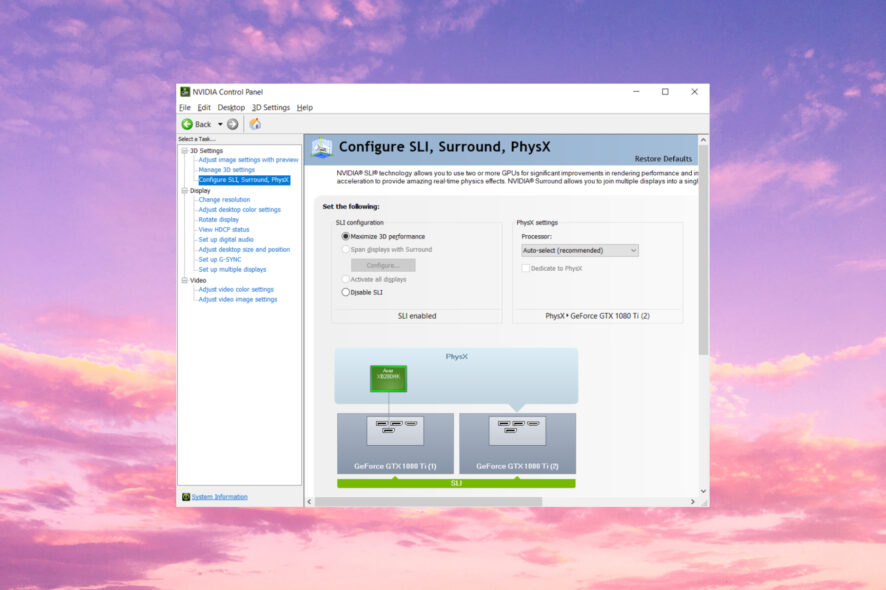
Many of the readers complained about Nvidia’s Control Panel crushing when clicking on the Manage 3D Settings menu.
That is a clear sign of a driver problem. It’s either an old one or it’s corrupted so it needs to be updated or replaced.
For others, the app won’t even start. The Nvidia Control Panel is just an app like all the others so it’s prone to malfunctioning, errors, and bugs.
- Download and install the Outbyte Driver Updater app.
- Launch the software and wait for the app to detect all incompatible drivers.
- Now, it will show you a list of all faulty drivers to select the ones to Update or Ignore.

- Click on Update & Apply Selected to download and install the newest versions.
- Restart your PC to ensure the applied changes.


OutByte
Keep your GPU in a flawless state without worrying about possible driver issues.What are the other errors caused by Nvidia Control Panel?
The solutions below also work if you encounter the following errors:
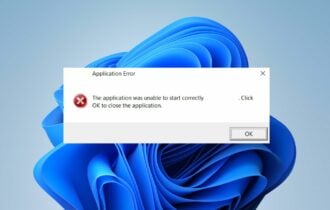
- Nvidia Control Panel has stopped working – Clicking the entry just leads to a popup box stating: Nvidia Control Panel Application has stopped working
- Nvidia Control Panel not available – There are also quite a few NVIDIA graphics adapter users who report the NVIDIA Control Panel not available issue on their Windows PC
- Nvidia Control Panel keeps crashing – Changing the Power Management and Vertical Sync settings are some of the main reasons behind this issue
- Nvidia Control Panel crashes when adding a program – Chances are that this issue is related to adding a new program that interferes with the Nvidia app
- Nvidia Control Panel crashes on startup – Reinstalling your display drivers will help you get rid of this problem for good
Now that we cleared things up, let’s see how we can fix the Nvidia Control Panel software by using the solutions below.
What can I do if the Nvidia Control Panel crashes?
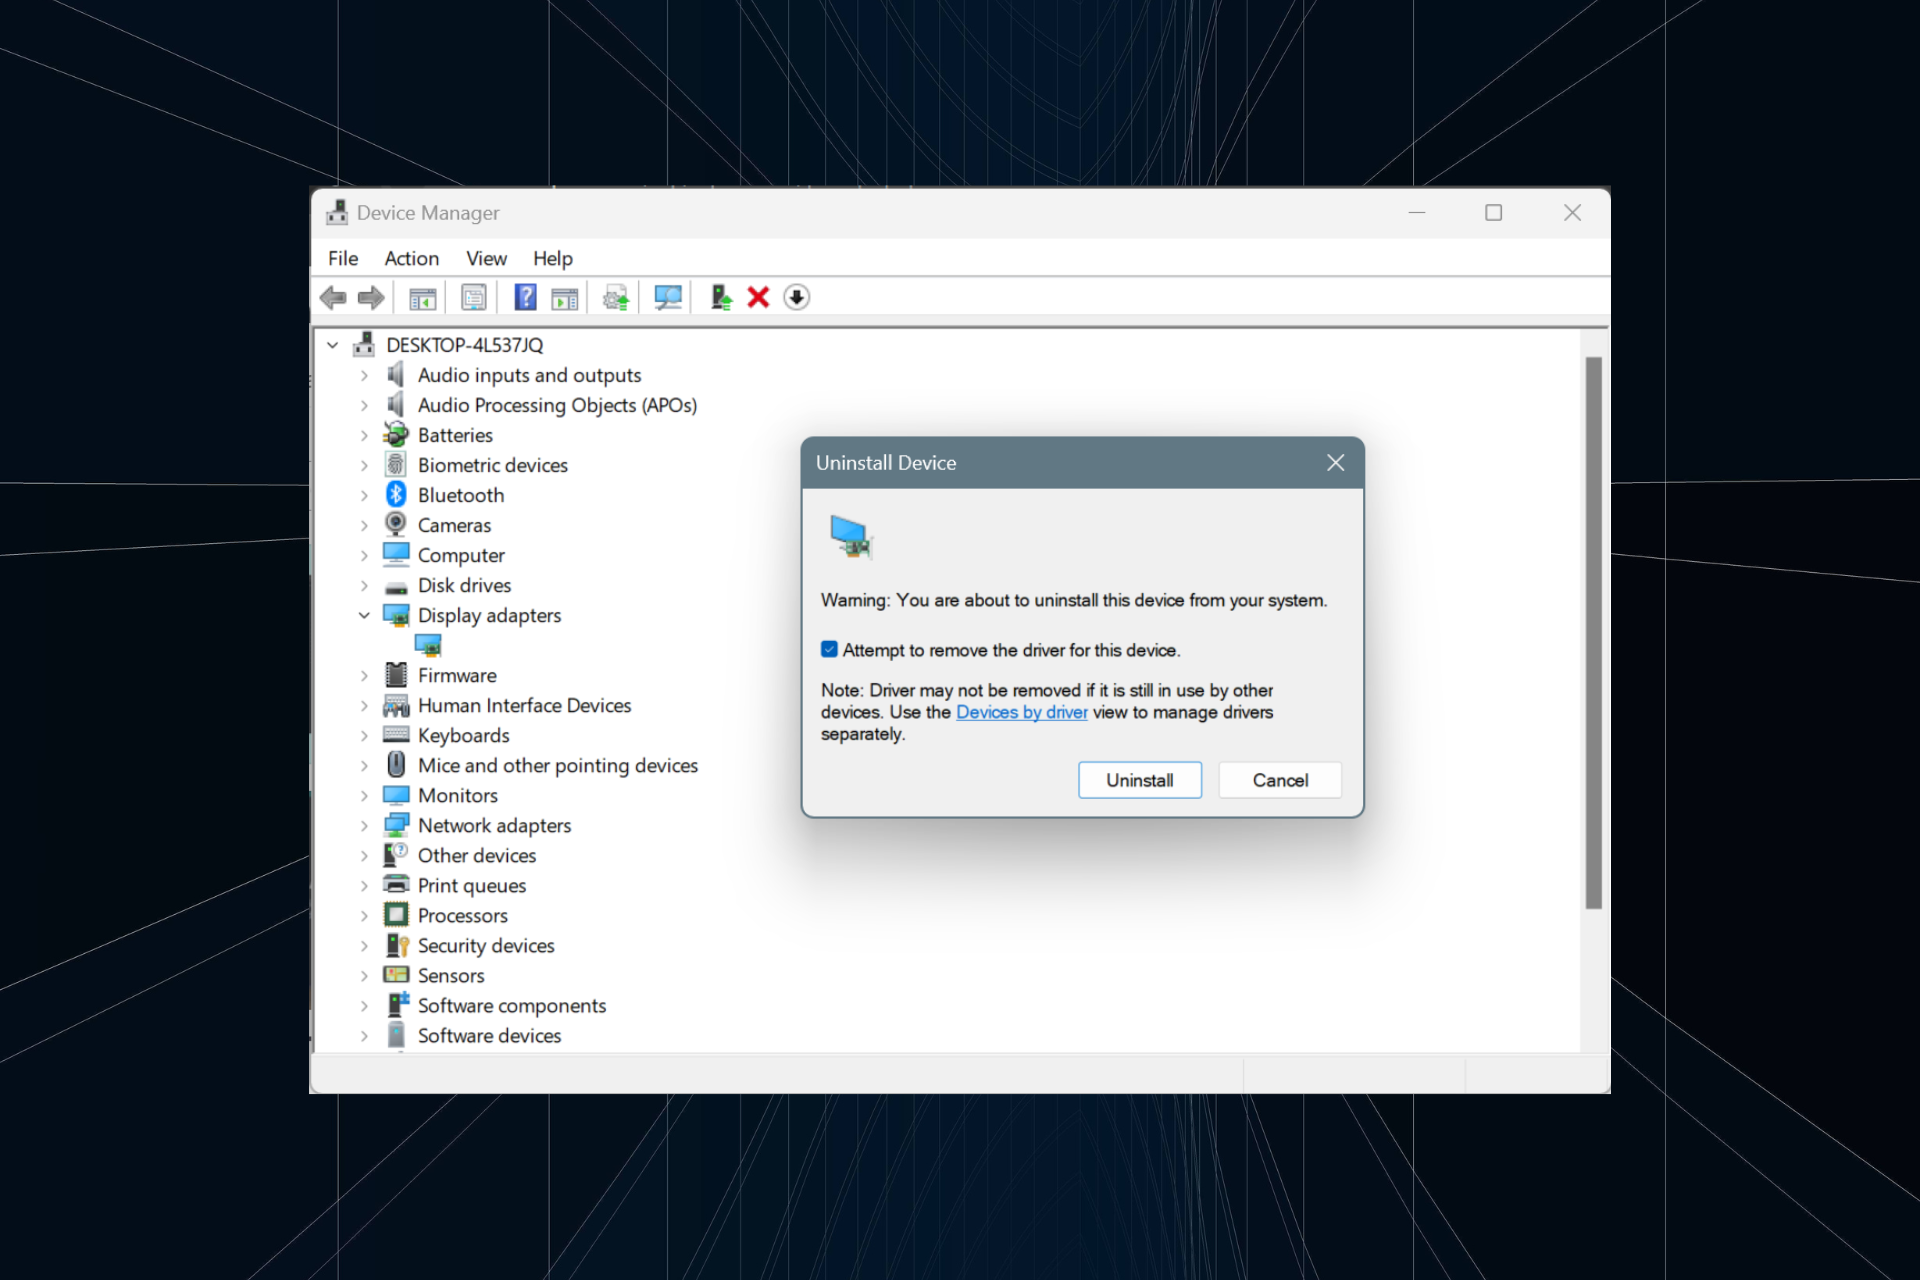
1. Uninstall and reinstall your display drivers
- Download the Display Driver Uninstaller tool.
- Open the Start menu and click Restart while holding the Shift button on your keyboard to start Windows 10 in Safe Mode.
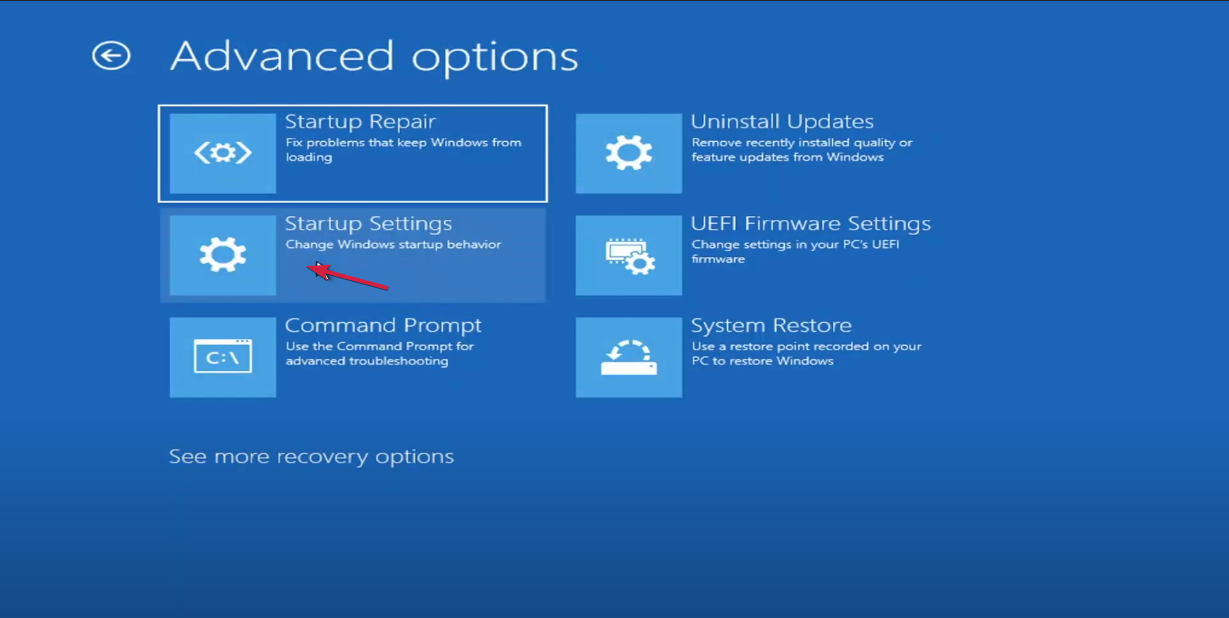
- Your PC will restart and now you need to enter into Troubleshoot, then select Advanced Options.

- Now, click on Startup Settings.

- Your computer will restart again and now you’ll have the option to choose to enter Safe Mode.
- Run Display Driver Uninstaller in Safe Mode to remove your display driver.
- After the display driver has been removed your computer will restart and now you can go to Nvidia’s website and download the latest Windows 10 drivers.
- Some users recommend using Wise Care 365 software to clean your registry, so you might want to opt-in for it. Download Wise Care 365 (free).

This issue can be caused by driver incompatibility, so let’s try to completely remove your display drivers and download the latest version.
However, we have to mention that sometimes it’s better to use an older driver, and some of our readers have reported that older versions of drivers, such as 353.49, work better than the latest drivers, so you might want to give them a try.
If you don’t know how to do that, we have a complete guide on how to rollback NVIDIA drivers in Windows 10/11.
2. Turn off GPU Virtualization
- Open the VirtuMVP control panel. It should be located in the system tray, right next to your clock.
- In the main tab, there should be a GPU Virtualization option. Just turn it off and check if it has fixed your Nvidia Control Panel issues.

If you have a motherboard with onboard GPU, you might have VirtuMVP software installed that can cause some issues with the Nvidia Control Panel.
3. Reinstall the Nvidia Control Panel app
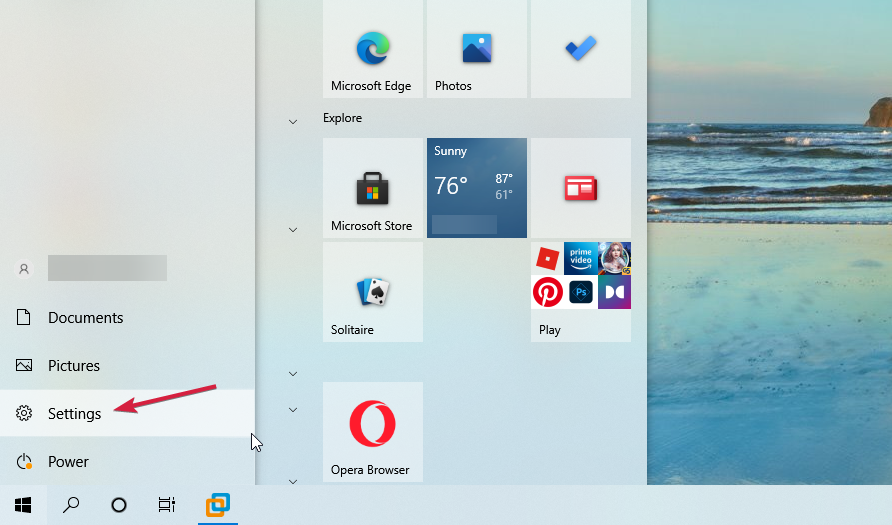
- Click the Start button and select Settings.

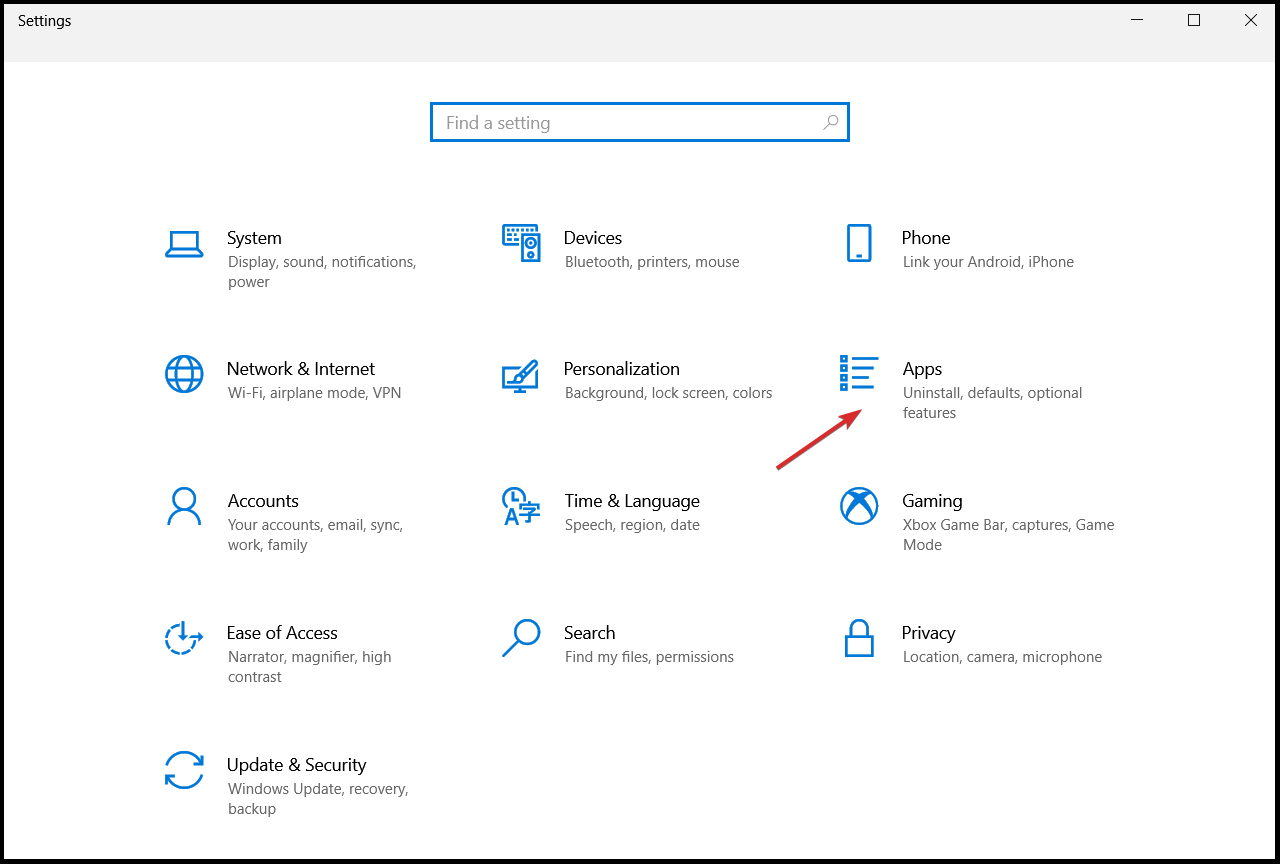
- Next, choose Apps.

- Now, look through the list on the right pane, find Nvidia Control Panel, select it, then hit the Uninstall button, then confirm your option.
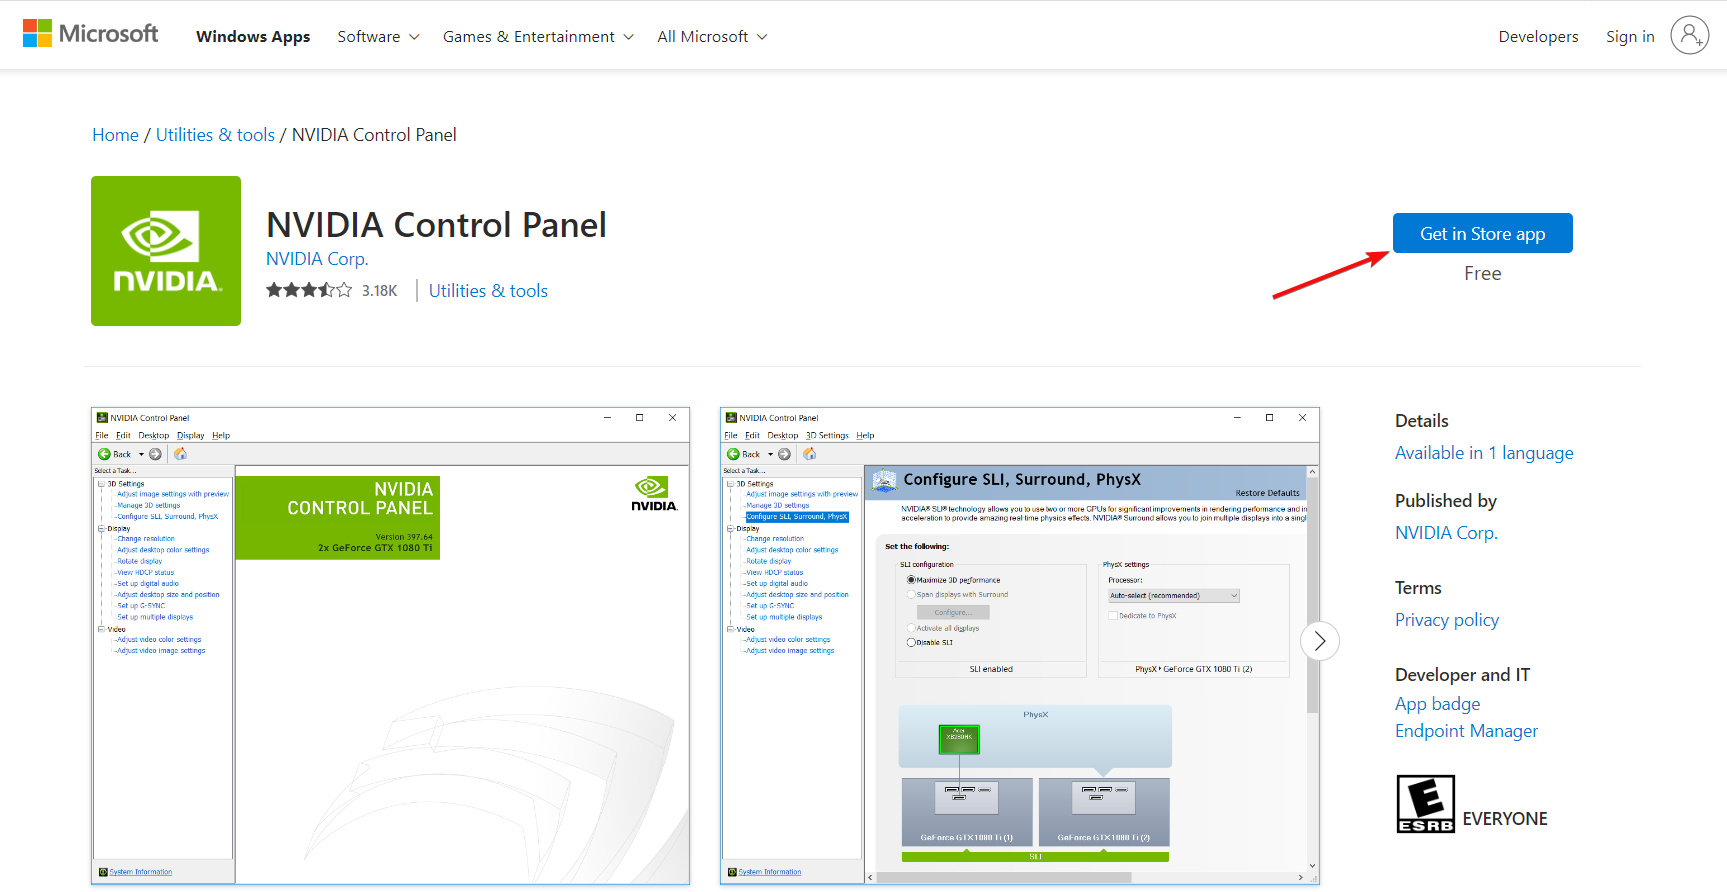
- Go to the Microsoft Store and download Nvidia Control Panel and do a fresh installation.

According to users, GPU Virtualization is an option in VirtuMVP that can cause some issues, so use the above steps to disable it.
That would be all. We can only hope these steps helped you in solving the problem with Nvidia Control Panel in Windows 10.
In case you upgrade to the new OS, you might be interested in what to do if the Nvidia graphics card is not detected in Windows 11.
If you have any comments, questions, or suggestions, just write them down in the comments area below.