Profile error occurred in Chrome [Fix]
![]() 9 min. read
9 min. read
![]() Updated on
Updated on
Share this article

Improve this guide
Read our disclosure page to find out how can you help Windows Report sustain the editorial team Read more
Key notes
- Google Chrome is one of the most popular web browsers on the market but unfortunately, some users report getting a Profile error message when trying to create their own profile.
- If you want to completely fix this and create your Chrome profile, make sure to read our article and follow our recommendations.
- There are several possible causes for this problem, you'll see below suggestions for each of them.

Google Chrome is one of the most popular web browsers on the market. It offers a wide range of features and also allows you to create your own profile.
By having your own profile, you can save your history, passwords, and extensions and sync Chrome across multiple devices.
While this is a great feature, some users report Profile error occurred messages in Chrome, and today we’re going to show you how to fix it.
How can I fix the Profile error occurred message in Chrome?
1. End all Chrome processes
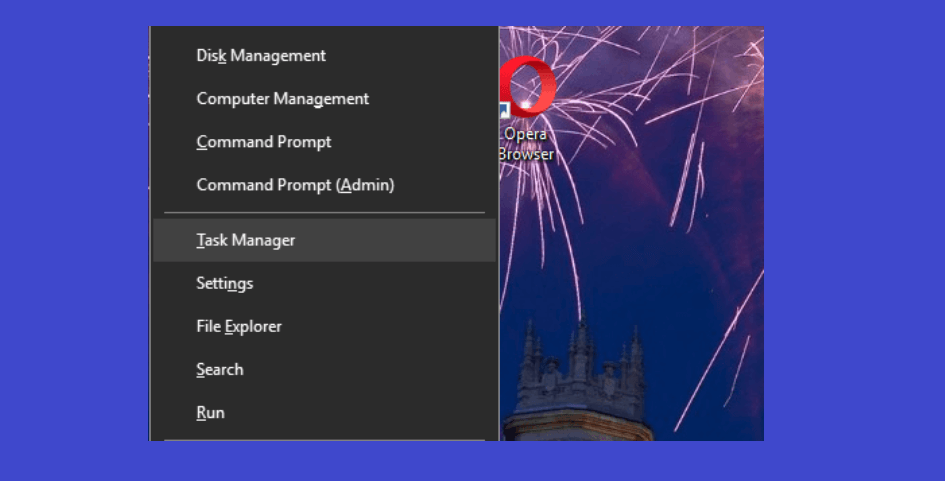
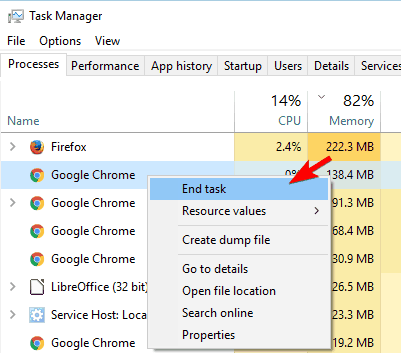
- Open Task Manager. You can do that quickly by pressing Ctrl + Shift + Esc.
- When Task Manager opens, navigate to the Processes tab.
- Locate a Google Chrome process, right-click it and choose End Task.

- Repeat the step from above to close all Google Chrome processes.
- After doing that, close Task Manager and start Google Chrome again.
A few users report that closing all Chrome processes fixed the problem for them, so be sure to try this solution.
2. Restart your PC
Sometimes, the simplest solutions are the most effective. According to users, you can fix the Profile error occurred message by restarting your PC. After it does, Chrome should be able to start without any issues or errors.
Sometimes. minor glitches can occur but you can usually fix them with a single restart. Keep in mind that this isn’t a universal solution, so it might not work for every user.
3. Disable the antivirus software
Antivirus is one of the most important applications that you have on your PC. Unfortunately, some antivirus tools can interfere with your Google Chrome profile and cause the Profile error occurred message to appear. To fix this issue, disable your antivirus software.
If you are using Windows Defender, you can manually disable it from the Windows Security Settings. This won’t uninstall the Antivirus but temporarily pause all its actions.
To disable Windows Defender:
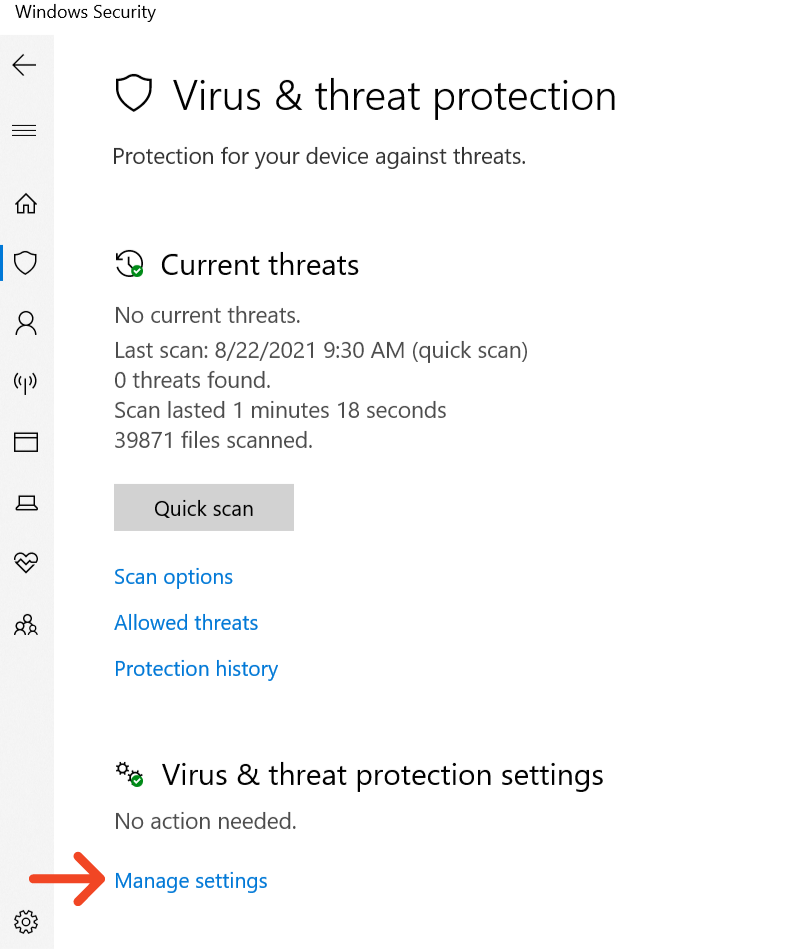
1. Type Windows Security in the Start search bar and open the panel.
2. Click on the Virus and Threat Protection icon.

3. Select Manage Settings.
4. Click the button under Real-time protection to turn it off.
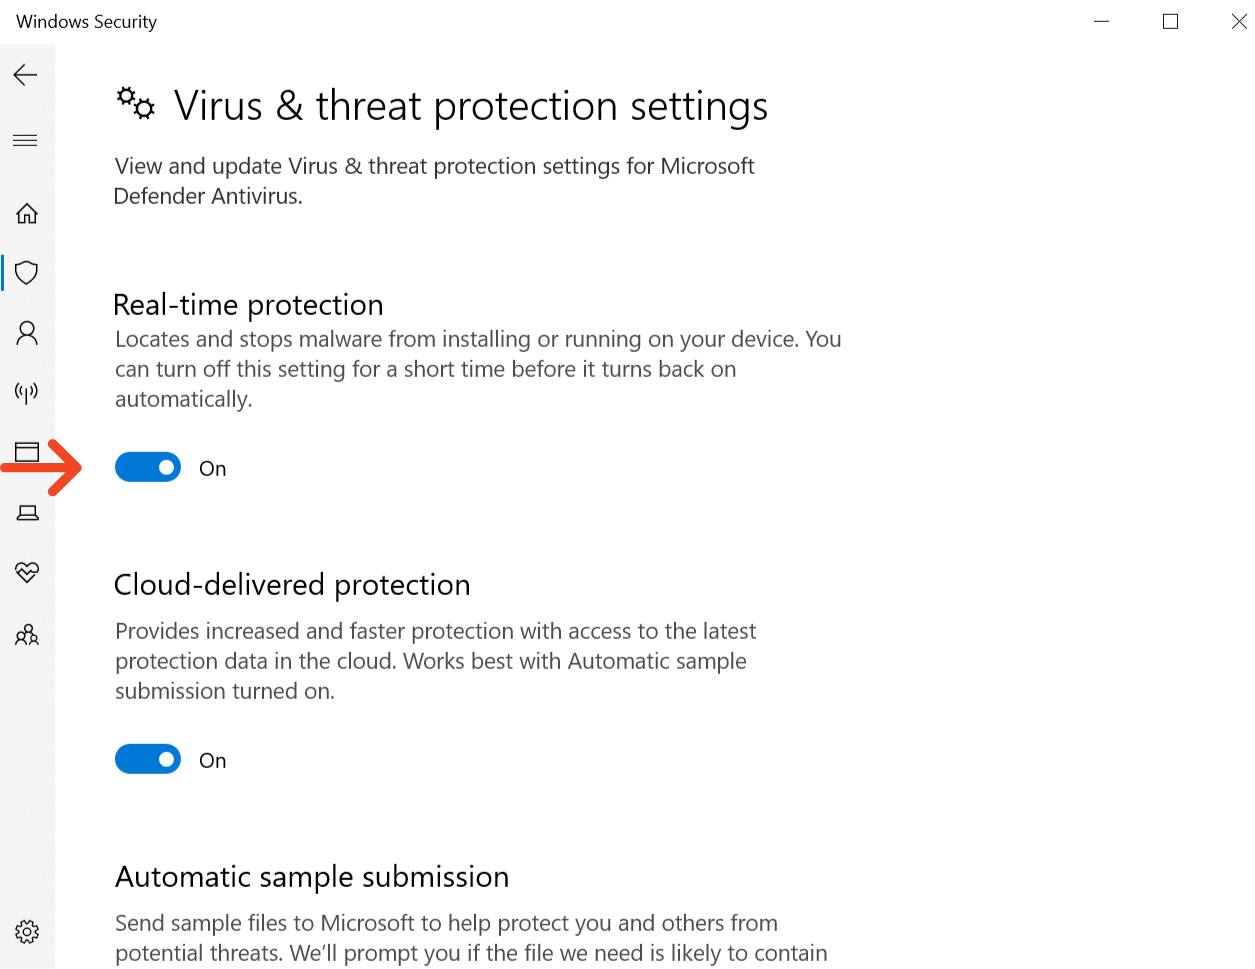
A dialog box will ask if you want to make these changes, select Yes.
Now your Antivirus is disabled. To turn it back on, just click the Real-time protection button again. At this point, your Chrome Profile error should be remediated, unless it is caused by something else.
If that doesn’t help, you might want to remove your antivirus software and check if that solves the problem. If you decide to remove your antivirus, be sure to use a dedicated removal tool to remove it completely.
Such program will remove any unwanted software from your device, including the bundled programs.
If you want to completely uninstall applications, including stray files, and get rid of annoying toolbars and plug-ins then uninstaller software is the best choice.
4. Remove the AVG Toolbar
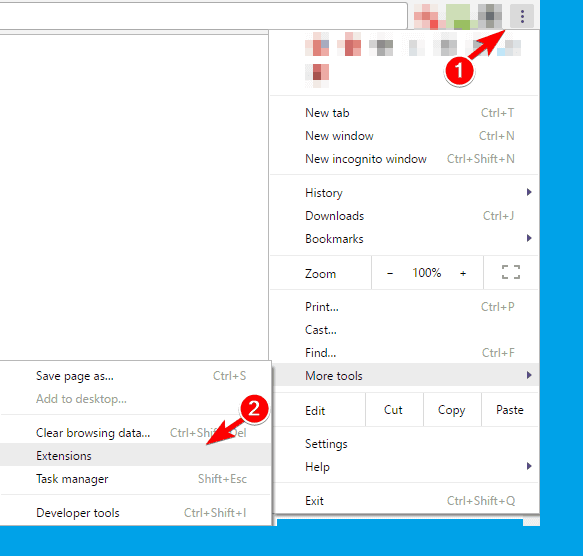
- Open Chrome and click the Menu button up top and choose More tools > Extensions.
- Locate AVG Toolbar in the list of extensions and click the trash can icon to remove it.


AVG Antivirus can cause problems with Chrome to appear. This antivirus tends to install AVG Toolbar into your browser so it can better protect you from online threats. This is a completely optional feature and even without it, AVG will provide you with almost the same protection.
As for the Profile error occurred message, users report that it occurs if you don’t completely remove the AVG Toolbar from your PC. According to users, they fixed the issue by removing avgtpx64.sys from Windows/system32/drivers directory. After doing that, the problem should be resolved.
If you feel uncomfortable removing files from the Windows folder, you can fix this problem by using the AVG Removal Tool. Many antivirus companies, including AVG, offer dedicated tools that remove any leftover files and registry entries from your PC.
If you still have problems with AVG, simply download this tool from AVG’s website and run it on your PC. The tool will completely remove all files associated with AVG. After doing that, the problem with Google Chrome should be fixed.
5. Delete Web Data file
- Close Google Chrome completely.
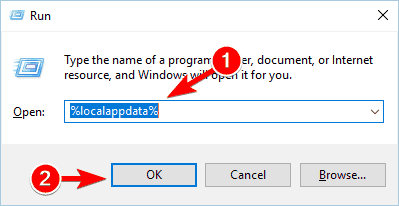
- Press Windows Key + R and enter %localappdata%. Press Enter or click OK.
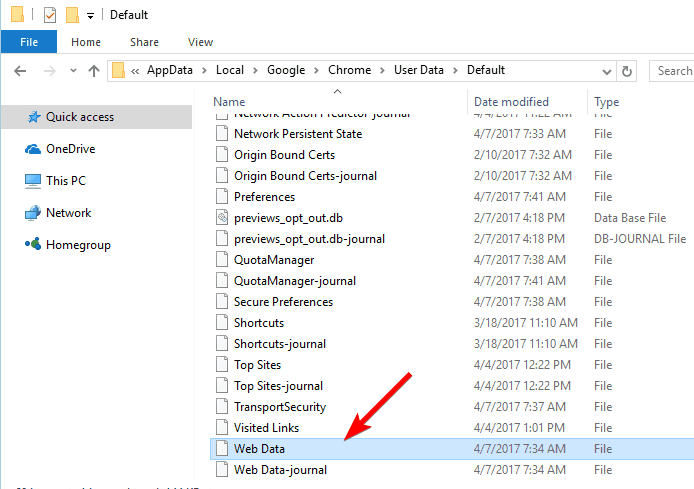
- When the Local folder opens, navigate to the GoogleChromeUser DataDefault folder.
- Locate the Web Data file and delete it.

- Optional: Delete Web Data-Journal file.
- Optional: Delete the Local State file.
After deleting the files, start Google Chrome again and check to see if the issue is resolved.
6. Delete your Google Chrome profile
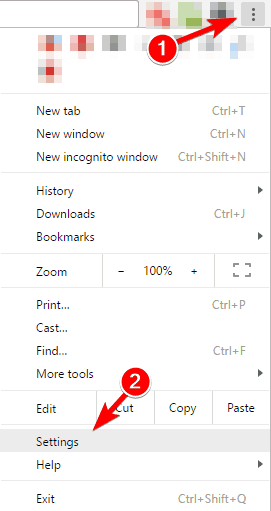
- Open Google Chrome and click the Menu button and choose Settings.
- Scroll down to the People section.
- Select your profile and click the Remove button.

- A confirmation message will appear. Click the Remove button to confirm.
- After doing that, restart Chrome. Now, create your Chrome profile again and check if that solves the problem.

All your information is stored in the cloud, so even if you remove your Google profile you won’t lose any important information.
After creating a new profile, all your data such as browsing history, extensions, and passwords will be restored. A few users suggest deleting all additional Google profiles except your own, so be sure to try that as well by following the instructions from above.
7. Rename the default folder
- Make sure Chrome is completely closed.
- Navigate to the
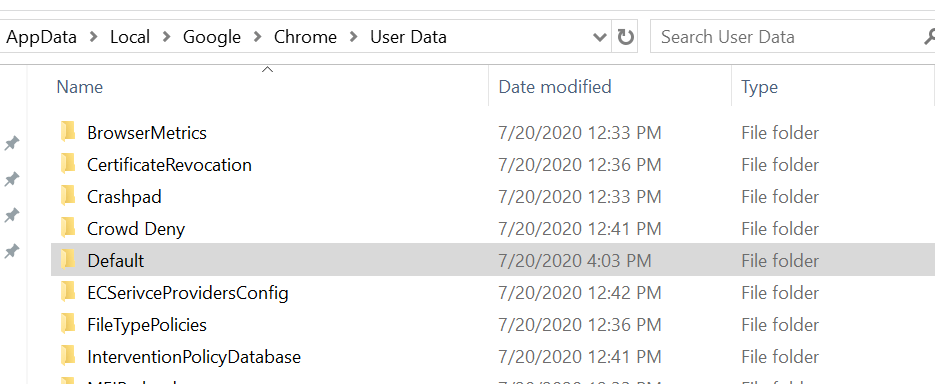
C:Usersyour_usernameAppDataLocalGoogleChromeUser Datafolder. For more information on how to navigate to that directory, check Solution 4. - In the User Data folder, you should see the Default folder.
- Right-click the folder and choose Rename from the menu.
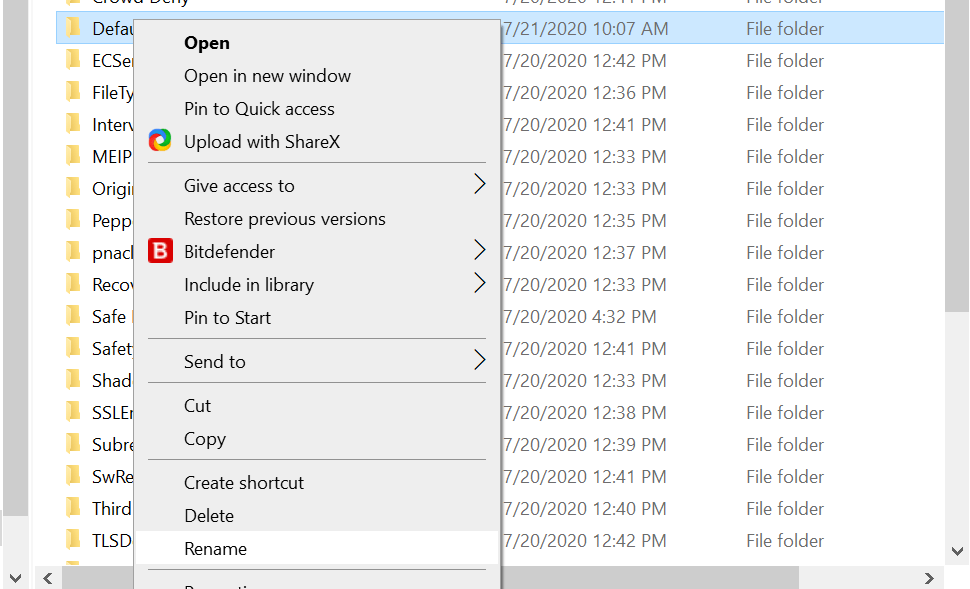
- Rename the folder to Default.backup or use any other name.
- Start Chrome again and check if the problem is resolved.
This is a simple solution and several users reported that it works for them, so feel free to try it out.
A few users also suggested creating a new Default folder and moving the following items from the old Default folder to a new one:
- Preferences file
- Bookmarks file
- Extensions folder
- Local Storage folder
- History
To find which of these components is corrupted, simply start Chrome after copying one list entry to the new Defaults folder. If you see an error message, it means that the component that was copied last is causing the problem.
8. Avoid using certain software
If you need to remove junk files, CCleaner is probably one of the best tools. This application can also remove cache and browsing history for all your browsers in a single click, which makes it rather useful.
Despite its usefulness, it seems that CCleaner can cause certain problems with Google Chrome.
According to users, the Profile error occurred message can be caused by CCleaner. To fix the problem, refrain from using CCleaner to clean Chrome’s history and cache. In addition, try using a different cleaning tool or simply uncheck the option to clean Chrome’s history.
If that doesn’t work, you might want to update CCleaner to the latest version and check if that solves the issue.
9. Update Java
According to users, you can fix the Profile error occurred message with ease simply by updating Java to the latest version. If you have Java installed, you should see a notification in the bottom right corner saying that an update is available.
Click the notification and follow the instructions on the screen to update it. Alternatively, you can visit Java’s website and download the latest version. If you don’t have Java installed this solution won’t apply to you.
10. Check if you’re using the latest version of Chrome
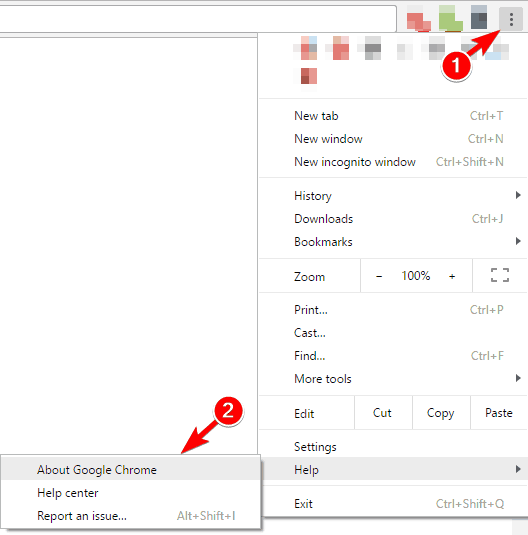
- Click the Menu button in the top right corner and choose Help > About Google Chrome.
- A new tab will now appear showing you the current version of Chrome. The application will automatically check for updates and download them.
- Be sure to check if you’re using the stable version of Google Chrome. If about tab says Chrome Beta or Chrome Canary, be sure to download and install the latest stable version instead.
11. Reinstall Google Chrome
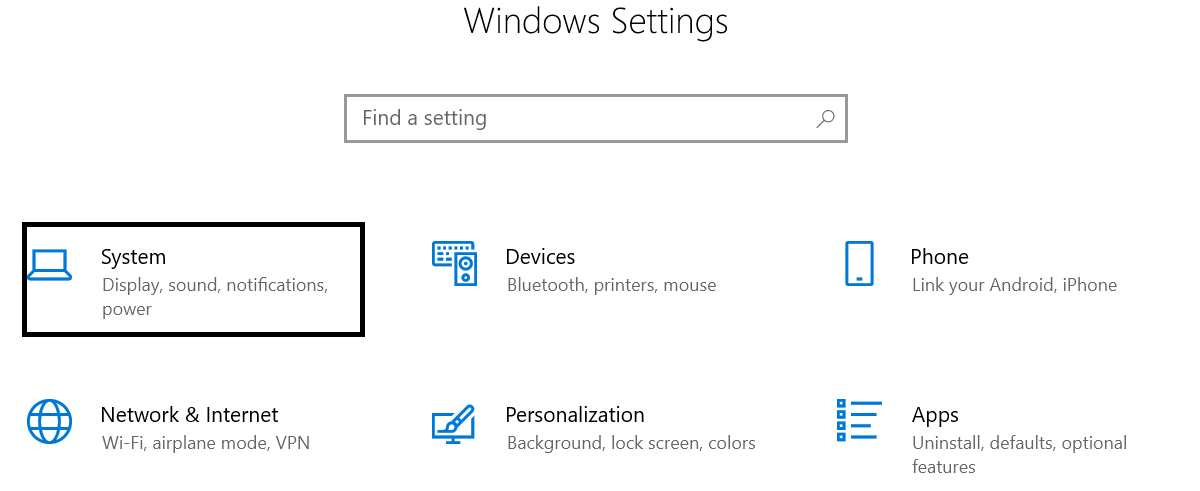
- Press Windows Key + I to open the Settings app.
- Go to System section.
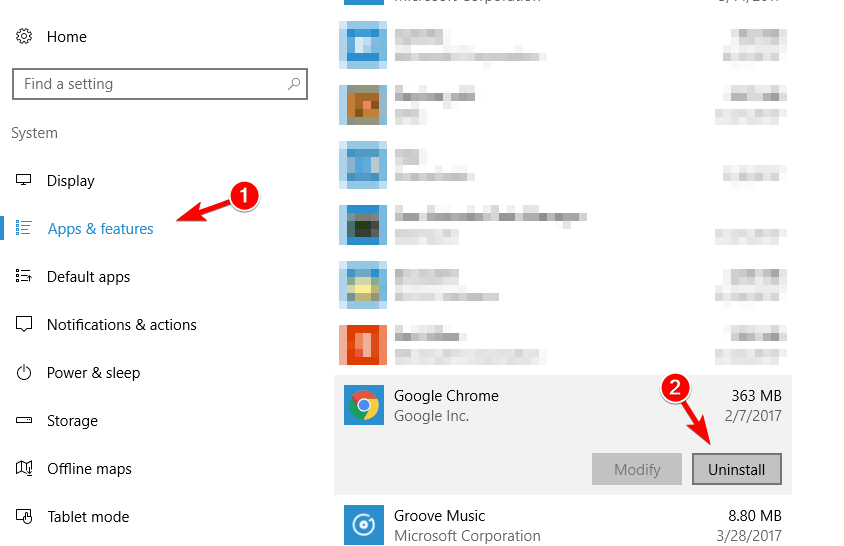
- Click on Apps & features in the left pane. List of installed applications will appear in the right pane. Locate Google Chrome on the list, select it and click on Uninstall button.

- Follow the instructions on the screen to remove Chrome.
Alternatively, you can use Programs and Features to remove Chrome. To do that, follow these steps:
- Press Windows Key + S and enter programs. Choose Programs and Features from the menu.

- When Programs and Features window opens, locate Google Chrome on the list of installed applications and double-click it.

- Follow the instructions on the screen to remove Google Chrome.


After removing Chrome, you just need to install the latest version.
A few users reported that they removed the Google folder from C:Usersyour_usernameAppDataLocal directory, so you might want to do that as well.
If you want to completely remove Chrome, along with its all associated files and registry entries, be sure to use an uninstaller tool such as Revo Uninstaller or similar.
Keep in mind that removing all these files isn’t mandatory, but if a regular reinstall doesn’t fix the problem, be sure to remove all files associated with Google Chrome and then try again.
12. Create a new Windows account

- Open the Settings app and go to the Accounts section.
- Choose Family & other people from the left pane. Now click on Add someone else to this PC in Other people section.
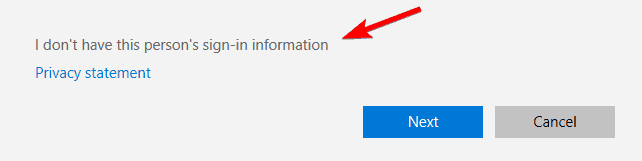
- Now click I don’t have this person’s sign-in information.

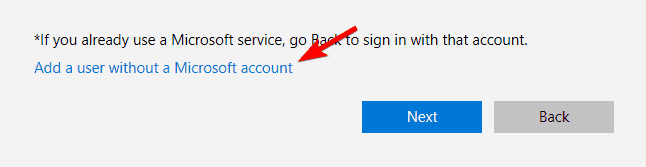
- Click Add a user without a Microsoft account.

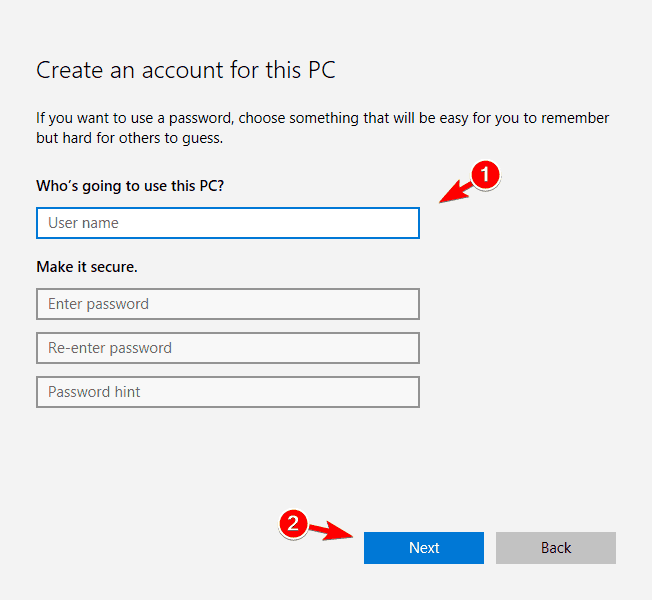
- Enter a desired user name for the new account and click Next.

After creating a new user account, switch to it and try running Chrome with it. If the problem doesn’t appear on a new account, you might have to transfer your personal files to it and use it as your main account. This isn’t the best solution since it requires you to move your files, but if all other solutions don’t work, you might want to try this one.
We hope that you’ll find at least one of these solutions useful and that it will help you create your Chrome profile.
If you have some comments, suggestions, or maybe know some other solutions, reach us in the comments below, we would love to hear your opinion.