How to Take Screenshots on Windows RT
![]() 4 min. read
4 min. read
![]() Updated on
Updated on
Share this article

Improve this guide
Read our disclosure page to find out how can you help Windows Report sustain the editorial team Read more
If you are trying to take a screenshot for work or even in a game you’re playing then you will need a screenshot app.Well in Windows RT we have this app, the Snipping app or we can just use the print screen keyboard buttons situated on the upper left of the keyboard .So if you don’t have a visual memory the Snipping tool will make things easier for you to save your work by quickly taking a picture.
Taking a screenshot on Windows RT should be relatively easy, either you take a screenshot of a work document,a moment in a movie you are watching or just an in game screenshot of your favorite character, all of these can be done with the proper app in windows RT.In this case we have the Snipping tool used to select exactly the portion on the screen you wish to capture and then just by doing a few clicks you will be able to save it to your Windows RT tablet.Seeing that most users are used to the old operating systems and the old methods of capturing and saving an image we will walk you through a few steps to see how easy it is in Windows RT to do the same.
How to take screenshots in Windows RT
There are two methods of capturing an image on your Windows RT,either use the buttons shortcuts on your Windows RT tablet or just use the Snipping app i presented above.But we will see exactly how to make a screenshot with both methods in the rows below.
First method i will present is using the buttons on the Surface RT PC with Windows RT operating system :
- The first thing we need to do is press and hold the button “Window” (situated right under the display) and the lower volume button(situated on the left side of the display).
- Now you should see the screen dim a little and then it should flash like a camera on your smartphone.
- The screenshot is now saved to the computer, you can find it by searching in your “Pictures” folder in the PC under the “Screenshots” directory.
Second Method to take a screenshot is by using the Snipping app you have in your Windows RT.
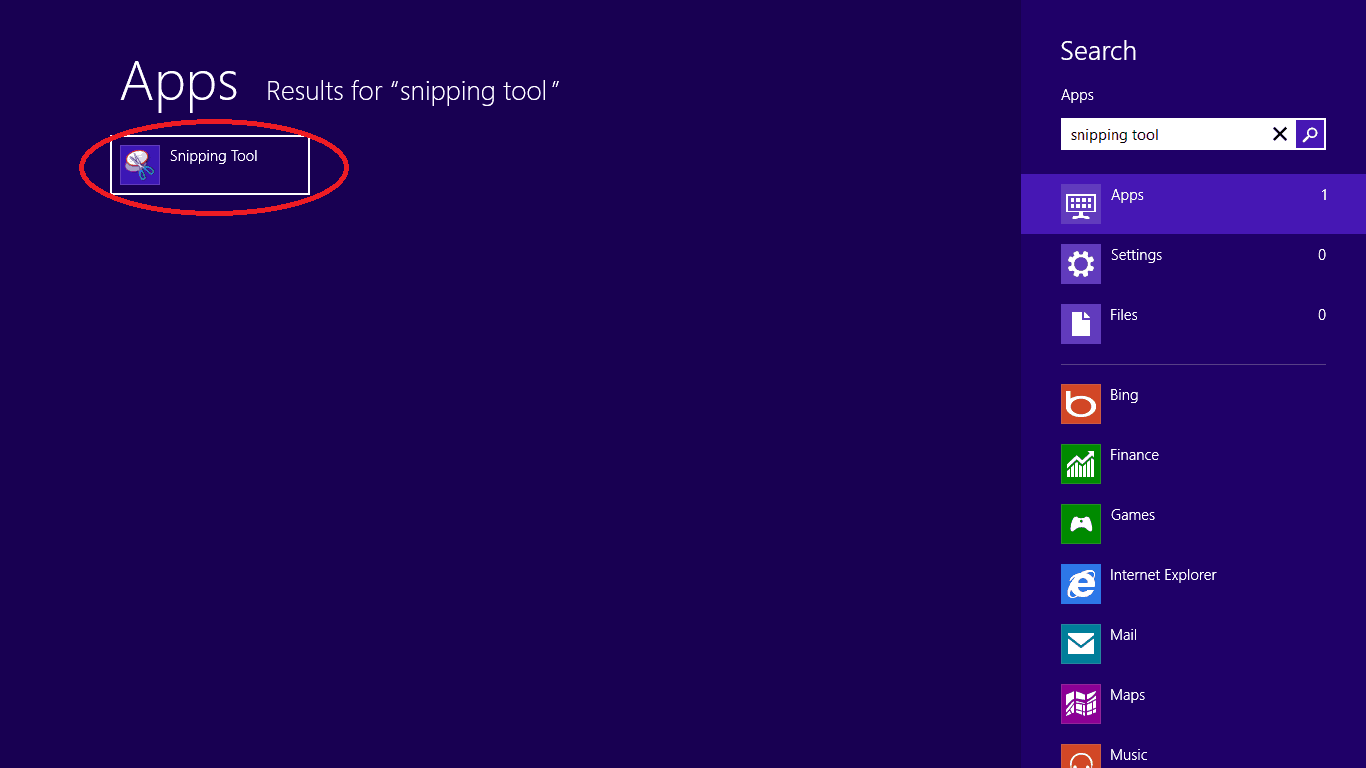
- First thing we need to do to find the Snipping tool is go to the right of the screen under the “charms” bar.
- Lets click (left click)on the “Search” app you have there that looks like a magnifying glass.
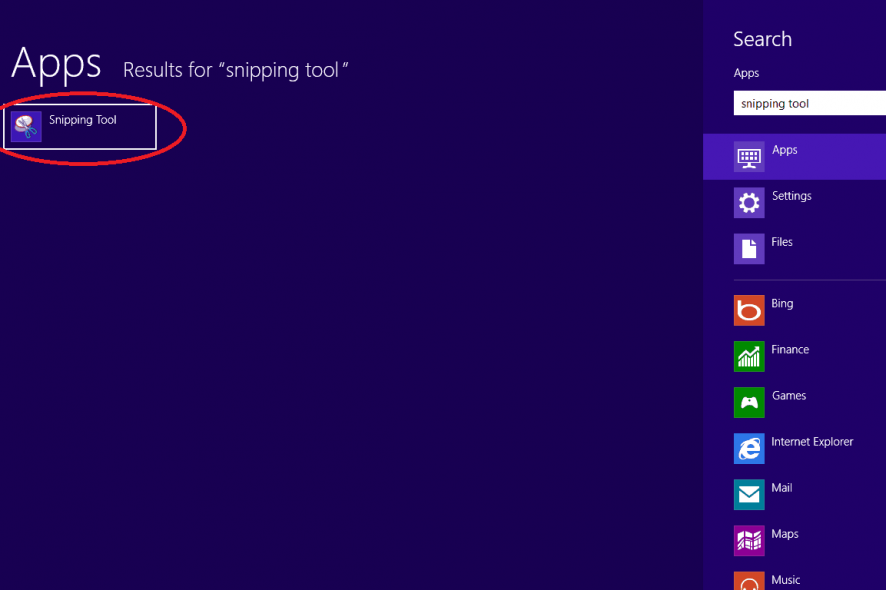
- Type in the search box “Snipping tool”
- Now you should have on the left the “Snipping tool” app
- Click (left click) on the icon you have to the left called “Snipping tool“
- The desktop should now open
- If you click(right click) it should show you the Snipping tool menu on the lower side of the screen,from there you can pin the icon to the start menu or to the taskbar.
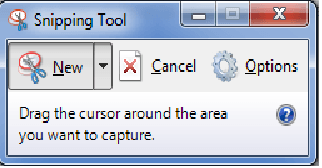
- After you clicked(left click) the Snipping tool icon a window should appear.

- We need to click (left click) on “New” in the Snipping tool window.
- Check if the mouse cursor on the screen changed to a set of cross hairs, if not click again on “New”
- We need to click (left click) on the image we want to save and drag the cursor while holding the click pressed over the entire photo we want to save.
- After we release the click the Snipping window will show how the image looks like
- Click(left click) on “File” in the upper side of the Snipping tool window
- Click(left click) on “Save As”
- Select the location where the Image will be saved .Example :Desktop
- In the box next to “File name” on the “Save as” window write a name for the photo you want to save but be sure to leave the .PNG at the end of the name.
- Click(left click) on “Save” on the lower side of the window “Save As”
- Now you can find your print screen on the directory you’ve chosen to save it.
These are the two methods used for screenshots on Windows RT, if you have anything else to add and any new suggestions please write us a few ideas below.