Select to choose what happens with: Disable/configure this AutoPlay feature
![]() 3 min. read
3 min. read
![]() Updated on
Updated on
Share this article

Improve this guide
Read our disclosure page to find out how can you help Windows Report sustain the editorial team Read more

Windows 10 is pre-loaded with various useful features and most of these built-in capabilities can be easily personalized based on your own preferences. Well, among these features we can detail the AutoPlay engine. Thus, during the lines from below we will learn how to enable, disable and configure this specialized Windows 10 option.
AutoPlay is a default Windows 10 app which is usually initiated automatically when you attach an external device to your computer. The program will recognize the external gadget and will ask what you want to do next – in most situations you will be prompted with the ‘select to choose what happens with…’ message along with a list of options such as: import photos and videos; get your stuff on your PC, tablet and phone; open device to view files; or take no action.
Now, if receiving the ‘select to choose what happens with…’ message each time you want to use an external device is starting to get annoying, you need to smartly configure the AutoPlay software as explained during the following guidelines.
Easily configure the Windows 10 AutoPlay feature
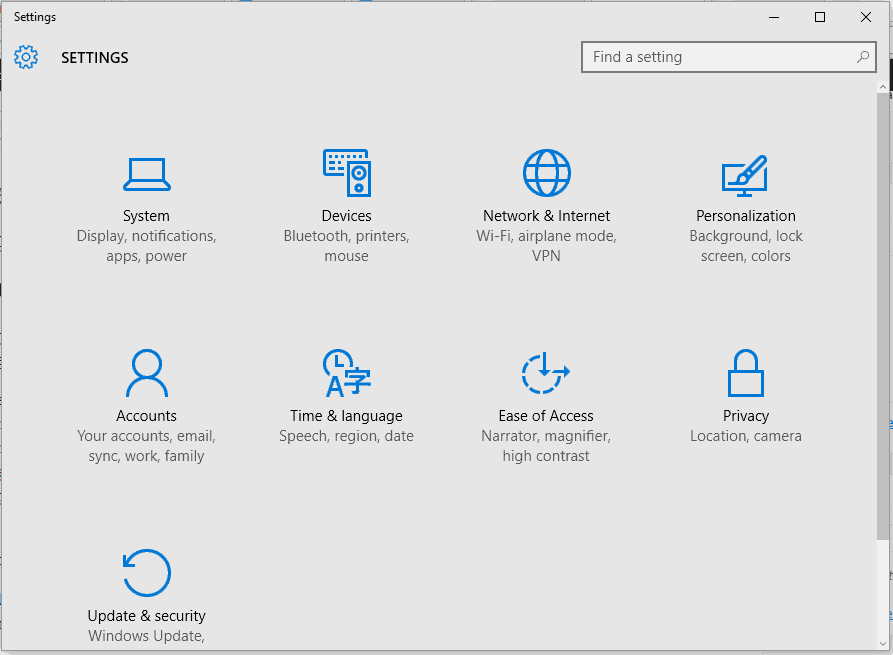
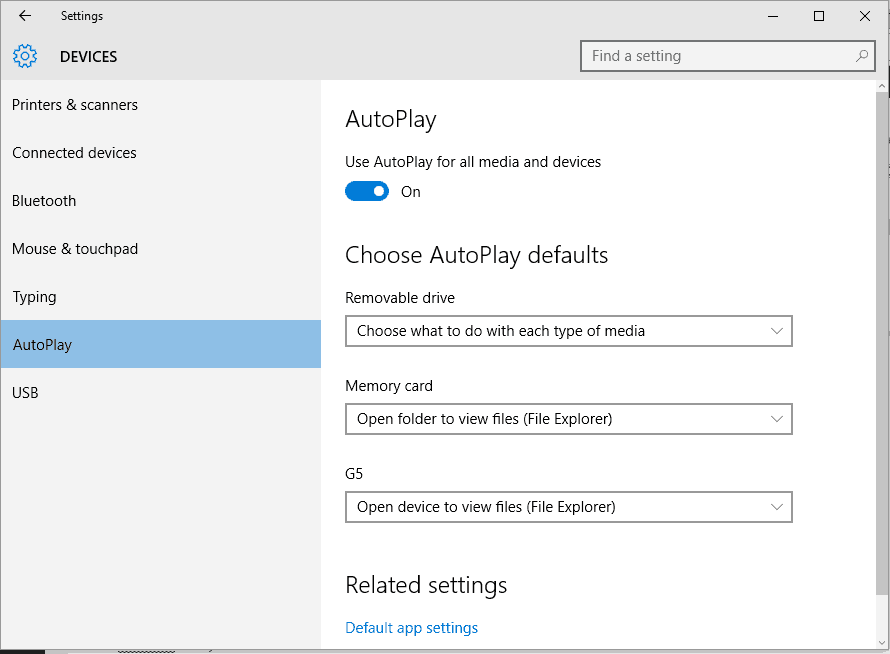
- Press the Win+I keyboard hotkeys and from System Settings click on the Devices entry.

- From the left panel of the main window, click on AutoPlay.
- Now, you can choose how to personalize this feature.

- You can disable this option by switching the check button displayed under ‘Use AutoPlay for all media and devices’.
- You can also set certain AutoPlay settings for each external device that was or will be connected with your Windows 10 PC.
- Just extend the dropdown menu displayed under each entry and choose a certain action that will then be automatically initiated each time you will connect that device with your computer.
- When done, save your changes and reboot.
ALSO READ: Windows Media Player disappeared after update? Here’s how to get it back
You can also configure the AutoPlay option by using Control Panel as explained:
- Click on the Windows search icon – it’s located near the Windows Start button (it’s the same button with the Cortana icon).
- In the search icon type autoplay and click on the result with the same name.
- Now, from Control Panel you will be able to access all the settings that can be used for customizing the AutoPlay field – you can choose what to do with each type of media, you can choose the camera storage partition, you can customize the DVDs section and so on.
So, there you have it; that’s how you can access the AutoPlay feature on Windows 10 in order to decide how to customize and personalize this built-in functionality.
Therefore, you can now choose to configure the ‘select to choose what happens with…’ message and the options that follow. If you still cannot customize this feature or if you need further explanations, don’t hesitate and contact us – you can do it easily and quickly by filling out the comments field from down below.
RELATED STORIES TO CHECK OUT: