FIX: Computer shutdown issues in Windows 10/11, 7
![]() 4 min. read
4 min. read
![]() Updated on
Updated on
Share this article

Improve this guide
Read our disclosure page to find out how can you help Windows Report sustain the editorial team Read more
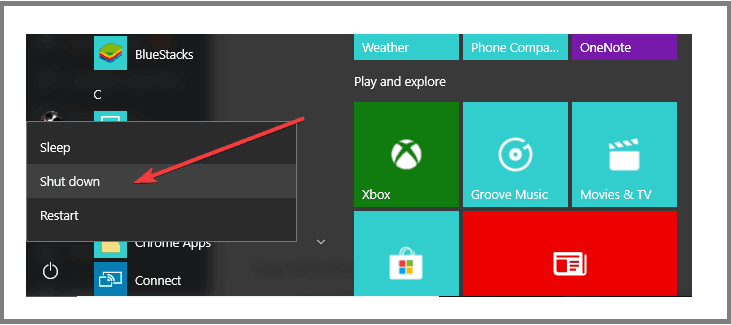
Sometimes, when you first install your Windows 10 operating system, or Windows 7, Windows 8.1 for that matter, you might experience some shutdown problems. When you select the reboot feature on your system and your device is shutting down instead. Or perhaps when you select the shutdown feature or the sleep mode, you PC will just reboot instead of shutting down or entering sleep mode.
The shutdown problems in Windows 10, Windows 8.1 usually come along side the Hybrid Shutdown feature introduced first in Windows 8 systems and also in Windows 8.1 and Windows 10 systems. This feature is meant to decrease your device’s start-up time but unfortunately when you have shutdown problems in most of the cases it is caused by this feature. You don’t have to worry because we will show you below how you can disable the “Hybrid Shutdown” feature and fix your Windows 8.1 or Windows 10 operating system.
How to fix PC shutdown problems in Windows 10, 7
- Disable Fast Startup
- Disable dynamic tick
- Reset your power plan
- Additional solutions to fix computer shutdown issues
1. Disable Fast Startup
Note: The steps to follow may be a bit different depending on your OS version, but you can quickly locate the ‘Turn on Fast Startup’ option in Control Panel.
- Move the mouse cursor over the upper right side of the screen in order to open the Charms bar menu.
- Left click or tap on the search feature presented there.
- Type in the search box the following text “power” without the quotes.
- Left click or tap on the “Settings” feature presented after the power search.
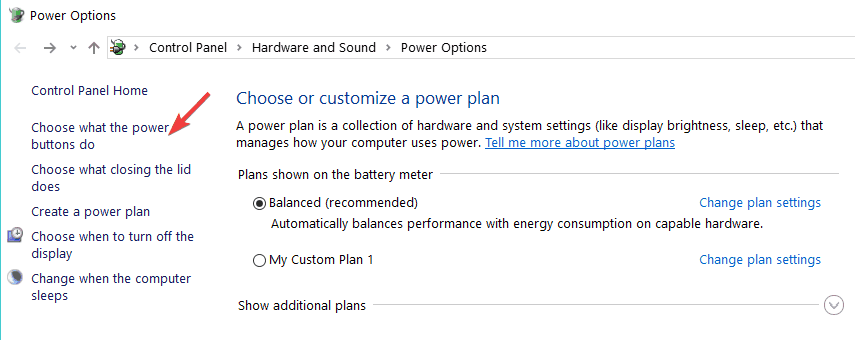
- Left click or tap on the “Change what the power buttons do” feature presented in the left side of the window.

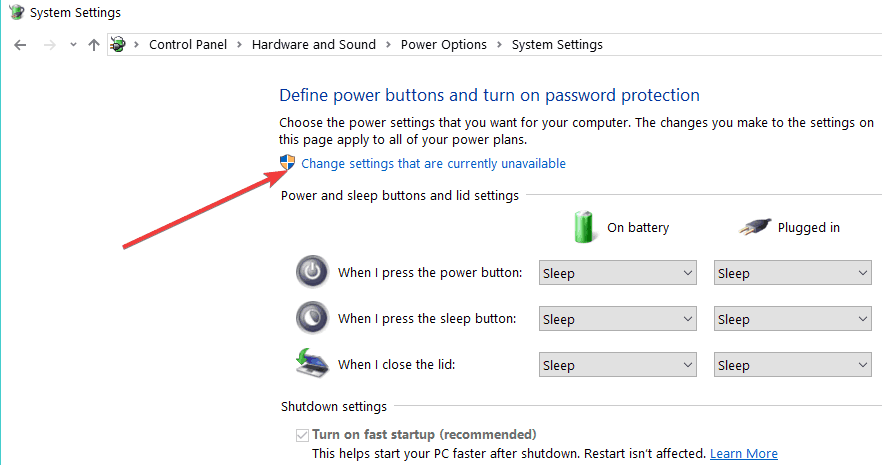
- Now you should have in front of you the “System Settings” window.
- You will have to go all the way to the end of the list presented in the right side of the “System Settings” window.
- Find the feature “Turn on fast startup (recommended)” and uncheck the box next to it in order to disable this feature.
Note: If this option is not available and you cannot check or uncheck the box next to it then you will have to go in that list all the way to the top and left click on the “Change settings that are currently unavailable” link in order to activate this feature.
- Reboot the Windows 8.1 or the Windows 10 operating system.
- Try shutting down your device and see if it reacts differently. If you still have issues with the shutdown feature after this then do the next method posted below.
2. Disable dynamic tick
- Press and hold the button “Windows” and the button “X”.
- After you opened up the menu you will have to left click on the “Command Prompt as Administrator” to open it.
- In the command prompt window you will need to write the following line “bcdedit /set disabledynamictick yes” without the quotes.
Note: Be sure to type the command exactly how it is written above and include a space between the line “bcdedit /set disabledynamictick” and the “yes” word. - Press the “Enter” button on the keyboard.
- Reboot the Windows 8.1 or the Windows 10 device and see if you still have this issue.
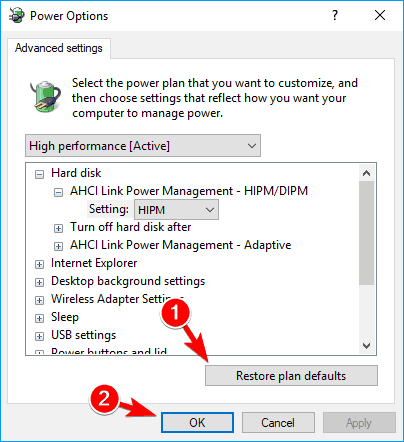
3. Reset your power plan
If you’re using a customized power plan, try resetting it to default:
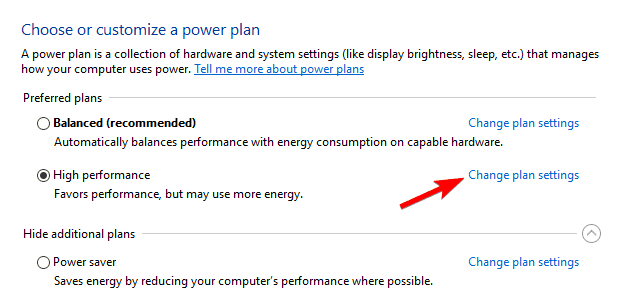
- Open Control Panel and go to Power Options
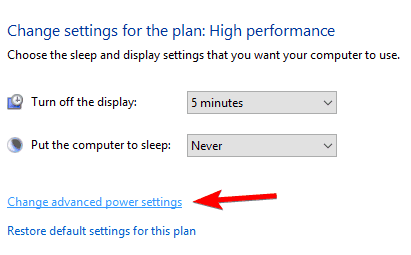
- Locate your current power plan > select Change plan settings

- Navigate to Change advanced power settings

- Select Restore plan defaults > hit Apply and OK

4. Additional solutions to fix computer shutdown issues
If the issue persists, try installing the latest Windows OS updates, as well as the latest driver versions. In order to prevent PC damage by installing the wrong driver versions, we strongly recommend using specialized software.
The best practice for your system to work properly is to update all your outdated drivers, and that is a tedious process. Thus, with this tool, you can do it automatically.
- Download and install Outbyte Driver Updater.
- Launch the software.
- Wait for the app to detect all faulty drivers.

- Now, it will show you all the malfunctioning drivers listed to select the ones to Update or Ignore.
- Click on Update & Apply Selected to download and install the newest versions.
- Restart your PC to ensure the applied changes.


Outbyte Driver Updater
Secure your Windows PC with Outbyte from various errors caused by problematic drivers.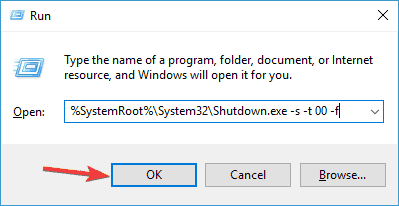
You can also run a shutdown command to turn off your computer. Go ahead and press Windows Key + R to open the Run dialog and then enter %SystemRoot%System32Shutdown.exe -s -t 00 -f and hit Enter to launch the command. Your computer should shutdown shortly after you hit Enter.
So, the methods listed above should help you fix your computer shutdown issues in Windows 10, 8.1 so that you can carry on your normal activity on your Windows device. If you have any questions on this topic, please let us know in the comment section below.
RELATED STORIES TO CHECK OUT: