Fix Audio Static in Windows 10 Permanently in 6 Easy Steps
Check easy-to-follow solutions for quick troubleshooting
![]() 6 min. read
6 min. read
![]() Updated on
Updated on
Share this article
This article is translated in

Improve this guide
Read our disclosure page to find out how can you help Windows Report sustain the editorial team Read more
Key notes
- Static audio on Windows 10 is an unpleasant issue that can be caused by outdated drivers.
- Another possible cause of this problem is the wrong power settings and plan.
- A simple yet effective fix to this issue is to change the Minimum processor state.
Static audio is one of the few annoying things you notice if the sound is not working well in Windows 10. This problem can be down to various factors, from hardware faults to software issues.
Irrespective of the cause, this guide will show you to fix this and restore your audio quality permanently.
Why am I getting static audio on Windows 10?
When you get static or sometimes buzzing noise on your PC, it could be because of the following reasons.
- Wrong power setting – If you get static audio on the Realtek driver on Windows 10, it could be because your power setting is not optimized. The fix is to choose the high-performance power option.
- Outdated chipset driver – If you are wondering Why does my audio sound static?, outdated drivers could be the underlying cause. You can solve this by updating the drivers from your PC’s manufacturer’s website.
- Wrong sound format – Some users complained that a wrong sound format caused this issue. By adjusting the sound format, many were able to fix the Windows 10 USB audio static and other forms of the issue.
How can I fix the audio static on Windows 10?
Before we head to the slightly complex solutions, here are a few quick ones to try:
- Restart the computer.
- Ensure the connection is in order and the cable is not damaged.
- If you have plugged the audio device into a USB 3.0 port, disconnect it and then connect it to a USB 2.0 port on the PC. Some devices do not yet function optimally with the latest major version of Universal Serial Bus and may cause Windows 10 USB audio static.
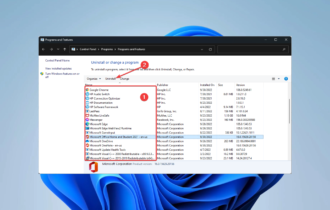
- In case you have a program that modifies the sound parameters or properties, uninstall the app and verify whether the problem is resolved.
If none work, head to the fixes listed next.
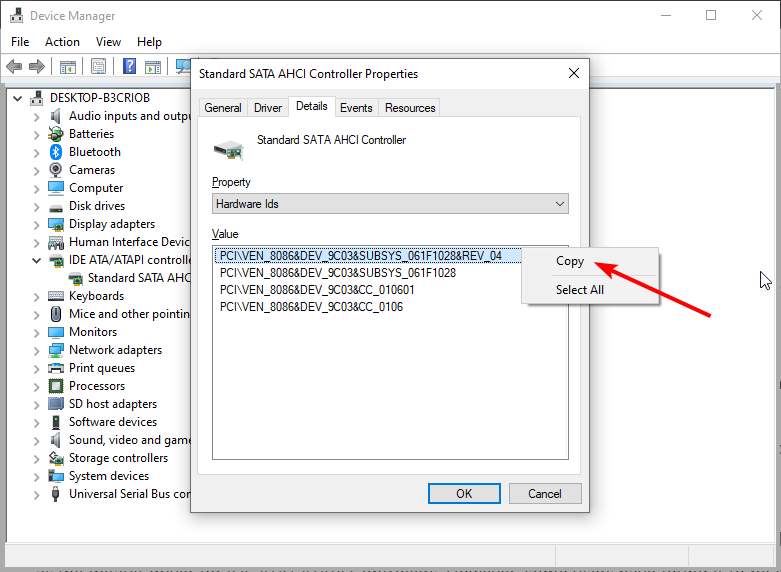
1. Download the correct Standard SATA AHCI Controller
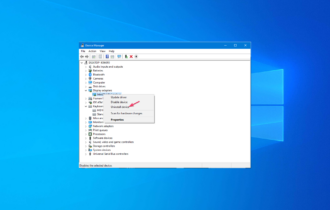
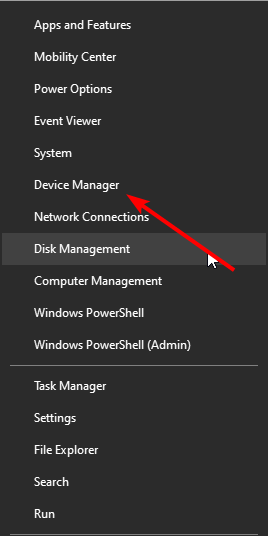
- Press the Windows key + X and select Device Manager.

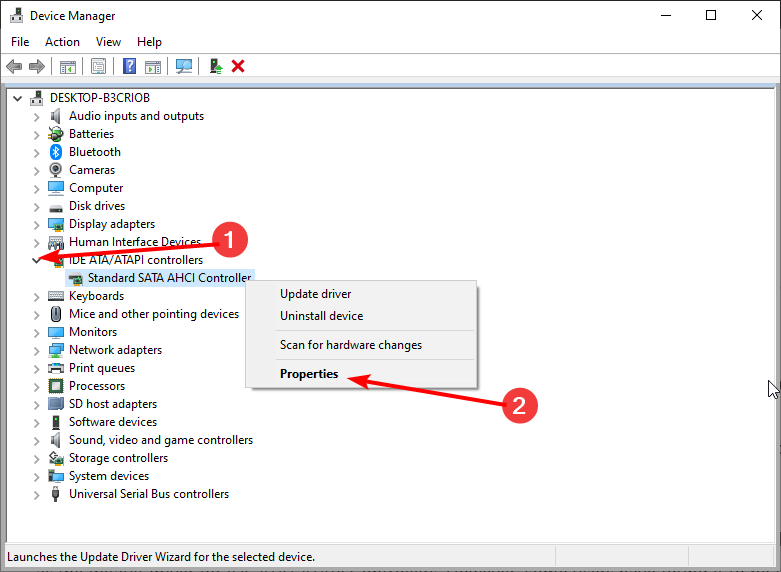
- Click the arrow next to IDE ATA/ ATAPI Controllers option to expand it and right-click the driver there.
- Choose the Properties option.

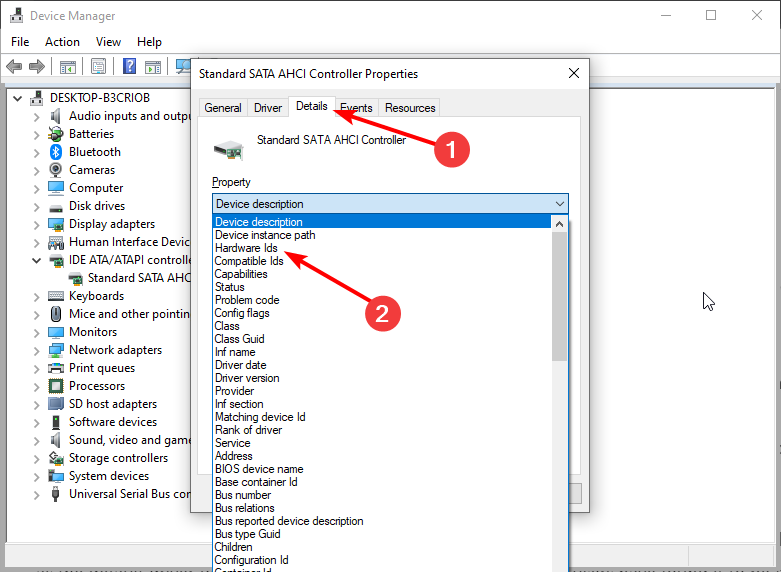
- Now, click the Details tab at the top and click the Property dropdown, and select Hardware Ids.
- From here, right-click the top item and select the Copy option under the Value section.
- Now, search for the device ID on Google to download the correct version of the driver for your device.


The Standard SATA AHCI Controller comes as the default driver for IDE ATA/ ATAPI Controllers. However, some users have found it to cause the audio static issue on windows 10.
This is because the available version cannot do the required job. Hence, it is important to download the latest version from the manufacturer’s website.
Also, outdated or corrupt drivers could cause Windows 10 sound cracking with Realtek. In this case, you will need to install the latest Realtek audio driver in Windows 10.
However, we recommend you use PC HelpSoft Driver Updater(100% safe and tested by us) to update your drivers automatically. You might also need to update other drivers, like the sound driver, to fix the issue. And doing this manually will be stressful and time-consuming.
This is a tool specialized in driver updates. It automatically scans your PC, finds outdated drivers, and updates them to their latest versions.
⇒ Get PC HelpSoft Driver Updater
2. Run the sound troubleshooter
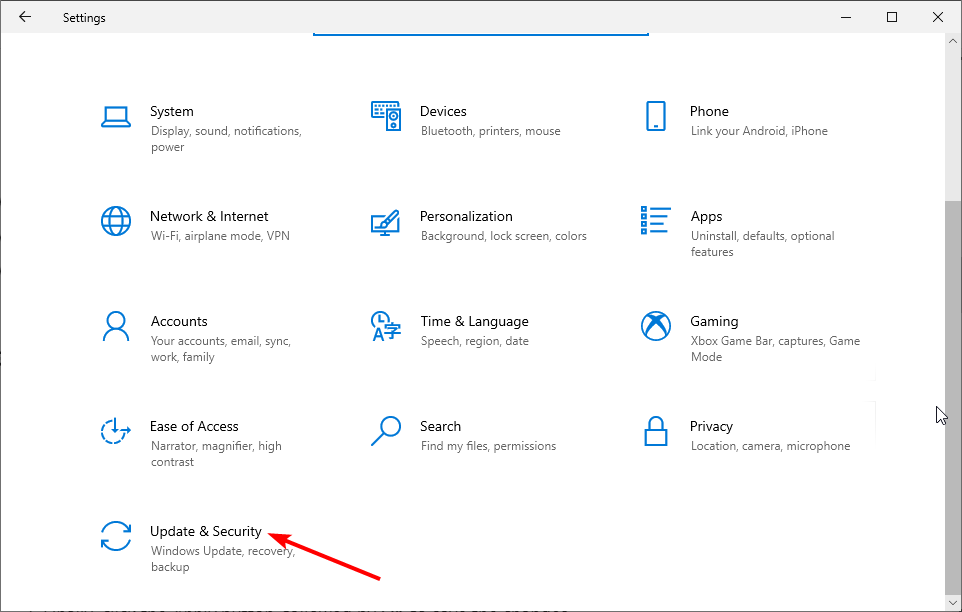
- Press the Windows key + I and select Update & Security.

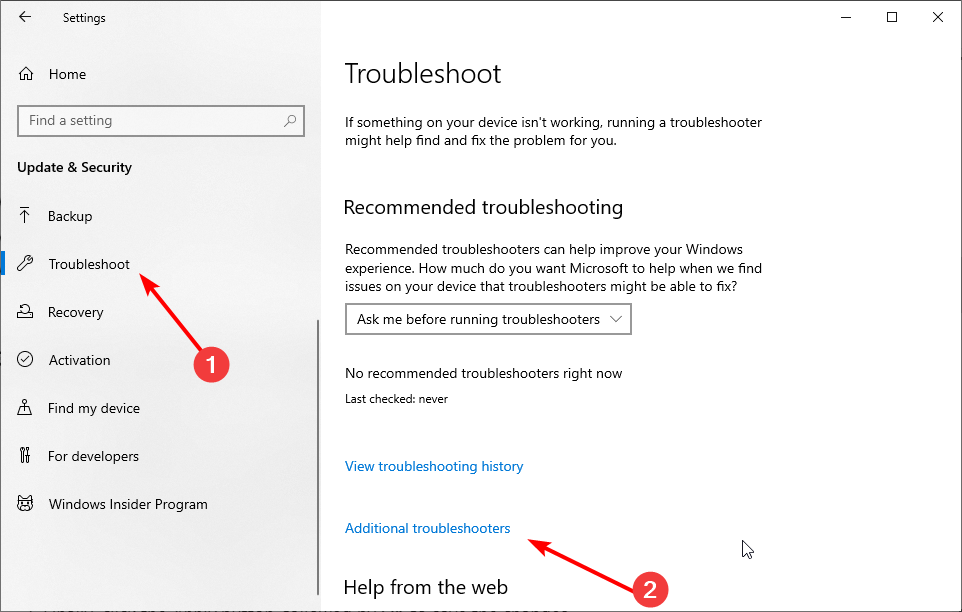
- Click Troubleshoot in the left pane and select Additional troubleshooters.
- Finally, choose Playing Audio and click the Run the troubleshooter button.
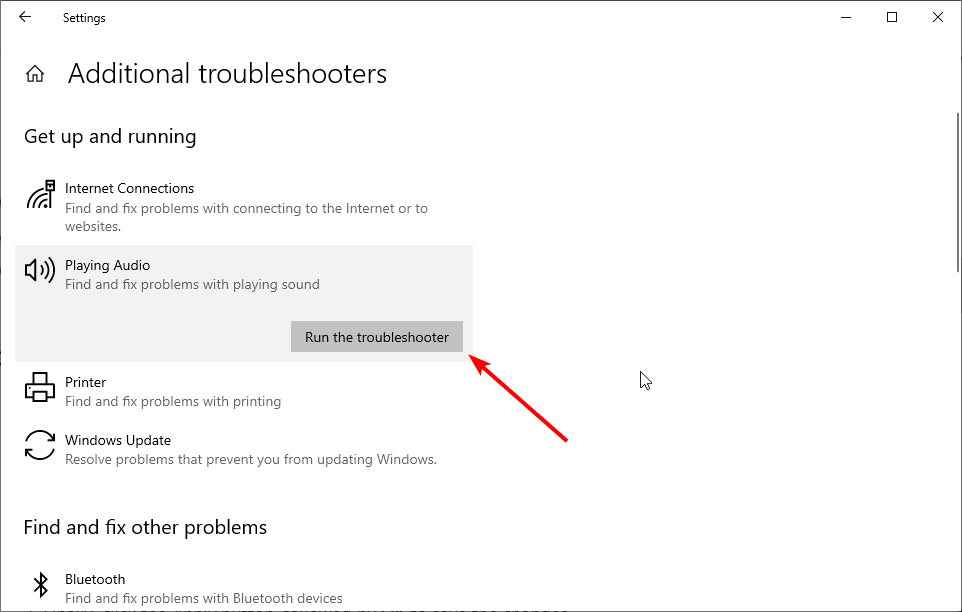
Windows 10 come with various troubleshooters that are handy when it comes to fixing issues. The Playing Audio troubleshooter has proven to diagnose and recommend potential solutions to the audio static windows 10 issue.
3. Change the Minimum Processor State
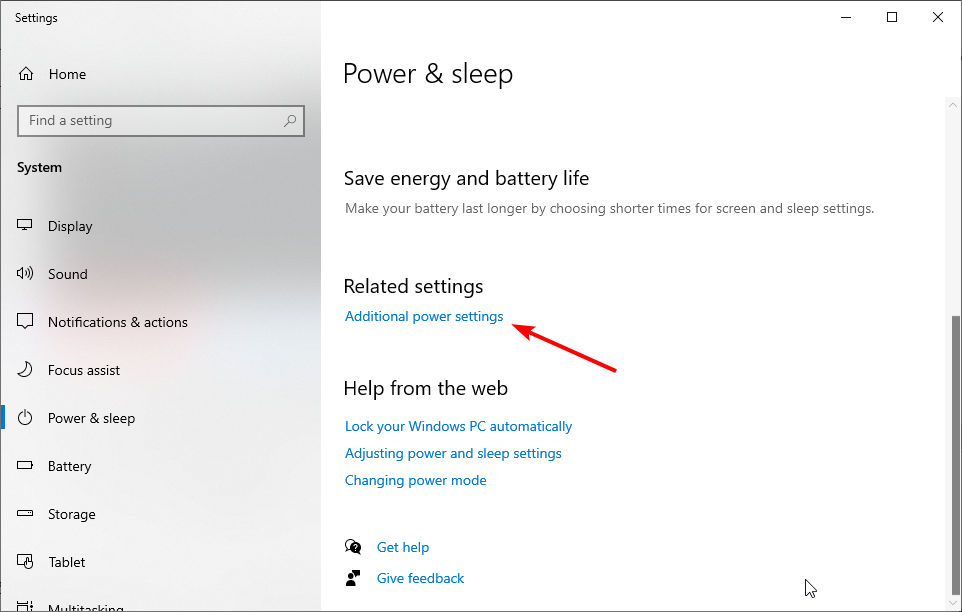
- Press the Windows key, type power and, and choose the Power & sleep settings option.

- Choose Additional power settings under Related settings.
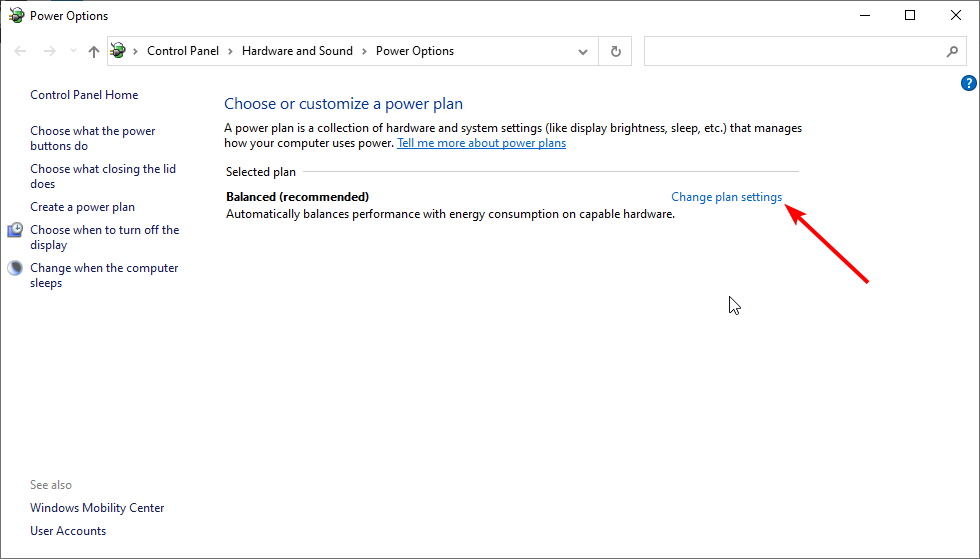
- Now, select the Change plan settings option.

- Click the Change advanced power settings option.
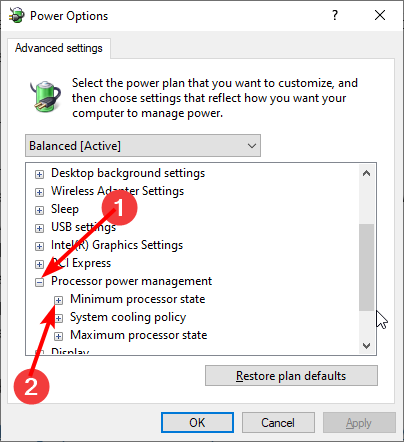
- Now, expand the Processor power management option and followed by Minimum processor state.

- From here, click the On battery and Plugged in options and set their values to 100%.
- Finally, click the Apply button, followed by OK to save the changes.


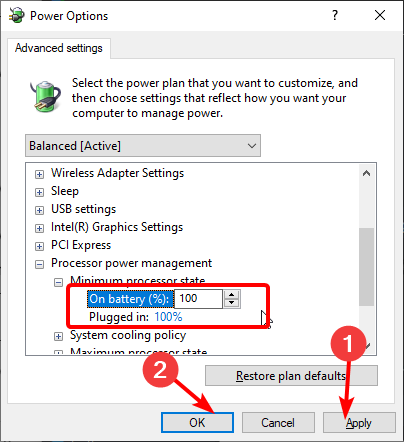
Sometimes, the reason you are getting static audio on Windows 10 is insufficient power allocation. The steps above help to fix this and restore your sound quality.
4. Switch power plan
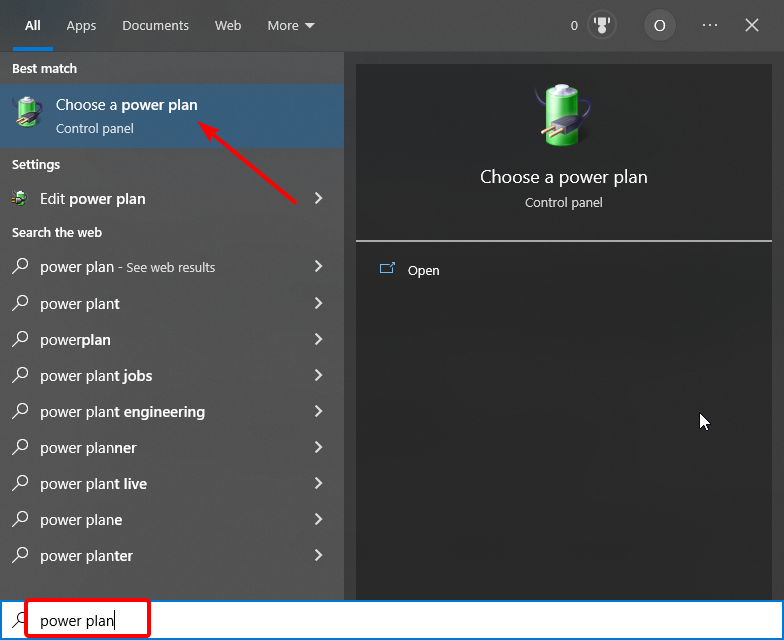
- Press the Windows key + S, type power plan and select Choose a power plan.
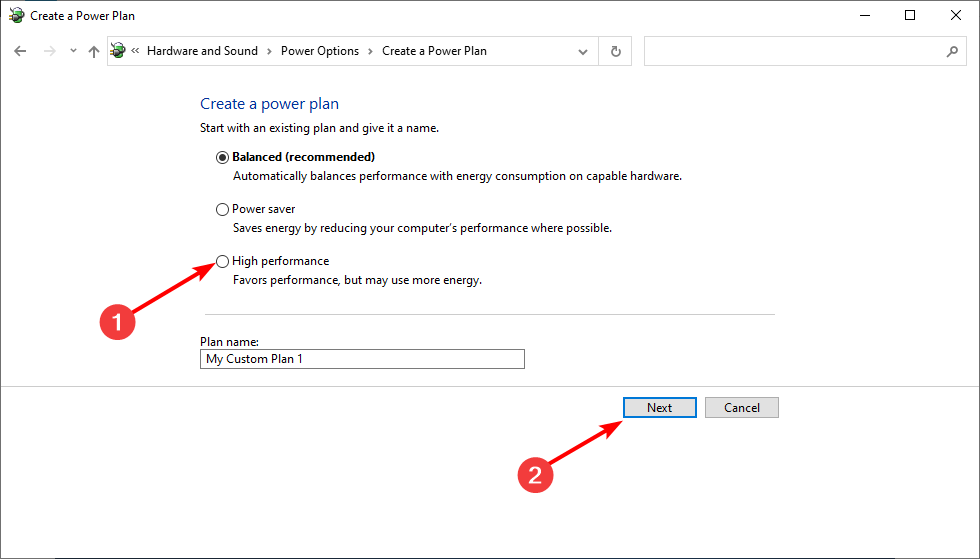
- Select Create a power plan in the left pane.
- Now, tick the radio for High performance and click the Next button.
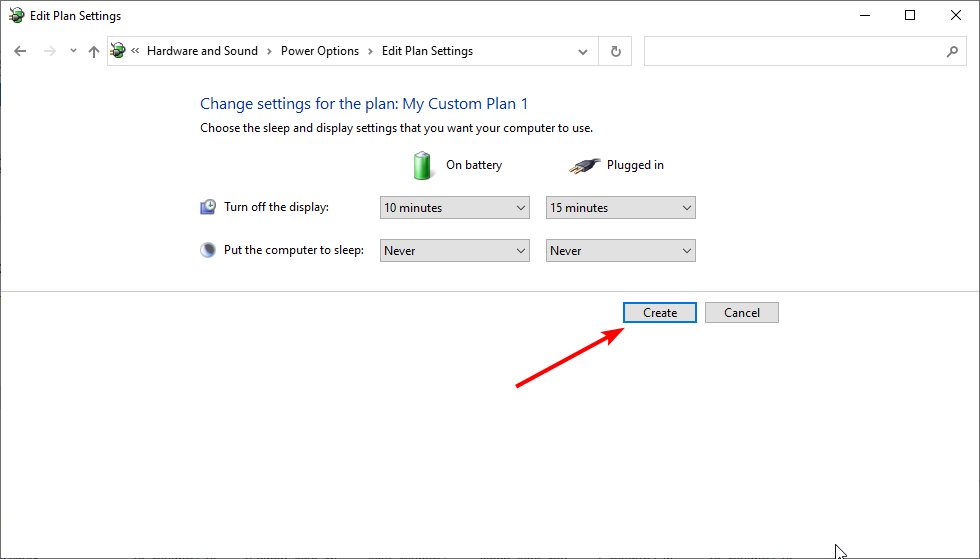
- Finally, click the Create button to save your new power plan.

Sometimes, the Balanced option might not be enough to power the speakers and the audio outputs connected to your PC. This might lead to the audio static on Windows 10 issue.
It should be noted that the High performance plan will drain your battery fast. However, it has proven to solve the issue for many users. Also, changing the power plan will fix audio static in Windows 11.
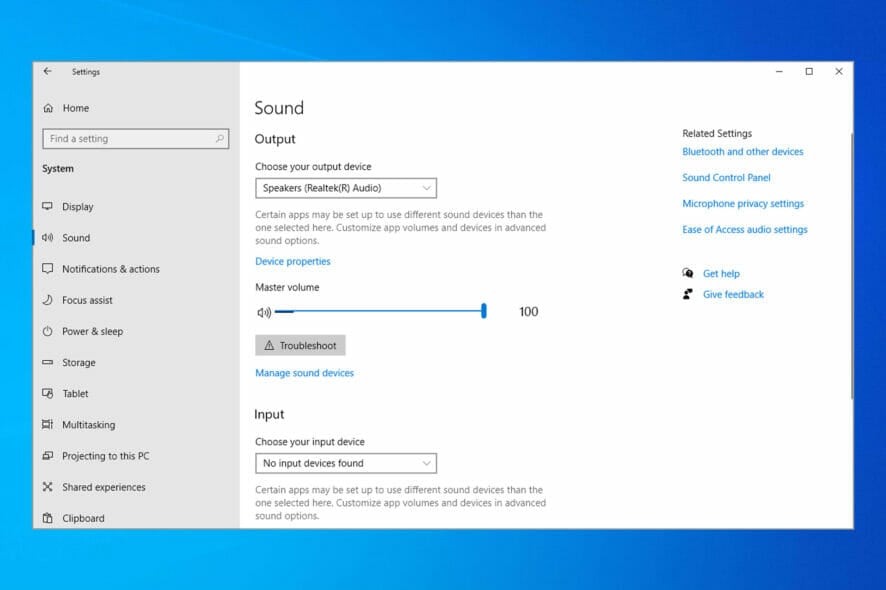
5. Change the audio format
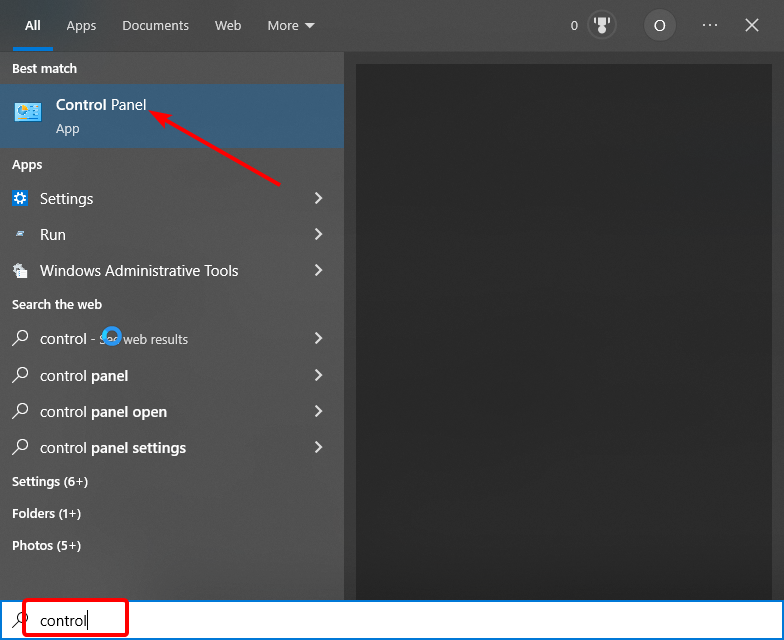
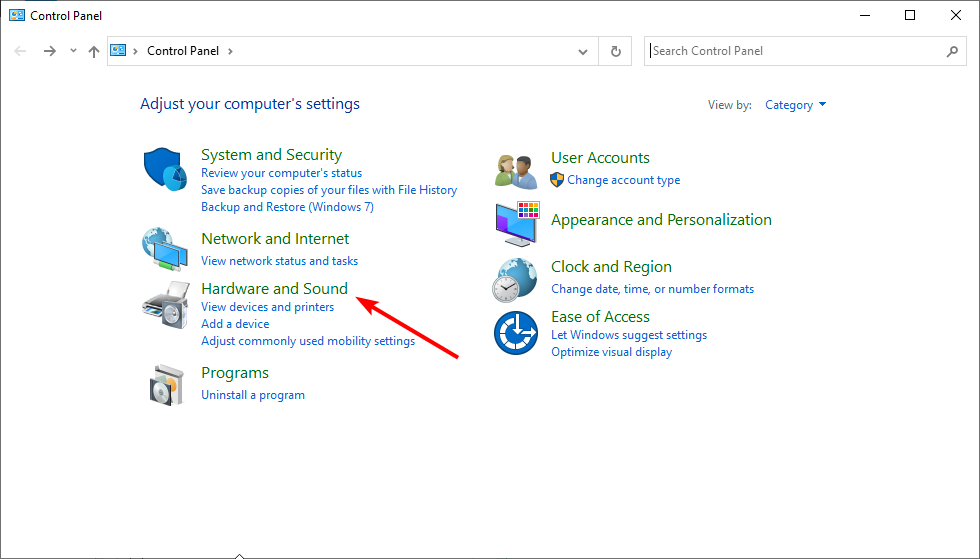
- Press the Windows key + S, type control, and select Control Panel.
- Choose Hardware and Sound from the options.
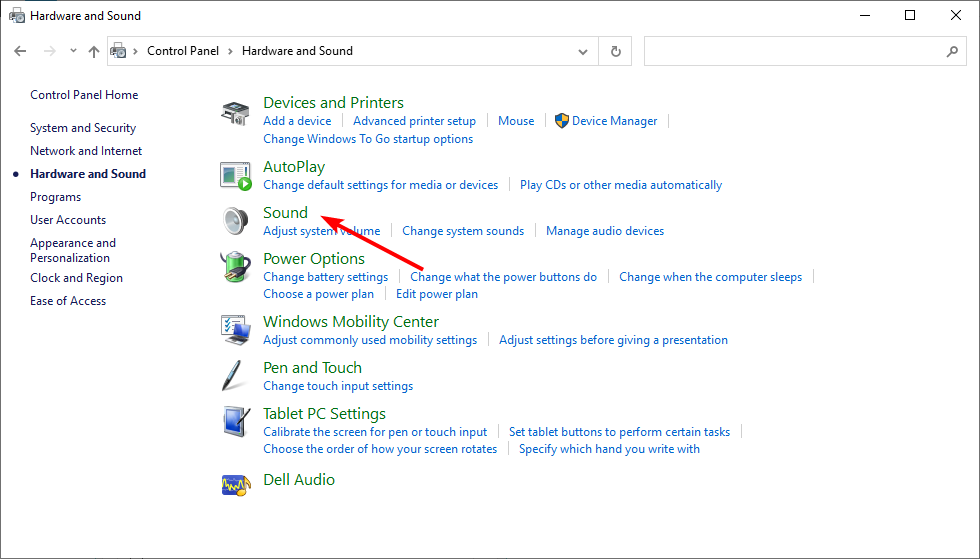
- Select Sound.
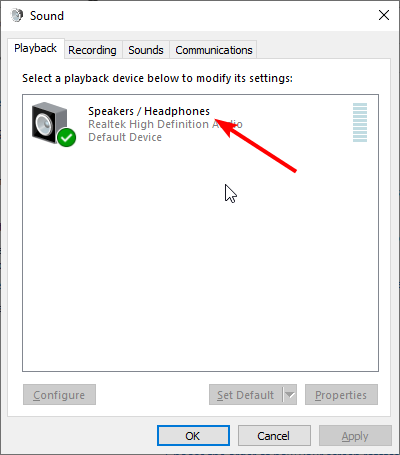
- Double-click your speaker to open the properties.

- Now, choose the Advanced tab at the top, click the dropdown under Default Format and choose the 16 bit, 44100 Hz (CD Quality) format.
- Click Apply, followed by OK to save your settings.
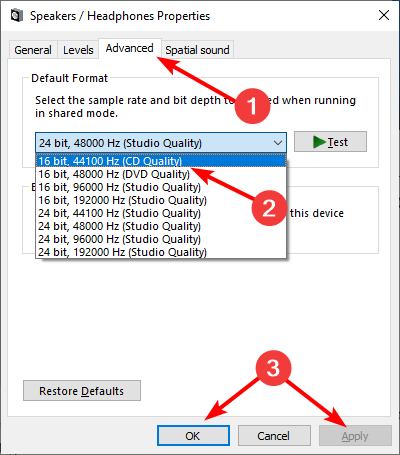
Some users confirmed that changing the audio format to 16 or 24 bits fixed static audio on Windows 10 issue. So, you can alternate between these two formats and see the one that works for you.
6. Change the display resolution
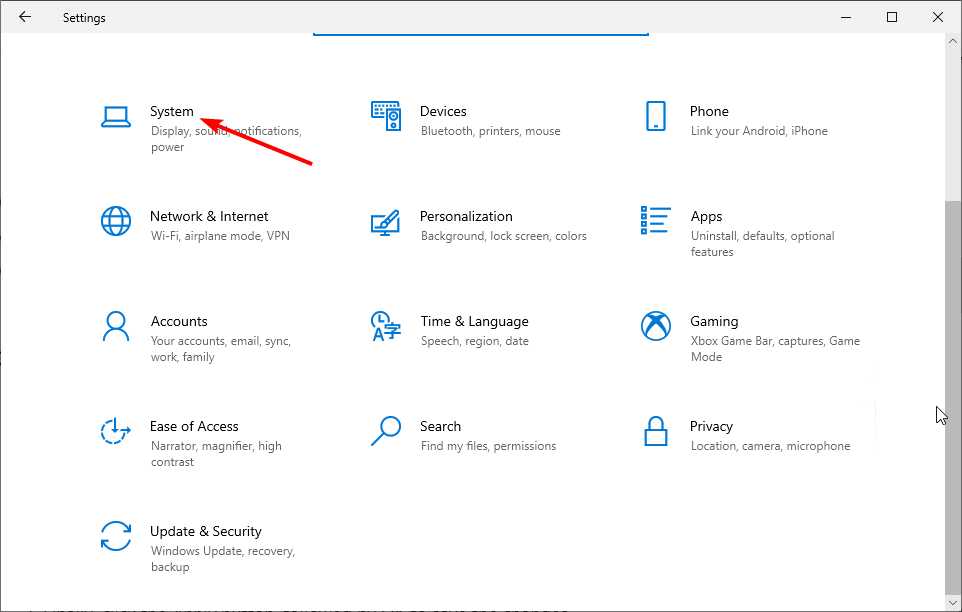
- Press the Windows key + I and select the System option.
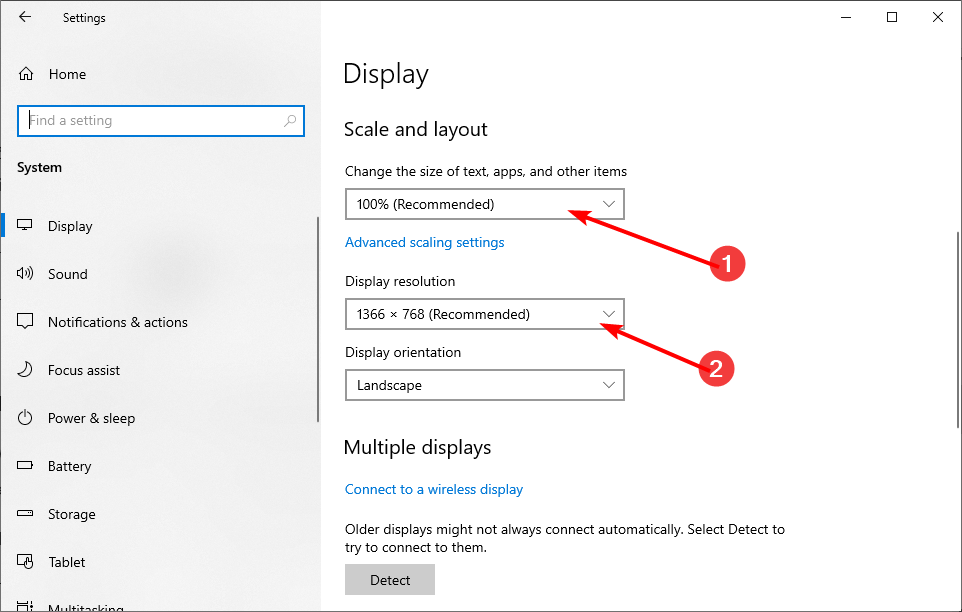
- Click the dropdown under Scale and layout and choose the recommended setting.
- Finally choose the recommended setting for the Display resolution too and restart your PC.
Sometimes, when you tamper with the display resolution and layout, you might have sound issues on your PC. This is because when you watch a video with a higher resolution than advised, it increases the video load. Consequently, this affects the sound quality.
There you have it. We believe you should be able to fix the audio static on Windows 10 issue with the information in this guide.
Also, find the best audio drivers for Windows, and get a finer audio experience.
Please, feel free to let us know if you could fix this issue with any of the solutions in this guide.