Fix: Unable to Connect to Wi-Fi After Update [Windows 10/11]
Give a try to these quick methods now
![]() 6 min. read
6 min. read
![]() Updated on
Updated on
Share this article

Improve this guide
Read our disclosure page to find out how can you help Windows Report sustain the editorial team Read more

How to fix Wi-Fi connection issues after updates in Windows 10?
- Disable and re-enable the driver
- Manually install WiFi driver
- Update drivers automatically
- Physically reset the router
- Run a system recovery
- Troubleshoot your internet connection
- Use commander
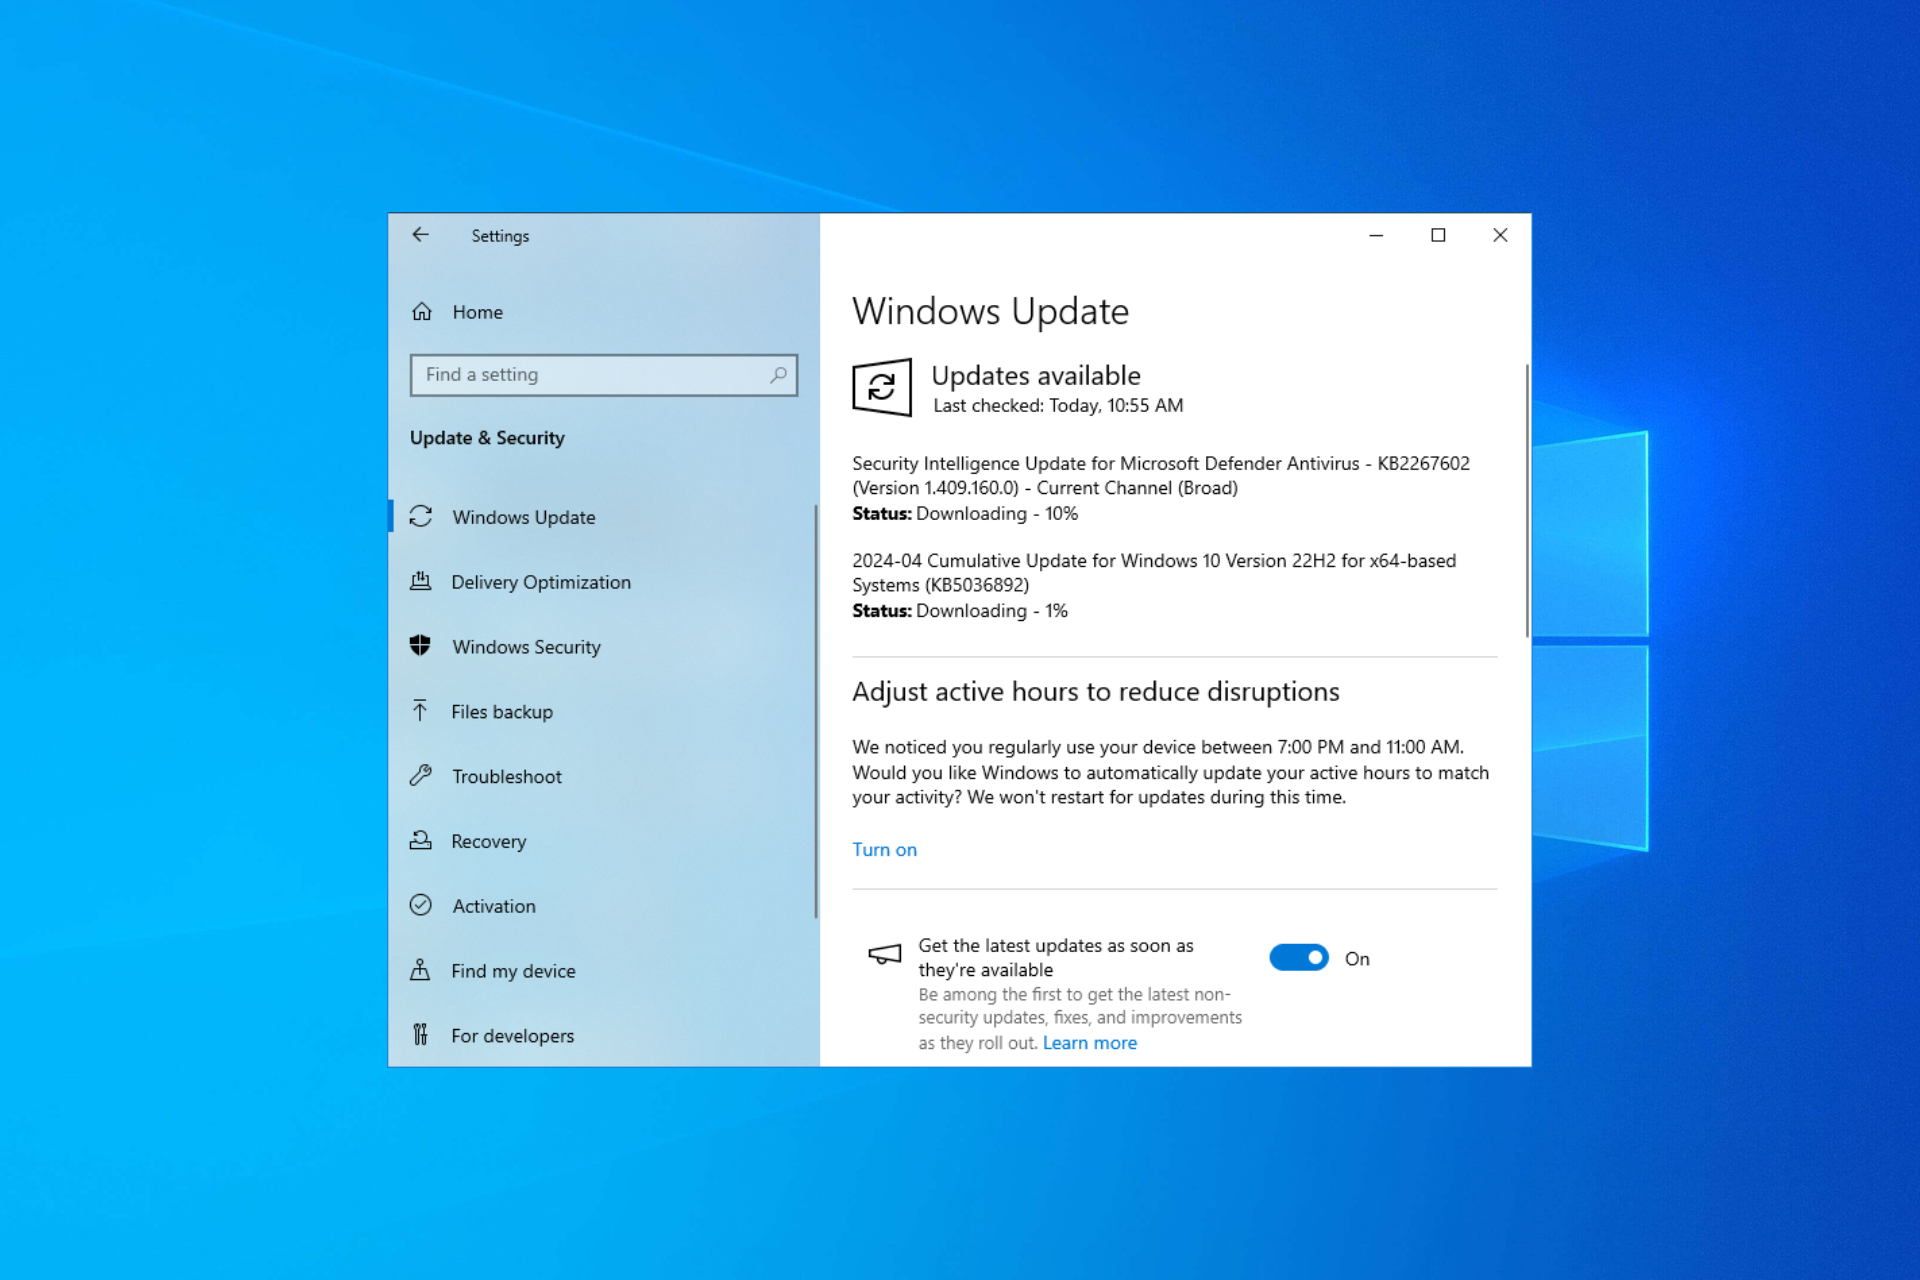
It seems that on a number of specific laptops and Desktop devices that are upgraded with the new Windows 8.1 or Windows 10 operating system the Wi-Fi connection suddenly stopped working.
Whether it was in the form of limited connectivity or unable to recognize the wireless network you will see by following the lines below how to solve the Wi-Fi connectivity and get your Windows 8.1 or Windows 10 up and running.
Basically, after the upgrade to Windows 8.1 or Windows 10 your Wi-Fi adapter drivers will suffer some issues and this is mainly because they are not compatible with the new operating system you installed.
We will check below in the device manager feature to see if the driver is operating as expected and if it is we will also going to make sure it is compatible with the system.
How to fix Wi-Fi connection after updates in Windows 10
1. Disable and re-enable the driver
- Right click on an open space from the start screen and left click or tap on the “All Apps” feature.
- Now under the “Windows System” topic left-click or tap on the “Control Panel” icon.
- From the Control Panel window left-click or tap on the “Hardware and Sound” option.
- Now from the Hardware and Sound window left-click or tap on the “Device Manager” feature.
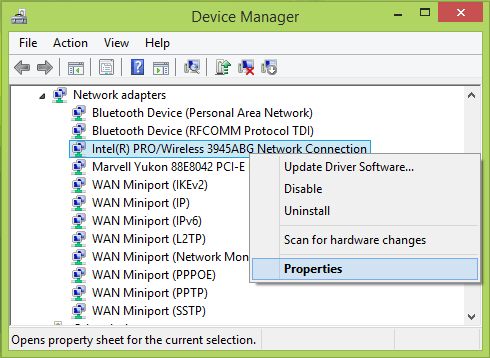
- On the left side of the “Device Manager” window left-click or tap on the “Network Adapters” topic to expand it.
- Find your wireless adapter driver there and first check to see if it has a yellow exclamation mark beside it.
- Right-click or tap on the wireless adapter driver.
- Left click or tap on the “Disable” feature.
- Now right click again on the driver and left click on the “Enable” feature.
- Reboot the Windows 8.1 or Windows 10 device and check if the Wi-Fi works.
- If the Wi-Fi connection is still the same then go again to the Wireless adapter in the Device manager window.
- Right-click again on the driver.
- Left click or tap on the Properties option.
- From the Properties window left-click or tap on the Driver tab situated in the upper side of the window.
- Left click or tap on the Update Driver feature.
- Follow the instructions on the screen to finish the update.
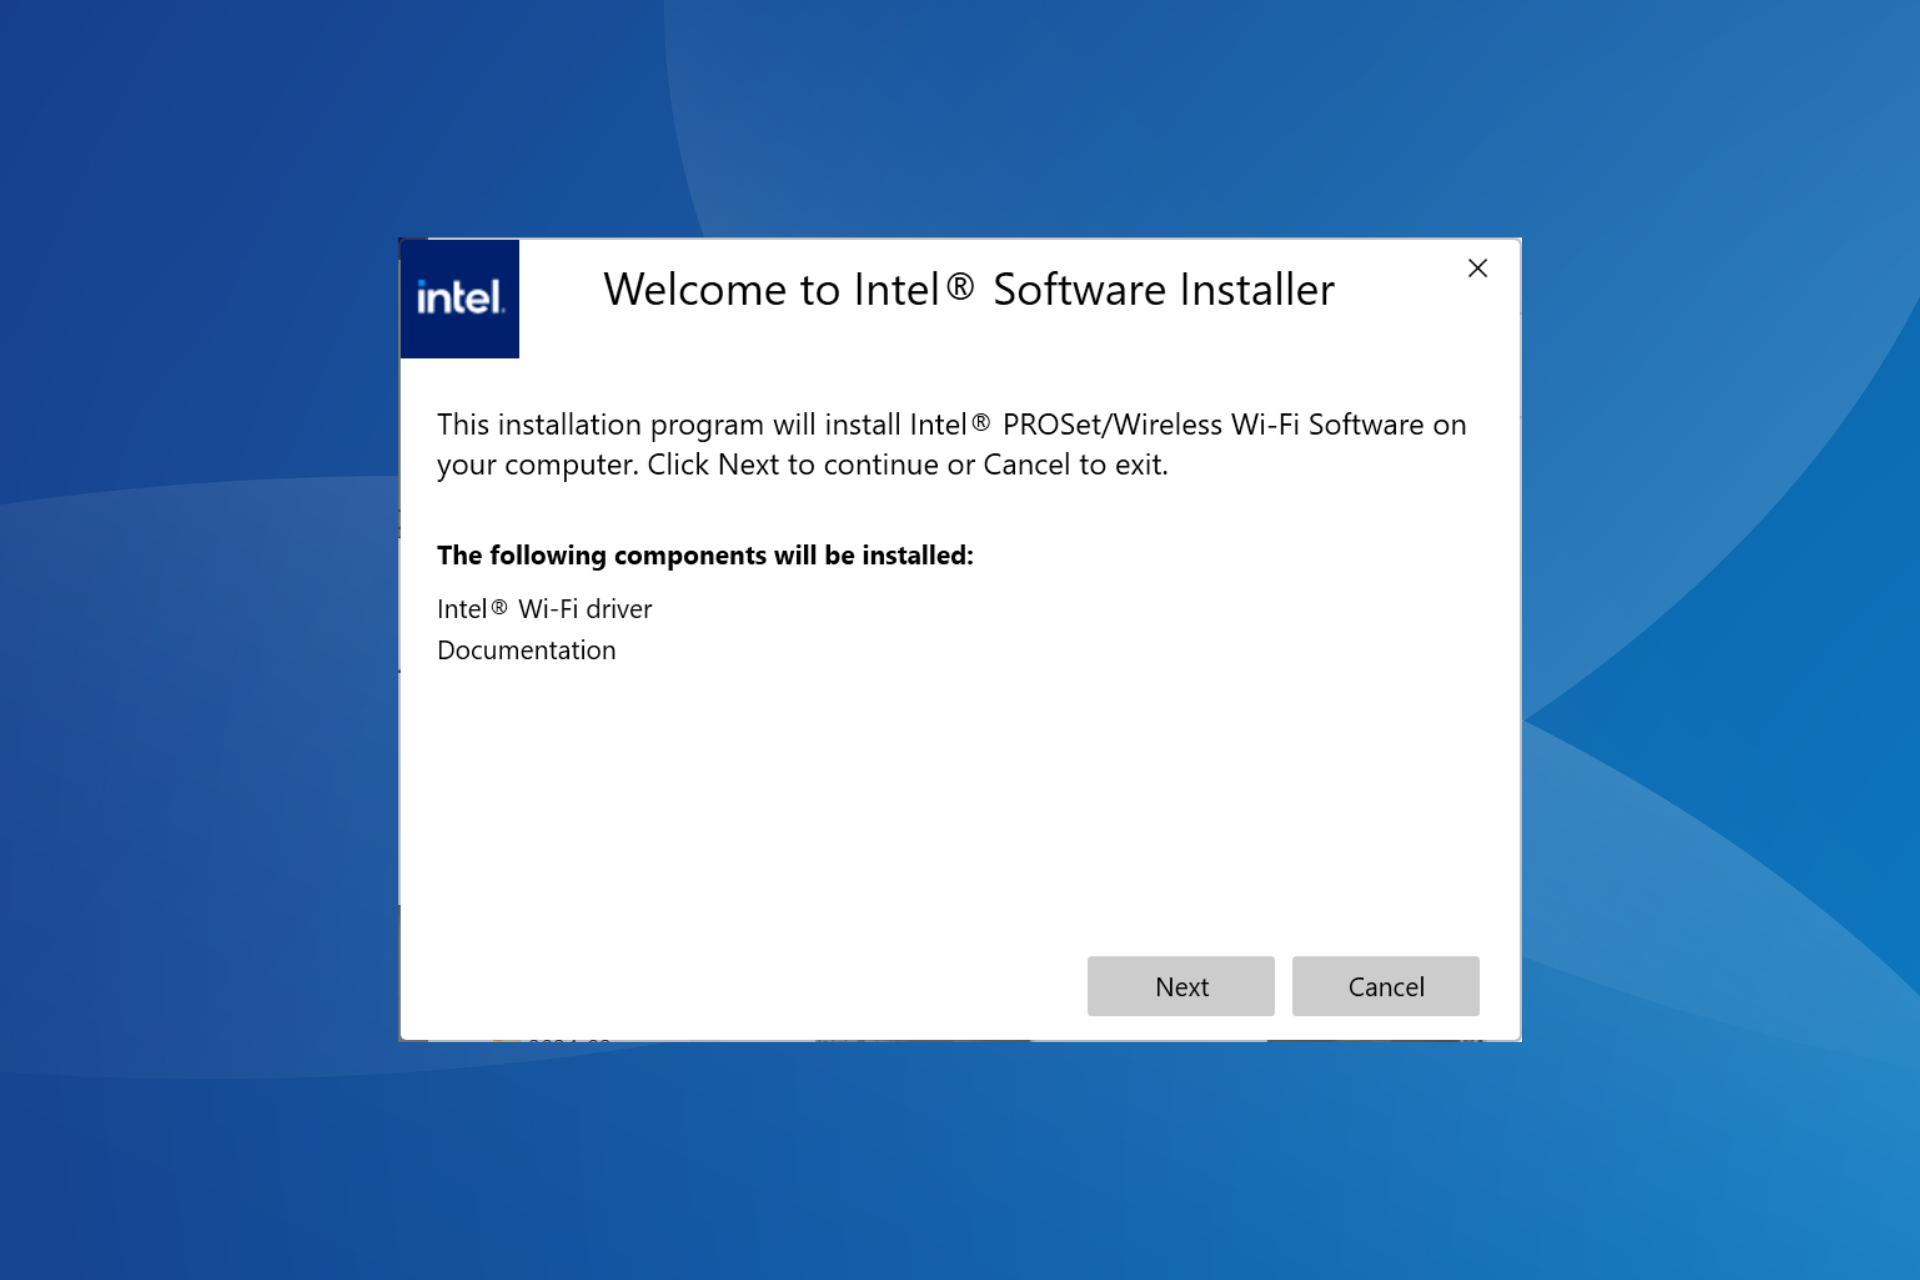
2. Manually install Wi-Fi driver
- Download the latest Wi-Fi driver from the manufacturer’s website.
- Go to the executable file of the Wi-Fi driver after you completed the download.
- Right-click on the executable file of the driver.
- From the menu that pops up, you will need to left-click or tap on the Troubleshoot Compatibility feature.
- Left-click or tap on the Troubleshoot Program option.
- Now if the driver worked in the previous version of Windows you were using then check the box next to The program worked in earlier versions of Windows but won’t install or run now.
- Left click or tap on the Next button.
- Now check the box next to the previous version of Windows you know the driver worked.
- Left click or tap on the Next button.
- Now follow the instructions on the screen to finish the driver install.
- Reboot the Windows 8.1 or Windows 10 device after the installations are completed and check your Wi-Fi connectivity.
3. Update the drivers automatically
You may experience Wi-Fi not working in Windows 10 owing to outdated or faulty Wi-Fi drivers. So, if you are experiencing problems with Wi-Fi or other driver-related difficulties, you should install the most recent drivers or update those that are already installed.
Unfortunately, the manual update of the drivers is time-consuming and it’s not always successful, even after installing the correct piece of software.
That’s why we recommend a professional utility that will update and repair your drivers automatically and quickly with just a few clicks from your side.
This means you only need to install Outbyte Driver Updater, and it will communicate with your PC to locate the necessary driver for your situation.
4. Physically reset the router
- Unplug the Wireless Router from the power socket.
- Wait approximately one minute.
- Plug the wireless router back into the power socket.
- Reboot the Windows 8.1 or Windows 10 device and try connecting again to the Wi-Fi network to see if it works.
5. Run a system recovery
- Move the mouse cursor over to the upper right side of the screen.
- From the Charms bar that pops up left click or tap on the “Settings” feature.
- From the Settings window left-click or tap on the “Change PC Settings” feature.
- Left click or tap on the “Update and Recovery” feature.
- Left click or tap on the “Recovery” feature.
- Now you will have a “Refresh your PC without affecting your files” topic and under it you will need to left click or tap on the “Get Started” button.
Note: This feature will not affect your files and folders so you won’t need to make a backup copy in order to proceed further with this step.
6. Troubleshoot your internet connection
- Move the mouse cursor over to the upper right side of the screen.
- Left click or tap on the “Search” feature situated in the Charms menu.
- In the search box write the following: “troubleshooting” without the quotes.
- After the search has finished left-click or tap on the “Troubleshooting” icon.
- Left click or tap on the “Network and Internet” feature.
- Left click or tap on the “Internet Connections” feature.
- Left click or tap on the “Advanced” button in the next window that pops up.
- In the “Internet Connections” window check the box next to “Apply repairs automatically” and left click or tap on the “Run as Administrator”.
- Left click or tap on the “Next” button to proceed.
- In the next window left-click or tap on the “Troubleshoot my connection to the Internet” feature.
- Left click or tap on the “Next” button to proceed.
- Follow the instructions on the screen to finish the troubleshooting and find out what exactly is causing issues with your Wi-Fi connection.
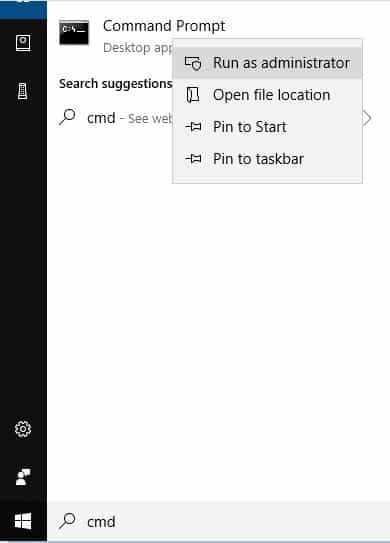
7. Use commander
- In Windows search box type cmd and right-click on it to open as administrator:

- Enter this command in Commander (without the quotes): ‘reg delete HKCRCLSID{988248f3-a1ad-49bf-9170-676cbbc36ba3} /va /f’, and press Enter</li>
- After that, enter this command as well: ‘netcfg -v -u dni_dne’, and hit the <strong>Enter key</stron
- Restart your PC and check the connections available.
These are the simple steps you need to follow and fix your Wi-Fi connectivity issues in Windows 10. And if you happen to be the owner of an HP laptop, rest assured that troubleshooting HP laptop won’t connect to WiFi in Windows 11 is incredibly easy as well.
Please write us below in the comments section of the page if you need further assistance with the Wi-Fi connection and I will help you further as soon as possible.