Fix: WD My Cloud Not Working in Windows 10
Give a try to these quick solutions now
![]() 3 min. read
3 min. read
![]() Updated on
Updated on
Share this article

Improve this guide
Read our disclosure page to find out how can you help Windows Report sustain the editorial team Read more

Many people use cloud services to store their essential files, and one of those services is WD My Cloud. Although WD My Cloud is an excellent service, it seems that some Windows 10 users are having problems with it.
According to users, WD My Cloud used to run perfectly on Windows 7, but after upgrading to Windows 10, there seem to be some issues.
Today, we’re going to try to resolve these issues. If you’re having problems with WD My Cloud, you might want to try one of the following solutions.
How can I fix WD My Cloud issues in Windows 10?
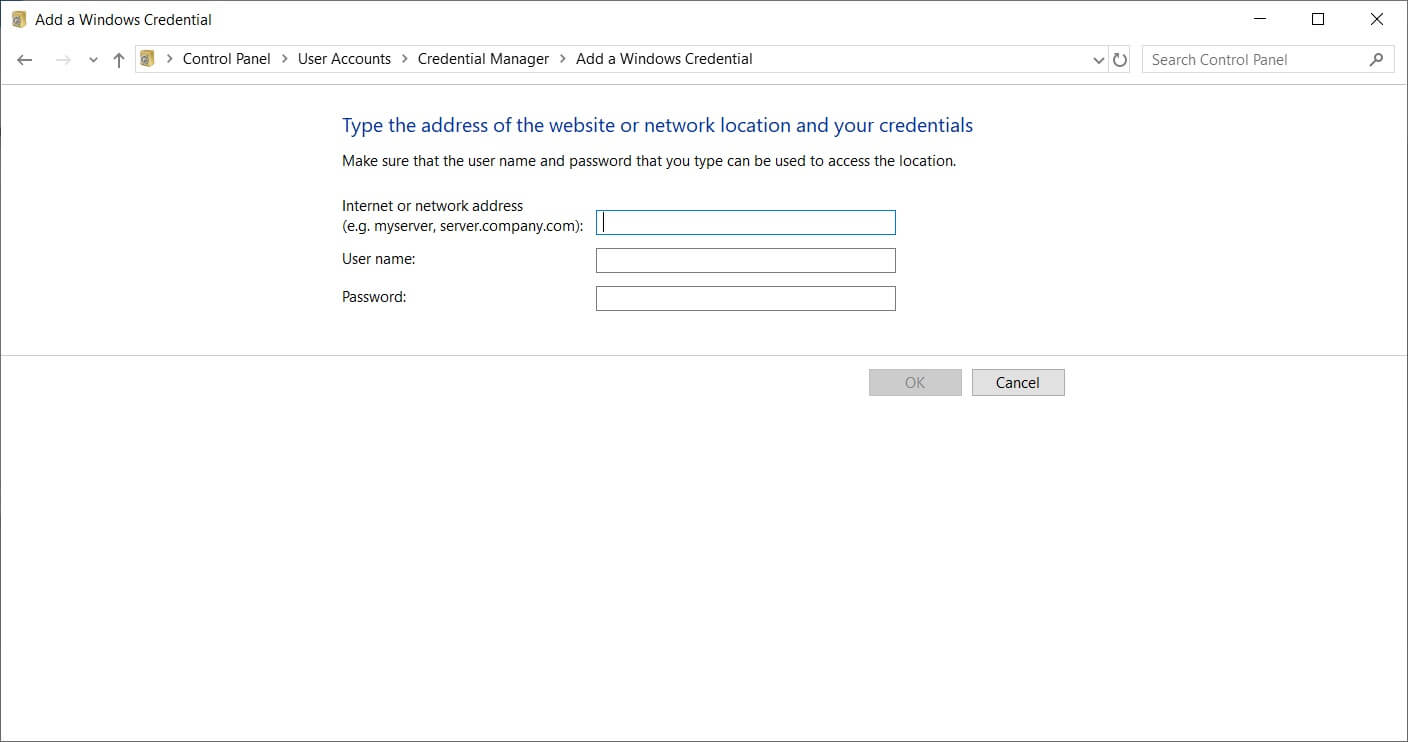
1. Add My Cloud to the list of credentials
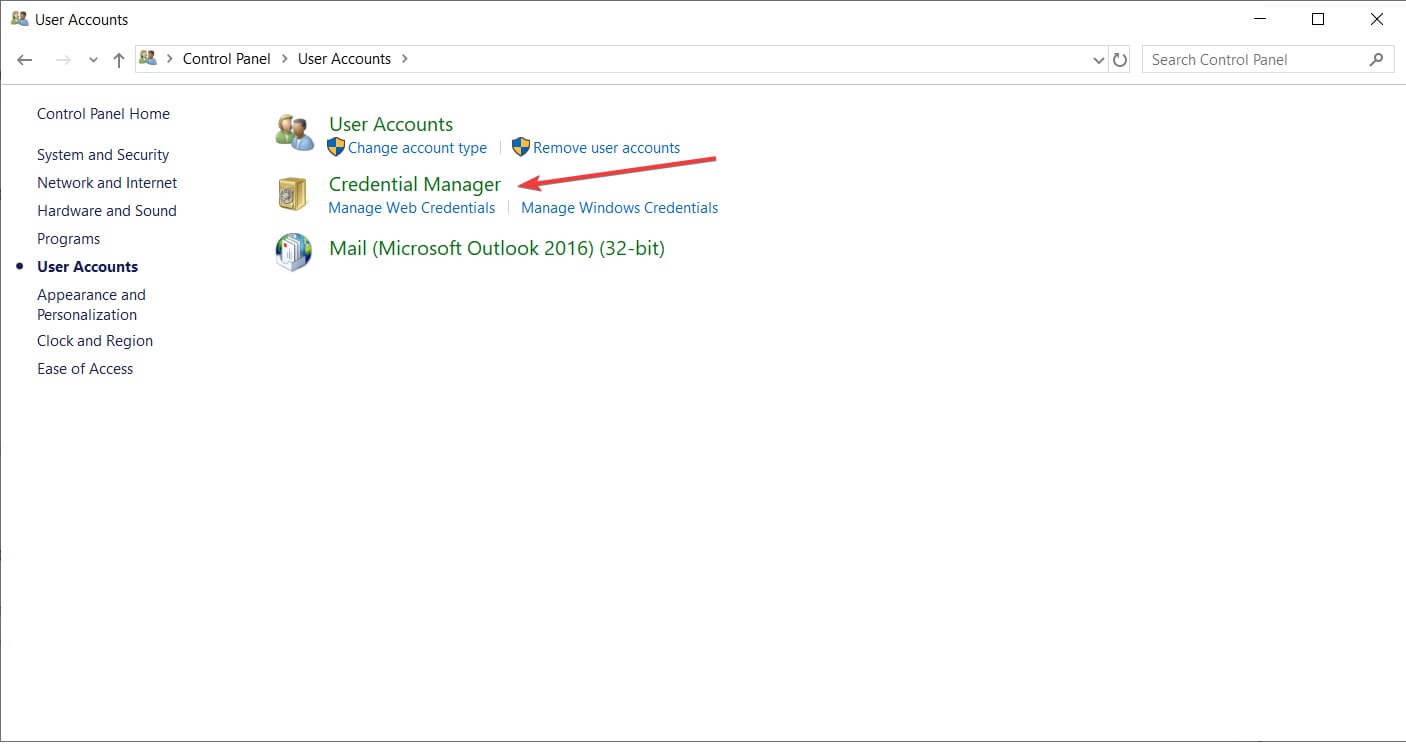
- Open Control Panel > User Accounts and go to the Credential Manager.

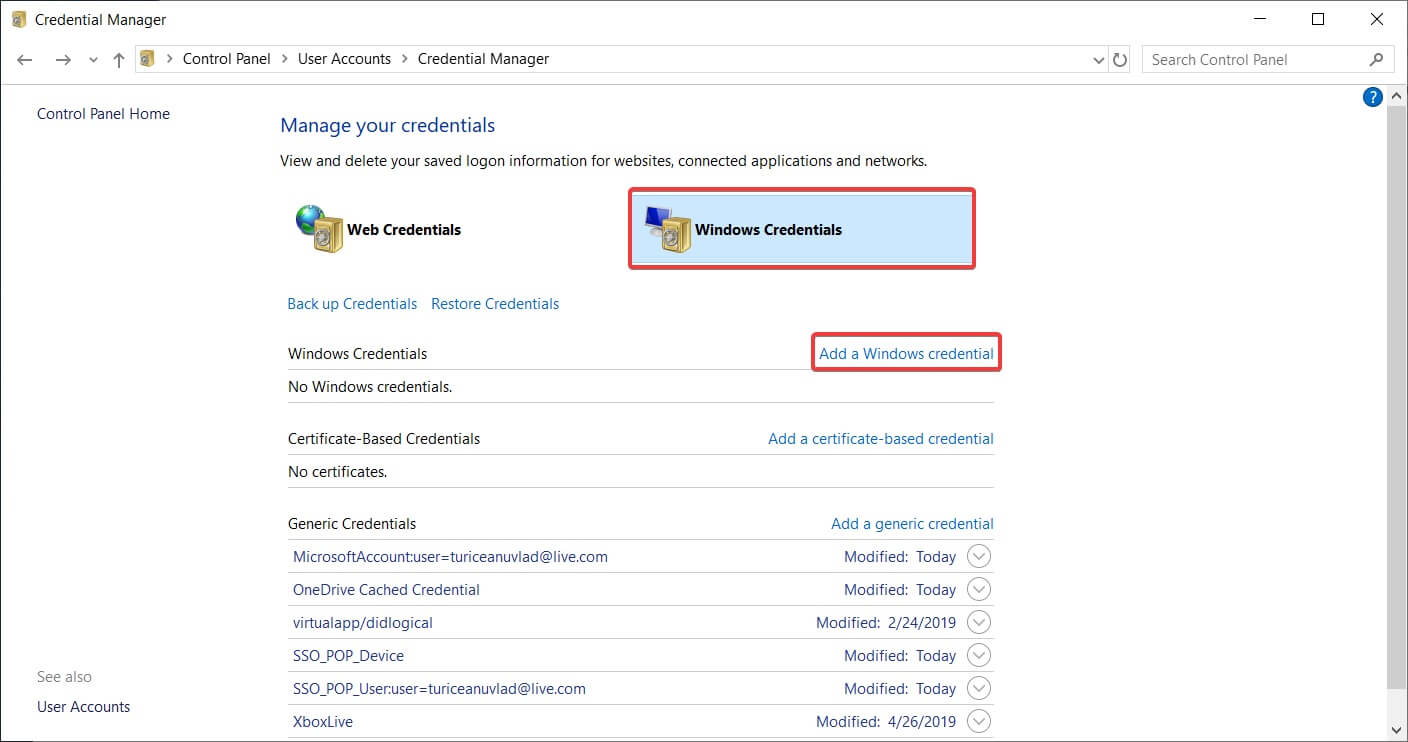
- Next choose Windows credentials and click on Add a Windows credential.

- In the Internet address field enter the name of your My Cloud device.
- In the Username field enter the username that you use to access My Cloud.
- In the Password field enter your password.
- After you’ve saved your changes restart your computer and try accessing My Cloud again.
We have to mention that some users advise not to use a PIN, so instead of using PIN, make sure that you use your username and password.
2. Modify the Registry
If adding WD My Cloud to the list of credentials didn’t solve the problem, you can try with one simple registry tweak. To perform this registry workaround, follow these steps:
- Using Registry Editor can cause some damage to your operating system if not done properly, so if you’re going to use it make sure that you do it carefully.
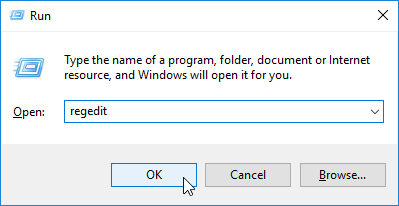
- Open Registry Editor. You can open it by pressing Windows Key + R and typing regedit.

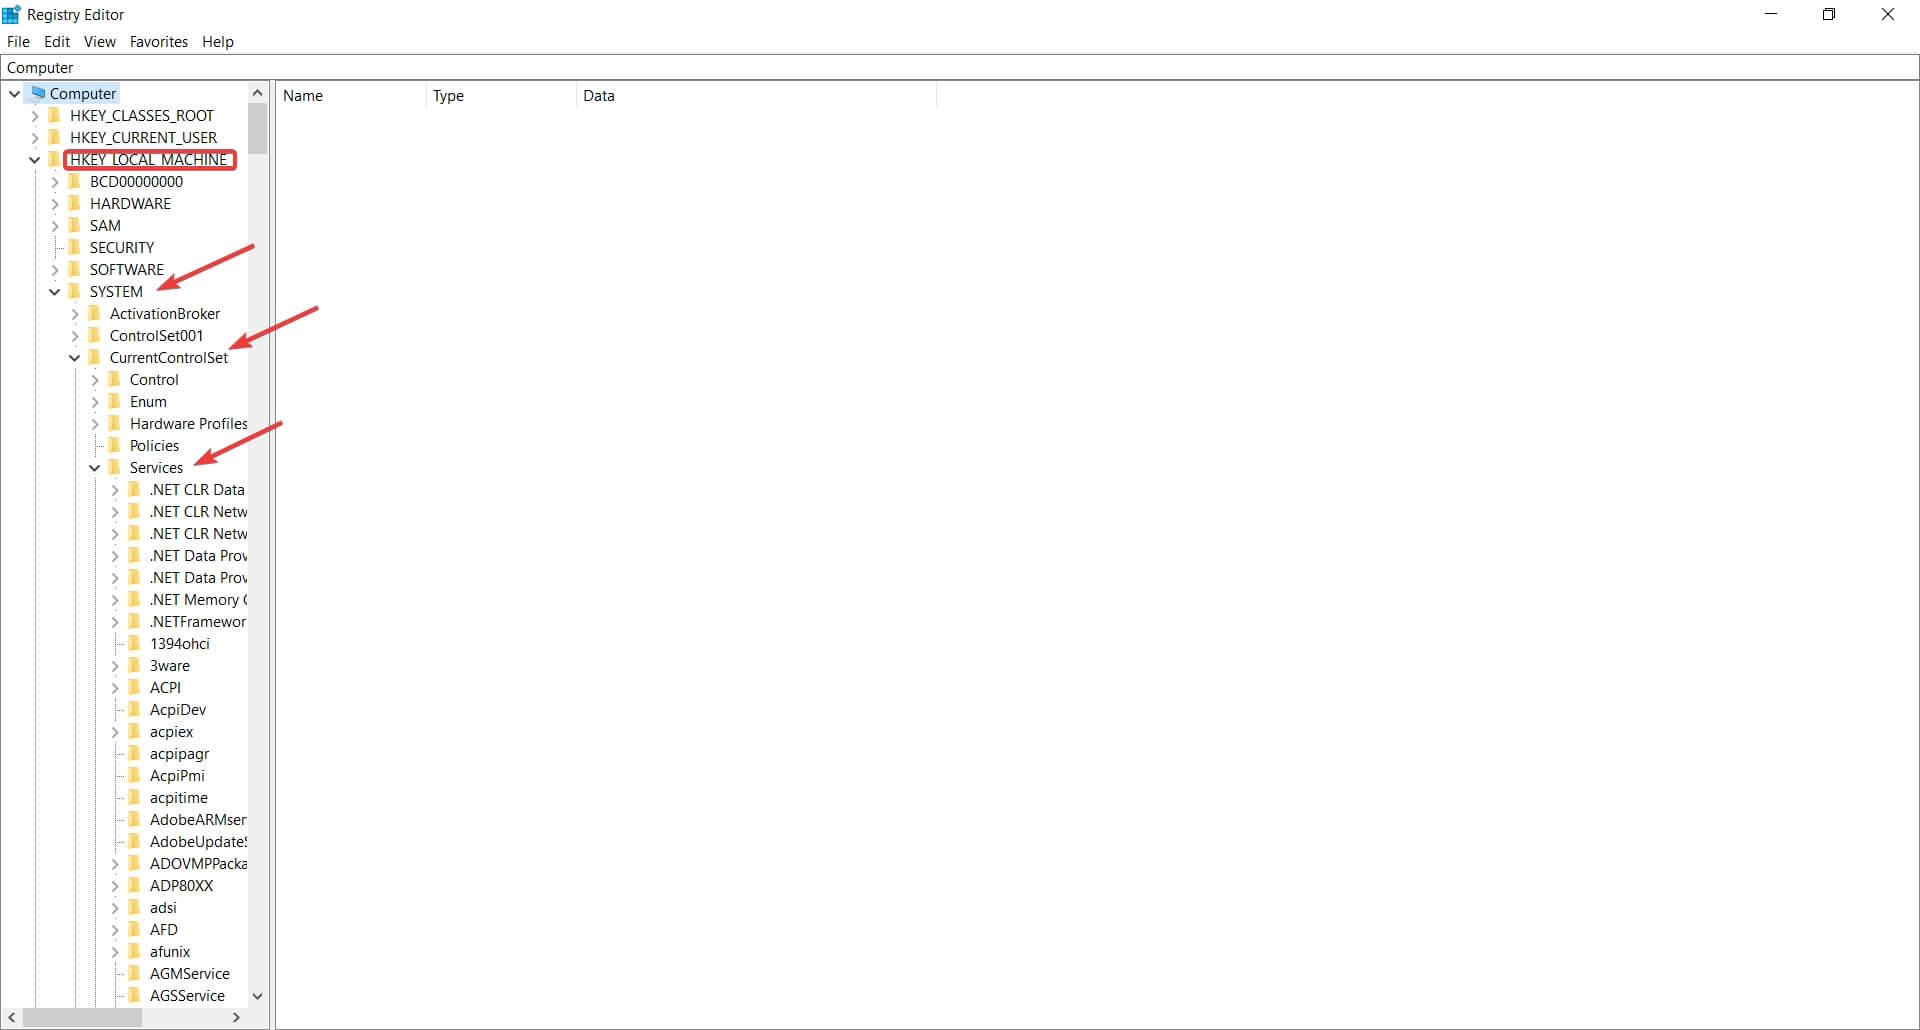
- When the Registry Editor opens navigate to:
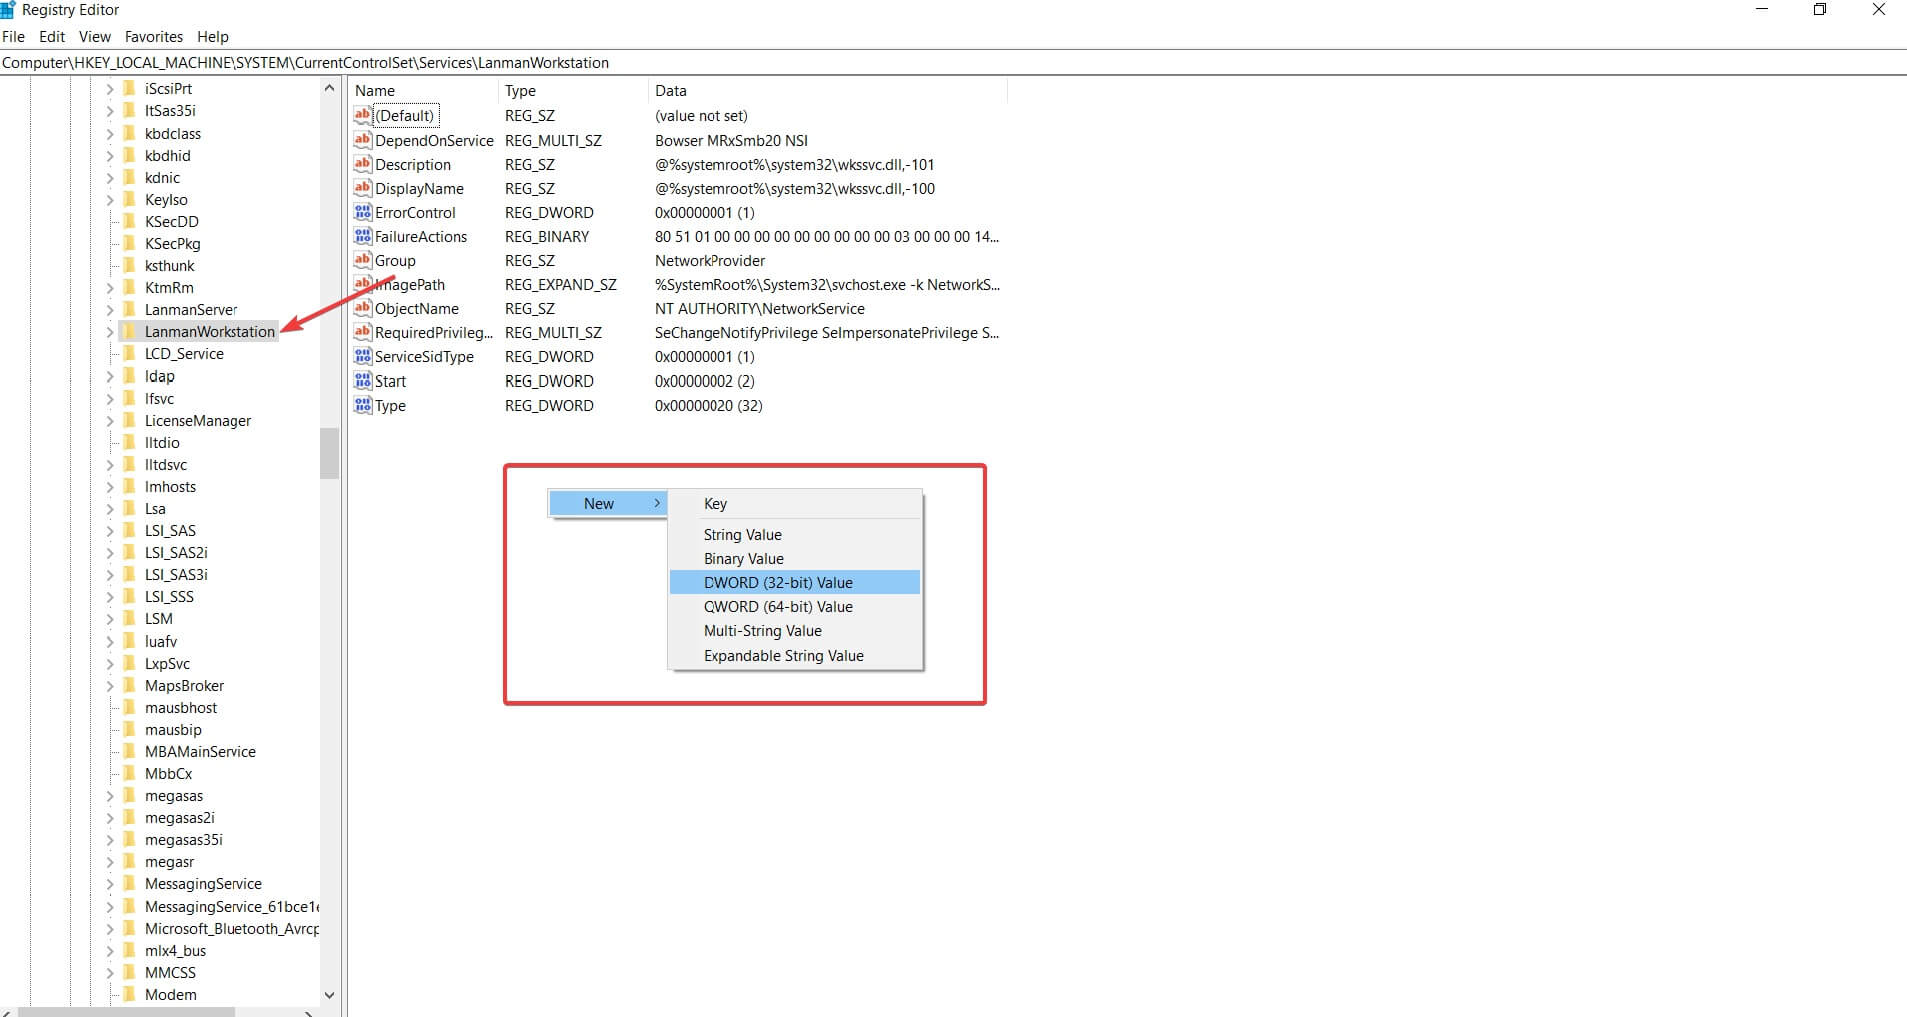
- HKLMSYSTEMCurrentControlSetServicesLanmanWorkstation

- HKLMSYSTEMCurrentControlSetServicesLanmanWorkstation
- Next, on the right side you need to create a new DWORD called AllowInsecureGuestAuth

- Edit the AllowInsecureGuestAuth DWORD you’ve just created and set its new value to 1.
- Close Registry Editor and restart.
3. Change Internet Protocol Version 4 (TCP/IPv4) settings
If your shares don’t show up as they did on Windows 10, you might want to try the following steps:
- Open Control Panel.
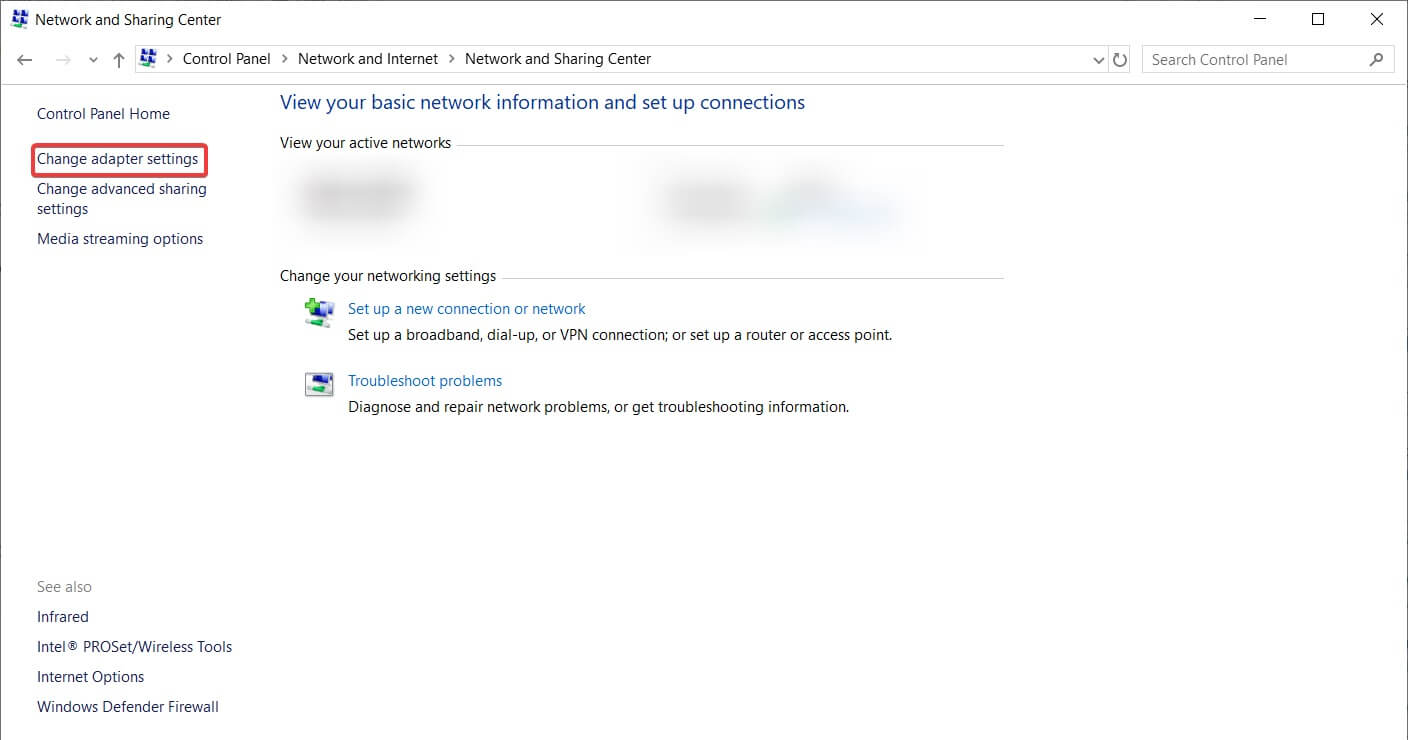
- Go to Network & Internet > Network and Sharing Center in Control Panel.
- In Network and Sharing Center go to Change Adapter Settings.

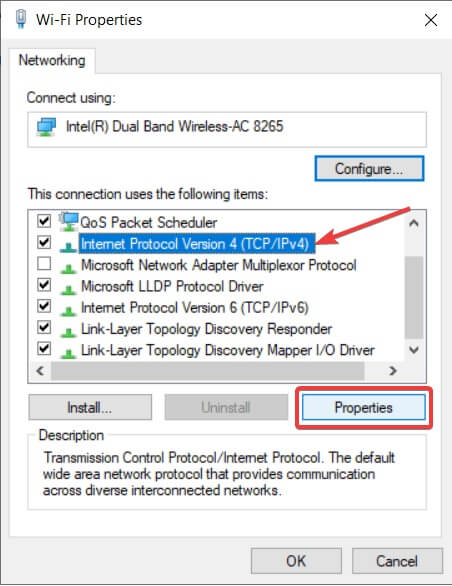
- Find the adapter that you’re currently using, right click it and choose Properties.
- Select Internet Protocol Version 4 (TCP/IPv4) and click Properties.

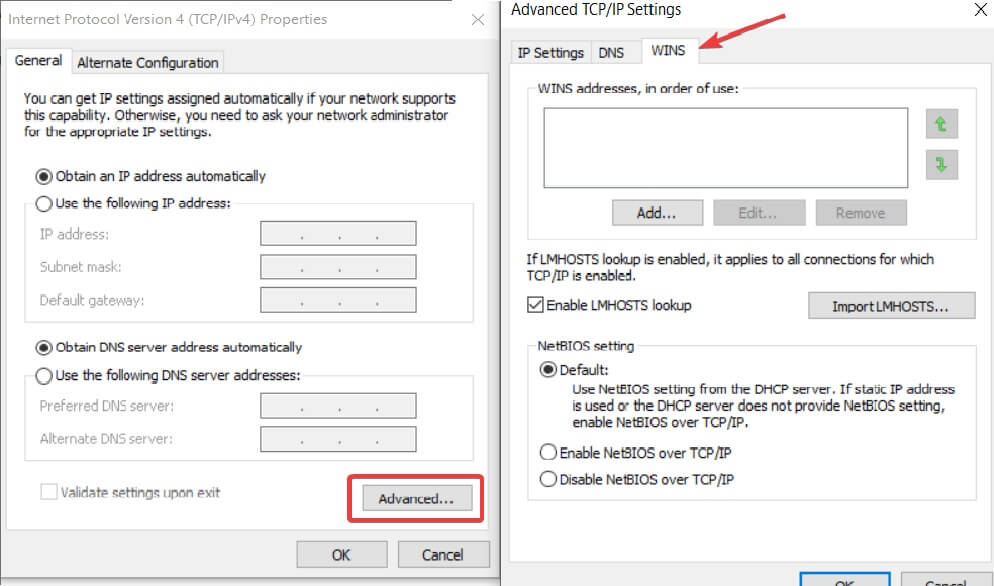
- When Properties window opens go to Advanced > WINS.

- Click on Enable NetBIOS over TCP/IP and click OK to save your settings.
4. Perform a Network Reset
This is a rather simple and quick fix that had a lot of success for many users. To try it yourself, follow the steps:
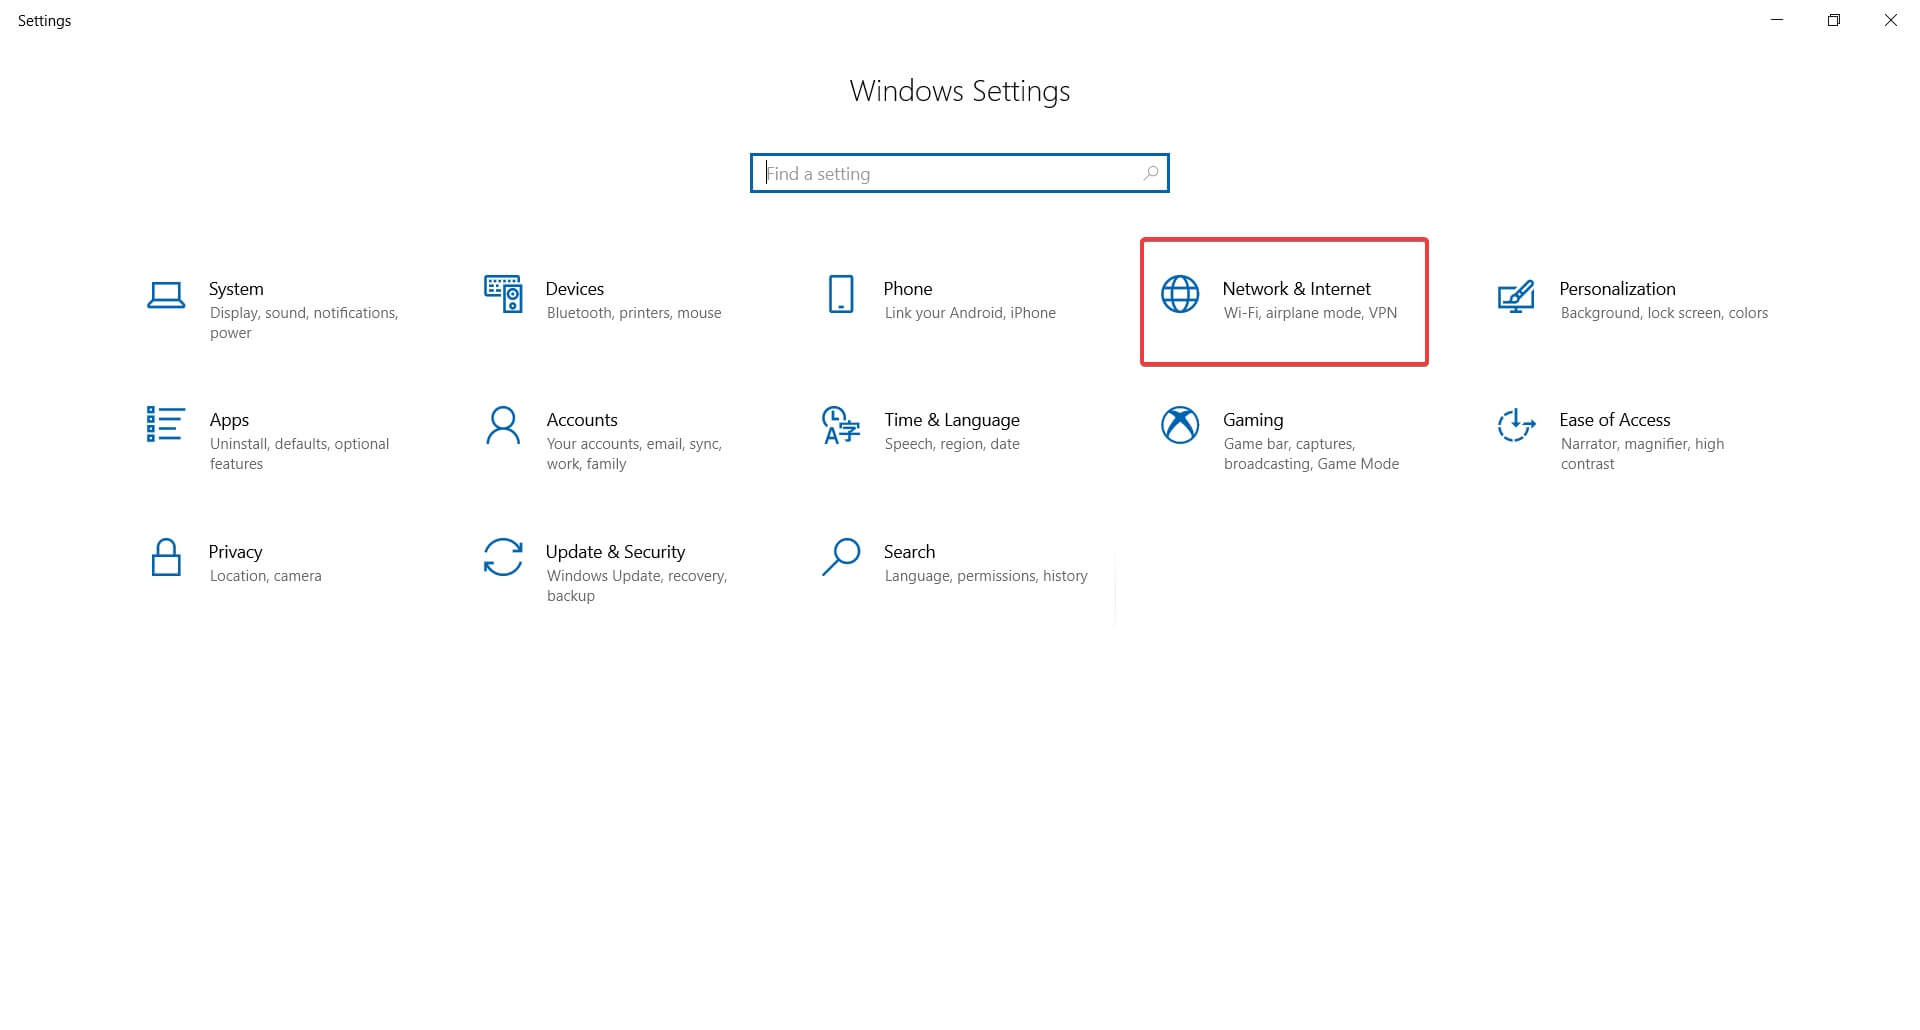
- Press the Windows Key +I
- Windows Settings should appear. There select Network & Internet
- In the left panel select Status
- In the bottom, the last option should be Network Reset. Click on it and then confirm with Reset Now

That’s about it. We hope this article helped you solve your problems with WD My Cloud on Windows 10. If you’re on Windows 11, we have a similar guide on what to do if WD My Cloud is not showing on the network, so don’t miss it.
If you have any questions or if you found another way to solve the problem, reach for the comments section below.