Windows Update High CPU Usage: 7 Solutions That Work
Restart the Windows Update service.
![]() 7 min. read
7 min. read
![]() Updated on
Updated on
Share this article

Improve this guide
Read our disclosure page to find out how can you help Windows Report sustain the editorial team Read more
Key notes
- When the wuauserv process reaches high CPU levels, that signals a problem with the Windows Update service.
- An incomplete or stuck update can trigger this, so you should address that issue.
- It would help if you tried different solutions, as not all of them will be relevant to your situation.
We have seen more users complain about the high CPU usage on Windows Update.
It’s not unusual for some third-party apps to hog your CPU in the background. But what happens when this unwelcome occurrence appears to be inflicted by none other than one of Windows’ essential processes?
That’s what many users reported to be the issue, with wuauserv taking up to 60% of CPU, even in idle mode, which is preposterous. For some, even Windows update 100% CPU was the case.
For that purpose, we enlisted some solutions that should come in handy and, hopefully, relieve you of this annoyance. If you can’t deal with the service host Windows Update’s high CPU usage on your own, check out the troubleshooting steps below.
Why does Windows Update take so much CPU?
There are a few reasons your computer is significantly tasked during Windows Update. If this has bothered you, then you should consider the following reasons:
- Low system capacity – To summarize, you may use an old PC, and new updates and software may be too much. In this case, you will constantly have Windows Update high CPU usage.
- Insufficient RAM – You may also be low on RAM, which will mean that your system’s memory is easily congested.
- Multiple concurrent updates – You should disable P2P update distribution in this case.
- Conflicting applications – In most cases, the conflicting applications will be antivirus software, and you may need to disable or uninstall them altogether.
Many users have noticed this problem in the following variations:
- Windows update using CPU
- wuauserv high CPU
- Windows update high disk usage
- Windows modules installer worker high CPU
Regardless of your situation, trying the fixes below would help.
What can I do if Windows Update causes high CPU usage?
1. Restart the Windows Update service
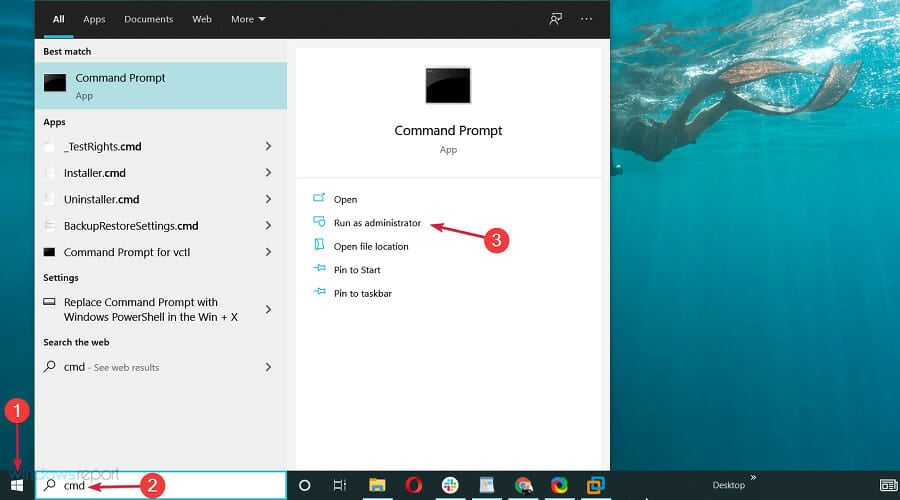
- In the Windows Search bar, type cmd, and select Run as administrator from the results.

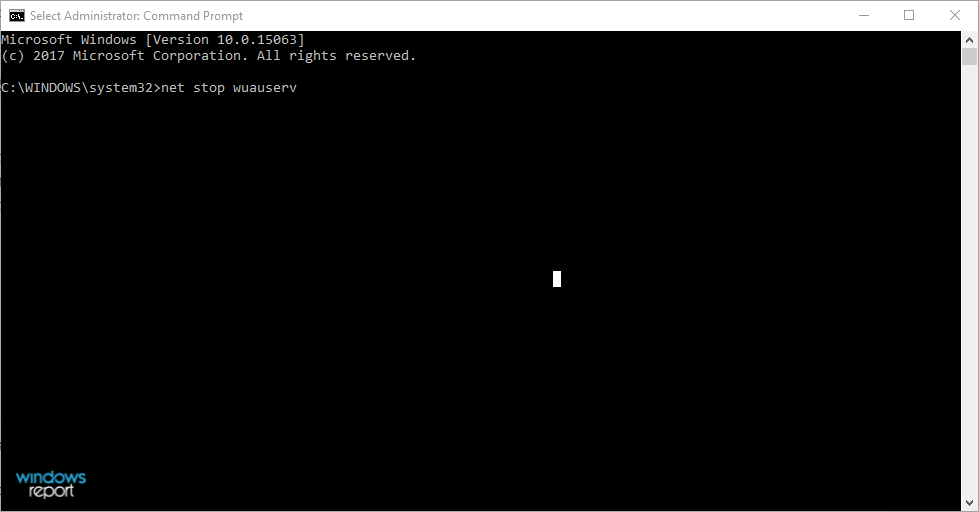
- In the command line, type the following commands and press Enter after each.
net stop wuauservnet stop bitsnet stop cryptsvcRen %systemroot%SoftwareDistributionSoftwareDistribution.bakRen %systemroot%system32catroot2catroot2.baknet start wuauservnet start bitsnet start cryptsvc
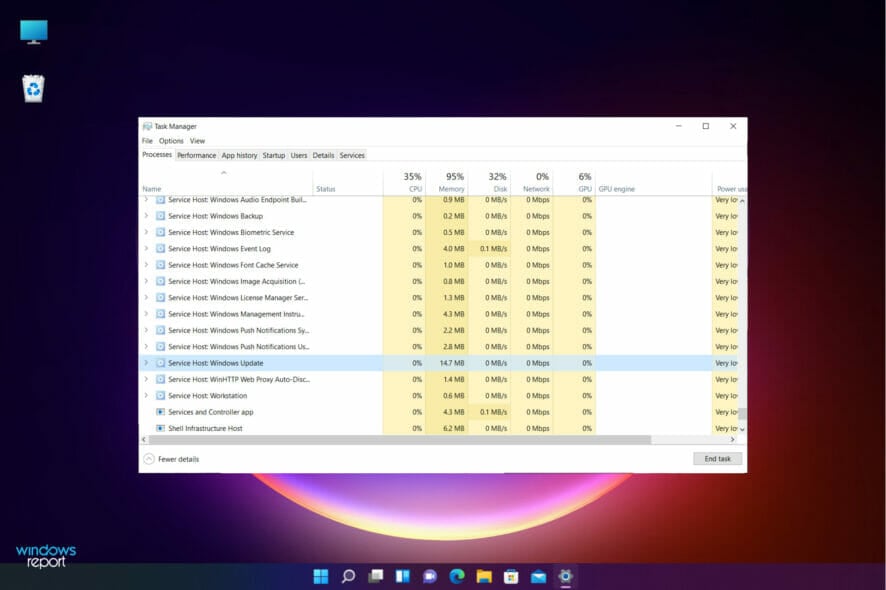
- Close the Command Prompt and navigate to Task Manager again to ensure that abnormal resource consumption of the Windows Update service is reduced.
Service host Windows Update high CPU usage and issues of Windows Update running on 100 percent CPU should be resolved after restarting the related services.
2. Run the Windows Update troubleshooter
2.1 Update troubleshooter on Windows 10
- Press the Start button and open the Settings app.

- Open Update & Security.

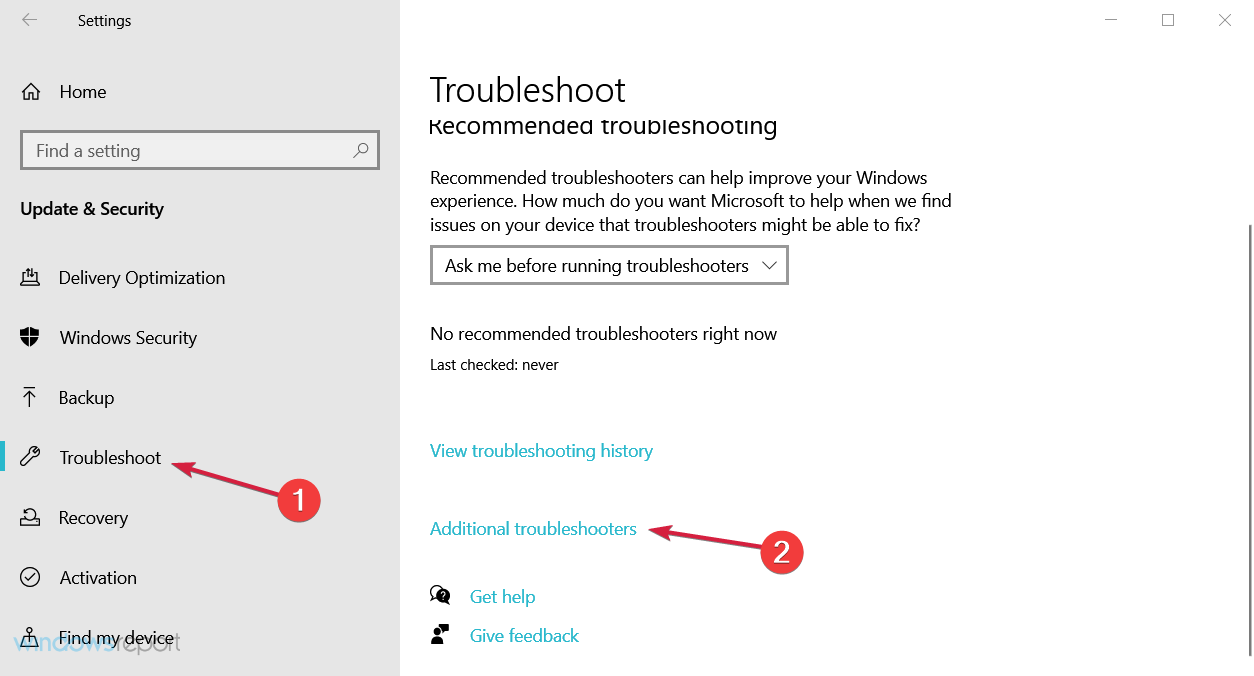
- Click on Troubleshoot under the left pane and select Additional troubleshooters from the right.

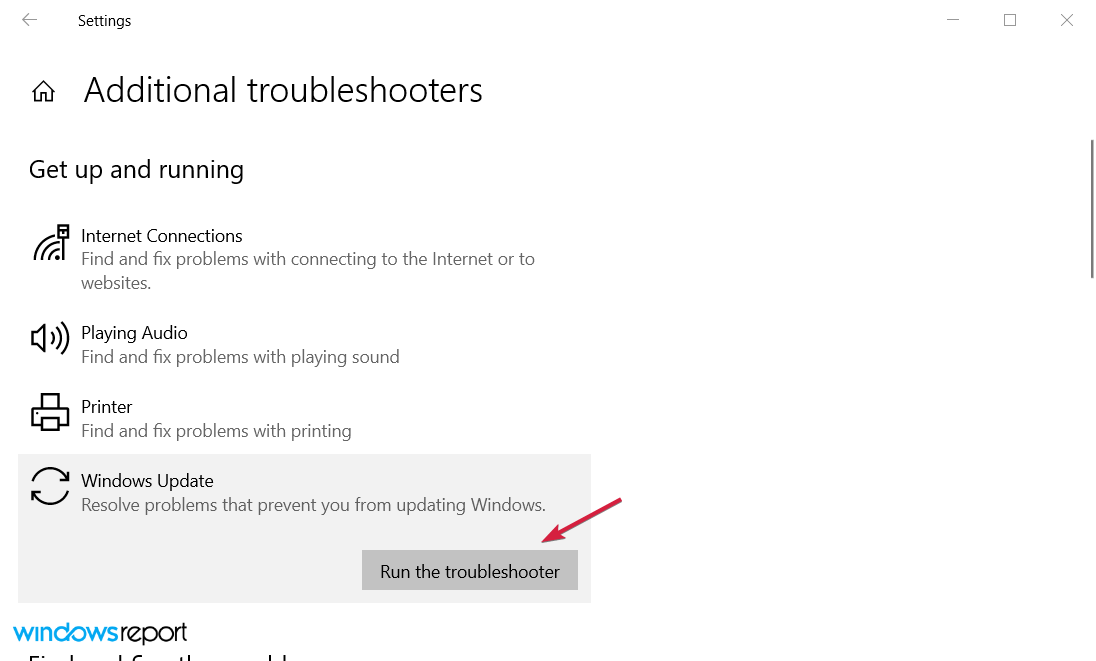
- Click on Windows Update to expand it, then hit the Run the troubleshooter button.

- After the procedure ends, right-click on the Taskbar and open Task Manager.
- Look for changes in wuauserv service behavior.


2.2 Update troubleshooter on Windows 11
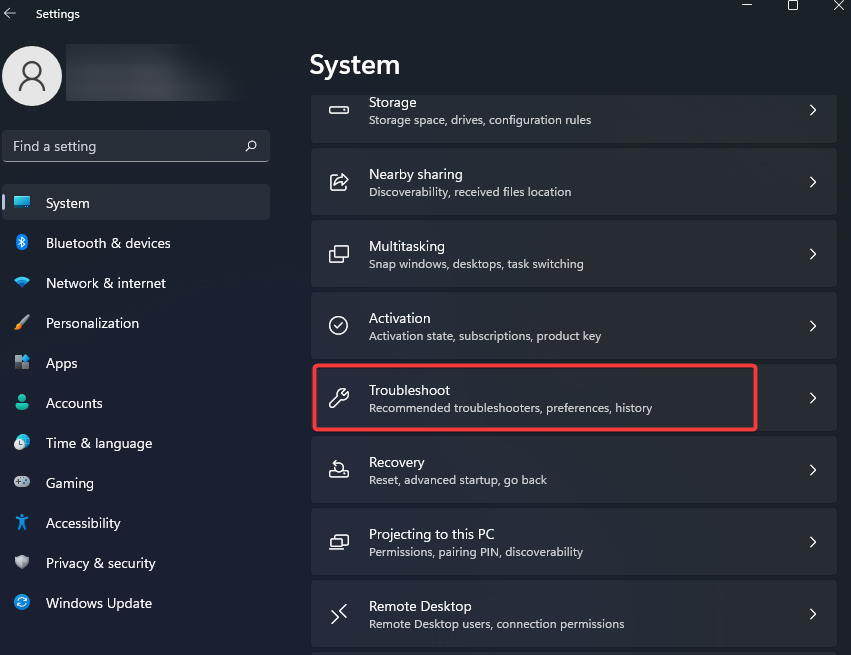
- Open the Settings app and on the right pane, click on Troubleshoot.

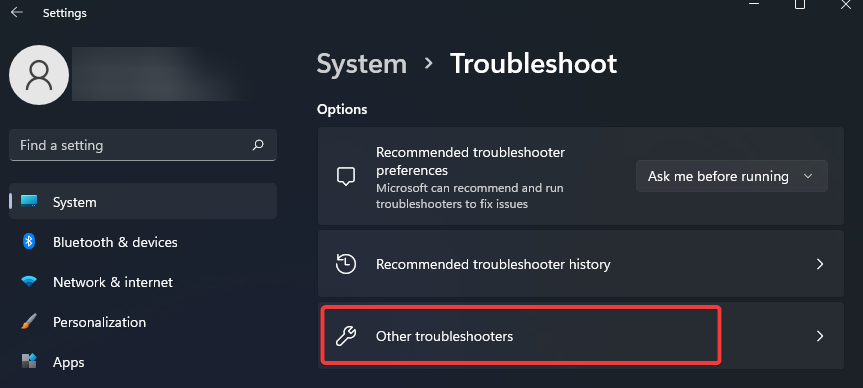
- Click on Other troubleshooters.

- Under Windows Update, click Run.


The dedicated troubleshooter will solve the Windows Update service high CPU issue, and if you look into Task Manager, all should be normal again.
3. Disable the third-party antivirus
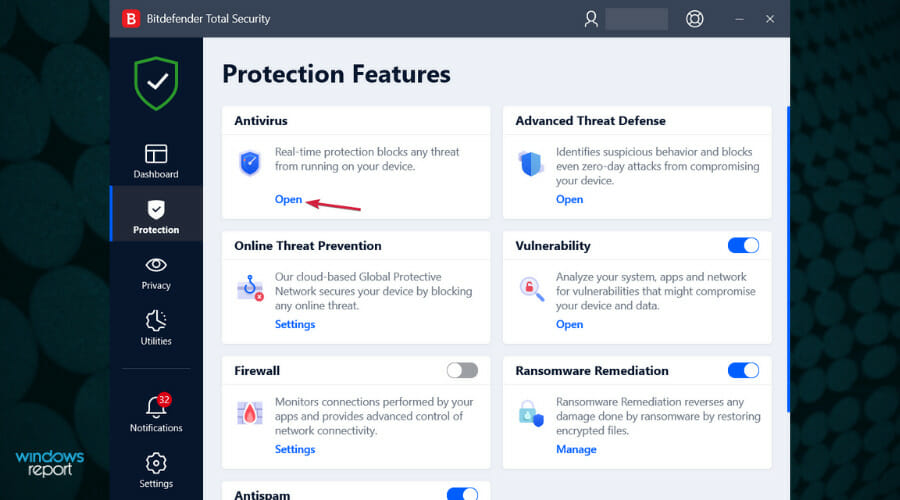
- Open the third-party antivirus and access the Protection or Security menu. We offer Bitdefender as an example, but all antiviruses can be disabled from their menus.
- Click the Open button under Antivirus.
- Lastly, select the Advanced tab and click the switch to turn off Bitdefender Shield.


The beef between Windows and specific third-party solutions is already a known fact. However, that doesn’t mean you’ll need to ditch your antivirus when the system behavior takes the wrong turn.
Just disable it for the remainder of updating. Then, once the Windows Update service locates and downloads all updates, you can enable it again.
If you discover that the antivirus is causing this problem, you may consult our list of the best antiviruses and get a better one.
4. Disable P2P update distribution within the local network
4.1 Disable P2P update distribution Windows 10
- Click the Start button to access the Settings app.
- Open the Update & Security section.
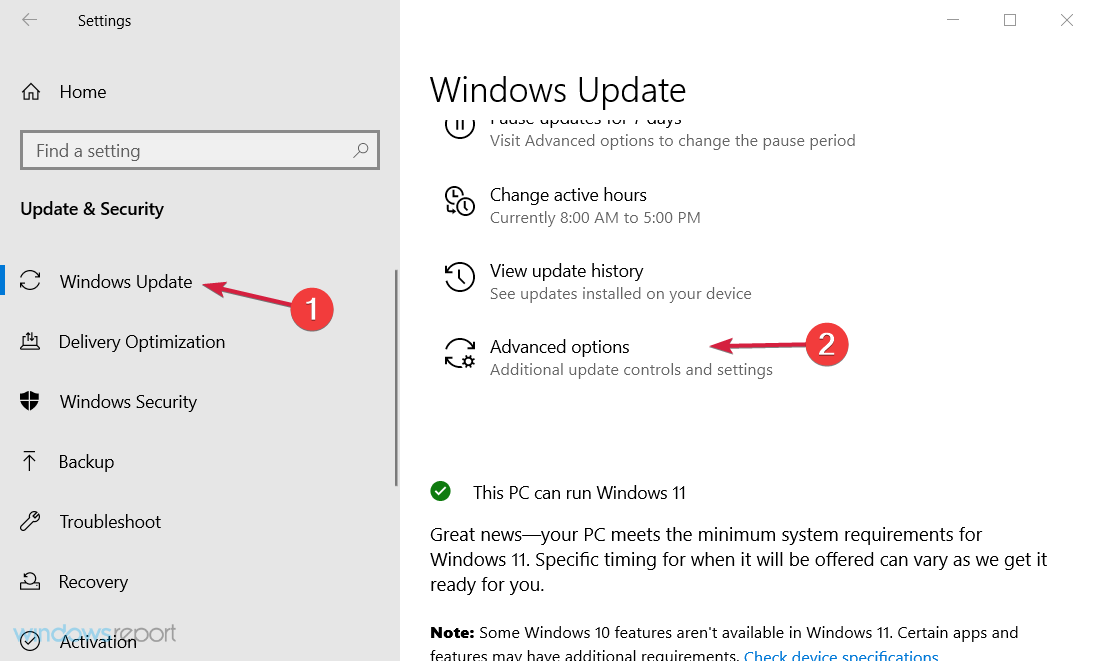
- Select Windows Update from the left pane and click on Advanced options.
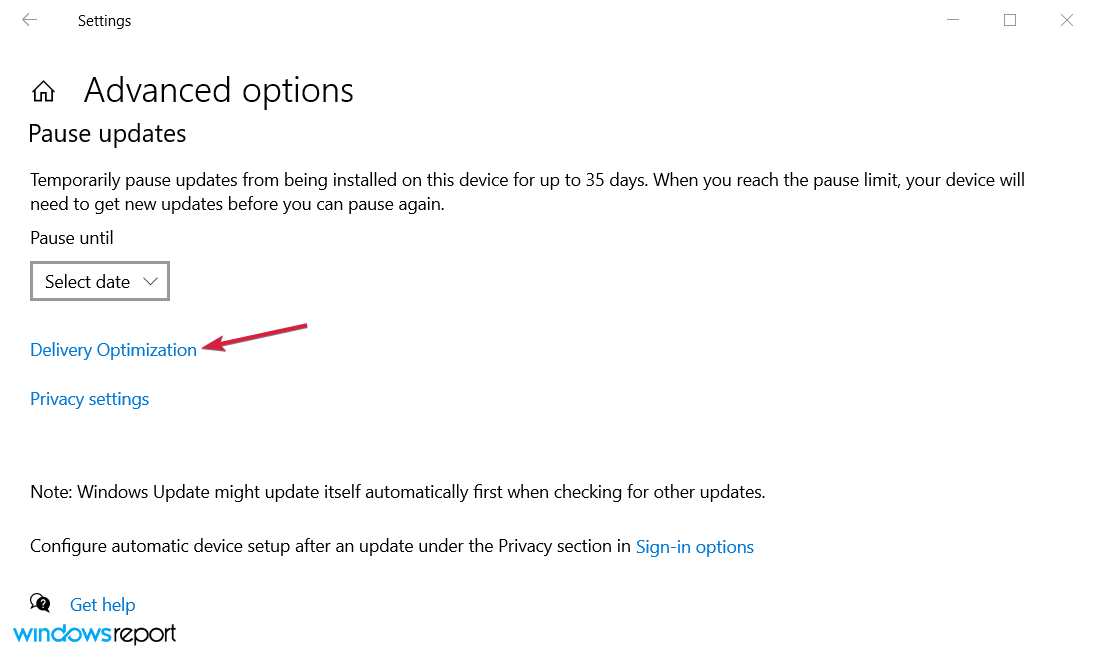
- Scroll down and click on Delivery Optimization.
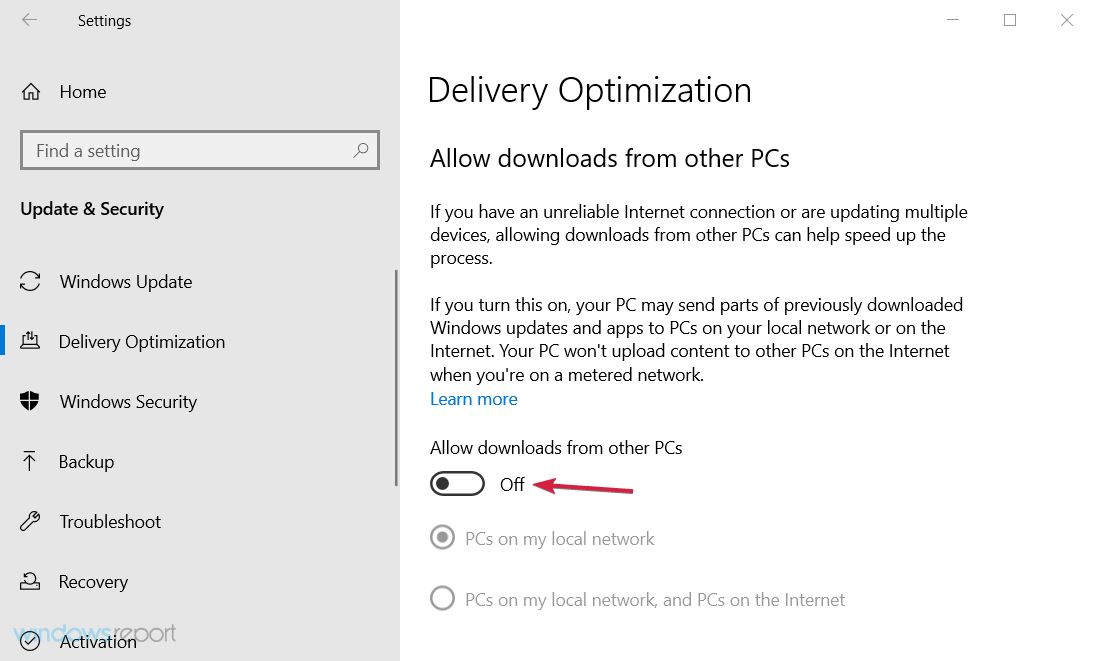
- Turn this feature off and restart your PC.


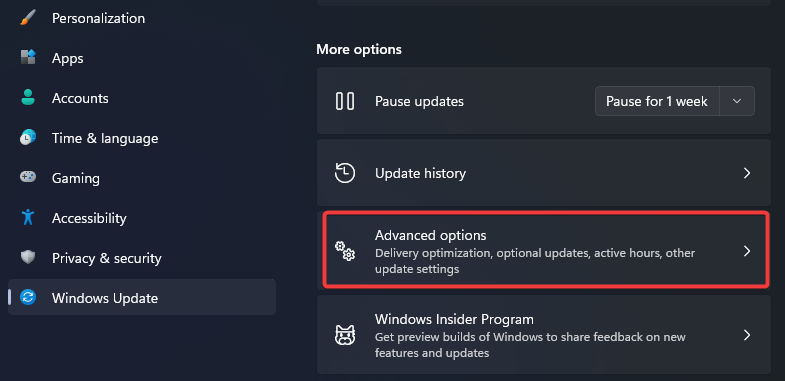
4.2 Disable P2P update distribution Windows 11
- Open the Settings app.
- Click on Windows Update on the left pane, and select Advanced options on the right.

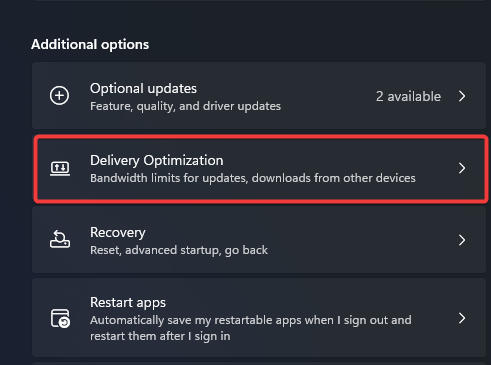
- Scroll down and click on Delivery Optimization.

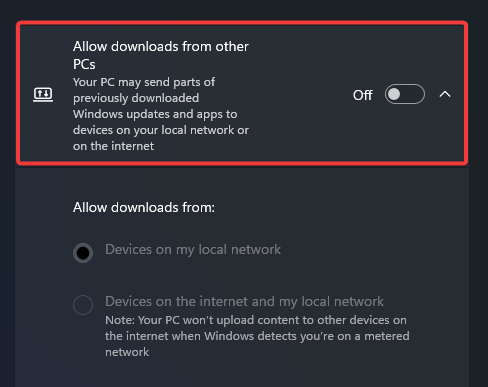
- Toggle off the switch to Allow off downloads for other PCs.

With the introduction of the Windows update feature, users can update multiple PCs in one local network with the P2P update distribution. At first glance, this sounds great, as it should substantially speed up the update process.
However, there are some flaws in this update approach, and they can, eventually, result in a constant, never-ending update cycle.
In that case, your Windows Update service will continuously run in the background and hog your system resources.
5. Pause Windows updates
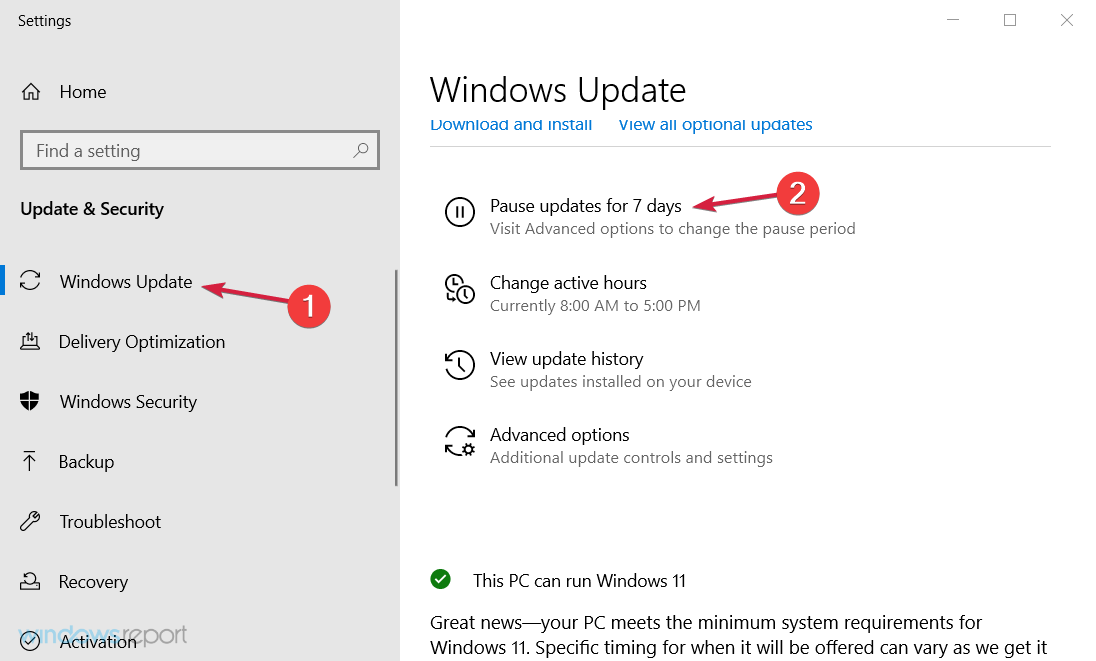
5.1 Pause updates on Windows 10
- Select the Start button, then click on Settings.
- Choose Update & Security.
- Click on Windows Update from the left pane, then scroll down on the right and select Pause updates for seven days.
- Restart your PC.


5.2 Pause updates on Windows 11
- Open the Settings app.
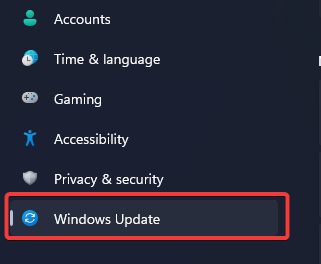
- Click on Windows Updates.

- Select the Pause updates option on the right pane.

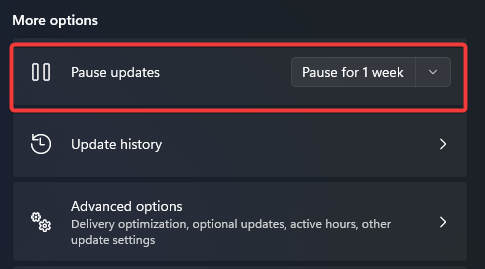
Pausing the updates for a while can fix the problem, but only temporarily. So it’s imperative to install your updates to keep your system safe, so don’t abuse this feature.
6. Uninstall recent updates
- Click Start and then on the cog-like icon to open Settings.
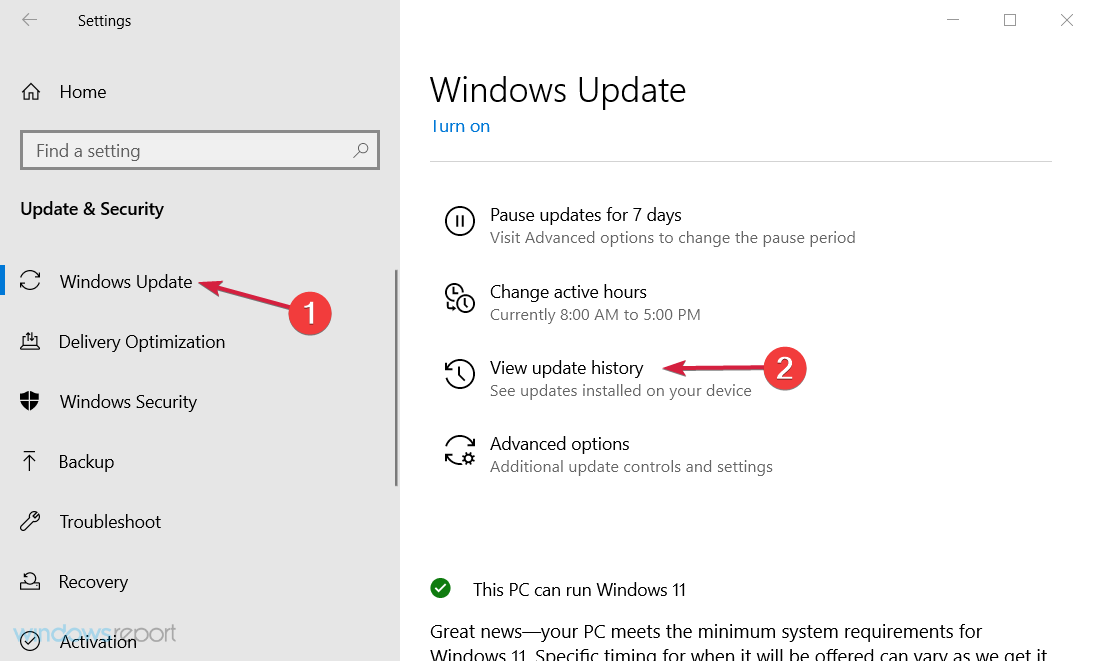
- Select Update & Security.
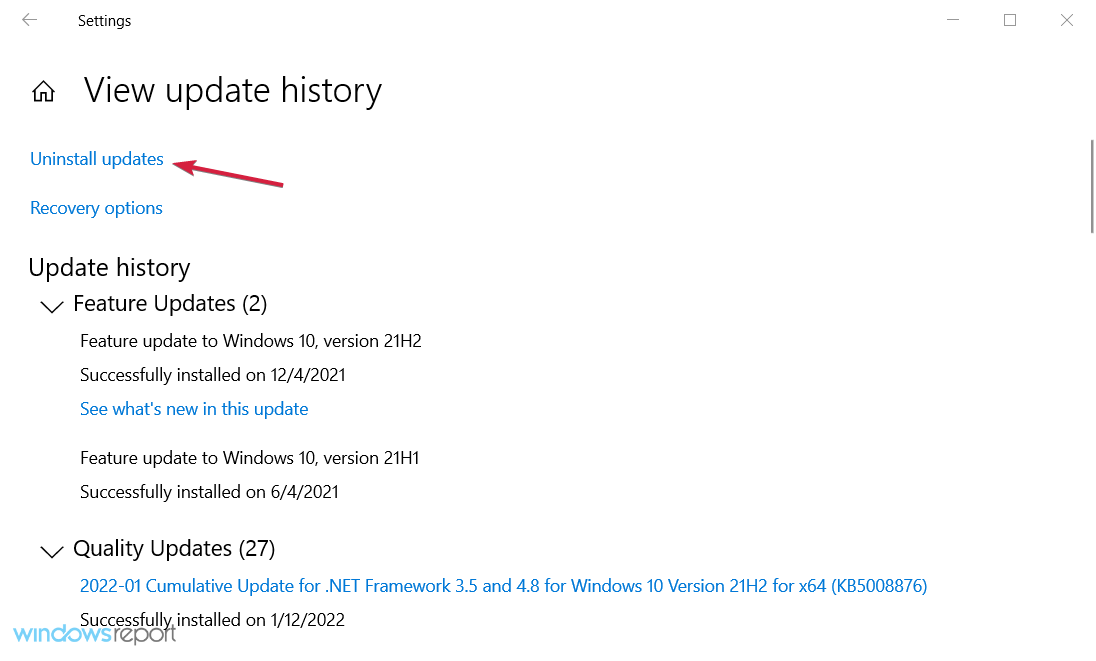
- Highlight Windows Update in the left pane and click on View update history.
- Choose Uninstall updates.
- Please right-click on the most recent update and uninstall it.

- Restart your PC and look for changes to Windows Update high CPU.


Furthermore, specific updates can provoke a malfunction within the updating procedure and prevent the Windows Update feature from looking for new updates or downloading already queued updates.
Even though this is rare, it might just be the case. Therefore, it’s a viable solution to uninstall recent updates and move from there.
7. Reset Windows to factory settings
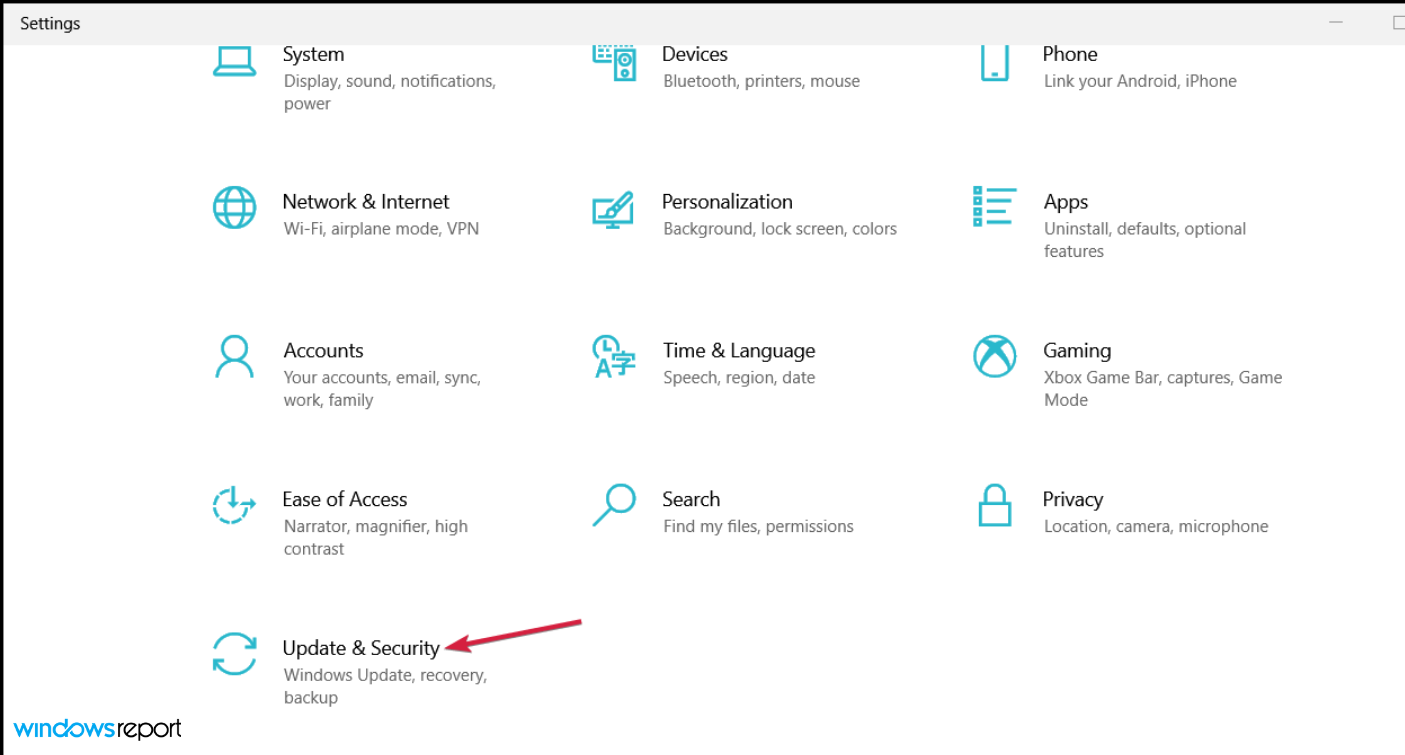
- Click the Start button and select Settings.
- Select the Update & Security section.
- Click on Recovery from the left-side pane, then, under the Reset this PC option, click on Get started.

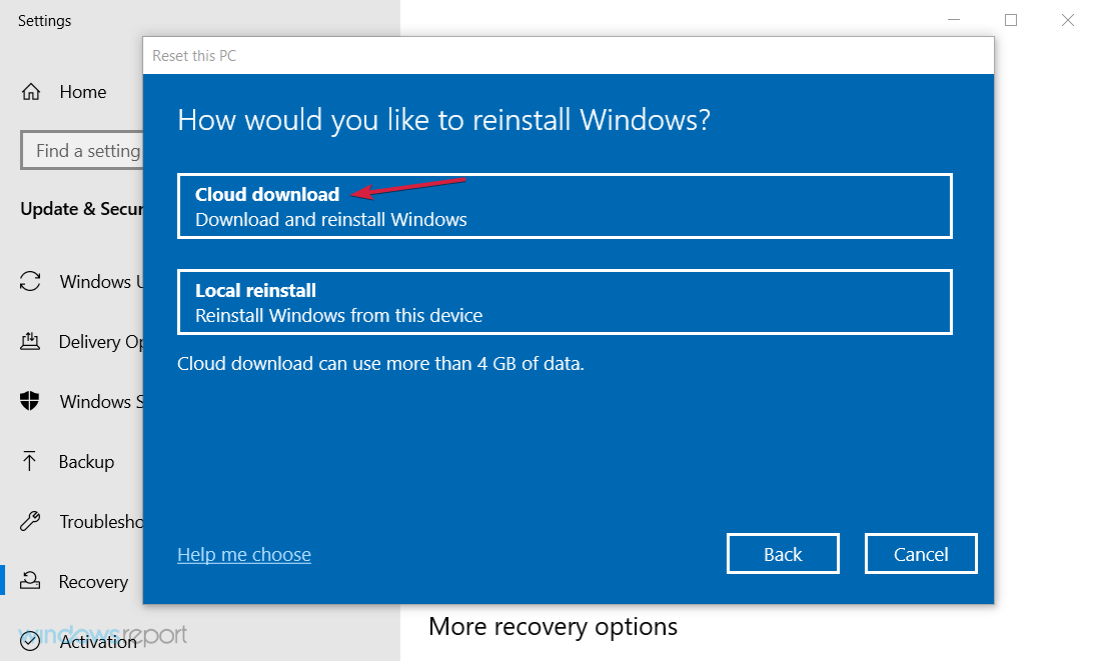
- Choose Keep my files.
- Click Cloud download and then Reset.
- This procedure will eventually restore your PC to factory values.
- Finally, check if the Windows Update high CPU usage is resolved.


The last place on the list is reserved for the painful but sometimes needed recovery options. More precisely, the Reset this PC feature enables you to reset your PC to factory settings.
In a system shell as complex as Windows, many things can go south for you, especially if you decide to upgrade your system rather than perform a clean reinstallation.
Luckily, Windows has an advanced recovery option that enables you to restore default system values but keep hold of your files.
On the other hand, if clean reinstallation is your cup of tea, learn how to perform a clean reinstallation of Windows 10.
That should do it. These solutions will fix high CPU usage in Windows 10 and 11 updates and some cases, even when nothing is running.
If you have questions regarding the enlisted solutions or additional solutions you are aware of, feel free to tell us in the comments below.