Your purchase couldn’t be completed error on Windows 10 [FIXED]
![]() 10 min. read
10 min. read
![]() Updated on
Updated on
Share this article

Improve this guide
Read our disclosure page to find out how can you help Windows Report sustain the editorial team Read more

Windows Store is a big part of Windows 10, but unfortunately some users are having issues with it. According to users, they are getting Your Purchase Couldn’t Be Completed error message while downloading apps from Windows Store.
What to do if Windows Store purchase couldn’t be completed
Fix – Your purchase couldn’t be completed Windows 10
Solution 1 – Change your account type
There are two types of Windows accounts, local and Microsoft. Although both types are similar, Microsoft account will save your settings and memorize your account details so you won’t have to enter your password while using Universal apps.
Unfortunately, this can sometimes lead to issues with Windows Store, and in order to fix them you’ll need to change your account type. To switch to a local account, do the following:
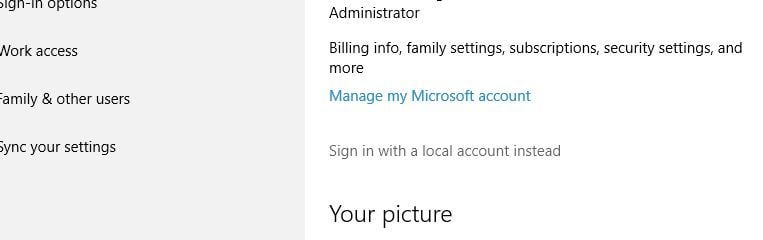
- Press Windows Key + I to open the Settings app. When Settings app opens go to Accounts.
- Select Sign in with a local account instead option.

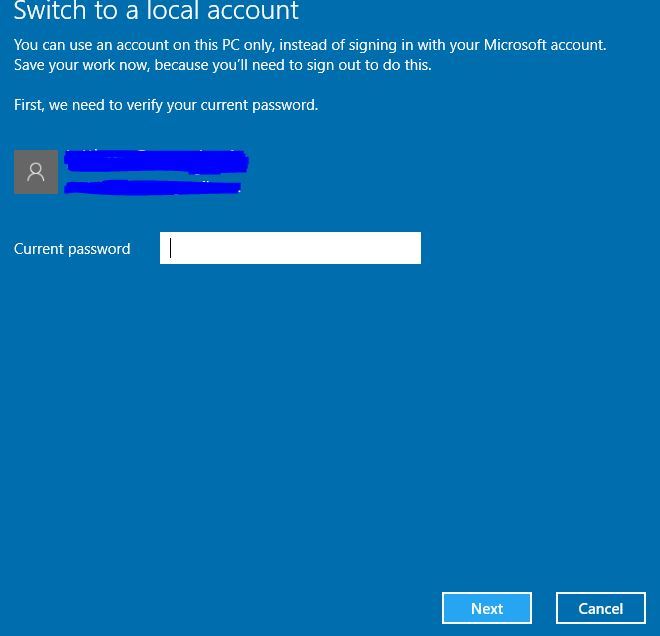
- Enter your Microsoft account password and click Next.

- Now enter the desired username and password and click Next.

- After doing that your account will be converted to local account. Now you just need to sign out and log back in again to complete the process.

If you wish to switch from a local account to Microsoft account, you can do that by following these steps:
- Open Settings app and go to Accounts.
- Select the option to use Microsoft Account.
- You should see three options available. Choose the desired option and follow the instructions.
Solution 2 – Restart Windows Update service
Many Windows 10 components have their own services that run in background, and sometimes in order to fix a specific problem you need to restart certain services. According to users, you can fix Your Purchase Couldn’t Be Completed error simply by restarting the Windows Update service.
To do that, follow these steps:
- Open Command Prompt as administrator. To do that, press Windows Key + X to open Power User Menu and select Command Prompt (Admin).

- When Command Prompt starts, enter the following commands:
- net stop wuauserv
- net start wuauserv
Users are also suggesting to run these commands as well:
- net stop wuauserv
- net stop cryptSvc
- net stop bits
- net stop msiserver
- ren C:WindowsSoftwareDistribution SoftwareDistribution.old
- ren C:WindowsSystem32catroot2 catroot2.old
- net start wuauserv
- net start cryptSvc
- net start bits
- net start msiserver
After Windows Update service is restarted, restart your PC and check if the problem is resolved.
Solution 3 – Set Windows Update service to start automatically
As we previously mentioned, Windows 10 relies on background services, and in order for Windows Store to work properly, you need to ensure that Windows Update starts automatically. To do that, follow these steps:
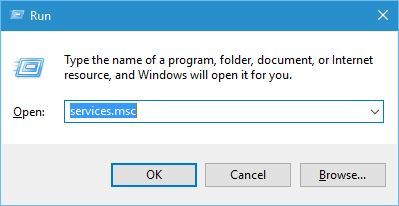
- Press Windows Key + R and enter services.msc. Press Enter or click OK.

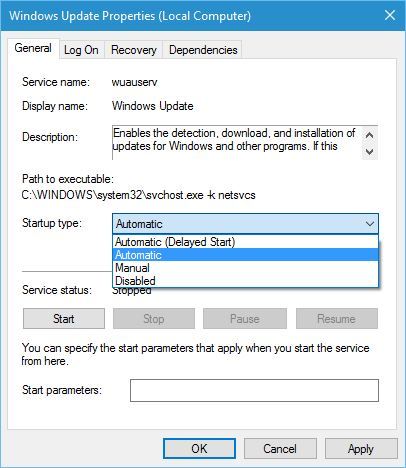
- Locate Windows Update service and double click it.

- In the Startup type field select Automatic and click Apply and OK.

- Restart your PC and check if the issue is resolved.

Some users are suggesting to restart Windows Update service. You can do that simply by right clicking the service and choosing Restart from the menu.
Solution 4 – Run Windows Update troubleshooter
Sometimes there might be some issues with Windows Update that can prevent you from using Windows Store. The simplest way to fix these issues is to run Windows Update troubleshooter. To do that, follow these steps:
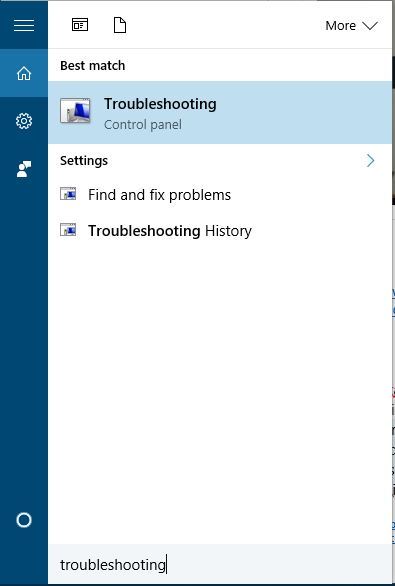
- Press Windows Key + S and enter troubleshooting. Choose Troubleshooting from the menu.

- Select Fix problems with Windows Update option.

- Follow the instructions and wait for the troubleshooter to fix the problem.

If troubleshooter finds and fixes the problem you should be able to purchase applications from Windows Store again.
Solution 5 – Run WSReset.exe
This is the simplest solution, but few users reported that it works, so you might want to give it a try. To run WSReset.exe, follow these steps:
- Press Windows Key + R and enter wsreset.exe. Press Enter or click OK.
- Wait for the wsreset to complete, and try to purchase the application again.

Solution 6 – Delete your card
Few users reported that Your Purchase Couldn’t Be Completed error can appear due to your card. According to users, even though your card information is valid, sometimes there might be a bug with Windows Store that causes this error. To fix this issue you just need to remove your card from Windows Store and add it again.
Solution 7 – Use Command Prompt
According to users, this issue can be caused by dll modules that aren’t properly registered, and in order to fix this problem you’ll need to use Command Prompt and PowerShell commands. Bear in mind that PowerShell commands can be dangerous, therefore it’s highly recommended that you create a System Restore point. To perform this solution, do the following:
- Open Command Prompt as administrator.
- When Command Prompt opens, enter the following commands:
powershell -ExecutionPolicy Unrestricted Add-AppxPackage -DisableDevelopmentMode -Register 'c:program fileswindowsappsMicrosoft.VCLibs.120.00_12.0.20812.1_x64__8wekyb3d8bbweAppxManifest.xml'powershell -ExecutionPolicy Unrestricted Add-AppxPackage -DisableDevelopmentMode -Register 'c:program fileswindowsappsMicrosoft.VCLibs.120.00_12.0.21005.1_x64__8wekyb3d8bbweAppxManifest.xml'powershell -ExecutionPolicy Unrestricted Add-AppxPackage -DisableDevelopmentMode -Register 'c:program fileswindowsappsMicrosoft.WinJS.2.0_1.0.9600.16384_neutral__8wekyb3d8bbweAppxManifest.xml'powershell -ExecutionPolicy Unrestricted Add-AppxPackage -DisableDevelopmentMode -Register 'c:program fileswindowsappsMicrosoft.WinJS.2.0_1.0.9600.16408_neutral__8wekyb3d8bbweAppxManifest.xml'powershell -ExecutionPolicy Unrestricted Add-AppxPackage -DisableDevelopmentMode -Register 'c:program fileswindowsappsMicrosoft.WinJS.2.0_1.0.9600.17018_neutral__8wekyb3d8bbweAppxManifest.xml'
Users also reported that you can use these more compact commands to fix this problem:
FOR /F %I IN ('dir "c:Program Fileswindowsappsmicrosoft.vclibs*" /B') DO (call powershell -ExecutionPolicy Unrestricted Add-AppxPackage -DisableDevelopmentMode -Register 'c:program fileswindowsapps%IAppxManifest.xml')FOR /F %I IN ('dir "c:Program Fileswindowsappsmicrosoft.winjs*" /B') DO (call powershell -ExecutionPolicy Unrestricted Add-AppxPackage -DisableDevelopmentMode -Register 'c:program fileswindowsapps%IAppxManifest.xml')
Solution 8 – Try logging in with a different account
Users reported that they were able to fix this issue simply by logging in with a different account to Windows Store. In fact, you can even log in with the same account and add a payment option. After doing that, the issue should be resolved.
Solution 9 – Try using a different connection
According to users, sometimes certain traffic might be blocked by your router, and the simplest way to fix that is to try using a different network or your phone. Alternatively, you could try changing your router settings.
Solution 10 – Change your location
Sometimes you can fix this issue simply by changing your location. To do that, follow these steps:
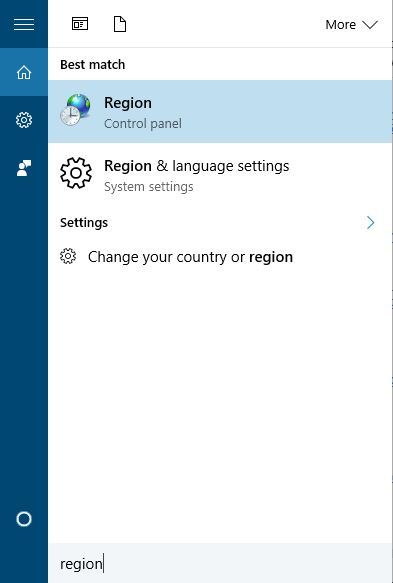
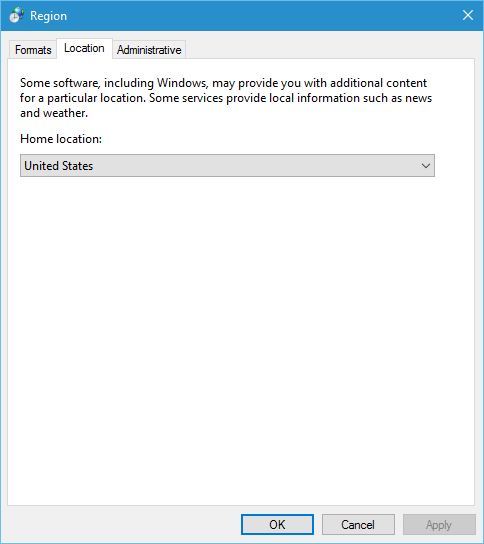
- Press Windows Key + S and enter region. Select Region from the list of results.

- Go to Location tab and change your Home location. You can try using your own location or choose United States, UK or Canada.

- After changing the location, check if the problem is resolved.
Solution 11 – Try using Windows Repair (All in One) tool
If this problem still persists, you might want to try using Windows Repair (All in One) tool. Several users reported that using this tool and choosing the Repair Windows App Store option fixed the issue for them, so you might want to try this tool.
Solution 12 – Wait until Microsoft fixes the problem
Sometimes these types of errors can be caused by technical issues at Microsoft, and the only thing that you can do is to wait a few days until Microsoft fixes this issue. Users reported that after waiting for a couple of days the issue was completely resolved, so you’ll just have to be patient.
Fix – Your purchase couldn’t be completed because your internet connection is slow Windows 10
Solution 1 – Disable your antivirus software
According to users, you antivirus can interfere with Windows Store and cause this error to appear. The simplest way to fix this issue is to temporarily disable your antivirus software and check if that fixes the error. If the issue persists, you might want to remove your antivirus software and see if that fixes the problem.
Users reported issues with Avast, but bear in mind that almost any antivirus software can cause this issue, therefore try disabling or removing your antivirus even if you don’t use Avast.
Solution 2 – Run wsreset.exe and restart your router
Users reported that they fixed this issue simply by running wsreset.exe and by restarting their router. We explained how to run wsreset.exe in one of our previous solutions, so be sure to check it out.
To restart your router, simply press the power button on it, wait for about 30 seconds and press the power button again.
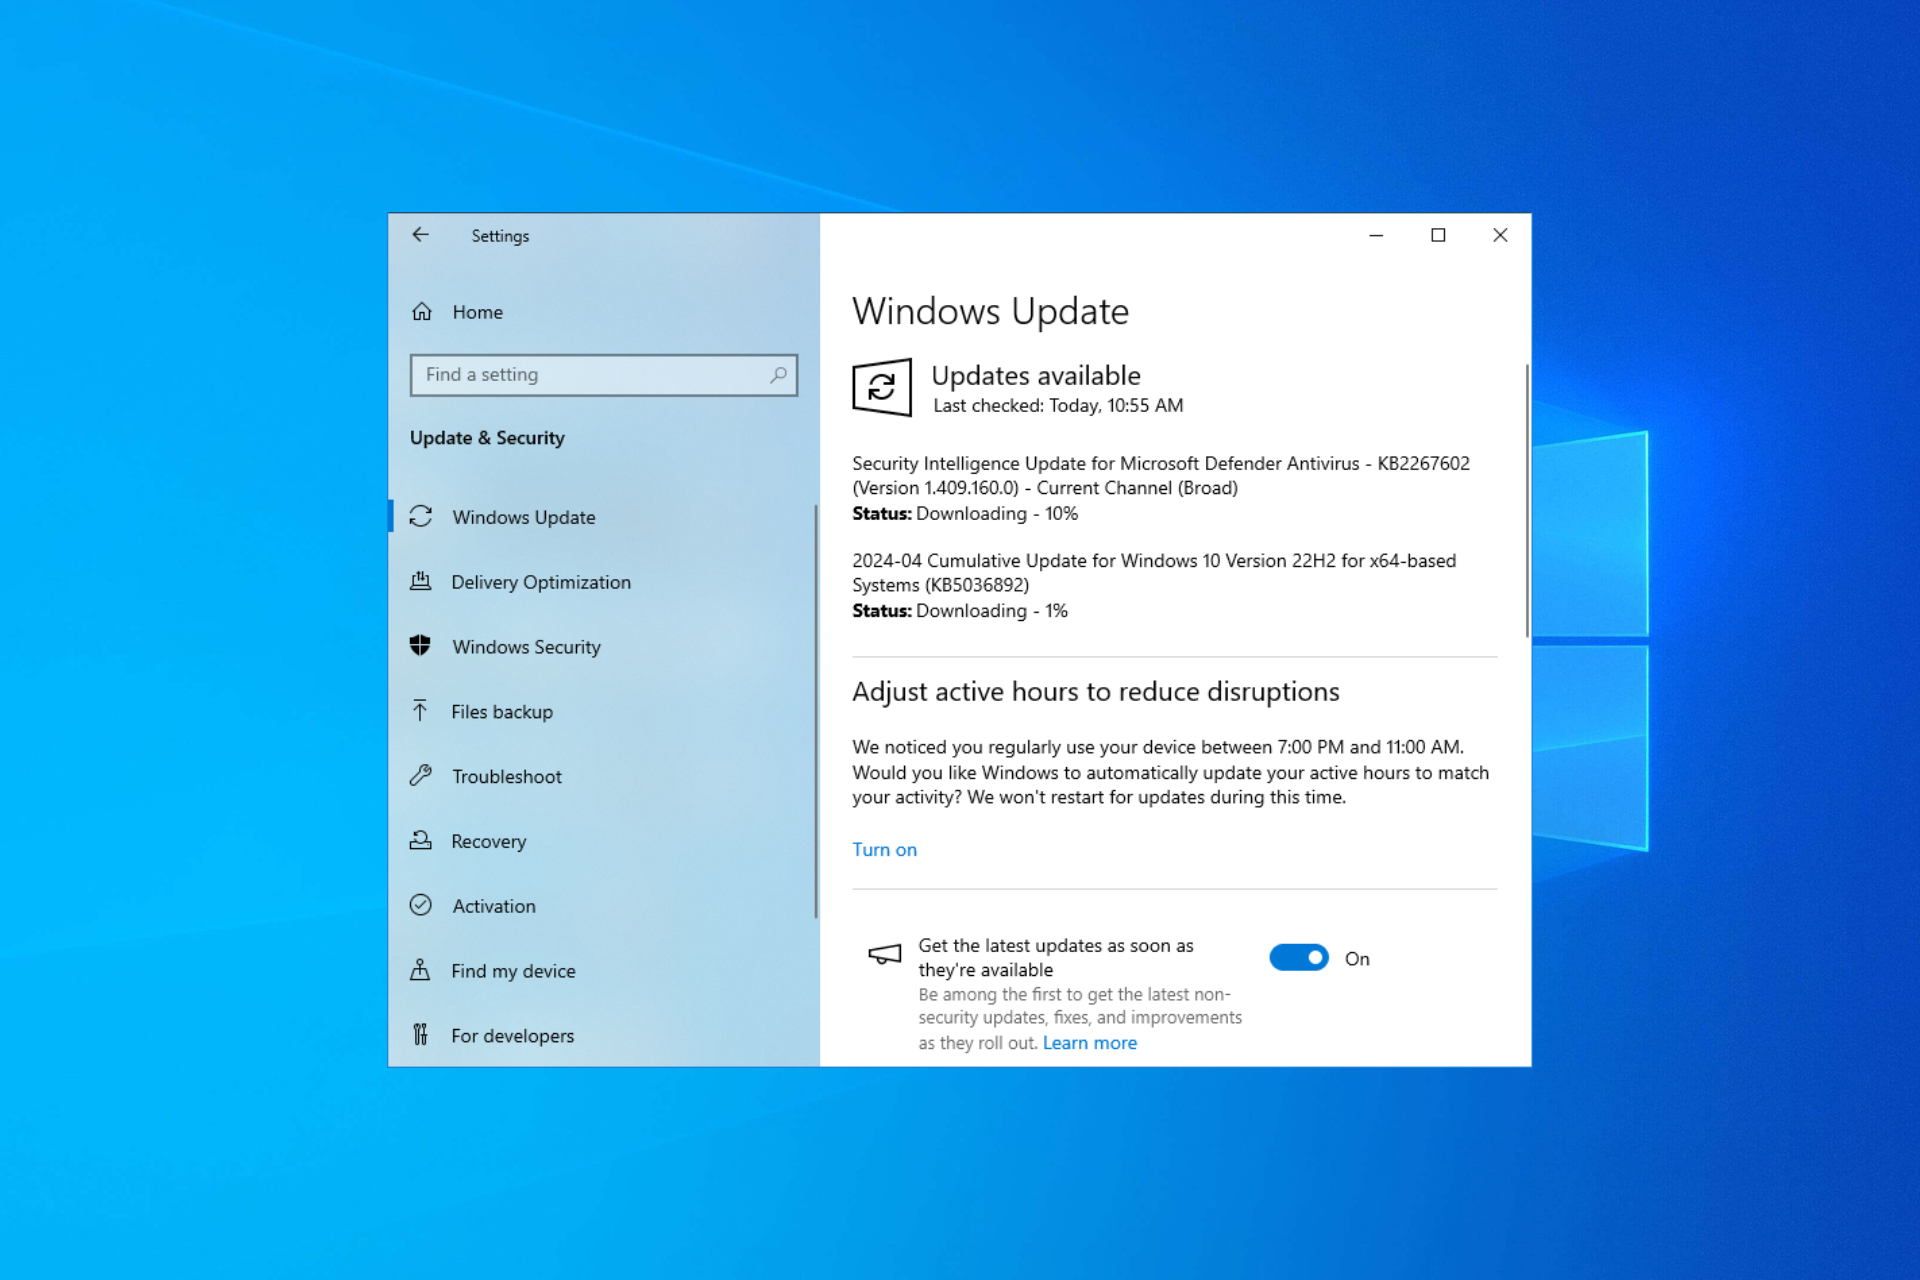
Solution 3 – Install the latest updates
According to users, you can fix this issue by installing Windows Updates. In some cases Microsoft can release an official fix in form of Windows update, therefore to fix this and many other problems with Windows Store we highly recommend that you download the latest updates frequently.
Solution 4 – Change your DNS
If you have this problem with Windows Store and you’re unable to purchase apps, you might want to try changing your DNS. To do that, follow these simple steps:
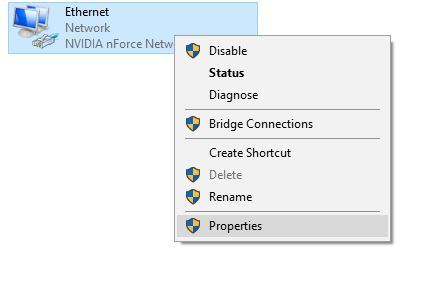
- Press Windows Key + X and choose Network Connections.
- When Network Connections window opens, locate your network connection, right click it and choose Properties.

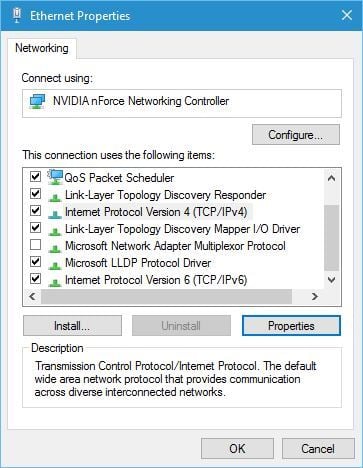
- Click on Internet Protocol Version 4 (TCP/IPv4) and click on Properties.

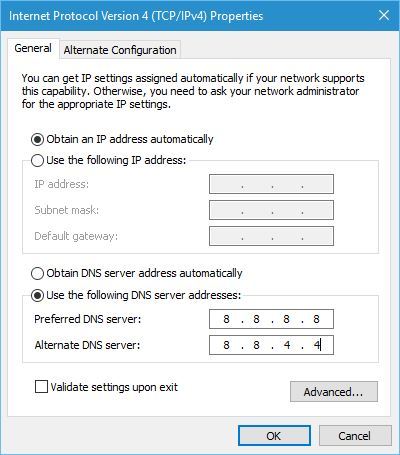
- Select Use the following DNS server addresses and enter 8.8.8.8 as Preferred DNS server and 8.8.4.4 as Alternate DNS server. Alternatively, you can use 208.67.222.222 as Preferred and 208.67.220.220 as Alternate DNS server.

- Click OK to save changes.
Solution 5 – Change your location settings
Sometimes this error can appear if your location settings aren’t correct. To fix this problem simply visit Microsoft’s website, log in with your account and choose the option to edit your account details.
Make sure that country setting matches the country where you purchased your PC. Few users reported that after changing this setting the issue was resolved, so you might want to give it a try.
Solution 6 – Make sure that a payment method is added
Users reported that you might be able to fix this problem simply by adding payment method to the Windows Store. After adding PayPal or any other payment method this issue should be resolved.
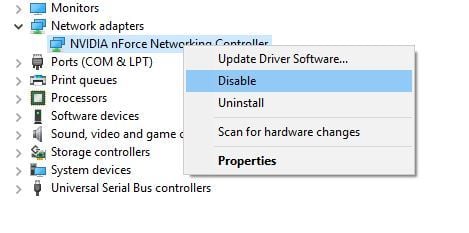
Solution 7 – Try disabling your wireless adapter
Few users claim that they fixed this issue simply by disabling and re-enabling their wireless adapter. To do that, follow these steps:
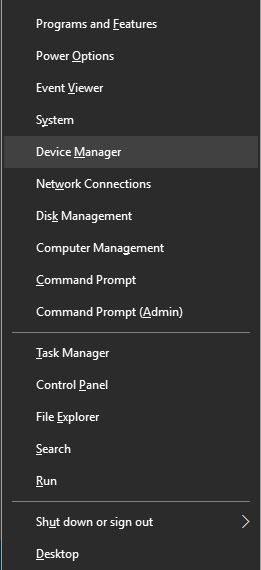
- Press Windows Key + X and choose Device Manager.
- When Device Manager opens, locate your wireless adapter, right click it and choose Disable. Now repeat the same steps and enable your wireless adapter. If you don’t have wireless adapter installed, try disabling and enabling your network adapter instead.

Your Purchase Couldn’t Be Completed error will prevent you from downloading Universal apps, but we hope that you’ll manage to fix this issue by using one of our solutions.
READ ALSO: