Canon Camera Not Recognized by Windows 10: 3 Easy Fixes
Canon camera issues are usually caused by your settings or drivers
![]() 5 min. read
5 min. read
![]() Updated on
Updated on
Share this article

Improve this guide
Read our disclosure page to find out how can you help Windows Report sustain the editorial team Read more
Key notes
- If your Canon camera isn't recognized, disable Auto turn off and wireless features.
- Checking your drivers and USB ports can also help if you're having this issue.
Canon cameras are great, but many users reported that their Canon camera is not recognized by Windows 10.
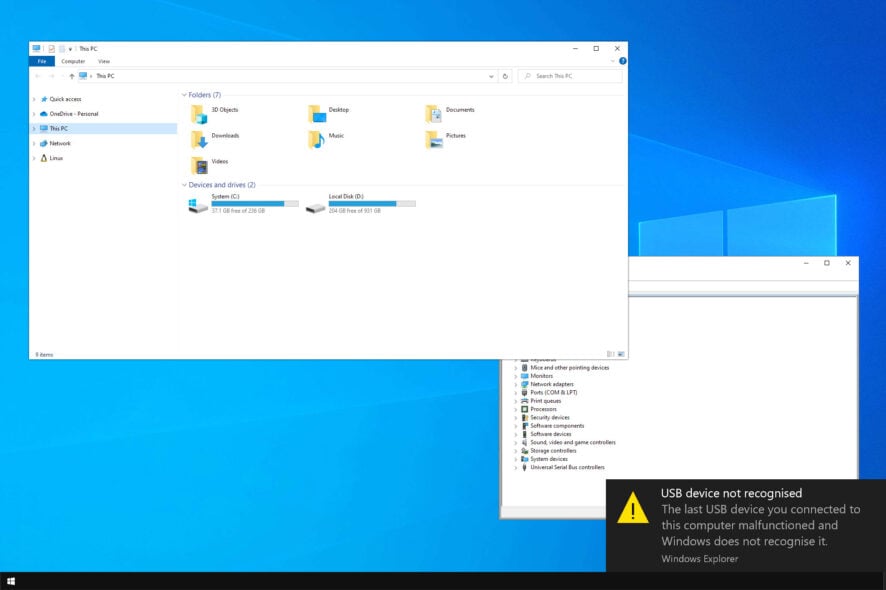
It’s not uncommon for USB device to not be recognized in Windows 10, but if your camera is affected, you won’t be able to transfer photos or videos.
Luckily for you, today we have a special guide that will help you fix that, so let’s get started.
Why is my computer not detecting my Canon camera?
There are several reasons for this problem, and we’re going to show you the most common ones:
- USB cable – For your camera to be recognized, you need to use a compatible USB cable.
- USB port issues – Sometimes, your USB port can cause this issue. Try changing the port or using a USB hub. This is also sometimes the reason Canon EOS Utility is not working.
- Camera settings – In some instances, power saving or Wi-Fi settings on your camera can prevent it from being recognized. Disabling these features usually fixes the issue.
- Drivers – Camera or USB drivers can cause this issue. To fix it, you need to reinstall and update your drivers.
What can I do if the Canon camera is not recognized by Windows 10?
Before we start fixing this issue, there are a couple of general solutions that you should try:
- Restart or turn off your PC – Fixing this issue is simple, and sometimes all that you have to do is to turn your PC off and then turn it back on again.
- Try a different USB cable – Canon cameras usually use IFC-400PCU or IFC-600PCU cables for Mini-B and Micro-B terminals. If you’re using a non-default cable, ensure it’s fully compatible with your camera.
- Connect a camera to a different USB port – Sometimes, it might be possible that your USB port isn’t working properly, so connecting the camera to a different port can solve the problem.
- Use a USB hub – A few users reported that connecting the camera to the USB hub and then connecting the hub to the PC worked for them, so be sure to try that.
- Use a card reader – With it, you can remove the card from your camera and connect it directly to the PC to transfer the photos.
1. Switch Off the Canon Camera’s Auto Power Off and Wi-Fi/NFC Settings
- Press the Menu button.
- Go to the Settings tab and select Power saving.

- Now set the Auto Power Down to Off.
To disable Wi-Fi/NFC, do the following:
- Press the Menu button and navigate to the Setup menu.
- Next, go to the Wireless communication settings.
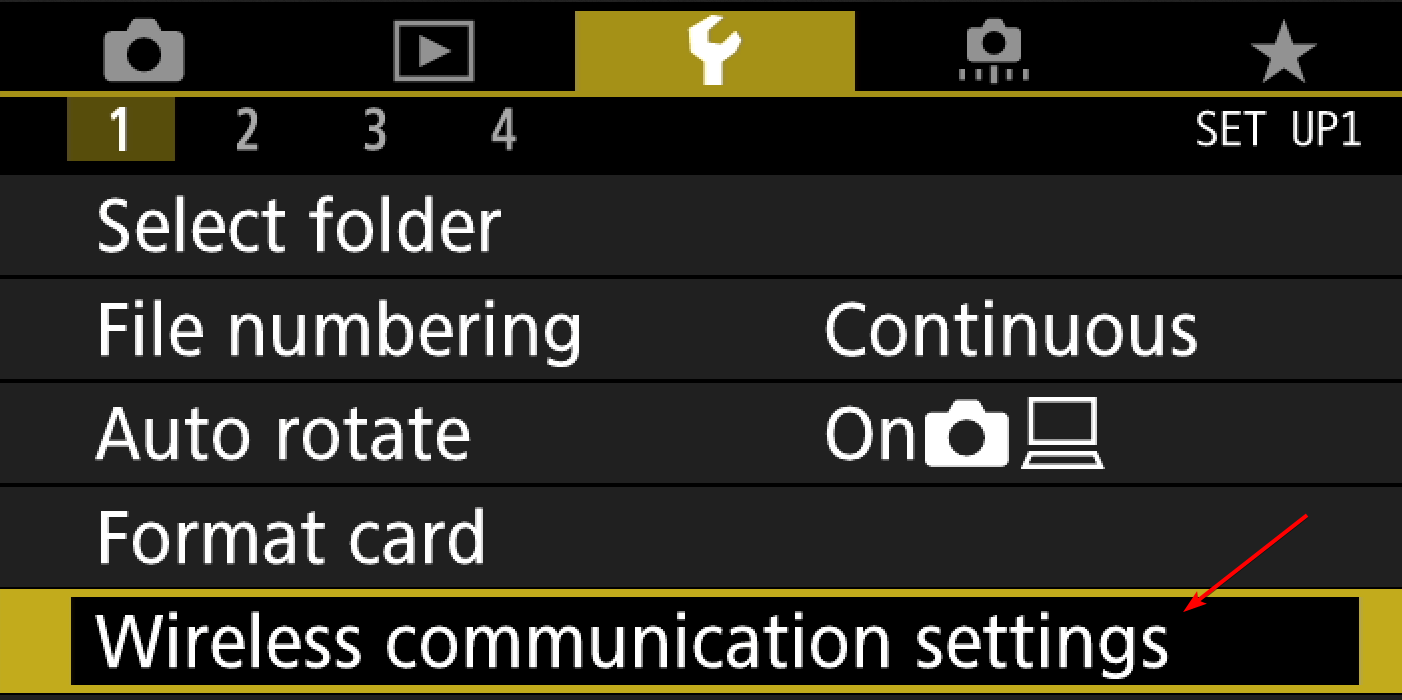
- Locate Wi-Fi/NFC and set it to Disable.
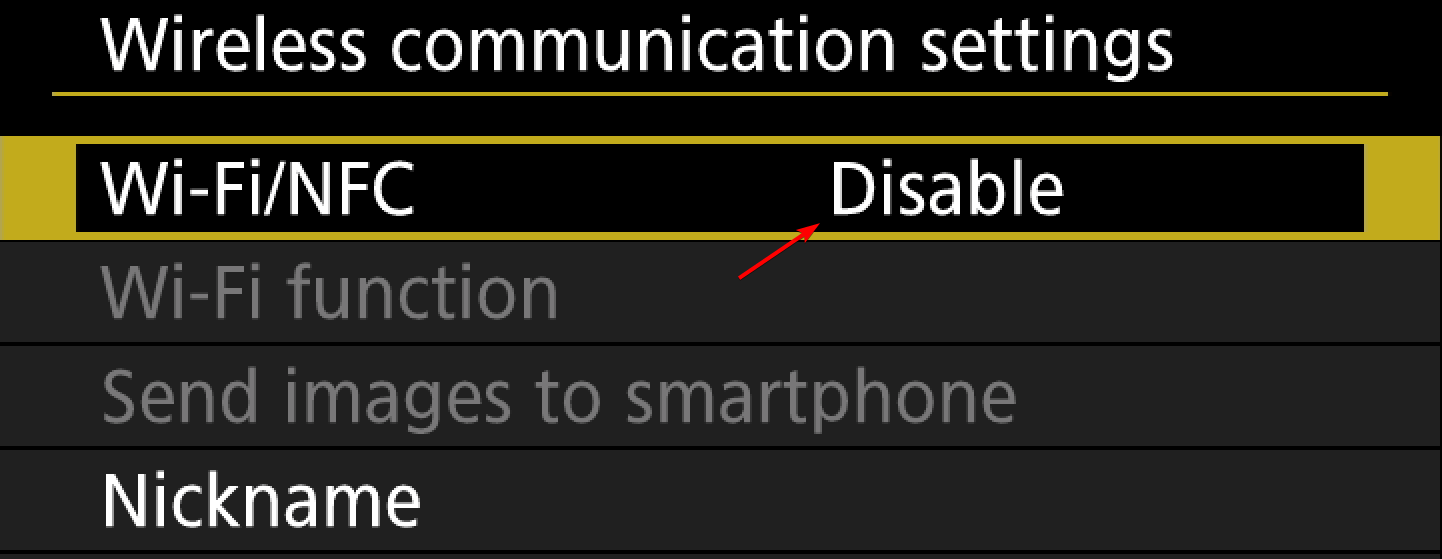
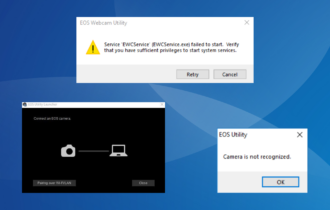
For instance, the EOS Rebel T65 camera can’t be connected if its Wi-Fi/NFC setting is enabled. So switch those settings off via your camera’s menu if they are currently enabled.
2. Update the Generic USB Hub Driver
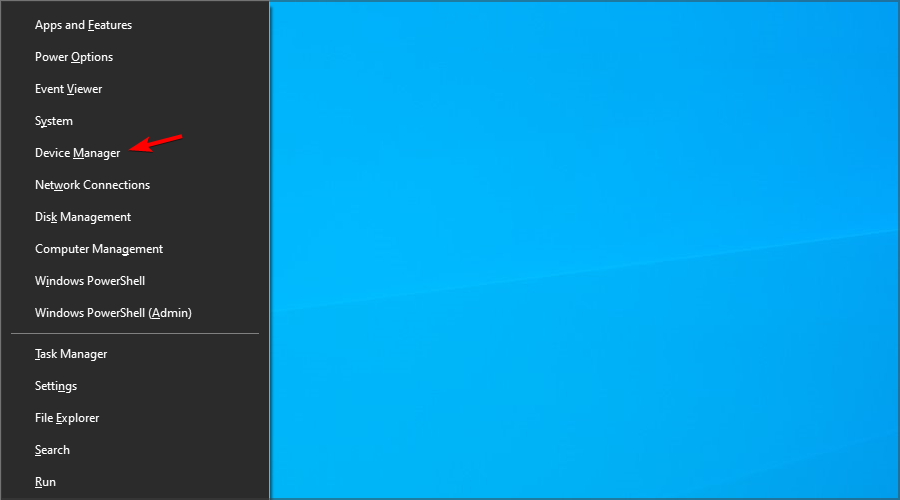
- Right-click the Start menu and choose Device Manager.
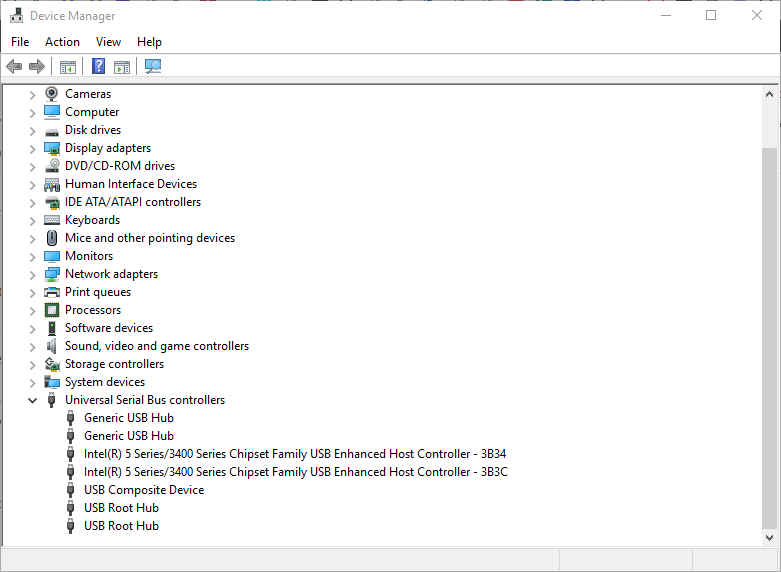
- Double-click Universal Serial Bus controllers to expand a list of USB controllers as below.
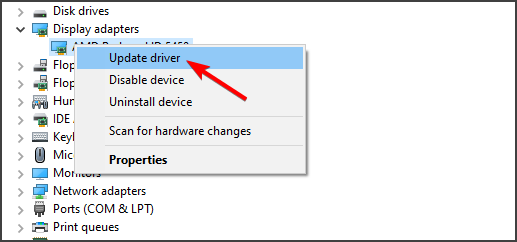
- Right-click Generic USB Hub and select Update driver from the context menu to open the window in the shot directly below.
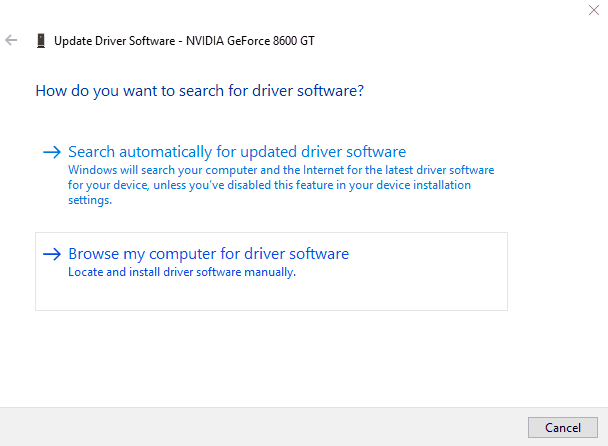
- Select the Browse my computer for driver software option on that window.
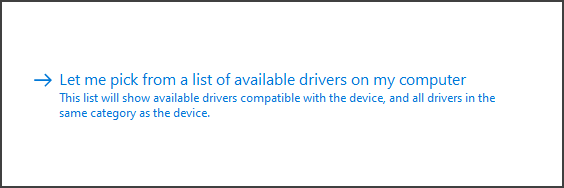
- Next, select the Let me pick from a list of device drivers on my computer option to open a list of compatible drivers as below.
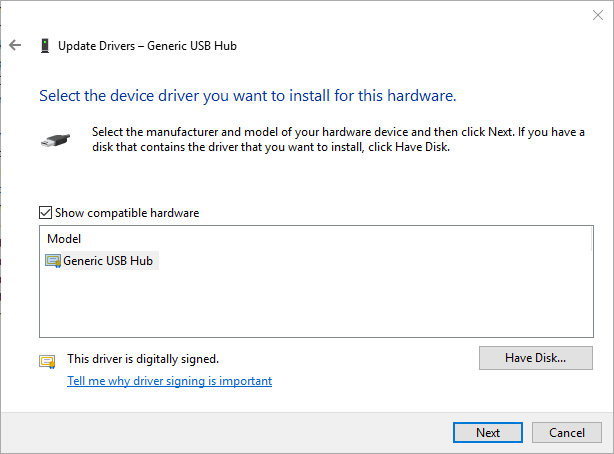
- Select the Generic USB Hub listed, and click Next to install it.
You can also update your drivers automatically with utilities like Outbyte Driver Updater. These scan your PC, find the outdated and damaged drivers, and download and install the latest versions.
It is the easiest solution to opt for because the process is automatic and you don’t have to worry about finding the correct driver versions.
After updating your drivers, check if the Canon camera is still not recognized by Windows 10.
3. Uninstall the camera via Device Manager
- Plug your Canon camera into a USB port of a laptop or desktop.
- Right-click the Start button and choose Device Manager from the list.

- Double-click Portable Devices to expand a list of connected devices, including your camera.
- Right-click the Canon camera and select Uninstall device.
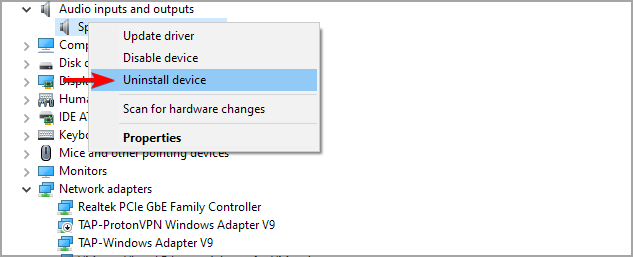
- A dialog box opens requesting further confirmation. Press the Uninstall button on that window to confirm.
- Then press the Scan for hardware changes button at the top of the Device Manager window.

After doing that, you should be able to connect the Canon camera to Windows 10 without any issues.
As you can see, this can be an annoying issue, but hopefully, you managed to fix it with one of our solutions.
This isn’t the only issue with a camera you’ve encountered, and many reported that camera is not recognized in Device Manager, but we covered that in one of our other guides.
Did you find a different solution? If so, let us know in the comments below.