
FFXIV 90002 Error: What is and How to Fix it Quickly
This error disconnects players from the game's server 🔌
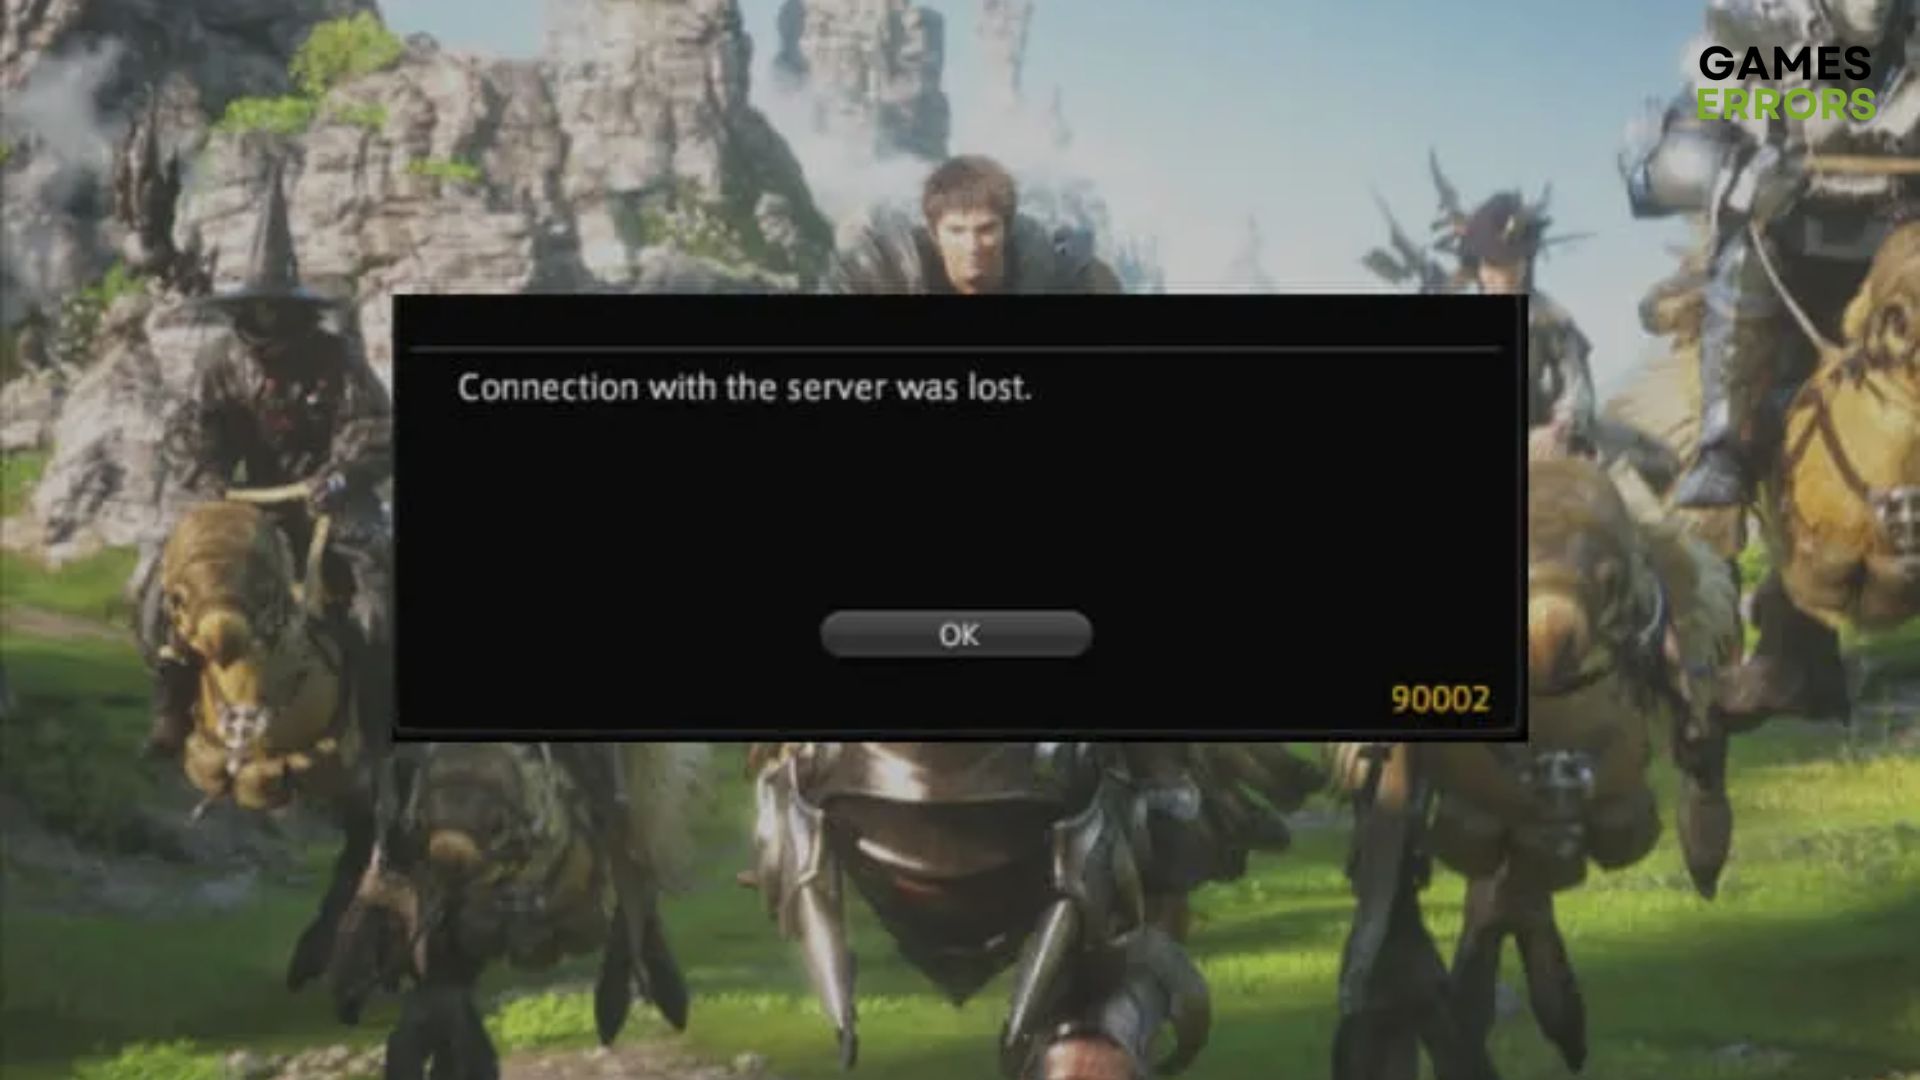
FFXIV can be a great place to hang your hat, but sometimes it can encounter some issues, like the infamous FFXIV 90002 error. As with any other FFXIV errors, this one also disconnects you from the server.
If you’re at your wit’s end, don’t fret. We’ll share with you a bunch of easy-to-follow fixes that could help you get FFXIV working in no time.
What causes the FFXIV 90002 error?
If you’re getting error 90002 in FFXIV, don’t fret. It’s a common error where the server drops your connection. Unfortunately, it has quite a lot of causes, but also a lot of potential fixes.
How can I fix the FFXIV error 90002?
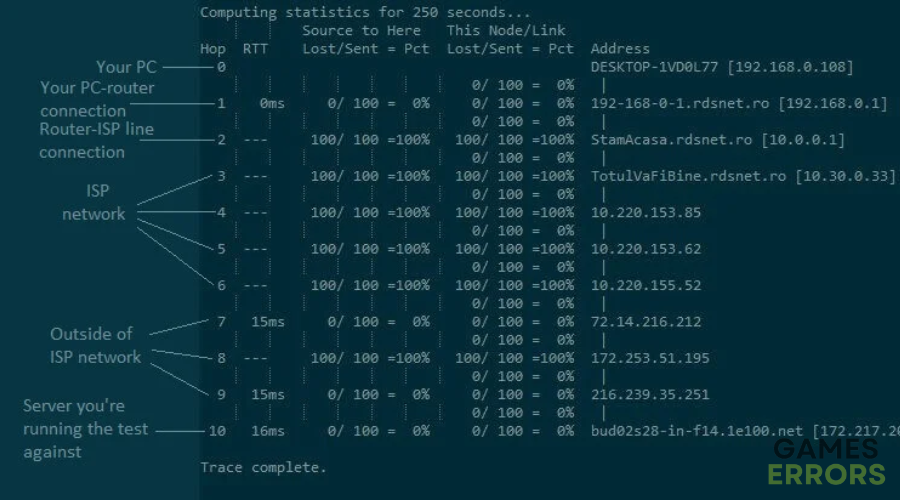
1. Check for packet loss
- Find out the IP address of the server you’re playing on
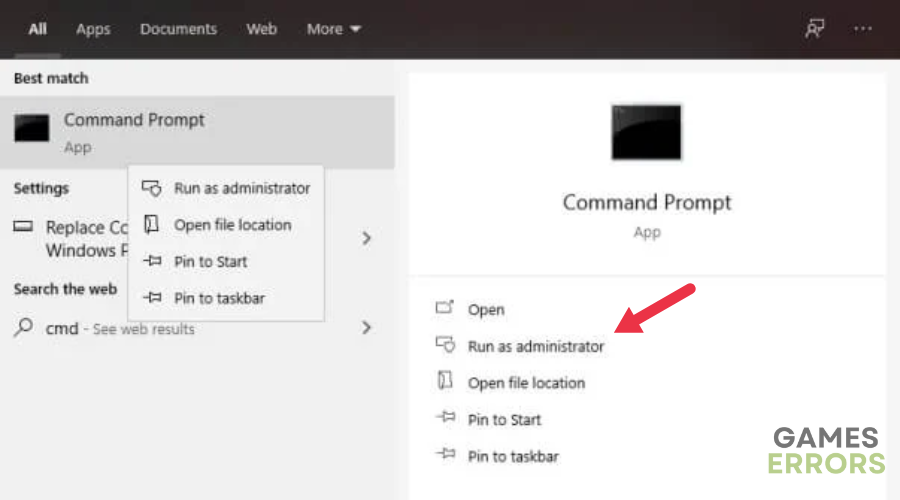
- Run CMD on your computer
- Type pathping x.x.x.x (replace x.x.x.x with the server’s IP address)
- Check for any packet loss throughout your connection.

2. Use a VPN
- Purchase a premium VPN subscription plan (we recommend Private Internet Access)
- Download and install the VPN on your PC.
- Launch the VPN client and log into your account.
- Connect to a fast server of your choice (nearby servers are the fastest).
- Launch FFVXIV.
- Check if you still encounter the error 90002.
3. Reinstall FFVXIV
If the issue was caused by a bad game file, you won’t receive the 90002 error. Until a tiny game file becomes corrupted again, that is.
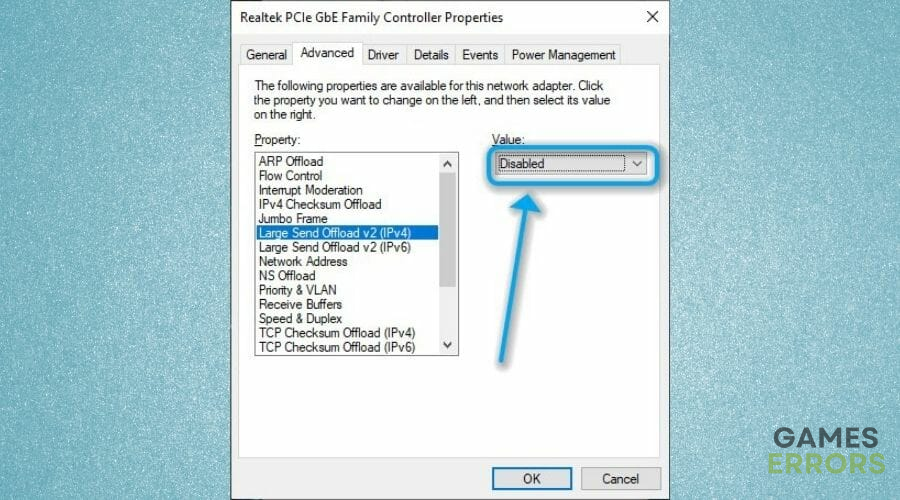
4. Disable the Large Send Offload setting
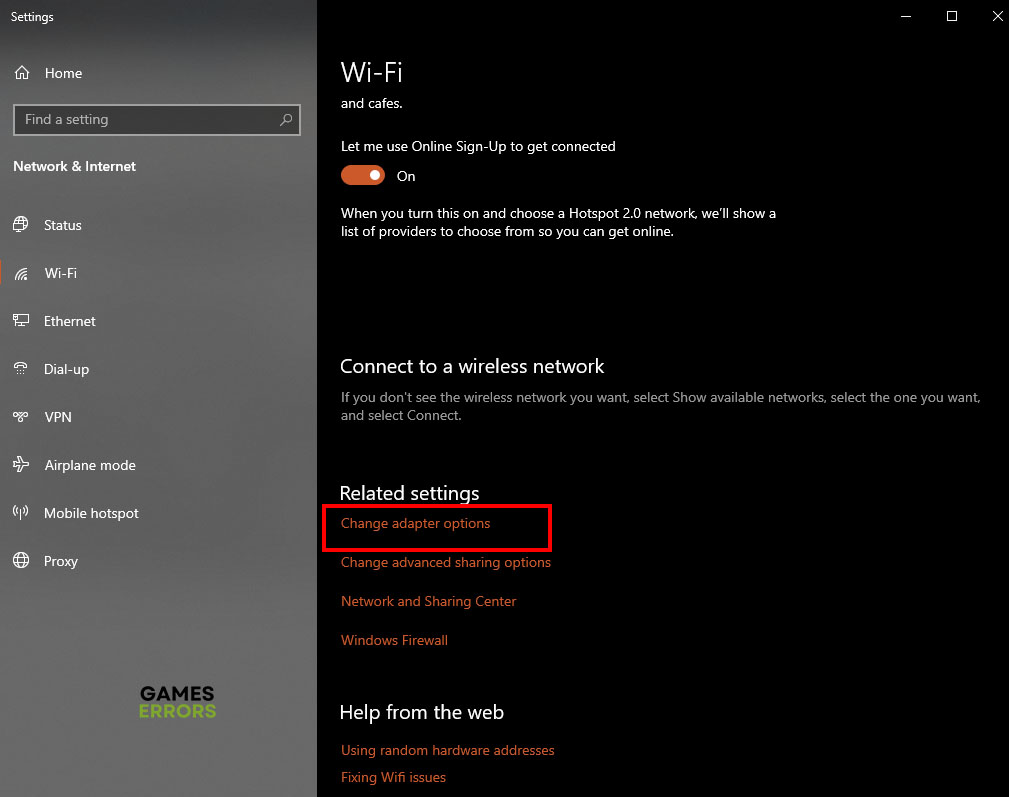
- Access the Settings app on your Windows 10 PC.
- Go to Network & Internet.
- Click the Change adapter options button.

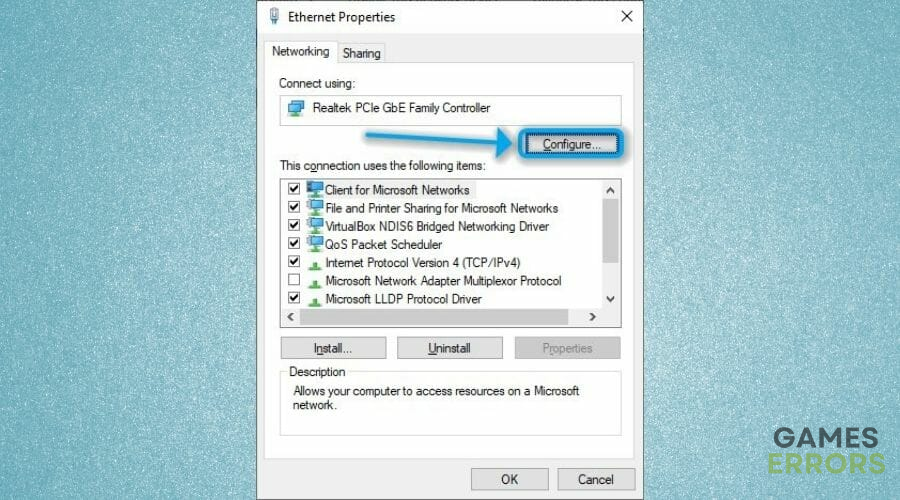
- Right-click your active connection (adapter).
- Select Properties.
- Click the Configure button.
- Go to the Advanced tab
- Select Large Send Offload v2 (IPv4)
- Set it to Disabled
- Next, select Large Send Offload v2 (IPv6).
- Set it to Disabled.
- Click Ok.
- Restart your PC.
- Launch FFVXIV and check if you still get the 90002 error.
5. Flush your DNS
- Launch an elevated instance of CMD on your computer.
- Type the following commands, one by one:
ipconfig /flushdns
ipconfig /registerdns
ipconfig /release
ipconfig /renew
netsh winsock reset
exit
6. Disable FFXIV UPnP usage
- Navigate to My Documents
- Open the My Games folder
- Access the FF14 directory
- Right-click FFXIV.cfg
- Open the file with any text editor
- Scroll down to the Network Settings section
- Locate the UPnP value
- Change it from 1 to 0
- Save the file without changing its name
- Launch FFXIV and check if you’re still seeing the 90002 error
Older router models don’t support UPnP, which the game is set to use by default. If you disable UPnP usage to fit your router model, you may stop receiving the 90002 error altogether.
7. Temporarily disable your antivirus
Some players have reported that their PC’s antiviruses were to blame for this error. Here’s what you need to do:- Launch your antivirus.
- Turn off the virus protection
- Check whether the issue persists.
If not, then it means the antivirus was causing it. In that case, if the antivirus is a third-party app, you can uninstall it and use the built-in Windows Defender instead.
You can use any free public DNS you see fit, such as Cloudflare, OpenDNS, or Google. However, we’ve used Google’s Public DNS and we’re nothing short of satisfied.