FIX: Skype camera not working in Windows 10/11
![]() 6 min. read
6 min. read
![]() Updated on
Updated on
Share this article

Improve this guide
Read our disclosure page to find out how can you help Windows Report sustain the editorial team Read more
Key notes
- Skype is without a doubt one of the best instant messaging apps, but it has its share of issues.
- Many users reported that their webcam isn’t working on Skype at all.
- Fixing this issue is easy and you just need to update your webcam drivers and check your camera settings on Skype.
- We covered all sorts of Skype issues in the past, and if you’re looking for more Skype guides, be sure to check our Skype hub.

Skype is messaging software you can use your laptop’s or desktop’s webcam with. With their webcams, users can make video calls in Skype.
However, some might not always be able to get a working video stream with their Skype cameras.
So if your Skype camera doesn’t have effective video calls, these are a few ways to fix it in Windows 10.
First, note that Skype video calls only work with desktop and laptop webcams. They can either be built-in or external USB webcams.
However, that does not include mobile cameras, which you can’t use for Skype video calls. Also, make sure that an external USB webcam is correctly connected to the desktop.
How can I fix Skype camera issues on my PC?
1. Re-install Skype
Have you switched off automatic updates in Skype? If so, you might need to update the Skype app to the latest version.
That doesn’t necessarily mean you need to re-install the software, but that will guarantee you’re using the most updated version with the latest patches installed.
Open this web page and click Get Skype for Windows to get the updated version. Alternatively, you could also select Help > Check for Updates in your Skype app.
In rare cases, you may not be able to re-install Skype on your machine. In order to fix this technical glitch, follow our step-by-step guide that helps you fix the Skype won’t install on Windows 10 error.
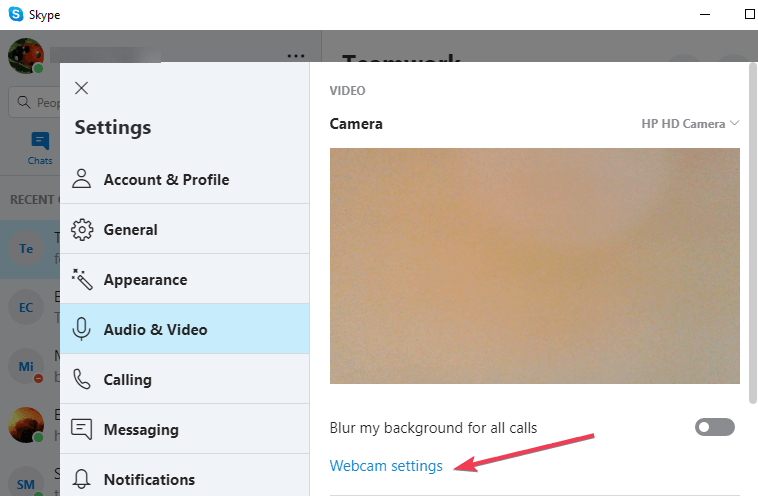
2. Check the webcam is configured correctly
- Next, check the webcam is configured for Skype. Open the Skype app and select Tools > Options to open further settings.
- Then click Video settings to check the webcam configuration. If Video settings states Skype couldn’t find a webcam, then Skype hasn’t recognized your camera.
- If that’s the case, you should open your webcam software and switch the camera on with that. Alternatively, switch it on with a hardware switch if you can.
- Then restart your Skype app.
- Click Tools > Options and Video settings once again to check the camera configuration. Now you should see an image of yourself there.
- If the video image is very dark, then you should select Webcam settings.

- Select the Camera Control tab on the Video Capture Filter Properties window.
- Then you can select a Low Light Compensation option that will lighten the video image.
- Press Apply and OK to confirm the selected option.
One of the most common issues on Skype is the annoying black screen camera problem.
This issue often occurs due to incorrect settings. Here’s a tested troubleshooting guide on how to fix black screen webcam issues for good.
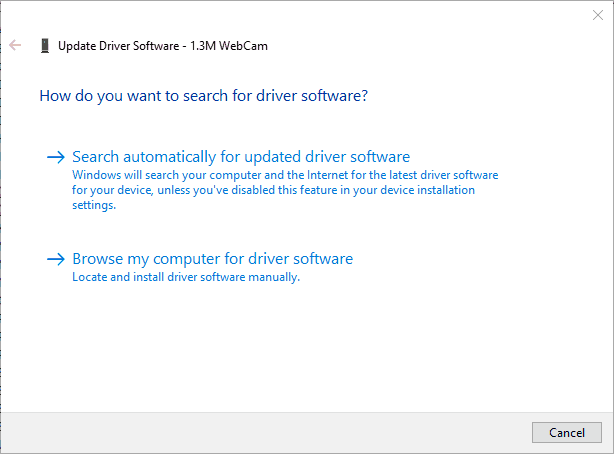
3. Update your webcam drivers
- Press the Win key + X and select Device Manager from the menu.
- Now click Imaging devices where you should find your webcam listed.

- Next, right-click the webcam and select the Update Driver Software option from the context menu.
- An Update Driver Software window opens from which you can select Search automatically for updated driver software.

- Or you could select Uninstall and restart Windows. Windows will automatically install the latest webcam drivers.

Update drivers automatically (suggested)
After you have uninstalled your drivers, we recommend reinstalling/updating them automatically.
Downloading and installing drivers manually is a process that carries the risk of getting the wrong driver installed, which may lead to serious malfunctions of your system.
The safer and easier way to update drivers on a Windows computer is by using an automatic tool.
We recommend you try Outbyte Driver Updater. The software is lightweight, so it can function properly on any device. It scans and fixes outdated or damaged drivers with no issue.
Outbyte Driver Updater is very easy to use. The download and installation take just a few minutes. After that, you just have to launch the software and let it scan your PC.
It generates a report of all drivers that have issues and what can be done about them. You can select specific drivers to get fixed or fix them all in bulk.
It includes a free trial, so if you are not sure about it, you can test it out before committing to a purchase.
4. Check other programs
Another thing to note is that other background software integrated with the webcam might be capturing the video stream.
So that might be why the camera isn’t working in Skype. You can check this by right-clicking the taskbar and selecting Task Manager.
Then select third-party software packages, especially instant messaging or web applications, listed under Background processes and press their End task buttons. Thereafter, restart the Skype app.
5. Fix the webcam freezing in Skype
- You can open the registry by pressing the Win key + R. Then enter ‘regedit’ into the Run text box and press OK.
- Then you should browse to HKEY_LOCAL_MACHINESOFTWAREWOW6432NodeMicrosoftWindows Media FoundationPlatform in the registry.

- Next, right-click an empty space on the right of the registry window and select New > DWORD (32-bit) Value from the context menu.
- You should enter EnterFrameServerMode as the new key title.
- Double-click EnterFrameServerMode to open the Edit DWORD (32-bit) Value window below.

- Input 0 in the window’s Value data text box if that’s not already the default value.
- Press the OK button, and then you should also restart Windows.
- Now open Skype to make that USB webcam video call.


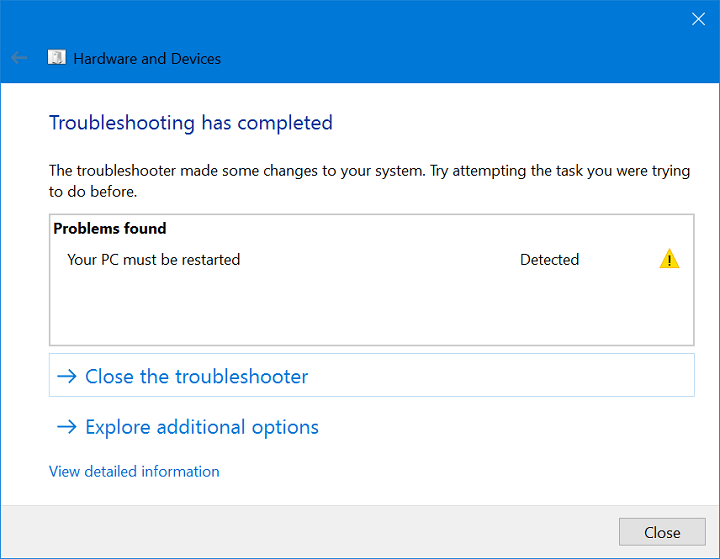
6. Run the Device Troubleshooter
- Type ‘troubleshooter‘ into the Cortana search box and select to open the Troubleshooting Control Panel tab.
- Click Hardware and Sound on the Troubleshooting tab.
- Next, select Hardware and Devices from the listed troubleshooters.
- Press the Next button to scan with the Hardware and Devices troubleshooter. Then it might provide a fix for the webcam.

- Restart Windows if the troubleshooter detects and fixes anything.
7. Check if your webcam is Skype compatible
Not every desktop or laptop camera is compatible with Skype. If your webcam is more outdated, it might not be Skype compatible.
This page includes a list of both compatible and incompatible Skype webcams. Scroll through the non-working camera list to see if it includes your camera.
With those fixes maybe now Skype will display video! Note that you’ll also need at least DirectX version 9.0 for Skype video calls to work.
If you need general information about this kind of issue, check our comprehensive webcam problems on Windows 10 article. It is a rundown of the most common issues users experience and how to fix them.