ACDSee Photo Editor 11 Free Download
![]() 2 min. read
2 min. read
![]() Updated on
Updated on
Share this article

Improve this guide
Read our disclosure page to find out how can you help Windows Report sustain the editorial team Read more

ACDSee Photo Editor is ACDSee’s solution for editing photographs on your PC professionally, without too much effort. The tool promises to deliver “total photography control” to you so that you can adjust every little visual parameter.
It also features RAW processing support, so you can import RAW files straight from your camera. There’s no need to run your images through photo conversion tools to make them compatible with this program. But let’s find out together what more does this software solution have in store for you.
ACDSee Photo Editor’ system requirements
You might know that any program, let alone ACDSee Photo Editor, has some requirements the target PC needs to meet. It goes without saying that this tool makes no exception from this rule. So without further ado, let’s see what the prerequisites are.
Hardware requirements:
- Processor: AMD Athlon 64 or Intel Pentium 4 CPU of 2 GHz or faster
- Memory: 2GB RAM minimum, 6 GB RAM recommended
- Video memory: 512 MB VRAM (Video RAM)
- Graphics: Graphics adapter compatible with DirectX 10
- Display: High Color display adapter that supports at least 1024 x 768 resolution (1280 x 1024 is recommended)
- Space: 2GB of available HDD space
Software requirements:
- Operating system: Windows 10, 8.1, 8, 7 SP1 (only 64-bit editions)
- Miscellaneous:
- Microsoft Internet Explorer 9 and higher
- Microsoft DirectX 10 or greater
- Windows Media Player 9.0
From what we can tell, ACDSee Photo Editor is not exactly pretentious when it comes to system requirements. If you have a 64-bit PC that can run at least Windows 7, you’re probably good to go. However, you might want to stick to the “recommended” side of the sys req. Otherwise, ACDSee Photo Editor’s performance might take a serious hit.
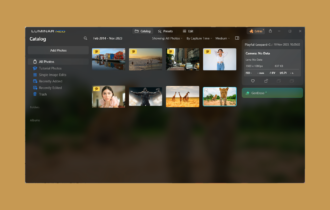
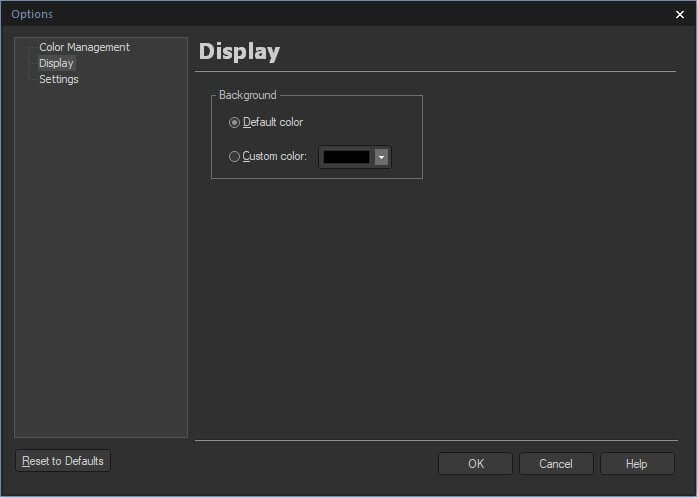
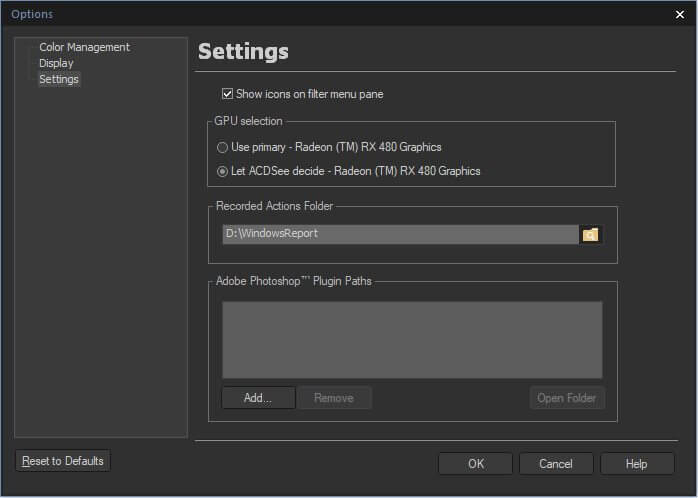
Screenshots

Our Review
- Pros
- Supports Photoshop plugins
- Nice special effects gallery
- 3-day trial
- Cons
- 32-bit Photoshop plugins not supported
- Controls are a bit confusing
How to install ACDSee Photo Editor on your PC
First thing’s first, we have to mention that this program is a premium one. Thus, it requires you to purchase a license before you can use it properly. However, it also offers you a 3-day trial. That way, you can take its features on a test drive before you commit to purchasing a license.
Assuming you’ve already downloaded the installer on your PC, go ahead and launch it. Notice that the installer is actually a downloader. Allow it to finish retrieving the online package, then proceed with the installation.
During setup, you only need to accept the EULA, choose between complete or custom installation modes, then hit Install. The wizard handles the rest of the process without requiring any further assistance on your side.
Sleek, minimalistic interface
ACDSee Photo Editor comes with a stylish, dark themed layout, which comprises various features, neatly organized. Although the interface gives you a professional vibe, we would’ve liked if the toolbar buttons on the left side of the screen were just a smidge larger.
On high-resolution displays, it’s somewhat difficult to spot the tool you’re searching for without squinting or getting really close to your monitor. ACDSee Photo Editor also comes with traditional menus displayed at the top of the main screen. Long story short, you might be able to access the same tool from various locations.
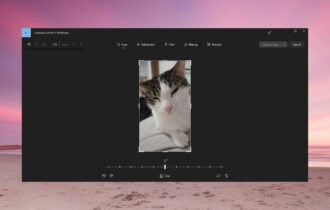
Edit photos on your PC with ACDSee Photo Editor
As its name not-so-subtly hints, ACDSee Photo Editor can help you edit photos. In order to do that, just open any image from your PC use the app’s toolset to perform your desired customizations. This program lets you perform basic picture adjustments such as setting the exposure and contrast values, but it can also handle more complex tasks.
For instance, you can add filters and watermarks, perform a lens correction, or even adjust perspective. If you’re looking for the filters, they’ve been placed a bit deeper in the menu hierarchy.
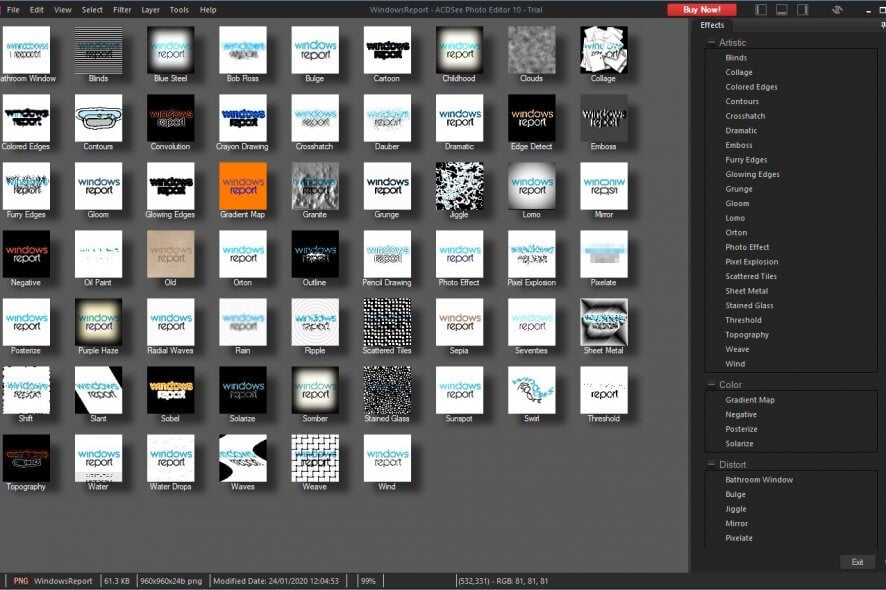
ACDSee Photo Editor filters
If you’re familiar with other similar tools such as Photoshop, you can perhaps recall the way they place filters: in the Filters menu, for your convenience. ACDSee Photo Editor’s filters can be found in the Filter > Add > Special Effect menu. Alternatively, you can press F9 on your keyboard to access them on the spot.
On the other hand, the effect library is quite impressive. It packs quite awesome effects such as Old, Purple Haze, Convolution, Sobel, and Solarize. But we won’t spoil your experience. You can take a look and decide for yourself whether you like it or not.
Sometimes the controls are a bit confusing
Note that if you try using an effect or a tool on your image, you can edit their parameters on the right-side menu. Applying any effect to your photo can be accomplished by clicking the Done button on the right. If you change your mind mid-action, just hit Cancel.
We tried adding a gradient over our image and changed our minds. Naturally, not having 20/20 vision means that we didn’t notice the Done and Cancel buttons on the right. Therefore, we tried hitting Esc and Delete on our keyboard. You know, in other tools pressing Esc cancels the current action and Delete removes the component you’ve added to your pic.
However, if you hit Delete on your keyboard, ACDSee Photo Editor will actually send the photo you’re editing to the trash bin. No warnings, either. You’ll probably end up looking for it, wondering what happened. If you’re fortunate enough not to have emptied the Recycle Bin, you can find it there.
ACDSee Photo Editor – effective photo editing tool
If you’re looking for a program that can help you perform quick edits on your photographs, ACDSee Photo Editor might be what you need. It comes with a 3-day trial, you can install it easily, and its interface is neatly organized.
However, note that if you’re using a hi-res monitor, the toolbar might seem a bit too small for your eyes. More so, note that hitting Delete on your keyboard while working on your photo will send your image to the trash bin without prior notification.
FAQ: Learn more about ACDSee Photo Editor
- Can I use plugins with ACDSee Photo Editor?
Yes, after you make sure that they’re compatible with this program, you can install them. To manage them, use the Plug-in Settings option in the Tool menu. Here you can disable plugins or change their order.
- Can I use Photoshop plugins with ACDSee Photo Editor?
Yes, but you can only use 64-bit Photoshop plugins. 32-bit ones won’t work. More so, even 64-bit plugins might not work exactly as they do in Photoshop. Also, you won’t be able to open the same plugin in two ACDSee Photo Editor windows at the same time.
- How do I use presets in ACDSee Photo Editor?
If you want to save the current modifications you’ve performed on an image and use them on another photo, use the Save Preset button at the top of any tool’s panel. If you want to import a preset, select the tool for which you’ve created the preset, click the presets combo menu and choose your favorite profile.
Full Specifications
- License
- Trial
- Keywords
- image, editor, photograph, effect, filter, adjust