Skylum Aurora HDR review
![]() 2 min. read
2 min. read
![]() Updated on
Updated on
Share this article

Improve this guide
Read our disclosure page to find out how can you help Windows Report sustain the editorial team Read more
Price: €99.00
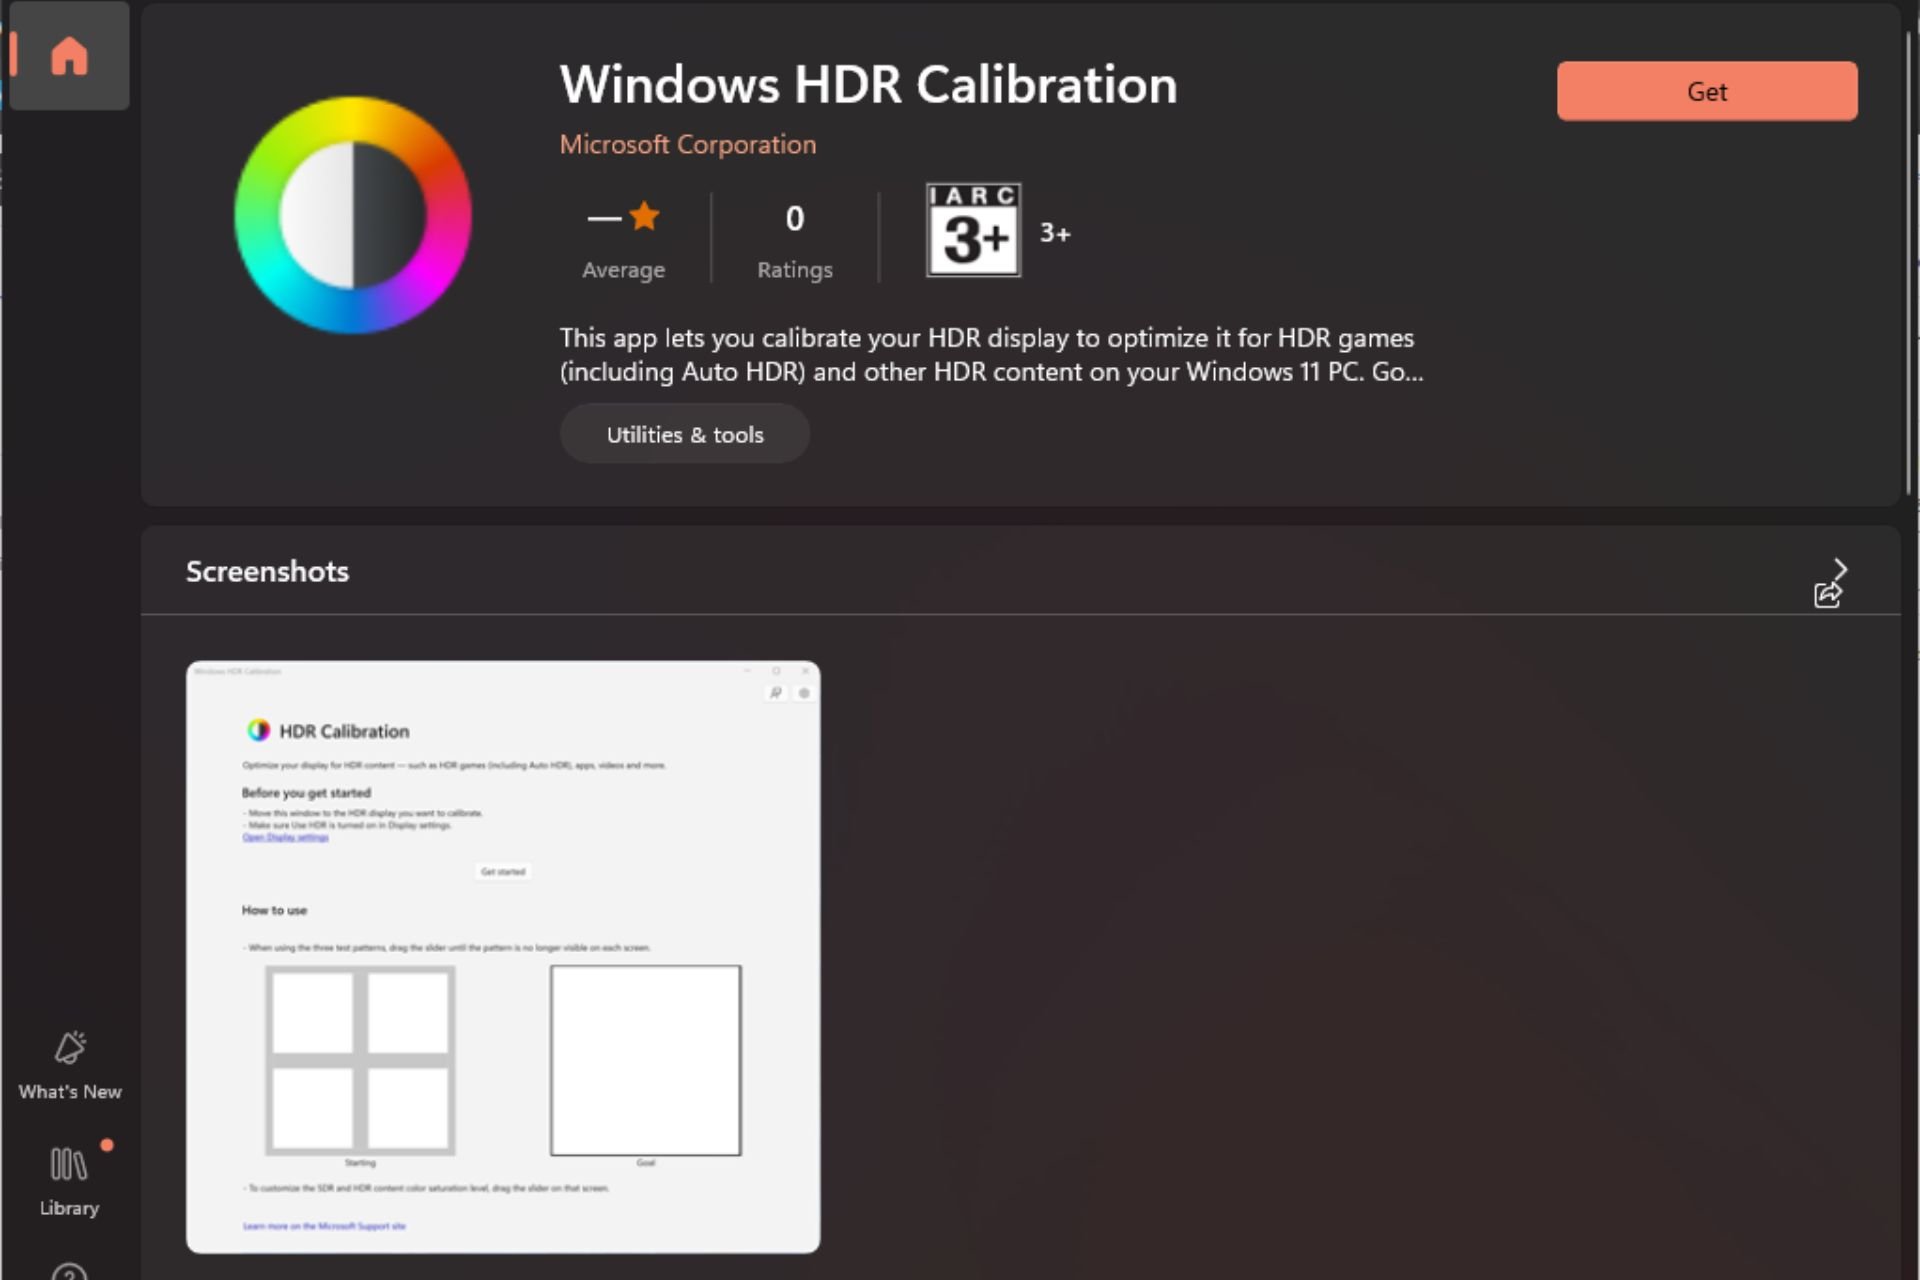
Download nowAurora HDR is a photography-specialized software solution that can help you edit HDR photos in a jiffy. If you frequently take HDR snapshots with your smartphone thanks to the superior quality, or if you are a professional photographer, this photo editor software solution is definitely for you.
Those familiar with the Skylum products, such as Luminar, are probably going to recognize the next part: you can use Aurora HDR as both a standalone program or as a plugin within your favorite host application.
Aurora HDR’s system requirements
Like any other software solution out there, Aurora HDR also comes with a list of system requirements. You need to make sure that your PC qualifies to run this tool before even attempting to install it. This way you can save yourself the hassle of downloading and deploying an incompatible tool.
- Computer: a Windows-based PC with a mouse or similar input device
- Graphics: OpenGL 3.3 or later
- Processor: Intel Core i5 or better
- Memory: at least 8 Gb RAM
- Operating system: Windows 10, 8.1, 7 (only 64-bit)
- Space: at least 10 Gb of free HDD space (SSD recommended)
- Display: at least 1280 x 769 resolution
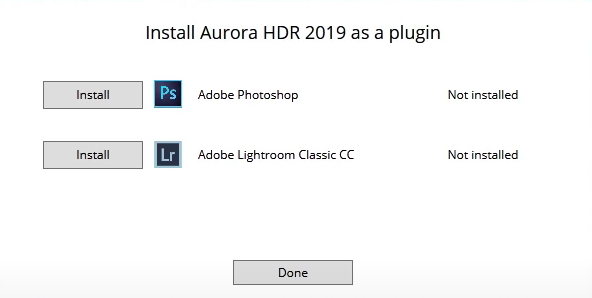
Currently, Aurora HDR can be integrated as a plugin on the following Windows programs:
Note: even though it’s not mentioned on the official website, you need a working Internet connection to activate the software. More so, if you plan on using Aurora HDR as a plugin, you’ll need to install host programs on your PC. This means that your PC must meet the system requirements of those host applications, as well.
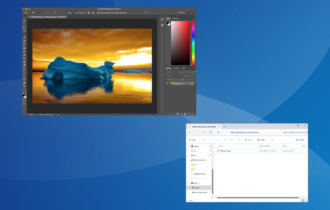
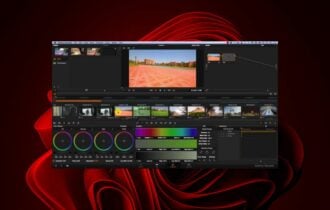
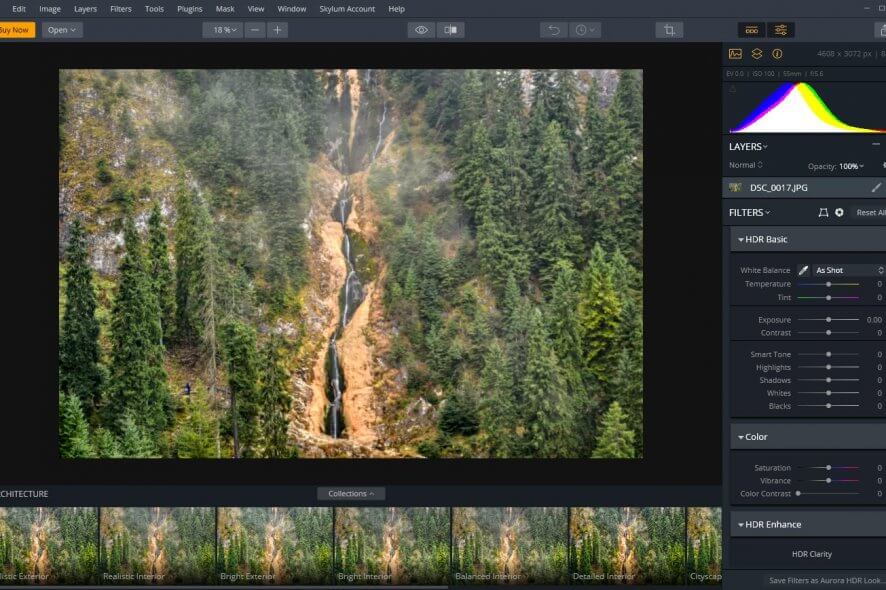
Screenshots
Our Review
- Pros
- Create stunning HDR projects quickly
- User-friendly, intuitive HDR editing experience
- Comes with AI-powered engine
- You can use it as a standalone app or a plugin
- Cons
- Not the most affordable HDR editor
In this review, we’ll discuss various relevant stuff regarding Aurora HDR, but we’ll try to keep it short. That way, at the end of it you’ll know whether you should consider using it for your future projects or not.
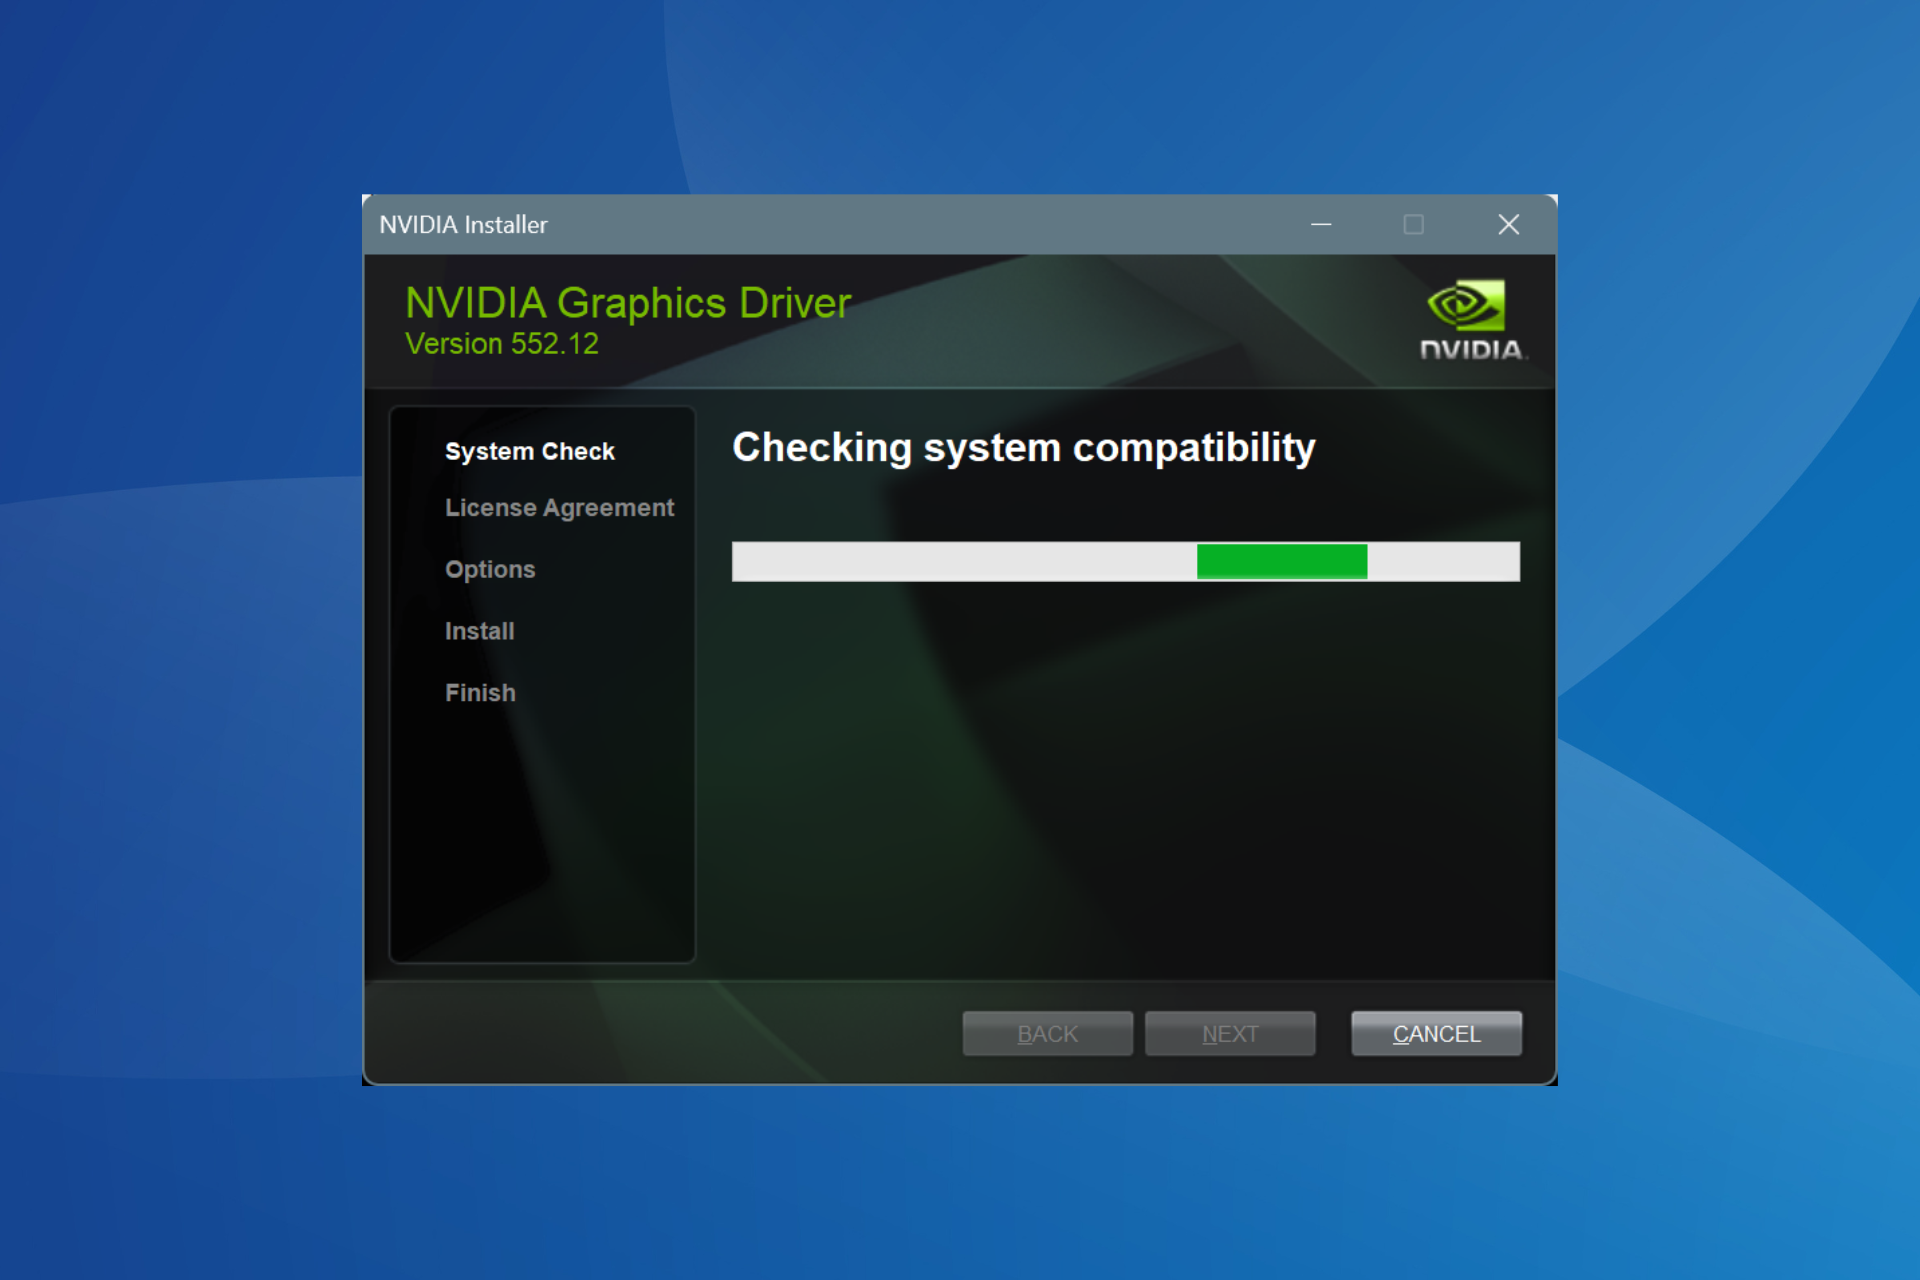
Installing Aurora HDR is a breeze
If you’re worried about the installation process, don’t fret. Granted you can manage to get your hands on the installer, deploying Aurora HDR couldn’t be easier. Just launch the downloaded executable, accept the EULA, define the destination path on your PC and hit the Install button.
The rest of the process unfolds automatically, without any additional assistance from you. As we’ve mentioned above, make sure you have a stable, working Internet connection. Otherwise, the app will not be downloaded/installed on your PC. Although the process is simple, it might take a while, regardless of your connection speed.
Aurora HDR packs several awesome features
If you’ve decided to give Aurora HDR a try because you’ve heard it’s one of the best, you’re not far from the truth. Although many other similar software solutions can edit HDR photos, this tool is way ahead of the game.
For starters, it comprises an AI-powered engine that delivers top-notch results. It promises to eliminate halos, artifacts, and chromatic aberrations from your photos and enhance your colors by using Artificial Intelligence.
Boost dynamic range and capture every detail with assisted bracketing
If you are familiar with photography, you know that bracketing is a technique used when you want to capture as many details as possible.
Simply put, you take multiple shots of the same scene with different adjustments. This can be done just by using a camera with a bracketing option, but you risk missing some precision.
That’s where the Merging feature in Aurora can help. It has some essential editing features such as Ghost Reduction, Color Denoise, and Chromatic Aberration Removal. It also has an auto-alignment feature in case your shots don’t overlay perfectly.
Improve Clarity with HDR Enhance & HDR Details Boost
Aurora HDR provides some tools that help you highly improve the quality of images. It can help you rescue even shots that lack clarity and depth.
The HDR enhance tool has a variety of controls for adjusting lighting, image balance, and texture. Its greatest power is that it lets you concentrate on small details of the picture and add different adjustments to specific areas, by using the HDR Microstructure Section.
Another great tool you can combine with the HDR Enhance is the HDR Details Boost. It can help with delivering a more realistic result. This is a filter with less in-depth adjustments, but it can help as a quick fix. It can improve image sharpness without increasing digital noise or creating unnatural-looking results.
Key Features of Aurora HDR include:
- Tone-mapping technology: AI-powered Quantum HDR Engine lets you perform tone-mapping on single and bracketed images
- HDR Smart Structure: helps you achieve artifact-free and realistic details and depth on your photos
- LUT Mapping filter: lets you adjust tone and color
- One-click Aurora HDR looks: lets you apply an array of adjustments to your photos instantly
- Layers, brushes, and masking: enables you to perform selective editing
- Luminosity masking: lets you blend layers seamlessly
- Radiance and Glow controls: allows you to further customize your projects
- Detail enhancement: increase the drama of your photos
- Color and tone controls: achieve vibrant color combinations
- Batch file processing: lets you process files in bulk and is capable of detecting brackets automatically
- Built-in sharing: share your results instantly on popular photo communities or social networks
- Flexibility: can work with RAW, JPG, TIFF, and other popular formats
- Standalone or plugin: can be used as a standalone product or integrated with Photoshop or Lightroom
- Extensive Filter Library with HDR Basic Filter, Color Filter, Glow Filter, and more
The best part is that all of these features are really easy to use. Aurora HDR boasts a user-friendly interface that can provide you with a streamlined experience regarding HDR photo editing.
Little to no configuration required
Aurora HDR is quite simple to use and fashions user-friendly, intuitive features. For instance, it requires no additional configuration, you just install it and start creating HDR projects with it.
The only “configuration” you can perform is installing Aurora HDR as a plugin. Unlike Luminary, which lets you deploy plugins during its installation, this tool doesn’t provide this option. However, you can do it easily by using the “Install Plugins” option in the “File” menu.
It goes without saying that the host programs (Photoshop and Lightroom) need to be installed before you attempt to set up the plugins.
Using Aurora HDR as a plugin
After activating Aurora as a plugin, you can access it from the host app. To do that in Adobe Photoshop/ Adobe Photoshop Elements, first, open an image you want to edit. Then, From the menu bar select Filter-> then Skylum Software-> Aurora HDR 2019.
You’ll be notified that Aurora HDR is running. Click the Create HDR button to process the image in Aurora HDR. The edits and adjustments provided with Aurora will now be available within the photoshop UI, on the right. When you finish editing your picture, just click the Apply button and you will be taken back to the main photoshop editing window.
The process is very similar in Adobe Lightroom. Make sure to add your image to the Lightroom editor, then choose File-> Export with Preset.
Here you’ll have to choose between two options: Open source files- which will open the original image, and only apply the Aurora HDR settings. The second option is to select Edit a Copy with Lightroom adjustments which will send a 16-bit TIFF file from Lightroom to Aurora and include any already made edits. A dialog box that indicates that Aurora is running will appear. Click Create HDR, and start working on your image. Once you are ready, click Apply and you’ll be taken back to the main Lightroom editor.
FAQ
Can I open Aurora HDR 2018 project files in Aurora HDR 2019?
To put it shortly, yes, it’s possible to do that. However, due to Aurora HDR 2019’s new AI-powered engine, older projects might look different. More so, some sliders and filters also received an update, so the same configuration on both tools might yield different results.
Does Aurora HDR handle RAW files?
The latest version of Aurora HDR does not only process RAW files but other popular image formats, as well. This tool has its own RAW processing engine, which the developers make sure supports new cameras. Among other formats that Aurora HDR can handle, you can find PNG, JPEG, JPEG-2000, TIFF, and PSD.
Can I import my Aurora HDR 2018 presets to Aurora HDR 2019?
Yes, it’s possible. You need to use the “Import Aurora HDR Looks” option in the “File” menu for single presets or the “Import Aurora HDR Looks Pack” for preset collections. Note that Aurora HDR 2018 presets might look slightly different on the newest version of this tool.
What is the latest version of Aurora HDR?
Even though the latest version of Aurora HDR is the 2019 one, the software is still among the most popular on the market. It includes top-notch AI technologies that are way ahead of many competitors. To make sure you are running the latest version of the Aurora HDR software, just go to Help, then Check for Updates. You will get a prompt that will inform you whether your software is up-to-date or not.
Full Specifications
- License
- Free trial