Full Fix: SYSTEM EXIT OWNED MUTEX error in Windows 10/11
![]() 7 min. read
7 min. read
![]() Updated on
Updated on
Share this article

Improve this guide
Read our disclosure page to find out how can you help Windows Report sustain the editorial team Read more
Key notes
- System Exit Owned Mutex error on Windows 10 can cause many problems, such as crashes and stability issues.
- Fixing these errors can be a hassle, so using specialized BSOD repair software would be best.
- Your devices can cause this problem, so you might have to disable specific devices or update their drivers.
- Hardware issues can cause this and many other errors, so be sure to inspect your RAM and other hardware.

Blue Screen of Death errors are often caused by faulty hardware or a software issue.
And since they keep restarting your computer to prevent damage, they are one of the most troublesome errors on Windows 10.
There are all sorts of BSoD errors, and today we will show you how to fix SYSTEM EXIT OWNED MUTEX BSoD error.
How can I fix SYSTEM EXIT OWNED MUTEX BSoD?
1. Use specialized BSOD repair software
BSOD errors are among the hardest to fix, even for experienced users. But you can simplify this process by using specialized tools optimized for dealing with BSOD errors.
2. Disable HDMI device from Device Manager
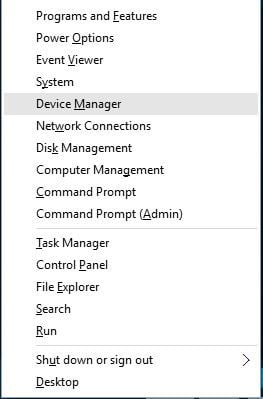
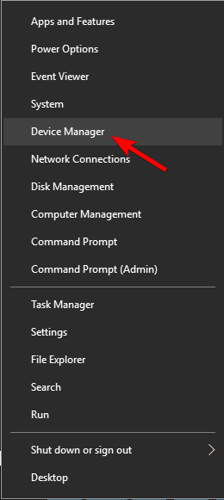
- Open Power User Menu by pressing Windows Key + X and choose Device Manager from the menu.

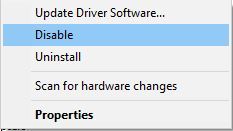
- When Device Manager opens, you need to locate your HDMI device, right-click it and choose Disable from the menu.

After disabling your HDMI device the problem with SYSTEM EXIT OWNED MUTEX BSoD error should be resolved.
As we mentioned earlier, BSoD errors are often caused by software problems, and a few users reported that disabling their HDMI device fixed the SYSTEM EXIT OWNED MUTEX error.
Apparently, certain HDMI devices have problems with X-Fi sound cards, so to fix this issue, it’s advised to disable your HDMI device.
3. Update Windows 10

Microsoft is constantly upgrading Windows 10, and many new features are being added.
In addition to new features, Microsoft is fixing security flaws and compatibility issues with specific software and hardware.
Since BSoD errors are caused by incompatible hardware or software, it’s recommended that you perform Windows Update regularly in order to keep Windows 10 running without any errors.
4. Update your drivers
- Right-click the Start button and select Device Manager from the list.

- Click on the problematic component to expand it (In our example, the display adapter).
- Right-click the driver and select Update driver from the drop-down list.
- Select Search automatically for drivers.
- Device Manager will download and install the compatible drivers for the component.
- Perform the same procedure for all the problematic drivers.
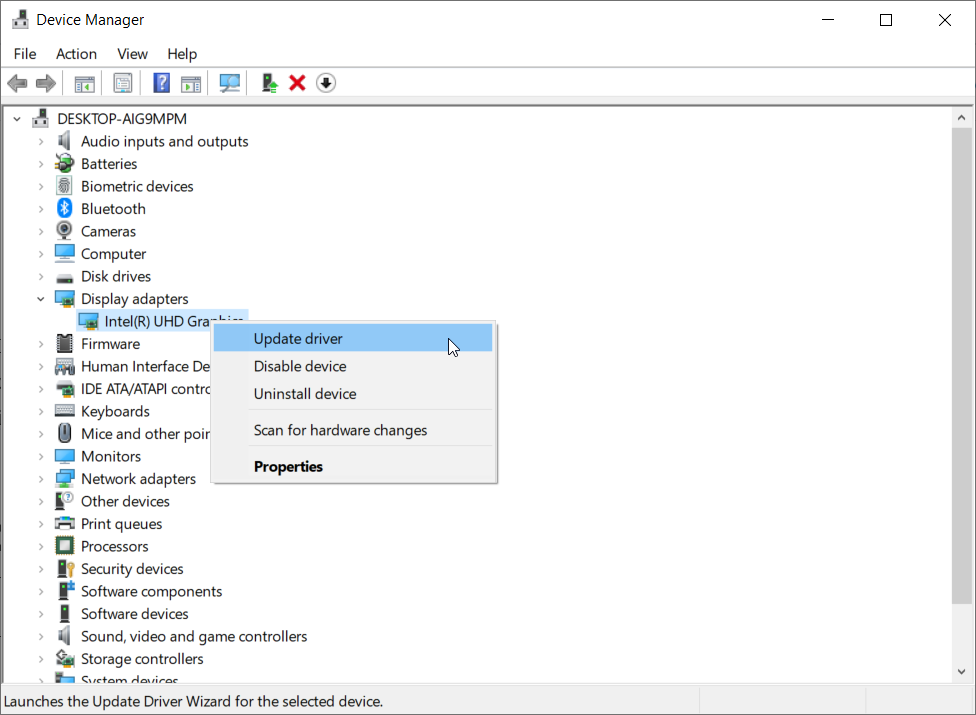
As previously mentioned, many BSoD errors can be caused by your software, and if your drivers aren’t fully compatible with Windows 10, you might get SYSTEM EXIT OWNED MUTEX error. This is also often the reason behind MUTEX_LEVEL_NUMBER_VIOLATION BSOD.
To fix this issue, it’s strongly advised to keep your drivers updated.
5. Run the BSOD Troubleshooter
- Open the Settings app and go to Update & Security section.
- Select Troubleshoot from the menu on the left.
- Select BSOD from the right pane and click Run the troubleshooter.

- Follow the instructions on the screen to complete the troubleshooter.
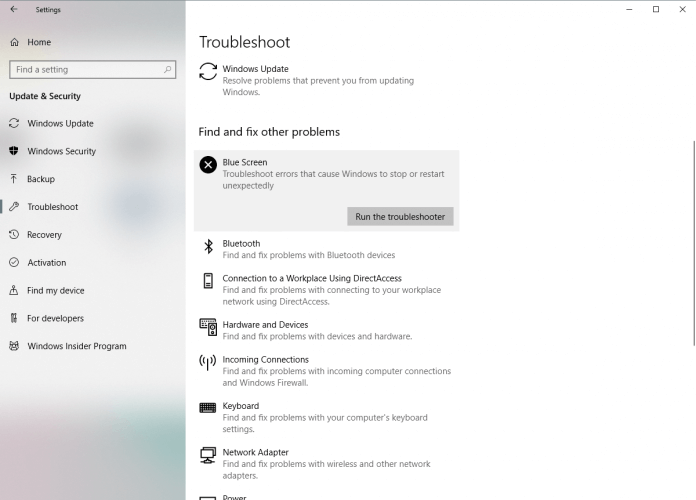
The next thing we’re going to try is Windows 10‘s built-in troubleshooting tool. This tool can resolve all sorts of issues, including the BSOD problems.
6. Run the SFC scan
- Right-click on the Start Menu button, and open Command Prompt (Admin).
- Enter the following line and press Enter:
sfc/scannow
- Wait until the process is done (it may take a while).
- If the solution is found, it will automatically be applied.
- Now, close the Command Prompt and restart your computer.
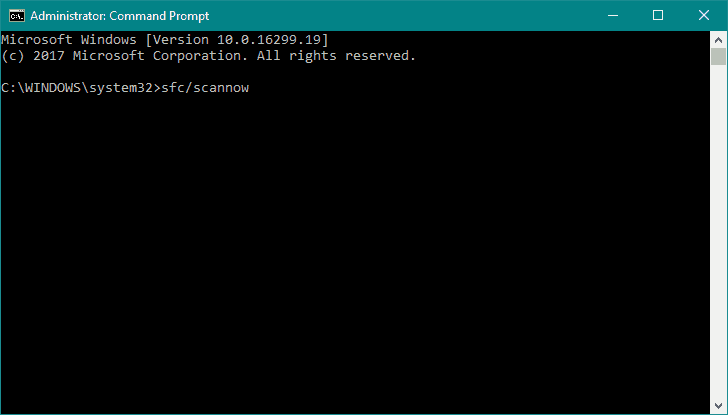
The next troubleshooting tool we’re going to try is the SFC scan. This command line troubleshooter can also resolve System Exit Owned Mutex error.
7. Run DISM
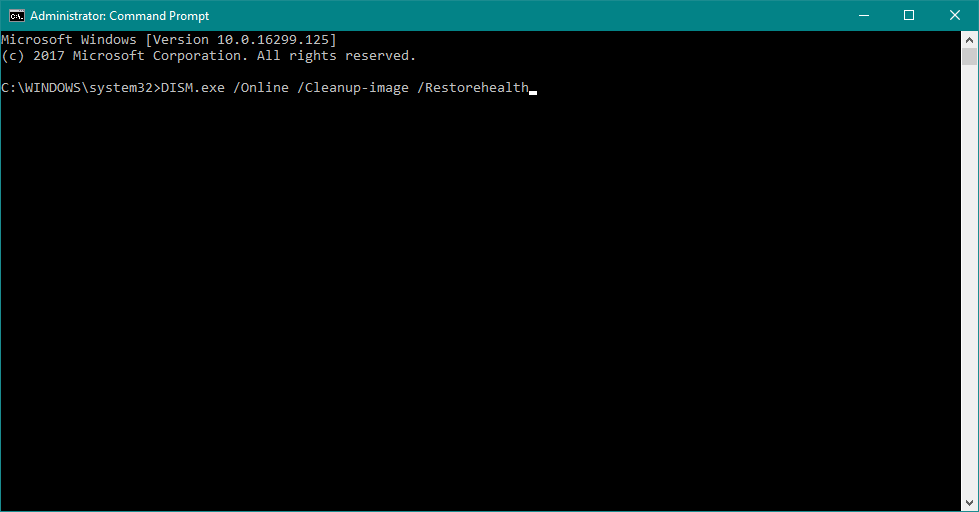
- Right-click Start and open Command Prompt (Admin).
- Paste the following command and press Enter:
DISM /Online /Cleanup-Image /RestoreHealth
- Wait until the scan is finished.
- Restart your computer and try updating again.
- With the Windows installation media
- Insert your Windows installation media.
- Right-click the Start menu and, from the menu, choose the Command Prompt (Admin).
- In the command line, type the following commands and press Enter after each:
dism /online /cleanup-image /scanhealth
dism /online /cleanup-image /restorehealth - Now, type the following command and press Enter:
DISM /Online /Cleanup-Image /RestoreHealth /source:WIM:X:SourcesInstall.wim:1 /LimitAccess - Make sure to change an X value with the letter of the mounted drive with Windows 10 installation.
- After the procedure is finished, restart your computer.
DISM is a command line tool that repeatedly deploys the system image. That process can lead to resolving various problems, including BSOD issues.
8. Check the hard drive
- Enter the Advanced Startup (Restart your computer while holding the Shift key).
- Choose Troubleshoot > Advanced Options.
- Select Command Prompt from the list of options.
- When Command Prompt appears, enter the following lines and press Enter after each line in order to run it:
bootrec.exe /rebuildbcd
bootrec.exe /fixmbr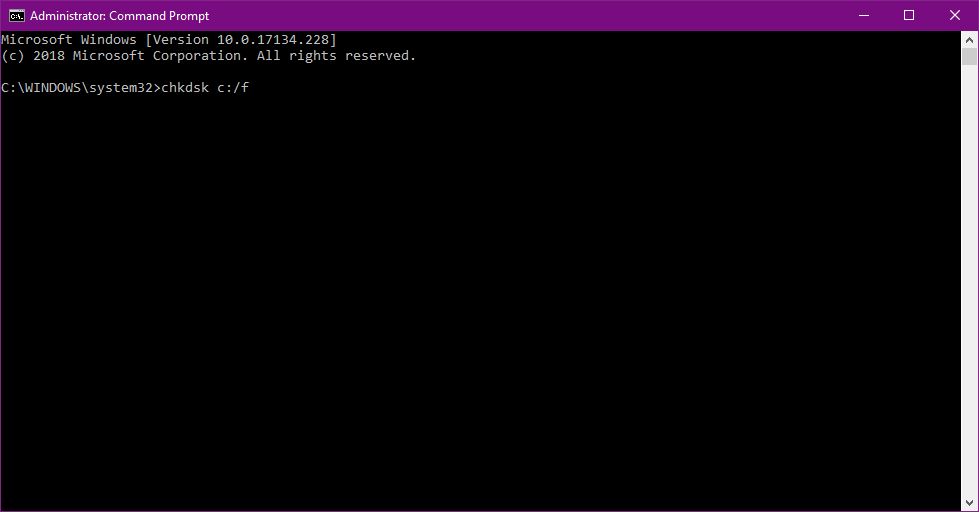
bootrec.exe /fixboot - Some users are also suggesting that you need to run additional chkdsk commands as well. To perform these commands, you need to know drive letters for all your hard drive partitions. In Command Prompt you should enter the following (but remember to use the letters that match your hard drive partitions on your PC):
chkdsk /r c:chkdsk /r d: - Restart your computer and check if the issue is resolved.
If your hard drive is not in the best shape, BSOD errors such as System Exit Owned Mutex will occur.
In that case, you should run a drive diagnostic tool that will tell you if your hard drive is damaged.
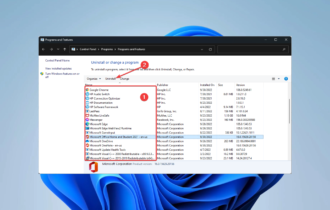
9. Reinstall your Sound Blaster driver
- Press Windows Key + X and select Device Manager from the list.
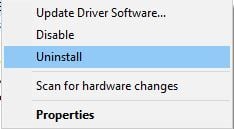
- When Device Manager starts, locate your audio driver, right-click it, and choose Uninstall. If available, check Delete the driver software for this device and click OK.

- After deleting the driver, restart your PC.
- If the error is fixed and sound is working properly, you can continue using the default driver. If there are any sound problems, feel free to update your audio driver.
Although users reported problems with Sound Blaster audio driver, you can try this solution even if you don’t have to use Sound Blaster audio.
Sometimes updating your drivers isn’t going to fix the BSoD error. Therefore, you’ll have to remove the audio driver beforehand.
Few users reported issues with Sound Blaster drivers, and they managed to fix SYSTEM EXIT OWNED MUTEX BSoD error simply by removing the Sound Blaster driver and reinstalling it.
10. Clean your PC and reseat your RAM modules
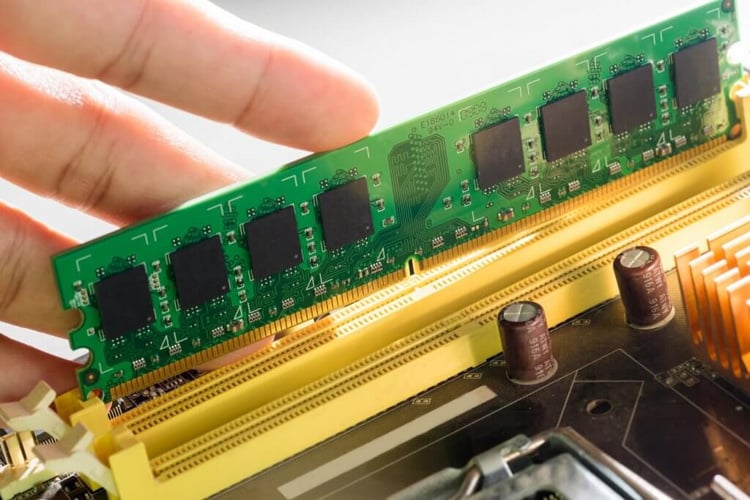
RAM problems cause many BSoD errors, and if you’re getting the SYSTEM EXIT OWNED MUTEX error you might want to check your RAM.
To complete this step, you’ll need to open your PC case, so ensure your computer isn’t under warranty.
Once you open your PC, you must clean it from dust with a pressured air can. When your PC is dust-covered, carefully remove your RAM modules and switch their places.
Several users reported that reseating the RAM modules permanently fixed the SYSTEM EXIT OWNED MUTEX BSoD error, so make sure to try that.
11. Check for hardware problems
As previously mentioned, BSoD errors are commonly caused by faulty RAM, so it’s always a good idea to test if your RAM is working properly.
To do so, you can remove one or more RAM modules and check if your PC works well without it.
You might have to test all RAM modules one by one before you find the one that is causing this error.
In addition to removing RAM modules, you can also use tools such as MemTest86+ to test your RAM.
Create a bootable USB or CD with MemTest, and boot your PC from that USB flash drive or CD. Start MemTest and let it test your RAM for a couple of hours.
To find the faulty module, you might have to test one memory module at a time before you find the faulty one.
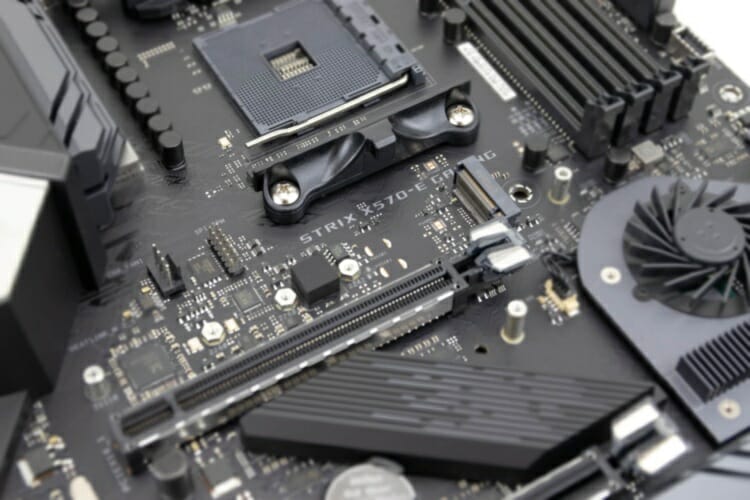
In addition to your RAM, any other hardware component can cause this error, so be sure to check your motherboard and hard drive as well.
It’s also worth mentioning that any recently installed hardware that is not fully compatible with your PC can cause this error, so make sure to remove or replace it and test if your PC runs without it.