3D Viewer on Windows 11: How to Download, Enable & Use
Key notes
- You've probably noticed the removal of certain useful apps in Windows 11. 3D Viewer is no exception to that, so here you are, looking for a way to enable it.
- This article will show you a few easy ways to achieve your goal, including getting it from the Microsoft Store.
- Keeping your OS up to date is also an efficient solution you should take into consideration.
Windows 11 comes up with some new great capabilities. However, you should know that Microsoft removed some of the well-known Windows 10 features and apps from the latest OS.
They won’t be deleted permanently, but you’ll be able to download them from the new Windows 11 Microsoft Store.
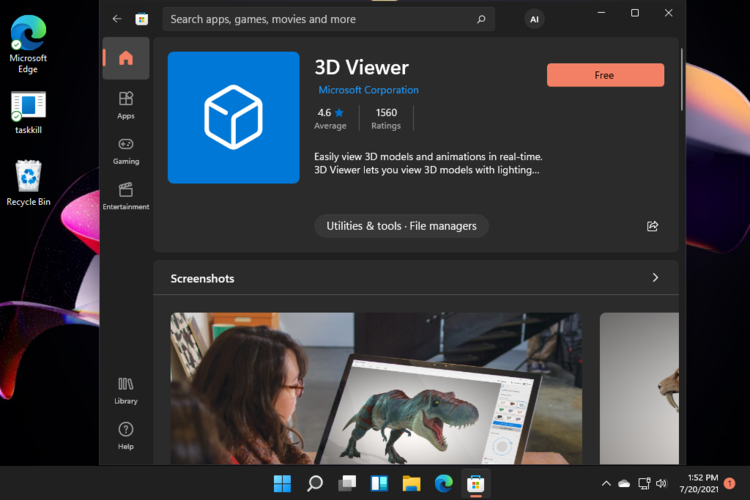
3D Viewer is just one example of that and we know some of you truly need to get it back.
This app can be your main support to push the boundaries of reality, capturing it all with a video or photo to share.
Is 3D Viewer free for Windows users?
Being an in-built app, you should know that 3D Viewer is 100% free for every Windows user. As we mentioned above, it can be downloaded from Microsoft Store, without any required cost.
Also, note that it can be used without any restrictions on both your home and work computers. However, using 3D Viewer is closely related to your OS license.
Terms to enable 3D Viewer on Windows 11
When it comes to the 3D Viewer license, you’ll first have to check how you obtained the Windows software.
This can be a license agreement between you and the device manufacturer or software installer or between you and Microsoft Corporation.
Thus, the terms for enabling and using Windows 11 3D Viewer depend on the OS’s license. For more other information regarding Microsoft License Terms, you can have a look at their official online guide.
This article will show you some of the best options that will definitely help you quickly enable 3D Viewer in Windows 11.
How can I enable 3D Viewer in Windows 11 with ease?
1. Navigate to Microsoft Store
- Access the Microsoft Store official website.
- Click on the blue Get button.
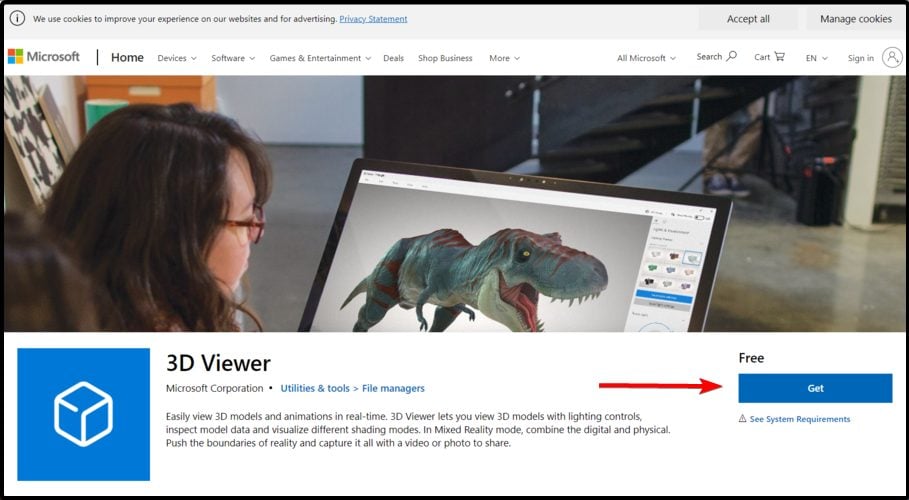
- Follow the on-screen instructions to install the app.
The easiest method to enable 3D Viewer in Windows 11 is by downloading it from the Microsoft Store. Also, note that if you follow the above steps, you can get it for free.
2. Try Command Prompt
- Click the Start button and type cmd, then select to Run it as administrator.

- Type the following command, then press on Enter:
PowerShell -ExecutionPolicy Unrestricted -Command "& {$manifest = (Get-AppxPackage *Microsoft3DViewer*).InstallLocation + '\AppxManifest.xml' ; Add-AppxPackage -DisableDevelopmentMode -Register $manifest}
3. Check for OS updates
- Click the Start button, then go to Settings.

- Select Windows Update.
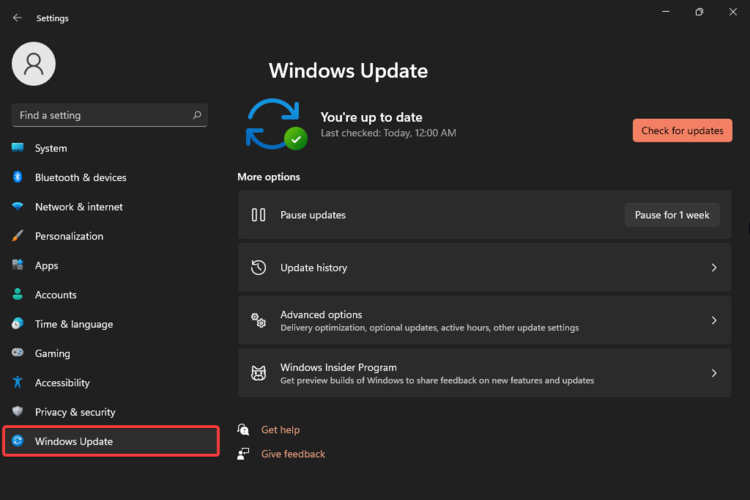
- Click on Check for updates.
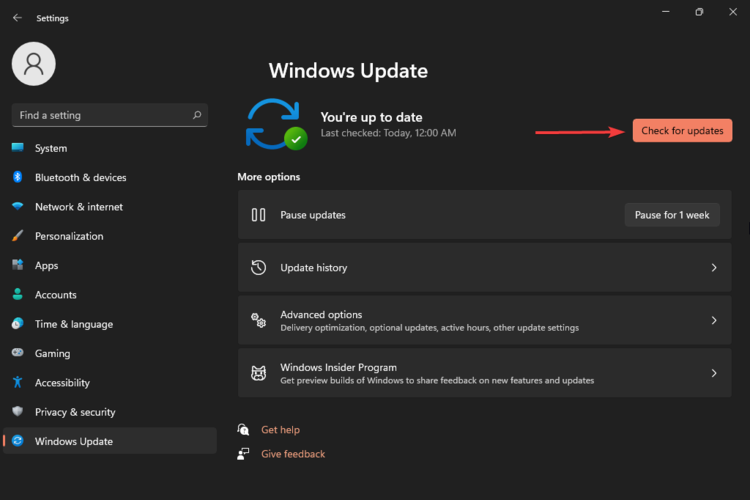
Note that after enabling 3D Viewer, you’ll have to constantly keep it up to date. The simplest method you can perform is updating your operating system.
You should also consider that it is important to ensure your PC has enough free storage space to install updates.
Moreover, checking if your hardware is still supported by your Original Equipment Manufacturer (OEM) is also a useful recommendation.
4. Reset 3D Viewer
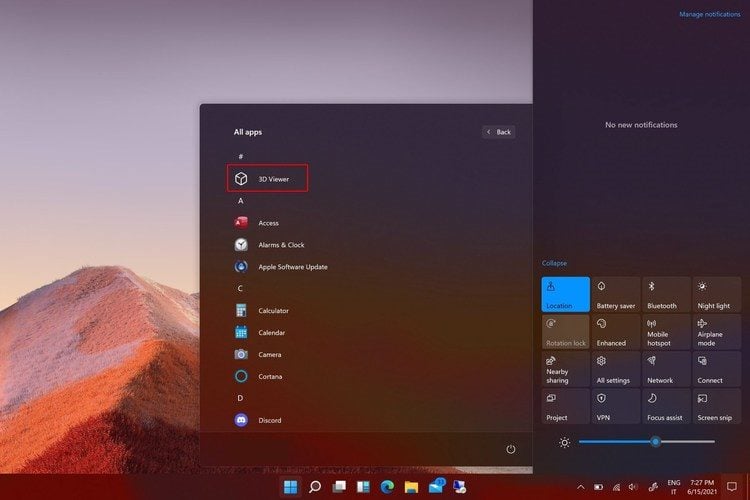
- Click the Start button.
- Type 3D Viewer, then click on it.

- Right-click on it, then select App settings.
- Click on Restart.
How can I get support in using 3D Viewer in Windows 11?
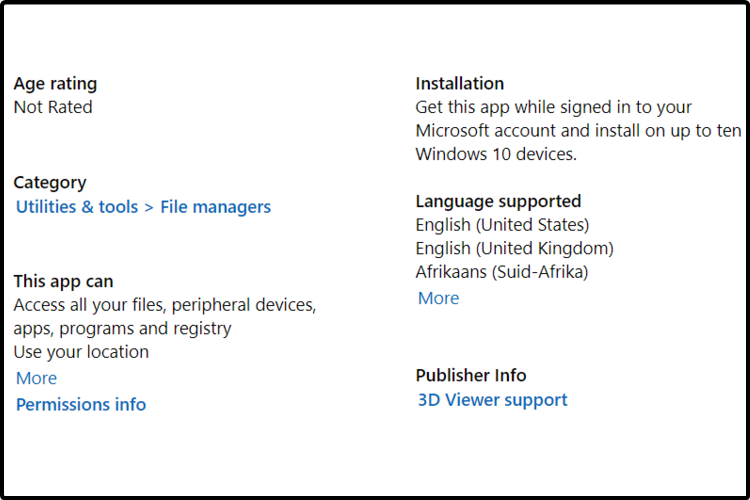
To find all about how to use this app, after you enabled 3D Viewer on your operating system, you can also access the Microsoft Store support website.
All you have to do is go to the same official page, scroll down, and select 3D Viewer support.
You’ll be automatically redirected to log in to your mail, then a pop-up window will appear, where you’ll need to describe your necessities.
Note that Microsoft will automatically fill the consignee e-mail address, so you’ll only have to set the subject and the content. Do not hesitate to attach screenshots if needed.
As always, we’ve selected only the most efficient procedures, that will surely help you. For more information about the newest Microsoft OS, keep an eye on us.
And if you happen to have any other additional questions, don’t hesitate to leave a comment in the section below.
Read our disclosure page to find out how can you help Windows Report sustain the editorial team. Read more


Improve this guide


User forum
0 messages