8 Ways to Fix Desktop Shortcuts That Aren't Working
Changing the location of a program may cause shortcuts errors
6 min. read
Updated on
Read our disclosure page to find out how can you help Windows Report sustain the editorial team. Read more
Key notes
- Users report that after updating their Windows system, their app shortcuts stopped working properly.
- This issue may be caused by your antivirus or some bad file associations.
- We will show you in this article what steps you can do in order to solve this issue, so keep reading.
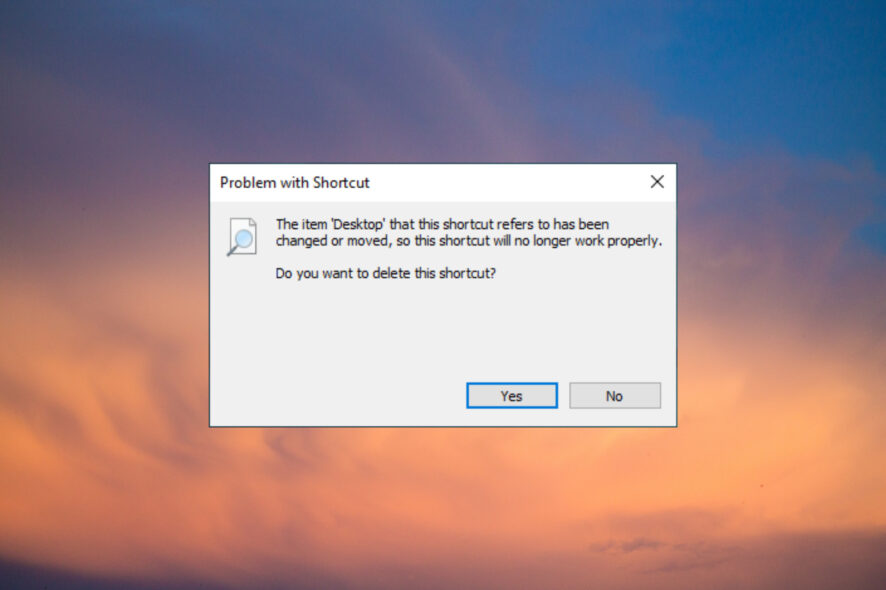
After updating their system, several users have reported problems with shortcuts on Windows 10.
Both app shortcuts in Modern UI and in Desktop mode became unresponsive and failed to launch the necessary programs.
Why are my shortcuts not working on Windows 11?
If your Windows 10 & 11 shortcuts are not working, this can cause many issues, considering that you won’t be able to access the specific software easily, thus wasting valuable time.
Usually, the main issue why the shortcuts are not working is because the program launched by that shortcut changed location.
Even though Windows 10 offers troubleshooters to deal with these issues, for some systems, these tools were not able to find solutions, resulting in many unhappy customers.
Not being able to use your shortcuts can be a big problem, and in this article, we’re going to cover the following issues:
- Desktop shortcuts not working on Windows 10
- Desktop icons not working, won’t open, unresponsive
- Shortcuts not responding on the desktop
These errors can be easily fixed, and in this guide, we’ll show you how to do it.
What can I do if desktop shortcuts are not working on Windows 11?
1. Remove your antivirus
It can happen that these problems with your shortcuts occur due to the antivirus software you are using. To fix the issue, we are suggesting using another antivirus solution as this may help fix things if the Windows 11 desktop is not loading.
You can benefit from powerful security services and low resource consumption with another antivirus. Plus, you have great protection while browsing, and malware threats are detected instantly.
Hence, after removing your antivirus you should certainly install one that will not interfere with your Windows, thus choose from the best antivirus software on Windows 10 today.
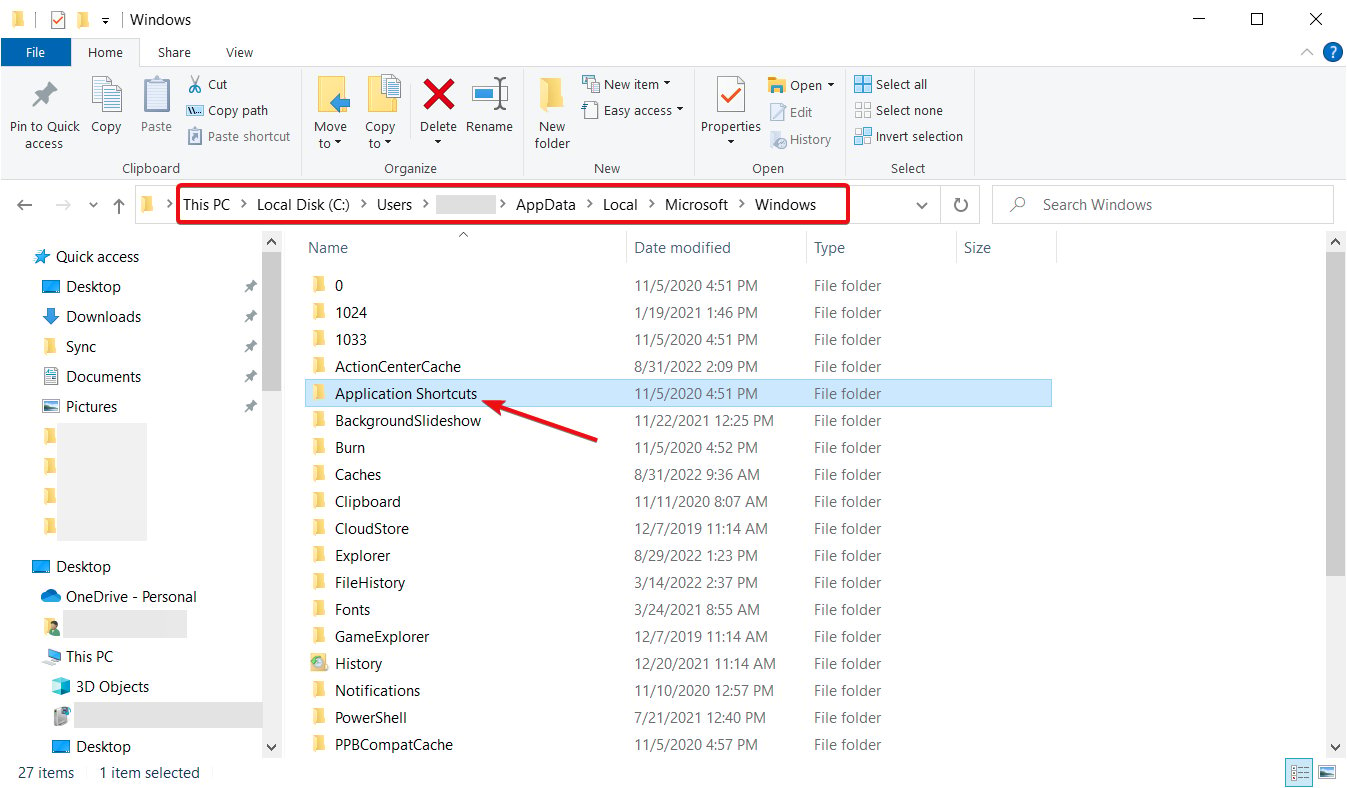
2. Check Application Shortcuts directory
- Press the Windows key + E to launch File Explorer.
- Navigate to the following path and locate the apps which are causing you issues:
C:\Users\Your Account Name\AppData\Local\Microsoft\Windows\Application Shortcuts - In this folder, you will find all the apps you’ve installed on your system, each in a separate folder.
- Locate the apps which no longer work and open their corresponding folder.
- In it, you will see a shortcut named App.
- Delete the shortcut and do so for all the apps that are not working.
- After you’ve finished, reboot your system and all should be fine.
If Windows 11 desktop files are not showing, it’s usually due to a broken path to the program executable they should launch.
If you’ve uninstalled a certain program, then all you’re left with is deleting the shortcut.
3. Recreate the shortcut
- Press the Windows key + E to start File Explorer.
- Locate the software with the problematic shortcut
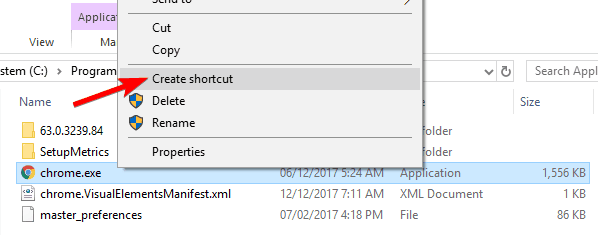
- Right-click on the executable file and select Create shortcut.
- If you are in a system folder, Explorer will place the shortcut directly on your desktop, and you can move anywhere you wish afterward.
If you’ve moved or updated the program and the corresponding desktop icons are not showing in Windows 10 anymore, you have the option to either create a new one or try and fix the path of your old shortcut.
4. Check if the path to the application is correct
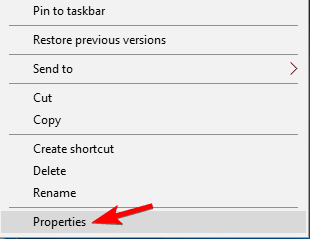
- Locate the problematic shortcut, right-click it, and choose Properties.
- In the windows which opens, you will see the Target field, under the Shortcut tab where the path to the program exe should be.
- If the path is not correct, locate the executable for the program and copy the path to this field, being careful to add it in quotation marks (example: program path).
- Click on Apply and OK to save the changes.
If things are not working, you would have to modify the Windows 11 desktop icons settings. Once done, the problem should be resolved. If not, head to the next method.
5. Leave the Homegroup
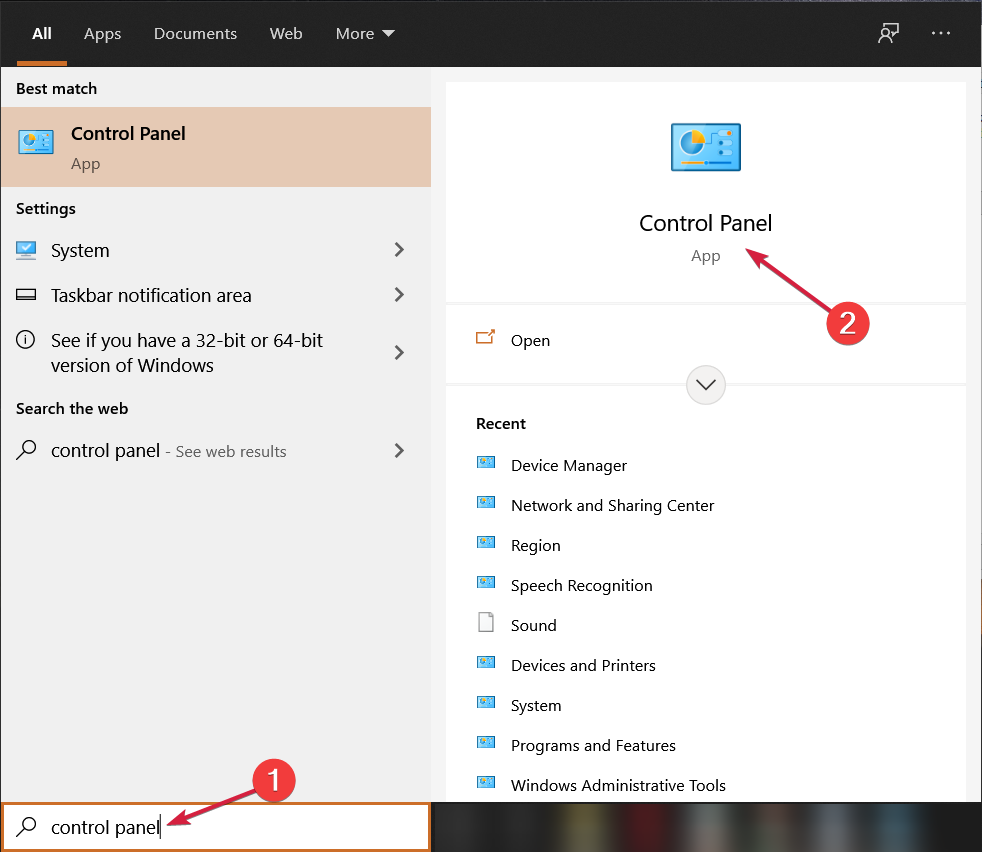
- Press Windows key + S and enter control panel.
- Select Control Panel from the list.
- Next, navigate to HomeGroup.
- Now click on Leave the homegroup.
- Click on Leave the homegroup.
- When the confirmation message appears, click on Finish.
6. Use PowerShell
- Right-click the Start button and select PowerShell (Admin) from the list.
- When PowerShell opens, enter the following command and press Enter to run it:
Get-AppXPackage -AllUsers |Where-Object {$_.InstallLocation -like "*SystemApps*"} | Foreach {Add-AppxPackage -DisableDevelopmentMode -Register "$($_.InstallLocation)AppXManifest.xml"}
7. Perform a Clean Boot
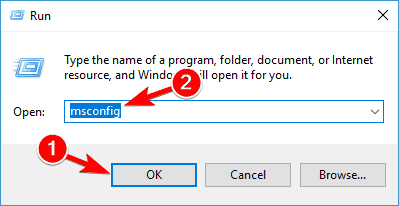
- Press Windows key + R and enter msconfig.
- Now press Enter or click OK.
- Navigate to the Services tab and check the Hide all Microsoft services box.
- Next click on Disable all button.
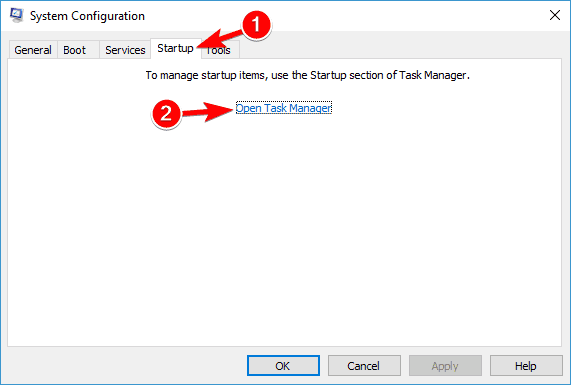
- Navigate to the Startup tab and click on the Open Task Manager.
- Right-click the first entry on the list and choose Disable from the menu.
- Repeat these steps for all entries on the list.
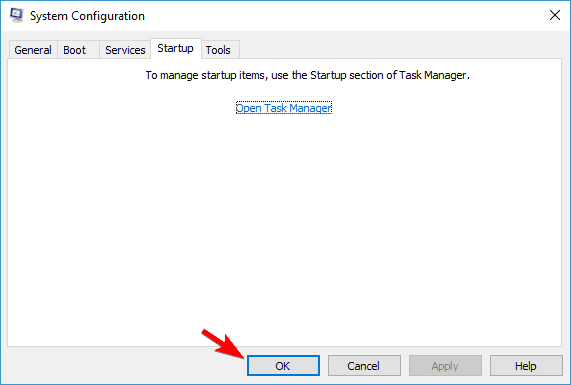
- Once you disable all startup applications, go back to System Configuration window and click on Apply and OK.
- If asked to restart your PC, choose the option to restart it now.
8. Fix file associations
8.1 Change file associations using the Registry Editor
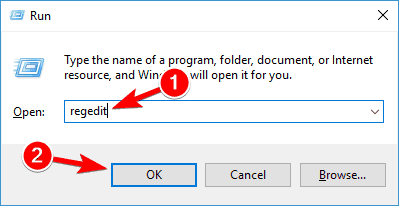
- Press Windows key + R and enter regedit.
- Press Enter or click OK.
- Since we’re going to modify the registry, it might be a good idea to back it up beforehand. To do that, just click on File and select Export.
- Set Export range as All and enter the desired file name.
- Choose a save location and click the Save button.
- In case anything goes wrong after modifying the registry, simply run this file to revert the changes.
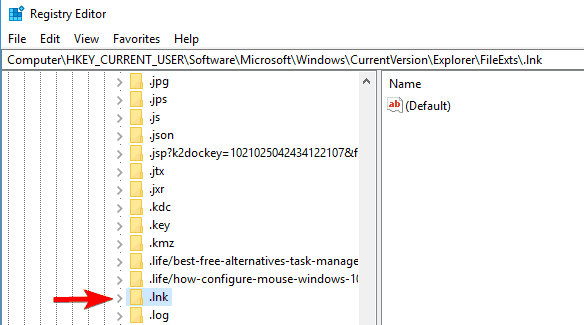
- In the left pane, navigate to the following path:
HKEY_CURRENT_USER\Software\Microsoft\Windows\CurrentVersion\Explorer\FileExts\.lnk - Expand the .lnk key and locate UserChoice key.
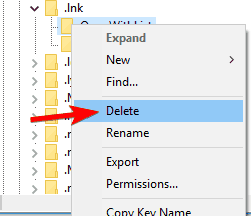
- Right-click it and choose Delete from the menu.
- When the confirmation dialog appears, click on Yes.
- After removing this key, restart your PC and check if the issue reappears.
8.2 Run a .reg file
- Download this zip archive.
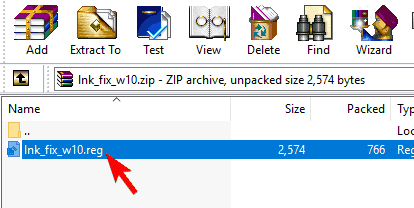
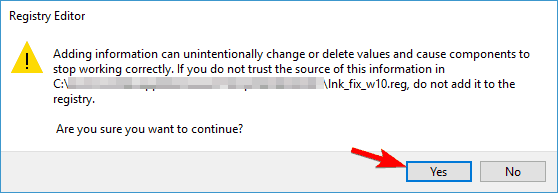
- Open the archive and run lnk_fix_w10.reg file.
- When the confirmation message appears, click on Yes.
- After doing that, file association for .lnk files should be fixed and your shortcuts should start working again.
How can I fix Desktop shortcuts not working on Windows 11?
Although the new OS has more features and a new design, its core is still very close to the one from Windows 10.
That’s why all the solutions we highlighted above for Windows 10 will work seamlessly on Windows 11 as well.
However, the menus and windows look a bit different, and in Solution 6, you will have to use Windows Terminal instead of PowerShell.
Not being able to use your desktop shortcuts can be an annoying problem. Shortcuts not deleting is an even bigger problem, but we hope you managed to solve it by using the solutions from this article.
Now that you’ve fixed this issue, you might be interested in our article, including the 50 best Windows 11 shortcuts.
Please let us know in the comments section below if you have further suggestions or recommendations.











User forum
0 messages