How to Fix the Printer if it's Printing Double Vision
This issue is caused by uncalibrated print heads
3 min. read
Published on
Read our disclosure page to find out how can you help Windows Report sustain the editorial team. Read more
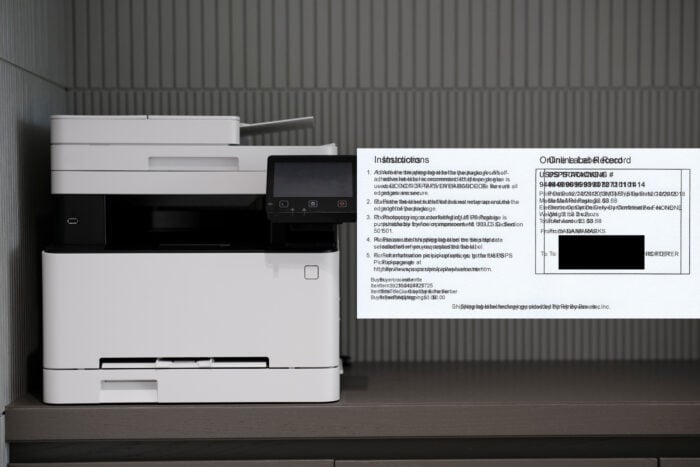
Dealing with a printer that produces double vision prints can be annoying, but that is probably because the print head is not calibrated. This is a common problem that is usually easy to fix so here’s what you need to do.
What do I do if the printer is printing double vision?
1. Clean the print heads
- Open your printer’s maintenance menu. This can usually be found by going into the printer settings on your computer or directly on the printer’s control panel.
- Choose the Clean Print Heads or similar option.
- Follow the instructions to clean the print heads, which may involve several cleaning cycles.
- At the end, print a test page to see if the procedure worked.
Cleaning the print heads can remove any ink buildup or debris that might be causing the shadow or double vision effect.
2. Realign the Printer
- Access the printer maintenance menu via the printer settings on your computer or the printer’s control panel.
- Choose the Align Printer or Align Printhead option.
- Follow the on-screen instructions to complete the alignment process.
Realigning the printer ensures that the print heads are correctly positioned, which can eliminate double printing issues.
3. Perform a hard reset
- Disconnect the power cord from the printer and the wall socket.
- Take out the toner or ink cartridges from the printer.
- Allow the printer to sit idle and unplugged for about 30 seconds.
- Plug the power cord back into the printer and the wall socket (ensure it is plugged directly into the wall and not a surge protector).
- Insert the toner or ink cartridges back into the printer.
This solution can help reset any temporary glitches in the printer’s hardware, often resolving double vision printing issues.
4. Clean the encoder strip
- Power off the printer and unplug it from the wall.
- Open the printer and locate the encoder strip, a clear plastic strip running parallel to the print head.
- Clean the encoder strip gently with a soft, lint-free cloth dampened with water.
- Allow the strip to dry completely before reassembling the printer and powering it back on.
Cleaning the encoder strip can remove any dust or oil that might be causing print head misalignment, resulting in double vision printing.
5. Check the printer settings
- From any application, open the print dialog by pressing Ctrl + P (Windows).
- Click on Properties, Preferences, or Options next to your selected printer.
- Ensure the paper type is set correctly (e.g., Plain Paper, Thick Paper, etc.).
- Go to the advanced settings and check the option for Print as Image.
Adjusting printer settings can sometimes resolve software-related issues causing double vision in prints.
6. Use genuine supplies
Ensure that you are using genuine toner or ink cartridges from the printer manufacturer. If you are using third-party supplies, consider replacing them with genuine ones.
Using genuine printer supplies can prevent compatibility issues that sometimes lead to print quality problems, including double vision printing.
Following these steps should help you achieve clear, accurate printouts. To prevent future issues, regularly maintain your printer and use genuine supplies.
If the printer is printing dots on paper, click on the highlighted link for some tested solutions to fix it. You might also be interested in reading our guide on what to do if the printer is not printing.
Did you manage to fix the double vision printing on your printer? Let us know in the comments below.
User forum
0 messages