How do I Set Up Windows 11 Hotspot Port Forwarding
Port forwarding is possible with a simple command line
2 min. read
Updated on
Read our disclosure page to find out how can you help Windows Report sustain the editorial team. Read more

Setting up a mobile hotspot on Windows 11 and configuring port forwarding can help you manage network traffic more effectively. Here’s a step-by-step guide to achieve this.
How do I set up Windows 11 hotspot and configure port forwarding?
1. Set up a mobile hotspot
- Press Win + I to open the Settings app.
- Click on Network & Internet, then select Mobile hotspot to turn it on.
- Under Share my Internet connection from, select the network adapter you want to use (e.g., Wi-Fi or Ethernet).
- Toggle the Share my Internet connection with other devices switch to On.
- Click on Edit under the Properties section.
- Enter a network name (SSID) and password for your hotspot, then click Save.
2. Configure the port forwarding
- Press Win + X and select Windows Terminal (Admin) or Command Prompt (Admin).
- If prompted by User Account Control (UAC), click “Yes” to allow changes.
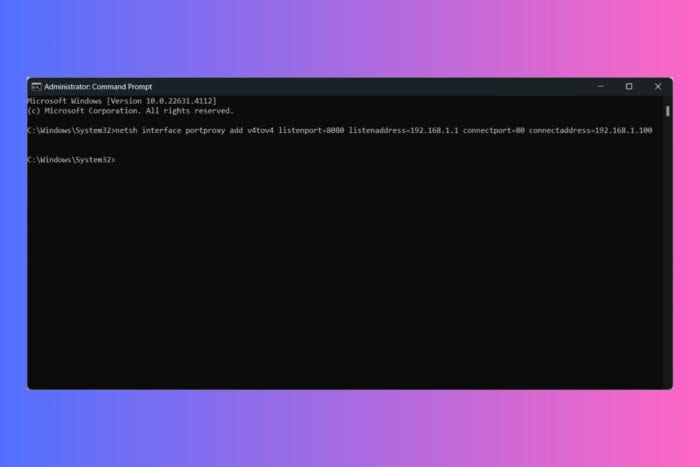
- Use the netsh command to add a port forwarding rule. Replace the placeholders with your specific details:
netsh interface portproxy add v4tov4 listenport=[ListenPort] listenaddress=[ListenAddress] connectport=[ConnectPort] connectaddress=[ConnectAddress] - Example:
netsh interface portproxy add v4tov4 listenport=8080 listenaddress=192.168.1.1 connectport=80 connectaddress=192.168.1.100 - This command forwards traffic from port 8080 on the hotspot to port 80 on the connected device with IP address 192.168.1.100.
- To verify the rule, use the following command:
netsh interface portproxy show all - Open Windows Defender Firewall by typing firewall in the Start menu and selecting Windows Defender Firewall with Advanced Security.
- Click on Inbound Rules and then New Rule.
- Select Port and click Next.
- Choose TCP or UDP and specify the port number you used in the port forwarding rule.
- Allow the connection and follow the prompts to complete the rule setup.
- Connect a device to your Windows 11 hotspot.
- Use a tool like telnet or a web browser to test the port forwarding setup by accessing the forwarded port.
By following these steps, you should be able to set up a mobile hotspot on Windows 11 and configure port forwarding to manage network traffic effectively.
For more information, we have a full guide on how to set up and manage a Windows 11 hotspot. If you change your mind, you may also block the Windows 11 hotspot easily.
Let us know in the comments below if you managed to set up port forwarding on your Windows 11 hotspot.


User forum
0 messages