Msvcp120d.dll is Missing: 5 Ways to Get it Back
Not having the right version of Visual Studio can cause this
2 min. read
Published on
Read our disclosure page to find out how can you help Windows Report sustain the editorial team. Read more
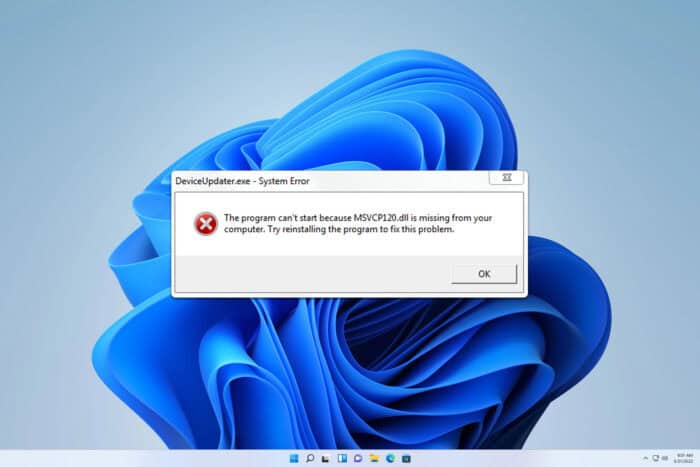
Many software developers reported that msvcp120d.dll is missing on their PC, and this error will prevent them from compiling their code, so let’s see if there’s a way to fix this error.
What can I do if msvcp120d.dll is missing?
1. Make sure you’re using the correct DLL folder
- If msvcp120d.dll is missing, you need to use Visual Studio 2013 to compile.
- Users that use OpenCV need to use the right DLL directory, for example, if you use Visual Studio 2013, you need to use vc12. Users that use Visual Studio 2012, need to use the vc11 folder.
- After changing the DLL folder to the correct version, check if the problem is gone.
2. Build your project in Release mode
- Locate the build configuration in the toolbar.
- Change it from Debug to Release.
- Build the project again.
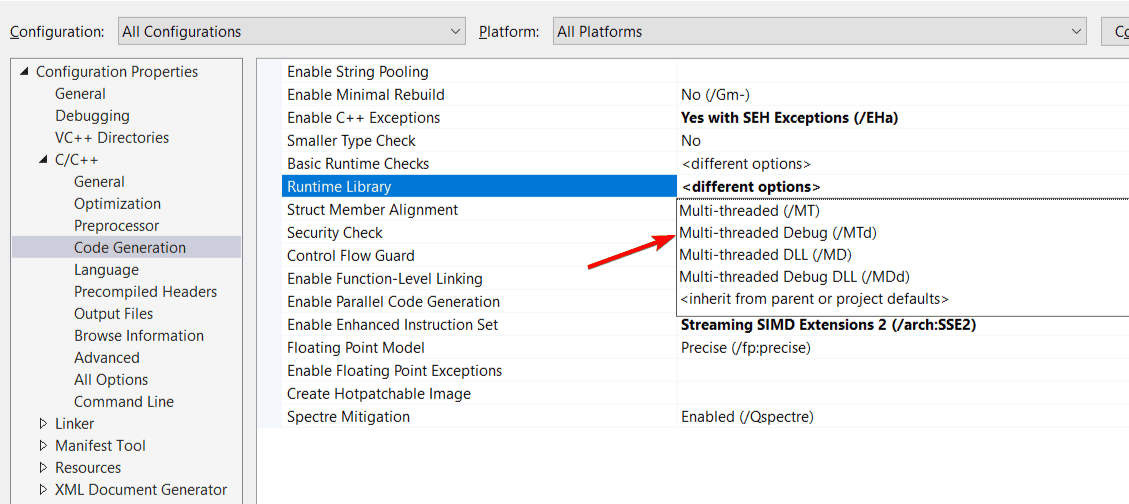
3. Use Multi-threaded debug
- Go to your Project’s Debug configuration.
- Select C/C++ and then go to Code Generation.
- Set Runtime Library to Multi-threaded Debug (/MTd).
- Save changes and check if the problem is gone.
4. Reinstall Visual Studio
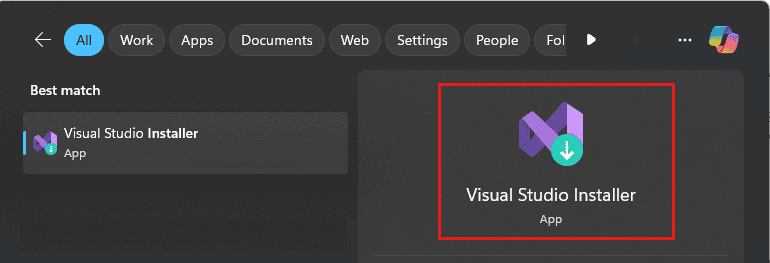
- Press Windows key + S and search for Visual Studio Installer. Select the application. You can also find it at the following location:
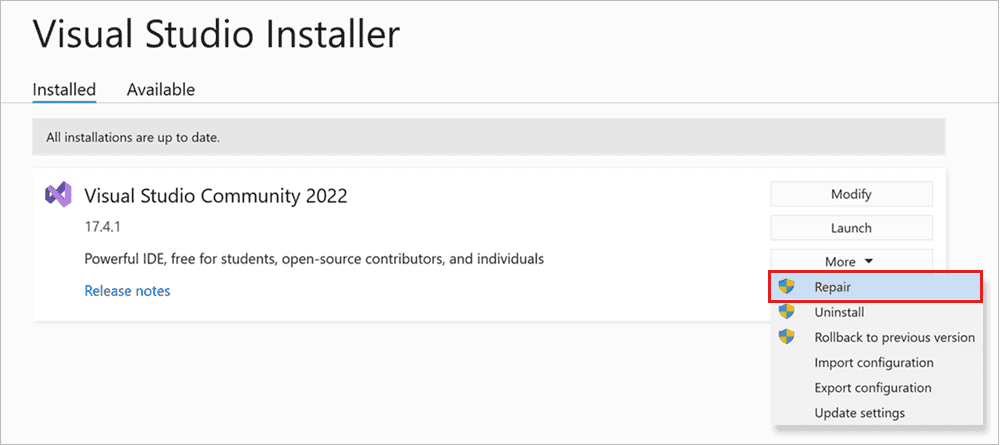
C:\Program Files (x86)\Microsoft Visual Studio\Installer\setup.exe - Next, click on More and choose Repair.
- Follow the instructions on the screen to complete the process.
- Be sure to select to choose to install all available features during the repair process.
If this doesn’t work, you can try uninstalling and installing Visual Studio again.
5. Manually download the missing files
- Search for the msvcp120d.dll online.
- Once you download the file, move it to the Debug folder of your project.
- Check if the problem is resolved.
Downloading DLLs from third-party sources isn’t advised since the files can be modified or unsafe, so use extra caution if you choose to do this.
As you can see, a missing msvcp120d.dll is usually caused if you’re compiling the application in Debug mode without having Visual Studio 2013 installed.
This isn’t the only error you can encounter, and many users reported that msvcr120.dll wasn’t found, as well as msvcp140.dll missing error, so don’t miss our guides that cover these subjects.



User forum
0 messages