How to Fix HAL_ILLEGAL_IOMMU_PAGE_FAULT BSoD
Did you install any new drivers lately?
3 min. read
Published on
Read our disclosure page to find out how can you help Windows Report sustain the editorial team. Read more
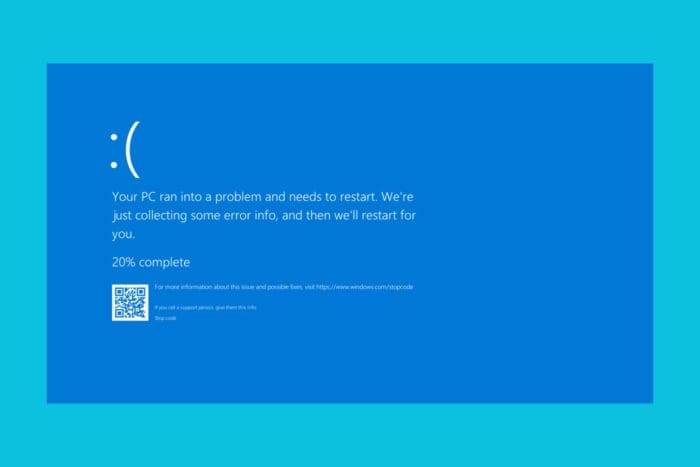
The HAL_ILLEGAL_IOMMU_PAGE_FAULT bug check comes with the value of 0x00000159. Microsoft’s explanation is pretty technical, but we will still include it unchanged:
This indicates that the IOMMU has delivered a page fault against an ASID that was in the process of being freed. The driver was responsible for completing any inflight requests before this point in time and this bugcheck indicates a driver in the system did not do so.
Long story short, this bug check is produced by a malfunctioning or corrupted driver. Some users found that a mouse Wi-Fi or Bluetooth mouse driver is to blame, so we will start there.
How can I fix the HAL_ILLEGAL_IOMMU_PAGE_FAULT?
1. Update the device driver
- Right-click the Start button and select Device Manager.
- You will get a list of system components. Click on them one by one to expand the category, and look for a driver with a yellow exclamation mark next to it.
- Since the culprit might be the mouse driver, check that one first.
- Once located, right-click the driver and choose Update driver from the context menu.
- Click on Search automatically for drivers.
- Follow the on-screen prompts to complete the process.
If the system doesn’t find a driver for your device, you can download it from the manufacturer’s website. We also recommend using a reliable driver updater tool to install the latest version of the driver automatically.
2. Run the SFC scan
- Click the Start button, type cmd in the search box, and click Run as administrator to launch Command Prompt with administrative rights.
- Type the following command to scan and repair the corrupted system files and press Enter:
sfc /scannow - Wait for the process to finish, then copy & paste the following command to repair the Windows OS files, and hit Enter:
DISM /Online /Cleanup-Image /RestoreHealth - Once the scan is complete, restart your computer to confirm the changes.
3. Run the Windows Memory Diagnostic tool
- First, close all the tabs and save all the work on your computer, press the Windows key, type windows memory diagnostic in the search box, and click Open.
- Select Restart now and check for problems.
- Your computer will restart, and the tool will check the RAM for the issues.
- Once the test is complete, your PC will reboot, and you will see the results after logging in.
- If you want to see the detailed results, launch Event Viewer, then go to Windows Logs > System. Look for events with the source named MemoryDiagnostics-Results.
4. Use System Restore
- Press the Windows key, type control panel in the search box, and click Open.
- Select Large icons for View by, then click the Recovery option.
- Click the Open System Restore option.
- Now, select Choose a different restore point and click Next.
- Choose the restore point created before the error started to occur, then click Next.
- Click on Finish to initiate the process.
Windows will reboot and restore your system settings to the chosen point. If you see the System Restore didn’t complete the successfully, we suggest you check out this detailed guide for solutions.
We hope that our solutions helped you fix the HAL_ILLEGAL_IOMMU_PAGE_FAULT BSoD, and now your PC is working fine.
If you have any questions or better suggestions to fix this issue, let us know in the comments below.


User forum
0 messages