5 Easy Ways to Fix the ASUS Armoury Crate Error 601
Switch to admin mode to minimize errors
4 min. read
Published on
Read our disclosure page to find out how can you help Windows Report sustain the editorial team. Read more
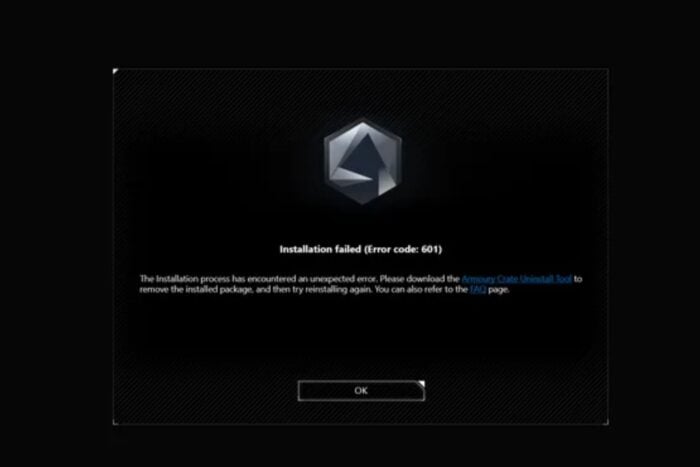
When you launch the ASUS Armoury Crate tool, you may encounter error code 601. This indicates that the installation was interrupted before the new update was completed. In other instances, you may be unable to update it completely either because of software conflicts or because the update is buggy.
It’s not uncommon for the ASUS Armoury Crate install to get stuck but if your device meets the minimal system requirements and you’re running an admin account, you can perform a few troubleshooting steps to address the issue.
How can I fix the Armoury Crate error 601?
1. Delete program files
- Press Windows + E to open the File Explorer window.
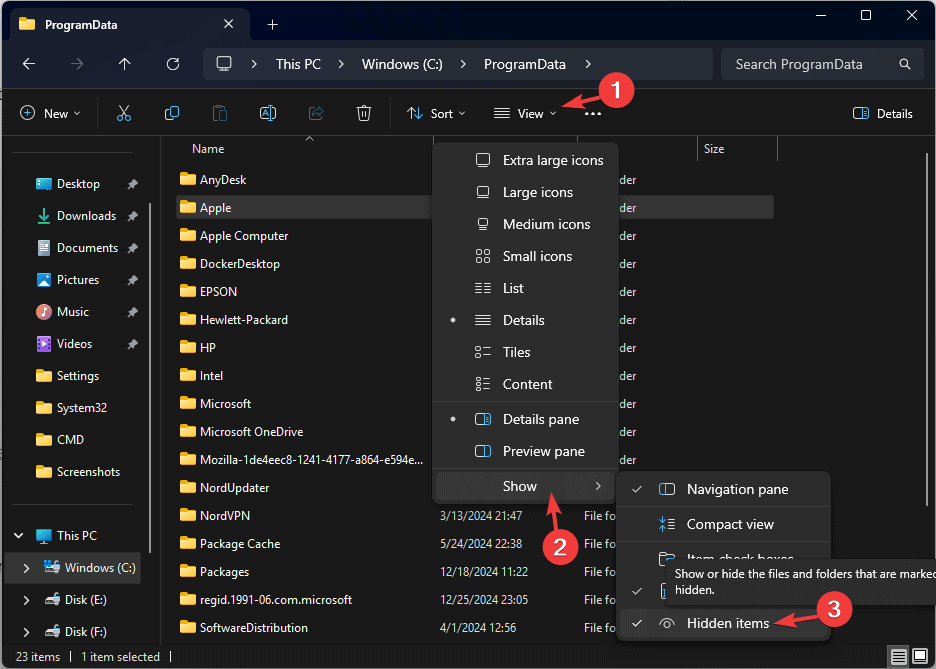
- Go to the View tab, click Show, then check the Hidden items option to show the hidden folders.
- Next, navigate to this path:
C:\ProgramData\ASUS\ArmouryCrate - Double-click the Armoury Crate to open it, locate the Cache, right-click it, and select Delete from the context menu.
- Next, go to this path after replacing YourUserName with your user name:
C:\Users\<YourUserName>\AppData\Local\ASUS\ArmouryCrate - Select any temporary or cache-related files within this folder, and click Delete.
2. Restart the ROG Live service
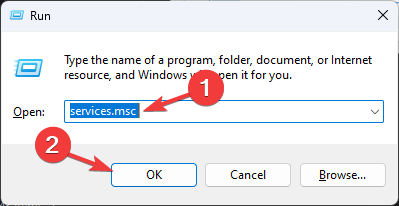
- Press Win + R, type services.msc, and press Enter.
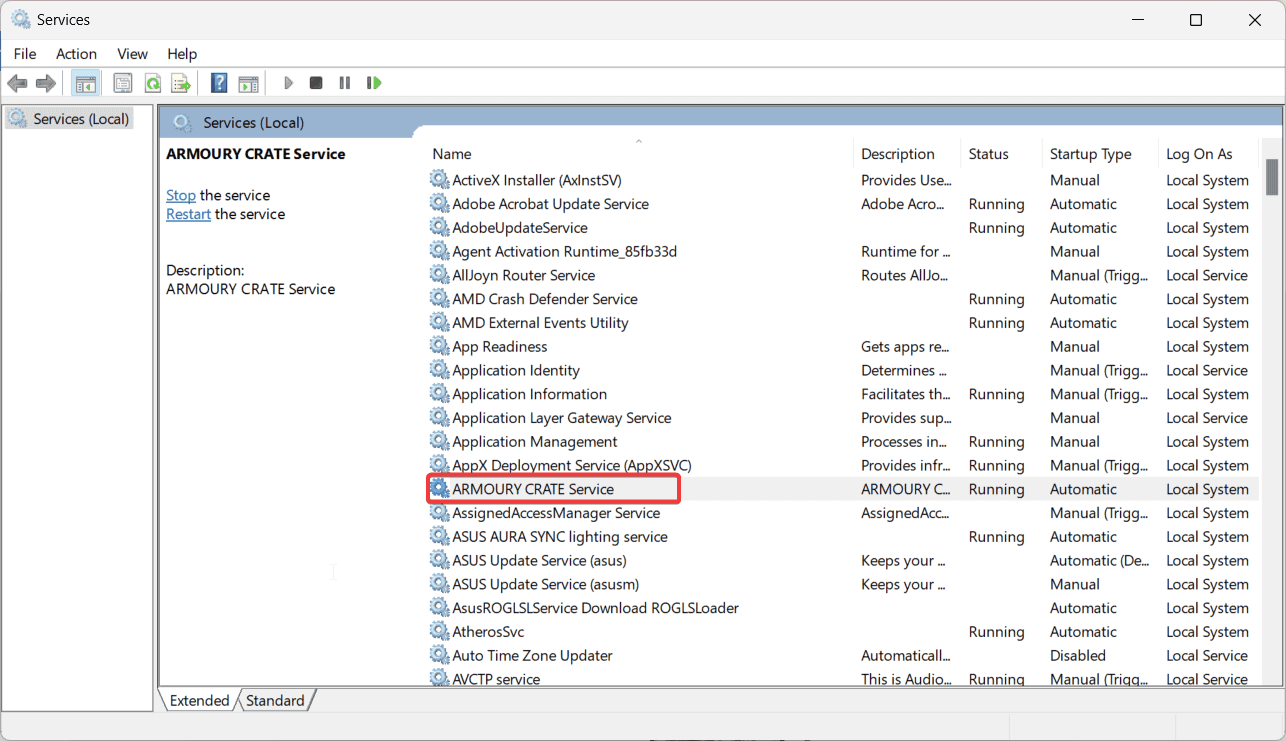
- Look for the ROG Live service.
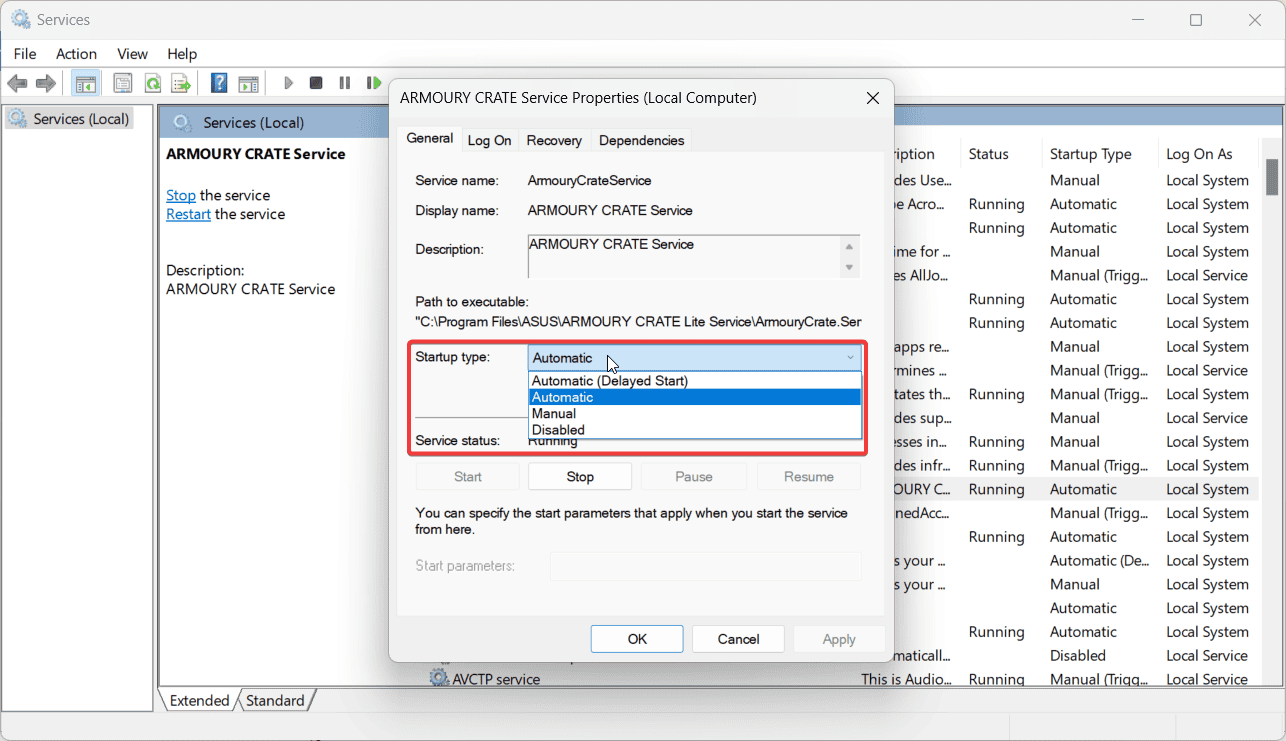
- Right-click the service, select Properties, and set the Startup type to Automatic.
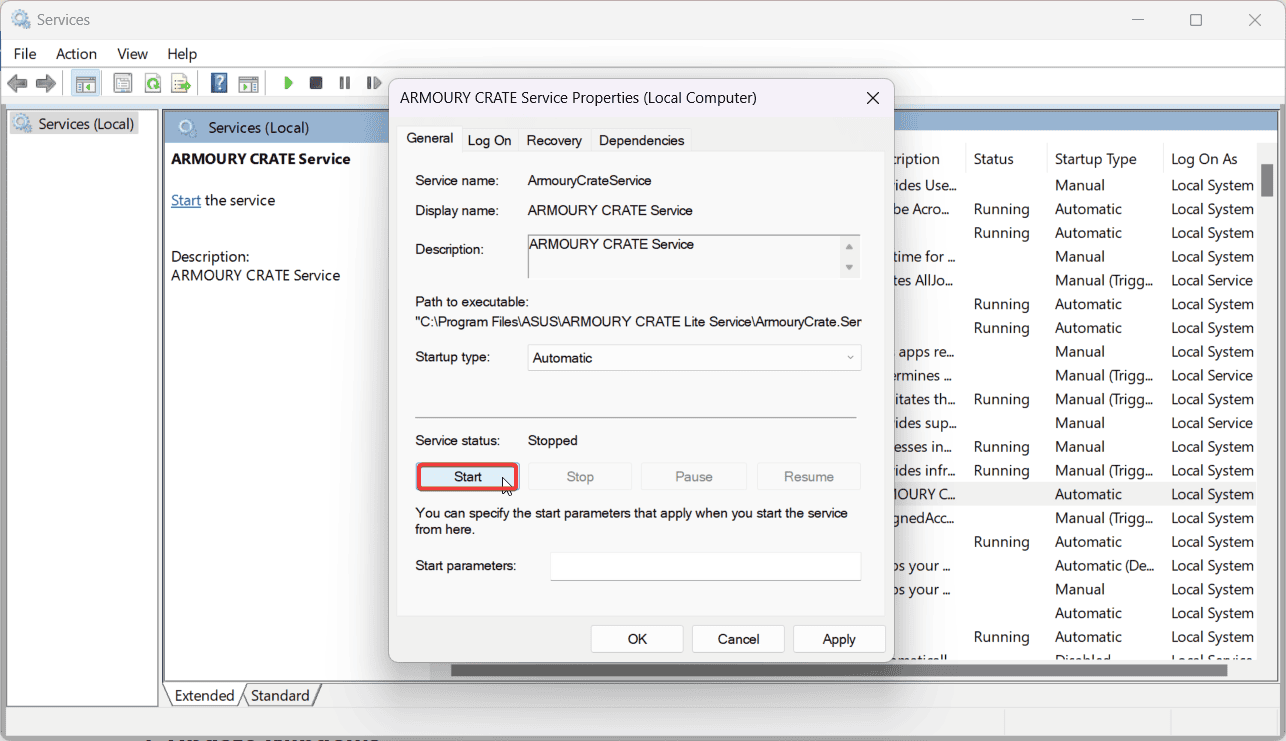
- If the service is stopped, click Start.
- Next, click on Apply and OK to save the changes.
3. Reinstall the Armoury Crate app as admin
- Download the ASUS Armoury Crate Uninstall Tool from the official ASUS support website.
- Run the tool and follow the on-screen instructions to remove Armoury Crate.
- Open File Explorer and navigate to these folders:
- C:\Program Files (x86)\ASUS
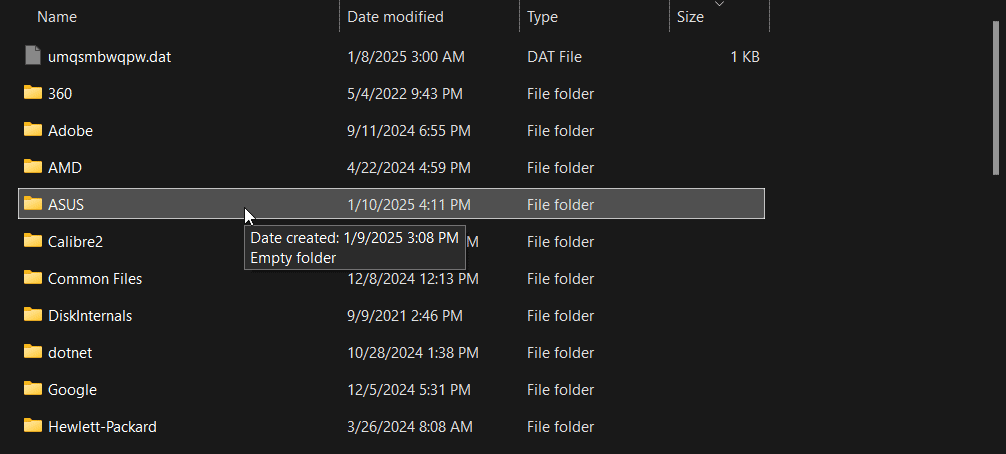
- C:\ProgramData\ASUS
- Delete any Armoury Crate-related files or folders.
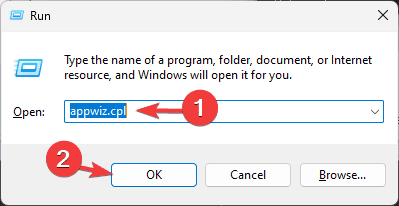
- Press Windows + R to open the Run window.
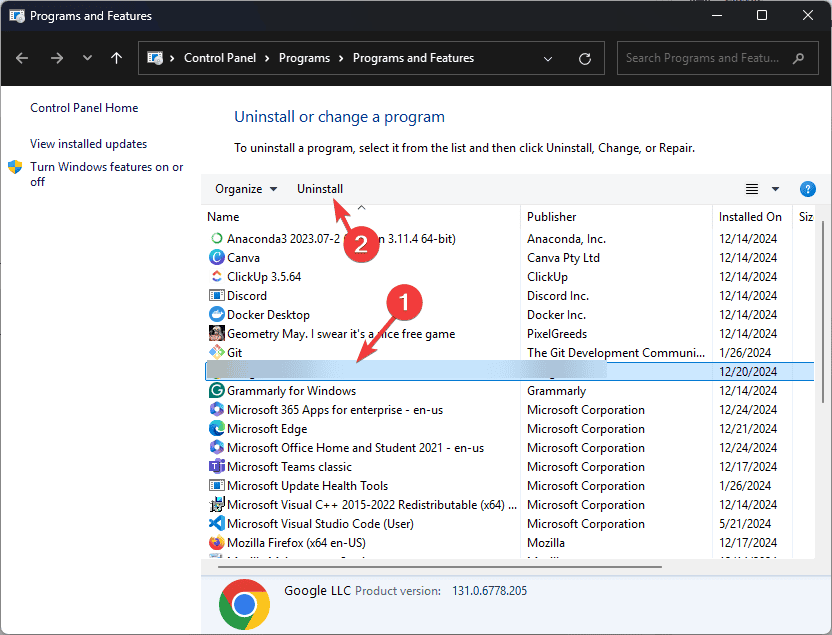
- Type appwiz.cpl and click OK to open the Programs and Features window.
- Locate & select ASUS Armoury Crate and click Uninstall.
- Follow the onscreen instructions to complete the process.
- Restart your computer.
- Visit the ASUS Support website, download the installer on your PC and extract the ZIP file.
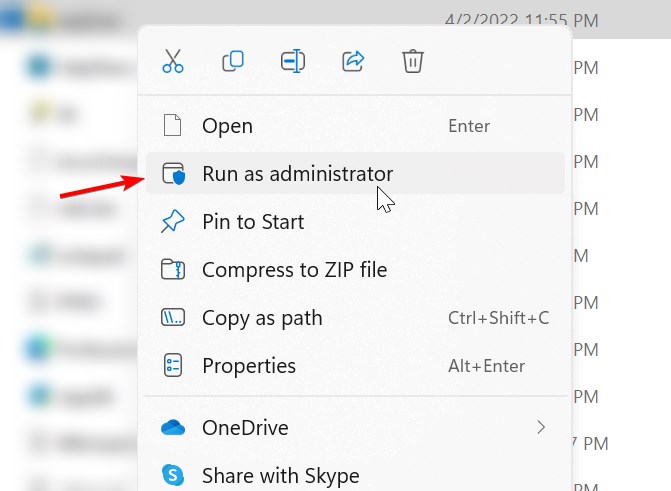
- Right-click the setup file and choose Run as administrator.
- Once installed, locate the Armoury Crate shortcut and run it as administrator.
- Now follow the on-screen prompts to install the latest version of ASUS Armoury Crate.
Using the dedicated ASUS uninstall tool is recommended for this step because the Windows native uninstallation process often leaves behind residual files, registry entries, and configuration data. These remnants can interfere with reinstallation or when updating the software.
Still, you can uninstall the software using the control panel and then go in for a second round to remove software remnants.
Further, you must also uninstall and install the program with administrator privileges because Armoury Crate needs access to system components and registry entries that cannot be accessed with a local user account.
4. Update your motherboard BIOS
- Download the latest BIOS from the ASUS support page for your motherboard and extract the ZIP file.
- Format a USB drive to FAT32 and copy the BIOS file (e.g., biosupdate.cap) to the root of the drive.
- Restart your PC, press DEL or F2 to enter BIOS.
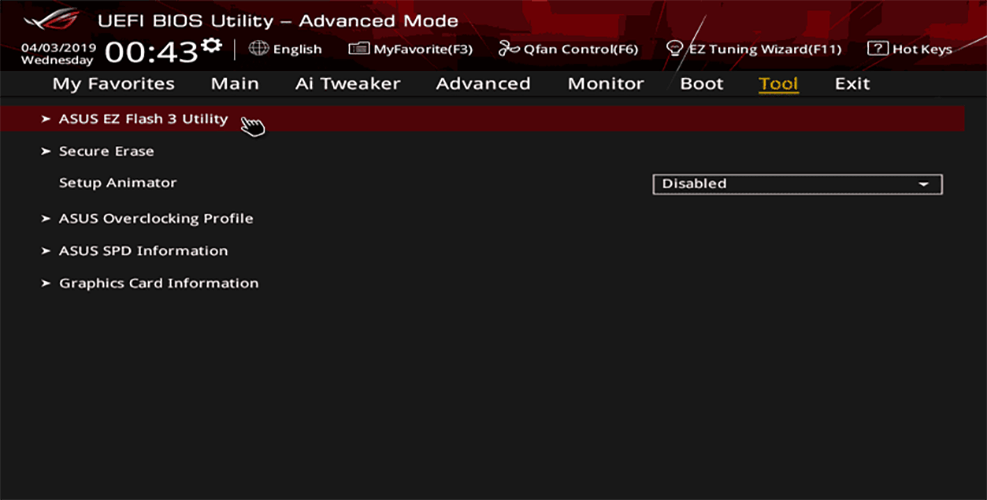
- In BIOS, go to EZ Flash, select the USB drive, and choose the BIOS file.
- Confirm the update and wait for the process to finish. Your PC will reboot once done.
- Re-enter BIOS after reboot to verify the update was successful.
5. Perform a System Restore
- Press the Windows key, type Control Panel, and click Open.
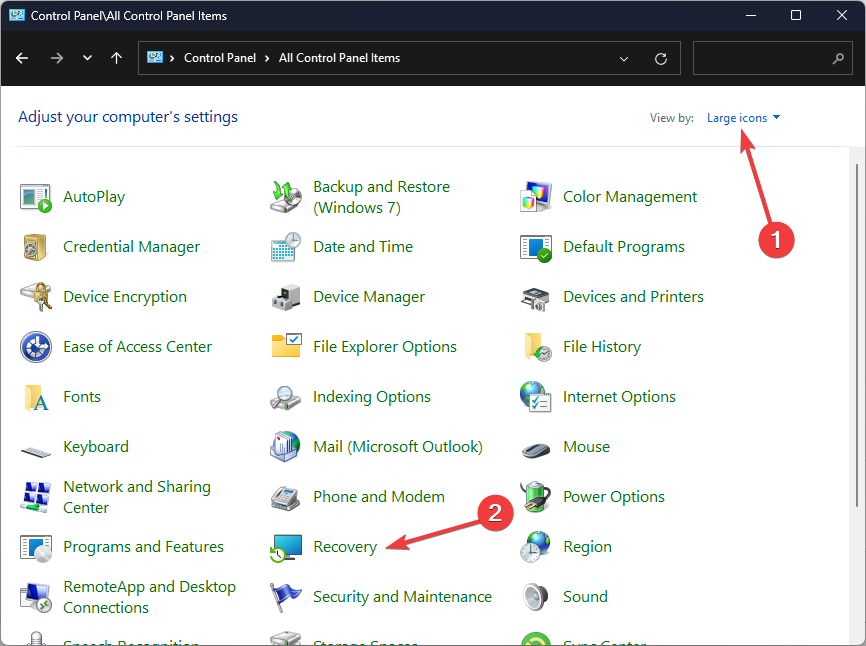
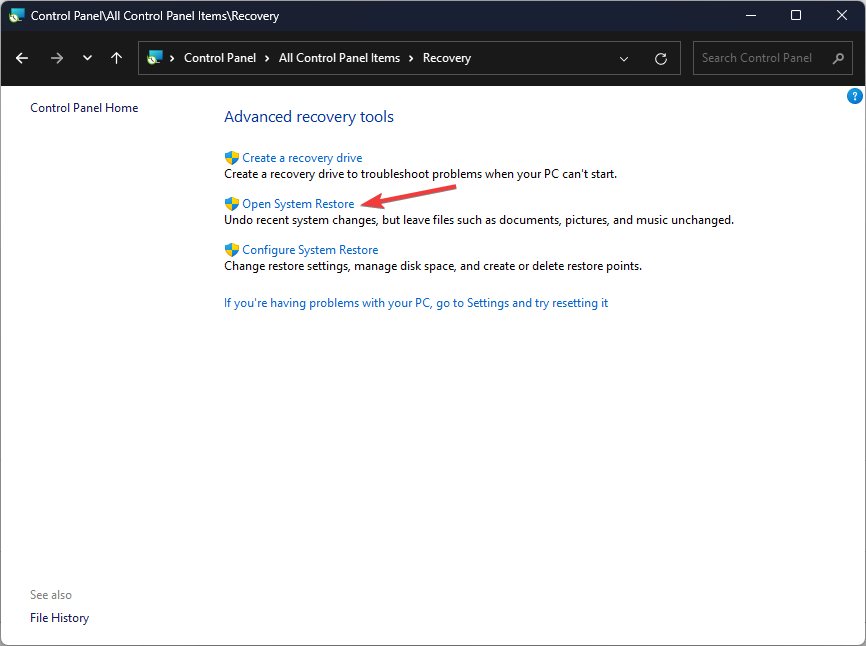
- Select Large icons as View by and click Recovery.
- Click Open System Restore.
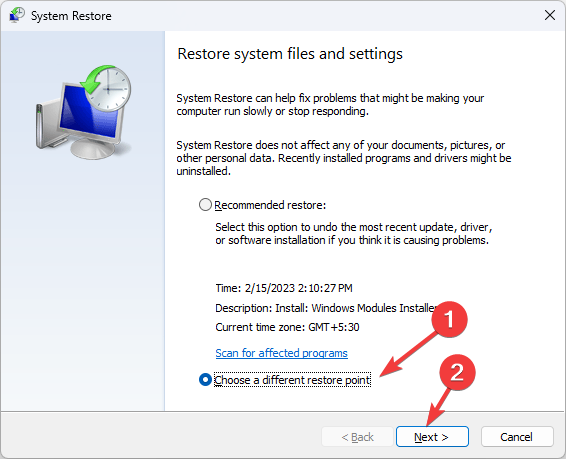
- Select Choose a different restore point and click Next.
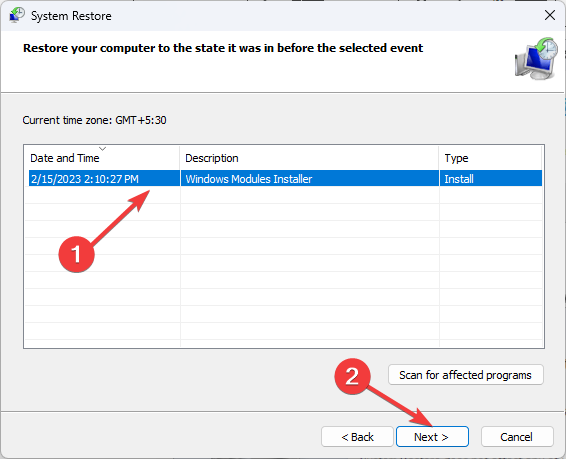
- Now select the restore point and click Next.
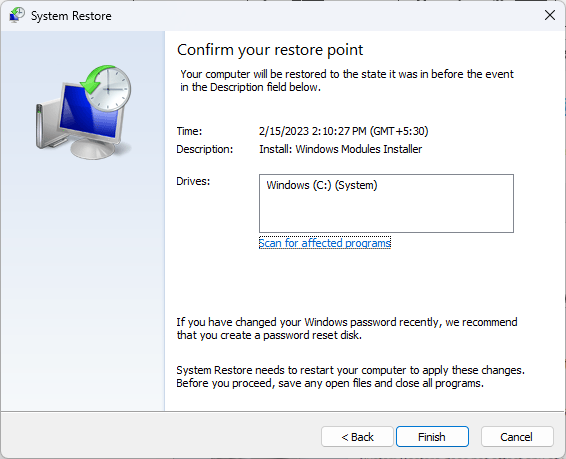
- Click Finish to restore the previous settings, and Windows will restart.
Elsewhere, you may find your ASUS Armoury Crate keeps crashing but it’s nothing we haven’t handled so check out our guide for a fix. Another install issue you may run into is the Armoury Crate error 4151 but we’ve also covered in detail how to bypass it.
Alternatively, if you’ve had enough of Armoury Crate errors, you can opt for Armoury Crate alternatives and see if you have a better experience.
Do you have any other solutions not mentioned here but worked for you? We’d love to hear about them. Share them with us in the comment section below.








User forum
0 messages