Attention: Don't Create a Windows Recovery Disk with Other Data on It
2 min. read
Updated on
Read our disclosure page to find out how can you help Windows Report sustain the editorial team. Read more
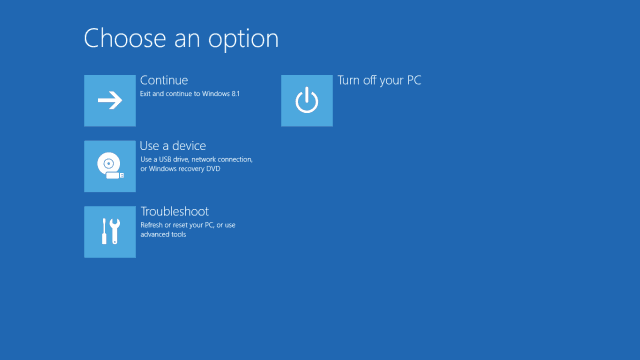
Creating a recovery disk is very useful thing which will help you when your system breaks. But a lot of people don’t know how to properly create one, as they are trying to create a recovery image on the external media which already consists other files, which is wrong.
Some users on Microsoft’s forum complained about how they created a recovery image, but they were unable to use it, because when they tried to recover Windows, the process was stuck at 1% for hours. But they also mentioned that they had other data on the recovery disk. And that’s why the error occurs. You must dedicated your external drive to the recovery image only, you mustn’t have any other data on it!
So if you’re planning to create a recovery drive for whichever version of Windows you’re using, keep this information in mind. Now, if want to create a recovery image for your Windows operating system, first format your external drive and make sure it’s completely empty, and when you’re absolutely certain that there are no other data on it, follow these steps:
- Go to Search, type recovery drive, and click on Create a recovery drive (it might ask of the administrator permissions)
- When the Create a recovery drive opens, select Copy the recovery partition from the PC to the recovery drive and click Next
- Select the USB drive you want to create a recovery image on and click Next
- Wait until the process is done and choose whether you want to keep the recovery image in your computer, or you want to delete it in order to free up the disk space
That’s it, now yo know how to properly create a recovery image for your Windows operating system, so you don’t have to if your system goes down, because you’ll have a prepared solution.
Read Also: How to Enable God Mode in Windows 10
User forum
0 messages