Fix: Asus Taichi Dual Screen Function not Working on Windows 8.1
2 min. read
Updated on
Read our disclosure page to find out how can you help Windows Report sustain the editorial team Read more
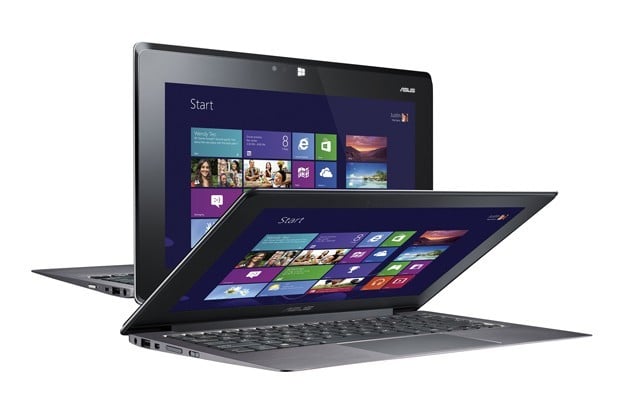
Some owners of the Asus Taichi device have been complaining that their dual screen isn’t functioning normally anymore after making the upgrade to Windows 8.1. Find more details on this below.
Hello! I have had my Asus Taichi 31 for about a month, and since I have updated to Windows 8.1, the touch screen has not worked. Only the normal screen works. I’ve tried googling a fix, but I am not very tech savvy at all and have had difficulties finding solutions. Apparently it might have something to do with Windows 8.1 updating Intel to 9.18 or something? I would love some help – but try to explain it in very simple terms please!
Read Also: FL Studio Groove App for Windows 8 Receives a Plethora of New Features
As you saw above, that’s what the affected owner of an Asus Taichi has been saying, so if you have found yourself in the same situation and are looking for some potential fixes, follow the easy steps from below.
How to fix dual screen problems in Windows 8.1 on Asus Taichi
First of all, make sure that you’re running all the latest audio and video drivers related to your specific device, but also that you have done the same to Windows with the Update function. If so, then follow this:
Try the troubleshooter
- Run the hardware troubleshooter by pressing the ‘Windows + W’ key on the keyboard and then type troubleshooting in the search box
- Now go to hardware and sound and run the Hardware and Devices Troubleshooter
- Restart after following the instructions
Tweak the touch screen drivers
- Press “Windows Logo” + “X” keys on the keyboard
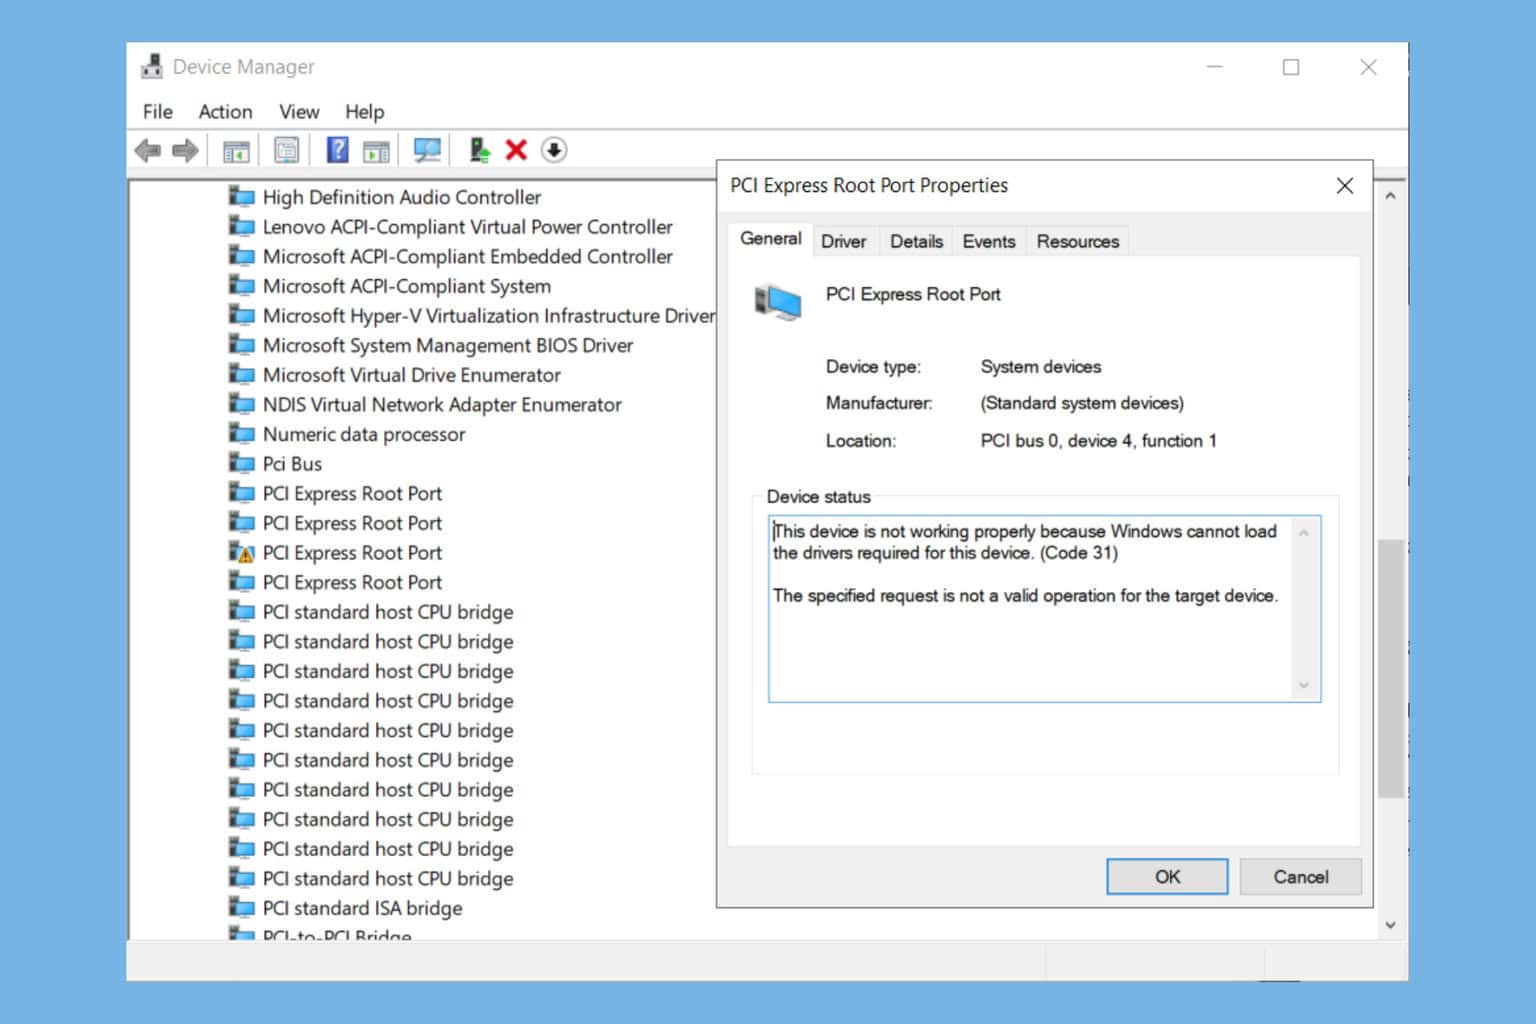
- Now select “Device Manager” from there
- Go to “Human Interface Devices” and expand it, look for the Touch Screen device from the device list
- After finding it, right click and then select “Uninstall”
- If you encounter the “Delete the driver software for this device”, you can go ahead and do that
- Follow the instructions and restart
- Now go to Device Manager again and then click on the “Scan for hardware changes” button
Now, this should do it. If you know of another working method, don’t hesitate and let us know by leaving your comment in the box from below.
Read Also: My Windows 8 Laptop was Stolen: What To Do

