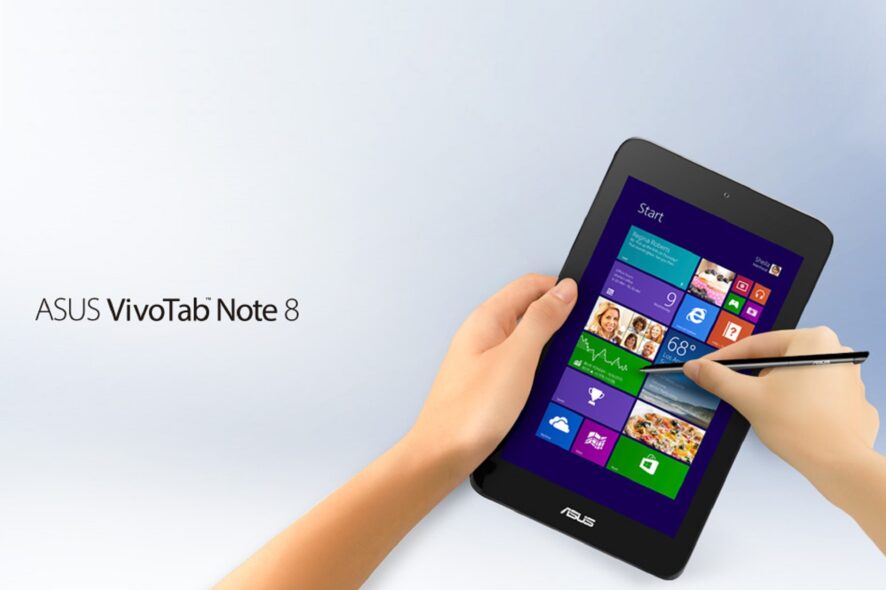
Fix: Pen Not Working with ASUS VivoTab Note 8
![]() 9 min. read
9 min. read
![]() Updated on
Updated on
Share this article

Read our disclosure page to find out how can you help Windows Report sustain the editorial team Read more
Key notes
- The ASUS VivoTab Note 8 has always been a popular tablet that supports the Windows OS.
- The article below will show you what to do if you notice its pen doesn't work anymore.
- Need more help with your devices? Check out our dedicated Windows 10 section.
- For more great fixing guides, follow our dedicated Troubleshooting Hub too.
The ASUS VivoTab Note 8 tablet is one of the best Windows 8 tablets around but, naturally, there are various issues that are affecting its users. Here’s what some have been saying about the stylus having problems:
I was enjoying my Note 8, sketching and handwriting a lot since I received it last week, and suddenly the tablet stopped to register anything from the pen (touch is still fine). I tried, but to no avail : – installing/removing Wacom FeelIT driver – “refreshing” the whole windows 8 to factory defaults In the device manager there is an exclamation mark on what should be the pen device entry point (“HID I2C Device” without FeelIT, and “Wacom Device” with it). The property of the device state gives a Code 10 and a “A request for the HID descriptor failed” Has someone experienced this ? Any advice ?
So, as we can see, the problem seems to be affecting especially those using Wacom styluses. We’ll try to offer a workaround which we spotted on some forums.
This could do it for ASUS VivoTab Note 8 stylus problems
There are various problems that can occur with ASUS VivoTab Note 8, and speaking of which, users reported the following issues:
- ASUS VivoTab Note 8 digitizer problem – Many users reported that this issue occurs due to digitizer. This is a hardware problem, and in order to fix it you need to check your digitizer cable.
- ASUS VivoTab Note 8 stylus driver – Sometimes this issue can occur because of your stylus driver. If that’s the case, you’ll need to update your stylus driver to fix the issue.
- ASUS VivoTab Note 8 touch screen not working – Another similar problem that users reported is the inability to use the touchscreen display. However, you should be able to fix this problem by using one of our solutions.
- ASUS VivoTab Note 8 stylus not working – This is just a variation of this problem, but you should be able to fix it by following the steps from this guide.
1. Update your drivers
- Remove the stock Intel HD driver and after that, you will need to Restore back to Microsoft basic VGA driver.
- Now, uninstall completely the Wacom driver and software and then restore to the 12C HID device.
- Perform a restart and after that, install the Wacom Feel driver 720-4.
- Now, go ahead and download the Intel HD driver for j1900 itx.board, to the version 10.18.10.3496.
- Restart and go ahead and try your Wacom stylus now.
If you’re looking for the latest drivers, you can download the latest Wacom Feel driver from Wacom’s website. In addition, you might want to download other Wacom drivers as well.
Few users claim that the problem was resolved after downloading and installing Wacom Digitizer, so you might want to try that.
Update drivers automatically
- Open the Device Manager.
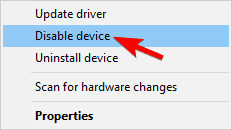
- Locate the problematic driver, right-click, and choose Disable device from the menu.

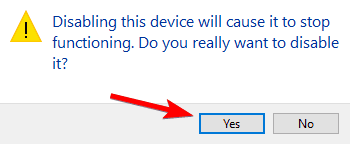
- When the confirmation message appears, click on Yes.

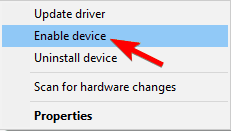
- Now right click the disabled device again and choose Enable device from the menu.

We strongly suggest keeping your drivers up to date automatically by using Outbyte Driver Updater. It has been tested and our team concluded that this is the best-automatized solution.
All you need to do is download it, and once you launch it, it will automatically begin scanning your PC for broken, outdated, or missing drivers.
Once the scan is complete, it is simply a matter of choosing which drivers to fix, and that’s pretty much it.
This definitely seems like the dumbest solution, but it has reportedly worked for many. Also, you can make sure that you’ve performed the latest Windows Update check, as usually there are many solutions issued by Microsoft and its partners.
2. Make sure that Narrator is disabled
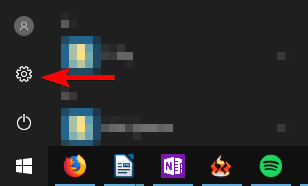
- Open the Settings app. To do that, just open the Start Menu and click the Gear icon.

- When Settings app opens, navigate to Ease of Access section.

- Now make sure that Narrator is set to Off.

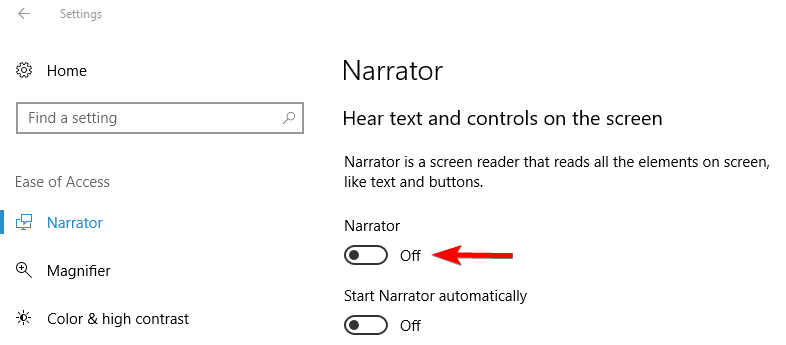
The narrator is a useful accessibility feature, but sometimes it can interfere with your device and cause pen not to work on ASUS VivoTab Note 8. If you have this problem, we advise you to disable Narrator and check if that solves the problem.
After you disable the Narrator, the issue with your pen should be resolved. Few users reported that Narrator was enabled by accident, but once you disable it your pen will start working again.
3. Uninstall the problematic drivers
- Open Device Manager. You can do that quickly by right clicking the Start Button and choosing Device Manager from Win + X menu.

- Now you need to locate Nokia 111 Bluetooth earphone driver, right click it and choose Uninstall device.

- If available, check Delete driver software for this device and click on Uninstall to confirm.

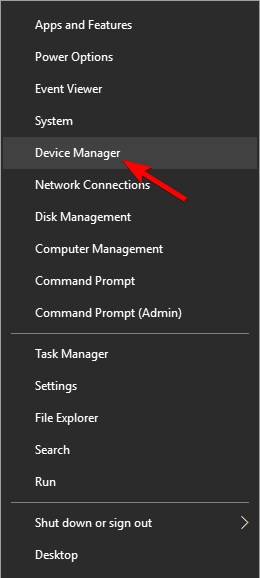
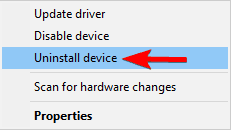
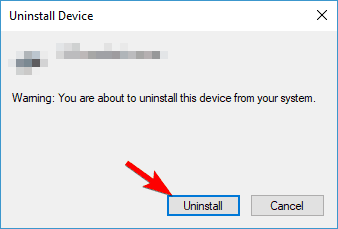
If you’re having problems with ASUS VivoTab Note 8 pen, you might be able to fix them simply by uninstalling the problematic drivers from your PC. This is relatively simple and you can do it by following these steps:
After you remove the driver, restart your device and the problem should be completely resolved. Few users reported that they fixed the problem by uninstalling all HID and Wacom drivers from their PC, so you might want to try that as well.
Few users reported that uninstalling the problematic driver or rolling back to the previous version was just a temporary solution. By default, Windows 10 will automatically update outdated drivers causing the issue to reoccur.
If the problem appears again, be sure to check our guide on how to prevent Windows from updating certain drivers.
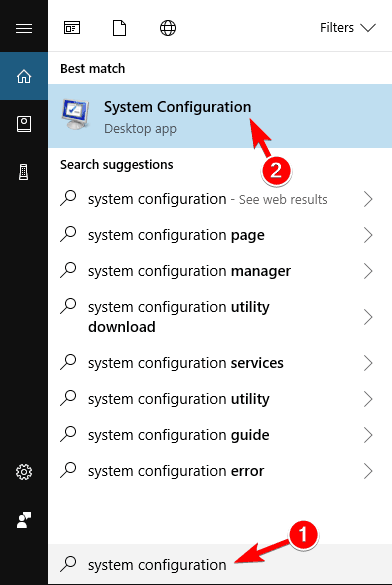
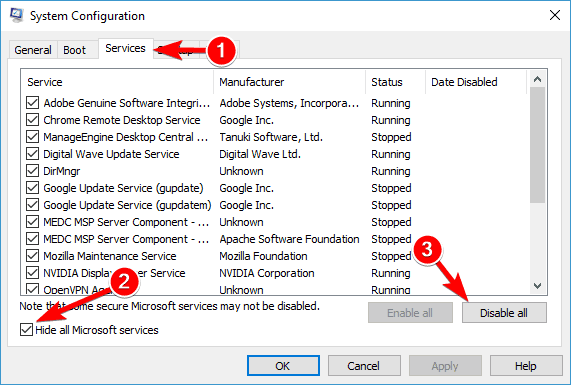
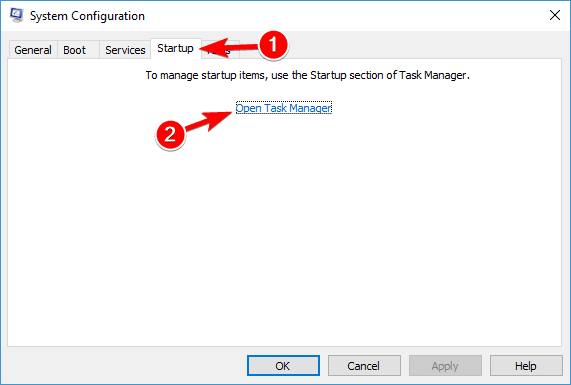
4. Perform a Clean boot
- In the Search bar enter system configuration.
- Now select System Configuration from the list of results.

- Go to the Services tab and check the Hide all Microsoft services box. Now click on Disable all button.

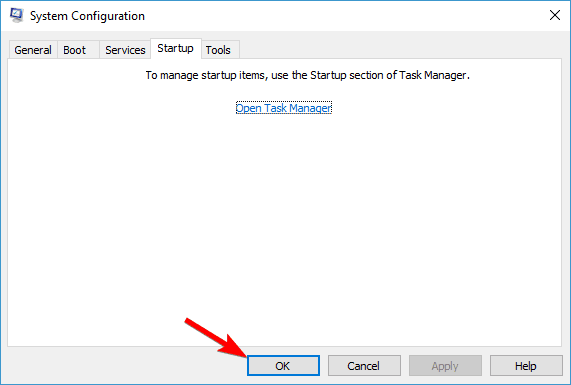
- Navigate to the Startup tab and click on Open Task Manager.
- When Task Manager opens you’ll see a list of startup applications.
- Now right-click the first entry on the list and choose Disable from the menu.
- Repeat this step for all entries on the list.

- Once you disable all startup items, go back to the System Configuration window.
- Click on Apply and OK to save changes.
- Now restart your device to apply the changes.

According to users, you might be able to fix the problem with ASUS VivoTab Note 8 pen simply by performing a clean boot.
Your Windows starts with various services and applications running in the background, and sometimes these services can interfere with your device and cause this and many other errors to occur.
Once your device restarts, check if the issue still persists. If not, you need to enable disabled services and apps until you find the one that is causing this problem.
Keep in mind that you need to restart your device after enabling a set of services or apps.
Once you find the problematic application or service, you can keep it disabled or remove it. Few users reported that the problem was Wacom ISD Service, but after disabling it the issue was completely resolved.
5. Modify your registry
According to users, sometimes this problem can be caused by your registry. If you have problems with your pen on ASUS VivoTab Note 8, you might be able to solve this issue by following these steps:
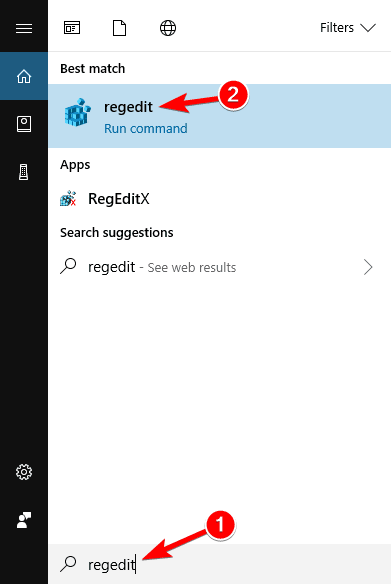
- In the Search bar enter regedit.
- Select Regedit from the list of results.
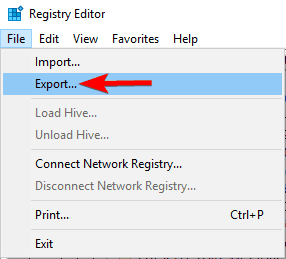
- Before you make any changes to the registry, it’s advised to create a backup in case anything goes wrong. To do that, just click on File > Export.

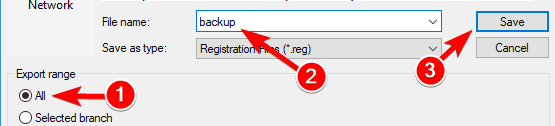
Now set Export range as All and enter the desired file name. Choose a safe location and click on Save.
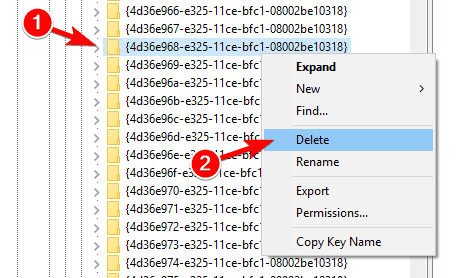
In case any problems occur after you modify your registry, you should be able to fix them by running this file. - In the left pane, navigate to this key:
HKEY_LOCAL_MACHINESYSTEMCurrentControlSetControlClass.
- Now expand the Class key.

- You should see a large list of subkeys.
- Select 4D36E968-E325-11CE-BFC1-08002BE10318 key, right click it and choose Delete from the menu.
- Keep in mind that many keys have similar names, so be sure to select the correct one.

- When the confirmation dialog appears, click on Yes button to confirm.


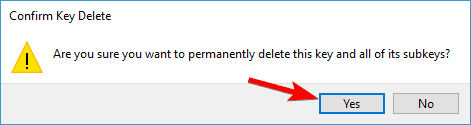
Few users reported that they were unable to delete this key due to a lack of permissions. If you have this problem, be sure to take ownership of the selected key and then try to delete it. Once the selected key is removed, restart your device and the issue should be resolved.
6. Check your digitizer cable
Before we start, we have to mention that this is an advanced solution that requires you to open your device and check its cables. This solution will void your warranty, and if you’re not careful you can permanently damage your tablet.
Note: You’re using this solution at your own risk and we’re not responsible for any damage that might occur by using this solution.
To check the digitizer cable, simply remove the back cover. Now you should see two kinked cables. The thinner cable is in charge of your digitizer, and if the cable is kinked too hard, the signal might break. To fix the problem, you need to carefully straighten the cable and make sure that it’s not kinked before you put the back cover.
In some cases, you might have to swap the cable with the new one or just reseat it to fix the problem. Keep in mind that this is an advanced solution, and if you don’t know how to perform it properly it’s better to contact a professional.
Let us know by leaving a comment if this has fixed your problem. If not, we’ll try to find together a working fix for this problem.