How to Calibrate HDR in Windows 11
Activating HDR mode but this time with better calibration
Spending lots of time behind a screen requires an optimized viewing experience and that’s why you need to calibrate HDR on your Windows device.
Older devices and operating systems supported the standard display range (SDR) which is limited in terms of the range of color. HDR on the other hand offers more vibrancy and really brings out the details in the brightest and darkest colors.
Calibrating also ensures you’re getting the true colour of an image, minimizes the risk of image distortion and achieves colour consistency throughout.
How can I calibrate HDR on my Windows device?
1. Check system requirements
- An HDR display supporting HDR10
- DisplayPort 1.4 or HDMI 2.0 or higher
- Integrated or dedicated GPU with PlayReady 3.0 support such as:
- Intel UHD Graphics 600 series or higher
- Nvidia GeForce 1000 series or higher
- AMD Radeon RX 400 series or higher
- Media players must support HDR playback
- The latest version of Windows 11
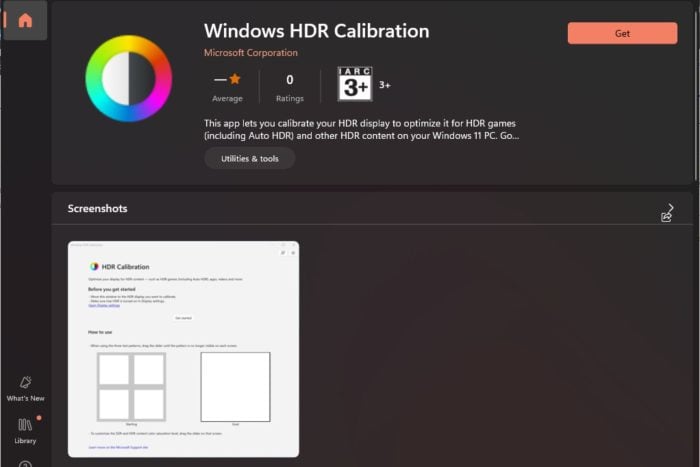
2. Download calibration app
- Launch the Microsoft Store from the taskbar.
- Search for Windows HDR Calibration and click on Get.

3. Enable HDR mode
- Press Windows + I to open the Windows Settings app.
- Select Display, then toggle on the switch for Use HDR.

- Allow the Auto HDR option.
If Windows HDR is not supported, check out our article on how to bypass this limitation.
4. Calibrate HDR
- Launch the HDR app you just downloaded and click on Get started.
- You will then be prompted to adjust several settings with a grey + sign as your base. The goal is to adjust the slider until the sign is no longer visible.
- Once you’re done with all settings, enter a profile name and click Finish. Creating a profile allows you to try with different colour schemes and use them in different settings.
- You should notice a visible change in your display but if not, you can restart your PC.
Potential issues and how to troubleshoot HDR calibration
- If you spot any inconsistencies with the HDR settings, your OS may be outdated. For optimal HDR settings, ensure your drivers and OS are up-to-date for compatibility purposes.
- For consistency across devices, save your settings under a profile for easier replication. Also, be sure to test your HDR calibration settings under different lighting setups and with content like movies, photos and games.
- HDR video streaming not supported may indicate outdated graphic cards so ensure you upgrade to a newer supported graphics card.
- If a calibration profile appears corrupt or is no longer displaying colours correctly, you can delete it and create another one. Simply go Start > colour management > All Profile, select the colour profile you want to delete, then select Remove.
Ultimately, it may not be necessary for newer devices to calibrate HDR, but if HDR appears washed out, or HDR not working on apps like YouTube, you may benefit from the extra muscle that HDR calibration brings along.
This alongside the best HDR settings guarantees you an immersive experience, especially for gamers. For specific HDR preferences, consider using HDR software to help take your images and videos to the next level.
If you’ve calibrated HDR on your Windows device, we’d love to get your thoughts on any improvements. Leave a comment down below on what you’re loving so far and what you don’t.
Read our disclosure page to find out how can you help Windows Report sustain the editorial team. Read more


Improve this guide


User forum
0 messages