How to disable auto-provisioning on your Windows 10 PC
![]() 3 min. read
3 min. read
![]() Updated on
Updated on
Share this article

Improve this guide
Read our disclosure page to find out how can you help Windows Report sustain the editorial team Read more
Key notes
- If you ever need to disable the TPM auto-provisioning feature, you can do so in just a few minutes.
- Automatic provisioning can be turned off for just one restart, or permanently if you choose to.
- To do this, you will need to use one of Windows' built-in tools which in this case is PowerShell.
- Rest assured that this is not a permanent and irreversible action, you can turn it back on whenever you want.
As much as we all love Windows as an operating system, we all have to admit that there are certain parts of it that give us some serious headaches every time we have to deal with them.
Although some system features are not customizable, most of the default settings that Microsoft enabled or disabled on your OS can be tweaked.
Today we are about to get into auto-provisioning for Windows 10, so stick around and find out how to disable and re-enable this feature, if you were to need it again.
How do I turn off auto-provisioning on Windows 10?
First of all, let’s make sure that everyone here understands exactly what auto-provisioning is.
Automated provisioning means having the ability to deploy information technology or telecommunications services using predefined automated procedures, without requiring human interventions.
The Disable-TpmAutoProvisioning cmdlet disables Trusted Platform Module (TPM) auto-provisioning.
Ok, now that we got this out of the way, let’s see how you can turn off such a feature if he no longer requires it, or if the actions he is trying to perform are impossible because of it.
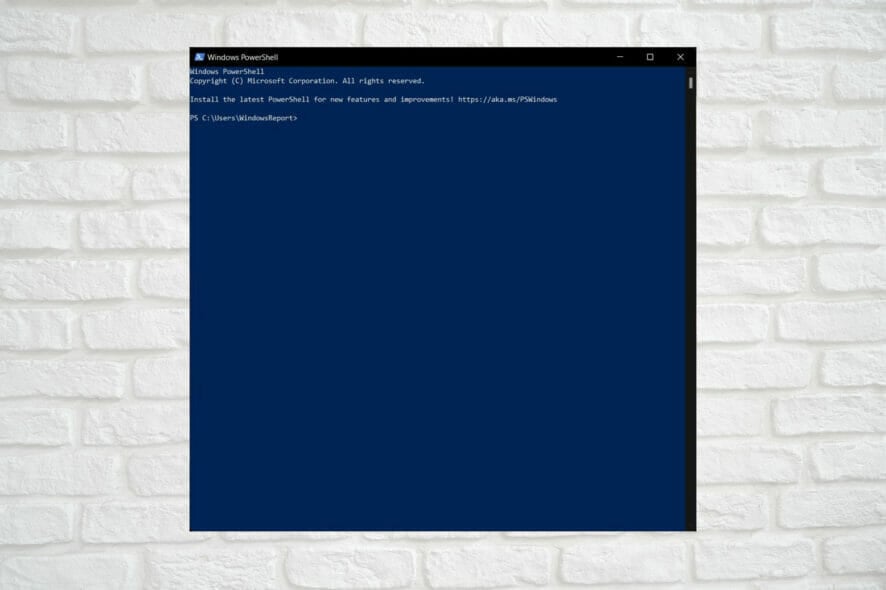
For this operation, we will have to use one of Windows’ built-in tools, which is PowerShell. As you might know, this software is commonly used for automating the management of systems.
It is also used to build, test, and deploy solutions, often in CI/CD environments. PowerShell is built on the .NET Common Language Runtime (CLR).
You can disable provisioning completely or only for the next restart. You can use the Enable-TpmAutoProvisioning cmdlet to enable auto-provisioning.
And you can deactivate it completely, or just for the next restart. Here’s what you have to do:
Disable auto-provisioning permanently
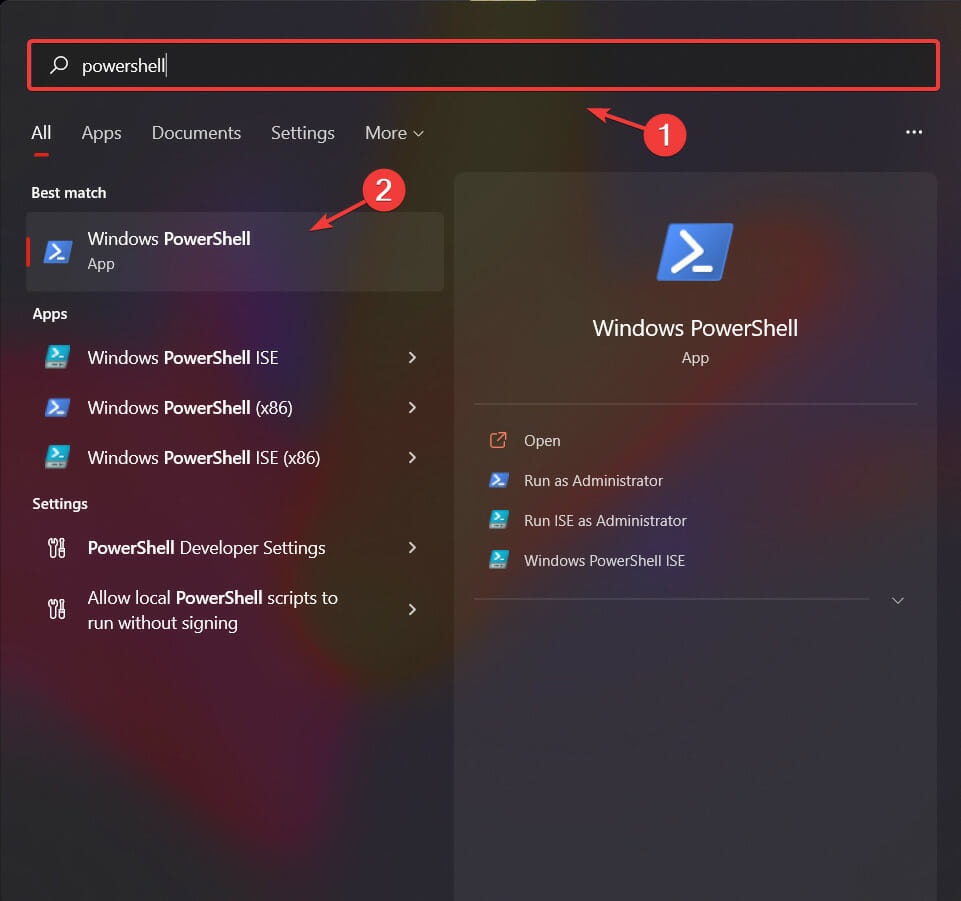
- Open the search menu and type PowerShell, then click on the app in order to open it.

- Once PowerShell is open, type in the following command.
Disable-TpmAutoProvisioning
TpmReady           : False
TpmPresent         : True
ManagedAuthLevel   : Full
OwnerAuth          : OwnerClearDisabled : True
AutoProvisioning   : Disabled
LockedOut          : False
SelfTest           : {191, 191, 245, 191...}
This command disables TPM auto-provisioning. You can use the Enable-TpmAutoProvisioning cmdlet to enable auto-provisioning.
Disable auto-provisioning for next restart
- Open the search menu and type PowerShell, then click on the app in order to open it.
- Once PowerShell is open, type in the following command.
PS C:\> Disable-TpmAutoProvisioning -OnlyForNextRestart
TpmReady           : False
TpmPresent         : True
ManagedAuthLevel   : Full
OwnerAuth          : OwnerClearDisabled : True
AutoProvisioning   : DisabledForNextBoot
LockedOut          : False
SelfTest           : {191, 191, 245, 191...}
This command disables TPM auto-provisioning for the next restart. In the next restart after that, auto-provisioning continues.
So, just in case you need to disable this feature, now you know exactly how to do it. If you ever need more advice on how to deal with other situations, know that you are in the right place.
Was this article helpful to you’? Let us know in the comments section below.