How can I install .NET Framework on Windows 10/11, 8?
3 min. read
Updated on
Read our disclosure page to find out how can you help Windows Report sustain the editorial team Read more
.NET Framework is a software technology that can be used with several Microsoft Windows operating systems. What’s special and useful about it is that is comes packed with pre-coded solutions to common programming problems. These days the increasing popularity of programming languages like C# or VB.NET requires that users have installed on their machines the .NET Framework, in order for specific programs written in those languages to function.
For those who have upgraded to Windows 10, Windows 8, you should know that the .NET Framework version 4.7 is pre-packed into the operating system, so you don’t need to worry about installing it. However if you stumble upon an application that requires a lower version of Framework, specifically version 4.7 you will need to take a few steps in order to be able to install it on your Windows 8, Windows 10 machine. To do this users are faced with a choosing from two options:
Installing .NET Framework version 4.7 manually by request
In Windows 8, Windows 10 when a program will need .NET Framework to operate and isn’t able to locate it within the system, it will display a pop-up saying you need to “Install the feature” – indicating the .NET Framework 4.7, of course. Just click the option and the downgraded version will start installing.
Turn .NET Framework 4.7 on in Control Panel
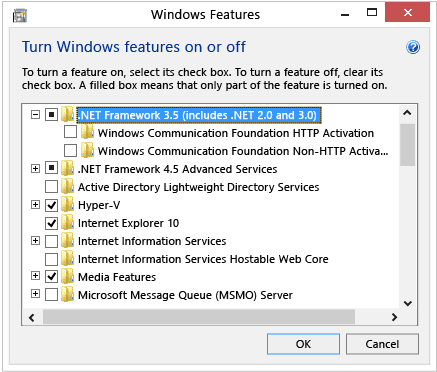
The same can be achieved by going into Control Panel and selecting Program and Features. In there you should find the Turn Windows features on and off. You need to click on it and find the .NET Framework 4.7 box you have to check. Good news is that the 4.7 version in Windows 8, Windows 10 also includes .NET 2.0 and 3.0 so you don’t have to worry about checking any more boxes.
In any case, for both methods users need to be have a working Internet connection. Still it’s not impossible to get .NET 4.7 even if you don’t, but you have to be quite geeky to be able to apply this.
What if you don’t have Internet but still need the .NET 4.7?
In case of not being able to connect to the Internet, users should follow these steps in order to activate .NET 4.7 in Windows 10, Windows 8:
- Create a folder. Name it net47
- Mount your copy of Windows 8, Windows 10 ISO file
- From the ISO folder copy the following: “sourcessxs to the net47 folder.
- After everything has been copied use the DISM (Deployment Image Servicing and Management Technical Reference) to turn on the .NET Framework 4.7 by typing in Command Prompt:
DISM.exe /online /enable-feature /featurename:NetFX3 /All /Source:c:net47 /LimitAccess
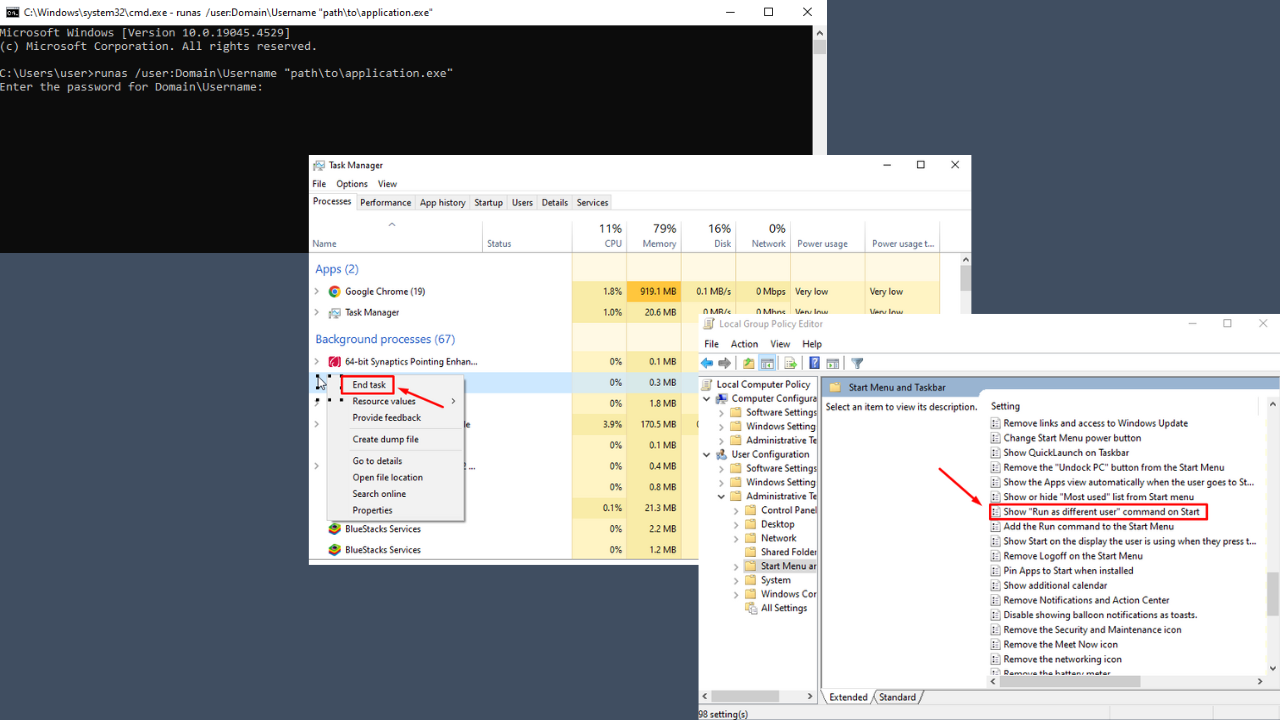
Note: You have to open Command Prompt as Administrator in order to successfully run this command
These methods will allow you to install Microsoft’s .Net Framework 4.7 on Windows 10, Windows 8 with no problems. Also, if you want to go the extra mile, you can download it from the Microsoft Download Center.
Download .Net Framework 4.7 from Microsoft’s Download Center
Download older .NET Framework versions
If you’re looking to download older .NET Framework version, we got you covered as well. Follow the links listed below to download and install previous .NET Framework versions:

