Windows Update Error 0x80246017 [SOLVED]
Deleting previous installations is often effective
Key notes
- The error code 0x80246017 is an update error that makes your computer vulnerable to exploits and attacks.
- While there are a few solutions, most users have found deleting previous Windows files to be effective.

Windows 10 users could sometimes face an error when updating their Windows 10 version to the subsequent build.
Windows 10 update error 0x80246017 appears, and the update installation gets stuck. The entire error message reads: WU_E_DM_UNAUTHORIZED_LOCAL_USER & The download failed because the local user was denied authorization to download the content.
While many users have complained about it in Windows 10, error 0x80246017 also exists on Windows 11.
Luckily, there’s a solution to this problem, and you’ll find it in this article.
How can I fix the Windows Update error 0x80246017?
1. Delete Previous Windows Installation files
The most common solution for the Windows 10 update error 0x08246017 error is deleting previous Windows installation files. To delete these files, just do the following:
- Open Command Prompt as admin.
- Type the following command and press Enter:
rundll32.exe pnpclean.dll,RunDLL_PnpClean /DRIVERS /MAXCLEAN
- Now go to Search, type disk cleanup, and one Disk Cleanup tool.
- Remove Temporary files and Previous Windows Installations.
- Reboot your computer
If this workaround didn’t get the job done, you can try with a little registry tweak, just follow the instructions shown below.
2. Reset registry keys values
Installing the new build should set the registry keys values back to normal, but if it somehow fails to, you won’t be able to install the update. Thus, the Windows 10 update error 0x80246017 or some similar error might appear. To fix this issue, just follow these instructions:
- Go to Search, type regedit and open Registry Editor
- Navigate to the following path:
- HKEY_LOCAL_MACHINESOFTWAREMicrosoftWindowsSelfHostApplicability
- Find BranchName and check if it shows FBL_AWESOME1501 (If it doesn’t, change it)
- Locate TresholdRiskLevel and change it to low
- Find TresholdInternal and delete it
- Find TresholdOptedIn and delete it
- Close Registry Editor
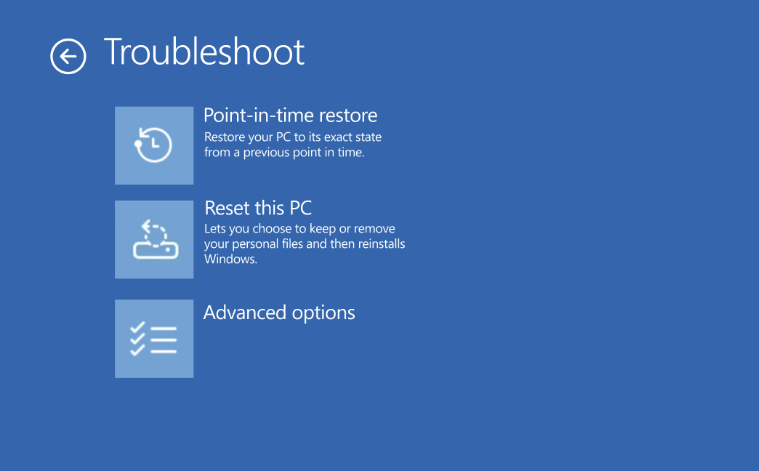
3. Run the Update Troubleshooter

Windows 10 also features a built-in troubleshooting tool that can help you to fix general update issues and bugs. So, if the two methods listed above didn’t work, you can go to Settings > Update & Security > Troubleshoot and run the troubleshooter.
4. Disable your antivirus
As many Windows 10 users have found out by now, sometimes your antivirus software may trigger various update errors. The quickest way to fix this issue is to simply disable your antivirus tool and re-enable it after you’ve installed the latest updates.
That would be all, after performing one of these fixes, you should be able to install the latest build update for your Windows 10 Technical Preview build.
5. Check the status of some important Windows Services
- Press Windows + R, type services.msc, and hit Enter.

- Scroll down to the Windows Update service, double-click it, ensure it is running, and set the Startup type to Manual.

- Next, locate the Background Intelligent Transfer Service, double-click it, ensure it is running and set the Startup type to Manual.

If you have any questions, suggestions, or maybe you know other solutions to fix the Windows Update error 0x80246017, make sure you reach for the comments section and share your ideas.
Read our disclosure page to find out how can you help Windows Report sustain the editorial team. Read more


Improve this guide


User forum
0 messages