Excel Date Format is Not Changing: How We Fixed it
The date format in Excel always caused some issues to users
2 min. read
Updated on
Read our disclosure page to find out how can you help Windows Report sustain the editorial team Read more
Key notes
- Users can fix Excel’s inability to change date formats by using the Text to Columns feature and selecting the MDY custom option.
- Be mindful that changing the Windows date format will affect all applications on the PC, not just Excel.
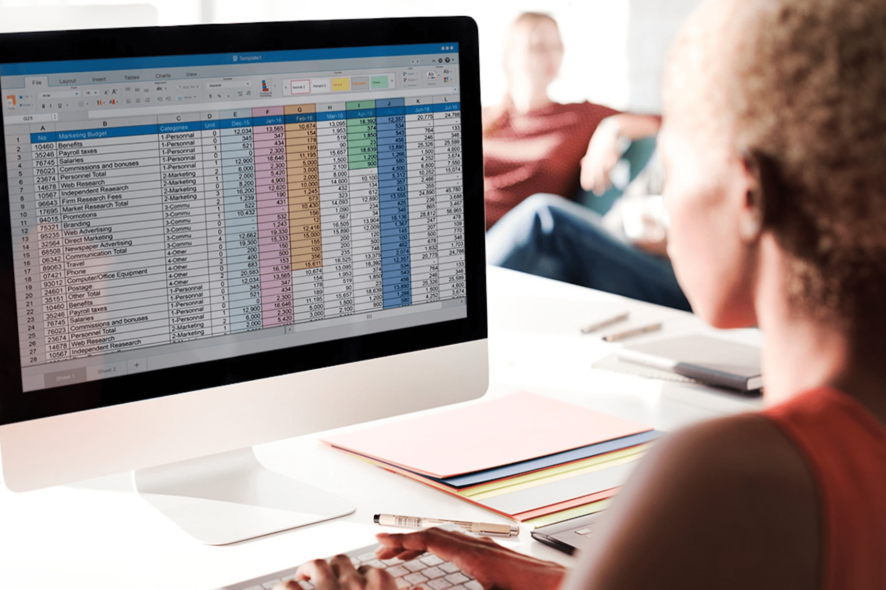
If your Excel software is not changing the date format, you have to know that you’re not the only one experiencing this issue.
This problem seems to be spread across a variety of platforms and versions of Excel, but don’t worry, we will give you step-by-step instructions to fix it.
This method will fix Excel if it doesn’t change the date format
- Click the Data tab from the top menu of your screen.
- Choose the Text to columns option from the menu.
- Tick the box next to the option Delimited to activate it.
- Press the Next button two times to move through the setup pages.
- Select Date -> click the drop-down menu -> choose the MDY custom option.
- Click the Finish button.
- Select any empty cell inside your Excel document -> press the Ctrl+1 keys on your keyboard.
- Select the Custom format option found at the bottom of the list.
- In the text box -> type YYYY/MM/DDD -> press Ok.
Here’s how to change the Windows default date format
Because in some cases the formats used for dates can be confusing, it is recommended that you change the default Windows date format to simplify the process in the long run.
Of course, this specific setting will depend on your requirements, but you can follow these steps to set it:
- Press Win+R keys -> type control international > press Enter.
- Under the Formats tab -> check or change the default formats available.
- Click the drop-down lists and choose the desired option.
- Press Ok to save the settings.
 NOTE
NOTE
Conclusion
In today’s article, we discussed the most efficient way of dealing with Excel not changing the date format.
If you found this guide helpful please don’t forget to let us know. You can do so by using the comment section found below this article.

