Windows 11 Extend Volume Greyed Out: 5 Way to Fix it
Give a try to these quick methods now
Key notes
- Several users have reported that for them the Extend Volume option is greyed out on the Disk Management Console in Windows 11.
- This refrains them from expanding the particular disk drive that is running low on storage.
- You can make use of the solutions mentioned in this guide and possibly resolve the issue.

You will get a low disk space warning on your Windows 11 PC when there is insufficient storage space to save new programs or install a new update on a particular drive.
In such cases, extending the volume can come in handy. You can easily extend the drive and create additional storage space on it in multiple ways.
However, several Windows 11 users have reported that for them, the Extend Volume option is greyed out in the Disk Management console.
This restricts the user from going ahead and extending the volume and getting rid of the low disk space warning on their Windows 11 PC.
If you are also among those users facing the extended volume option greyed out on Windows 11, you are in the right place.
This guide lists all the practical solutions you can follow and possibly resolve the issue. Let us take a look at the solutions, one by one.
Why is the extend volume option greyed out in the Windows 11 Disk Management console?
You open the Disk Management console to fix the low storage space on your disk drive, only to find out that the Extend Volume option is greyed out in Windows 11. This could be frustrating.
Like any other Windows 11 issue, there could be multiple reasons, or one specific reason, why the option is greyed out or unavailable for you.
- It could be because the partition you want to extend is in FAT or FAT32 format. Microsoft only allows the extend volume option in the Disk Management console for the NTFS partition.
- There is no adjacent unallocated space behind the primary partition you want to extend.
- Besides, this issue can pop up if no unallocated space is available on any other dynamic disk.
- The MBR partition may not expand beyond 2 TB.
One of the above-mentioned reasons could be the one triggering the issue and has disabled the extend volume option in your Windows 11 PC.
The good thing is that you can easily fix this problem by following the below-mentioned solutions, and then extend the volume with no difficulties.
How can I fix the extend volume option greyed out in Windows 11?
1. Convert FAT to NTFS
- Open the Start menu.
- Search for Disk Management and open it.
- Right-click on the drive and select Format.

- Under the File system, choose NTFS.

- Click OK. Do not change any other settings.
- Click OK again to confirm the action.
This will initiate the FAT to NTFS format conversion. Once the format process is complete, you can go ahead and try to see if the extend volume option is now available to you or not.
2. Remove adjacent volume
- Open the Start menu.
- Search for Disk Management and open it.
- Right-click on the disk drive and select Delete Volume from the context menu.

- Click Yes in the confirmation dialogue box.
- The volume will be deleted, which now will be available as Unallocated.
- Right-click on the volume you want to extend and select Extend Volume.

- Select the number of disks in the Available section and click on Add.

- Click on Next.
- The wizard will start the process of extending.
- Click on Finish to close the Disk Management tool.
You will now be able to see the extend volume option fully functioning after deleting the volume and merging unallocated space to the volume.
3. Extend to an external disk
 NOTE
NOTE
- Shut down your PC and connect the external hard disk.
- Open the Start menu.
- Search for Disk Management and open it.
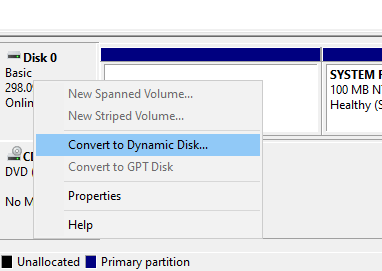
- The new hard drive will be attached. Right-click on the disk which has the partition and select Convert to dynamic disk.
- Check the boxes next to the correct disks and click OK.
- Click on Convert.
- Click Yes to confirm the action.
- The hard disk will now be converted to dynamic.
- Right-click on the volume you want to extend and select Extend Volume.
- Select the number of disks in the Available section and click on Add.
- Click on Next.
- On the last screen, click on Finish.
Another important thing to note before following the above steps is that the method is applicable only for non-boot volumes. This means that you cannot extend a system volume using this method.
The best part about this method is that, even though the disk is extended across 2 different disks, under File Explorer, it will appear as one.
4. Use Shrink Volume
- Open the Start menu.
- Search for Disk Management and open it.
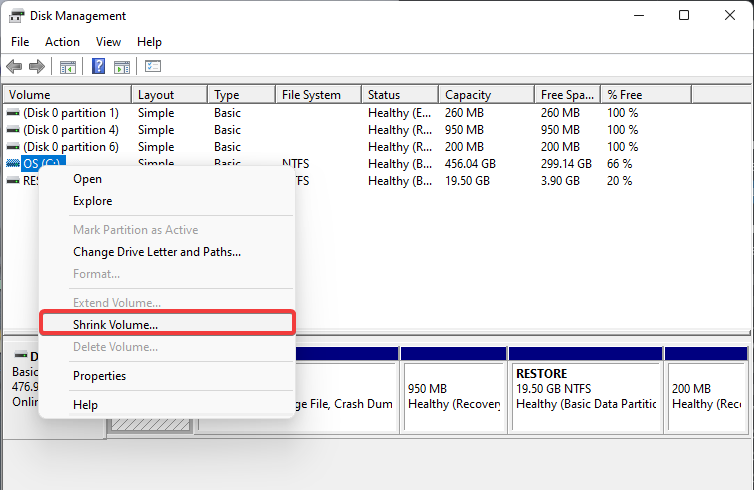
- Right-click on the disk drive with sufficient space and select Shrink Volume.
- Type in the amount of space you wish to shrink.
- Click Shrink.

- Select OK to confirm.
- Right-click on the volume you want to extend and select Extend Volume.
- Select the number of disks in the Available section and click on Add.
- Click on Next.
- On the last screen, click on Finish.
If you do not wish to delete a volume as mentioned in method 2, then you can use the option to Shrink Volume.
5. Use a third-party tool
- Download AOMEI Partition Assistant.
- Install the software on your PC.
- Open AOMEI Partition Assistant.
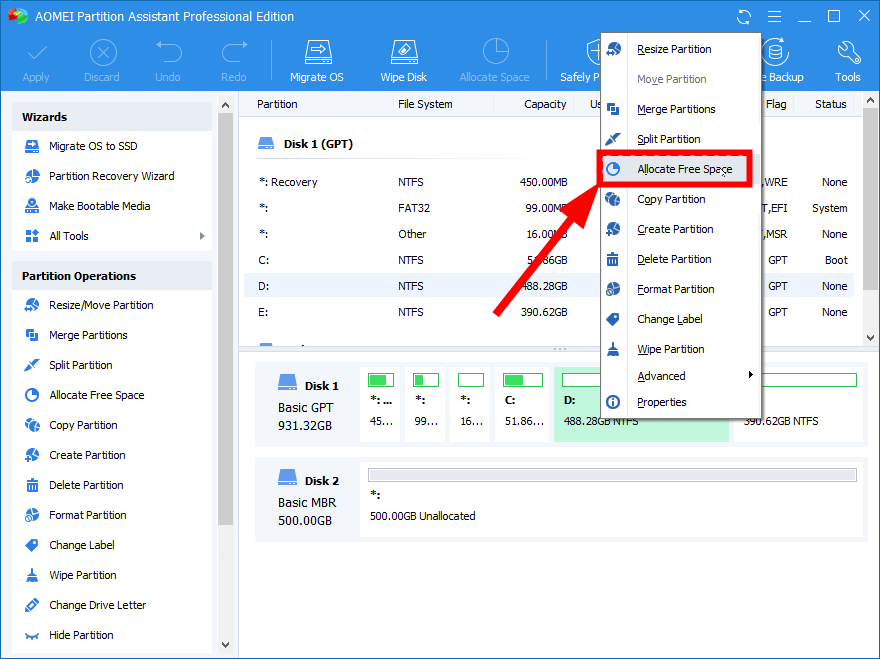
- Right-click on the drive with ample free space and select Allocate Free Space.
- Specify the space size and select the target partition.
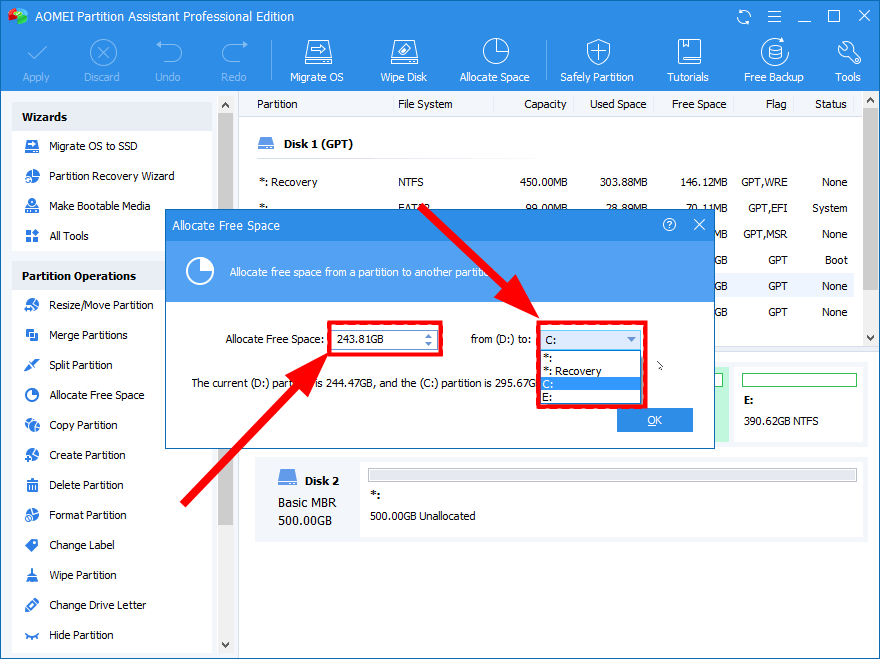
- Click OK.
- Select Proceed and hit the Apply button at the top.

One of the trusted third-party tools that can help you manage different tasks related to disk management on your Windows 11 PC is AOMEI Partition Assistant.
It includes multiple features, such as extending, shrinking, or merging partitions, in a matter of a few clicks. All this happens without any data loss.
How can I prevent disk drives from getting full on my Windows 11 PC?
It is essential to have sufficient storage space available on your PC for it to function smoothly and also have some room to install new applications.
There are multiple ways to keep the disk drives from getting full.
➡ Check for viruses and malware
If a virus or malware is present on your PC, it will create unnecessary files and clog up the storage space. In such cases, it is very important to check for viruses or malware and remove them from your PC.
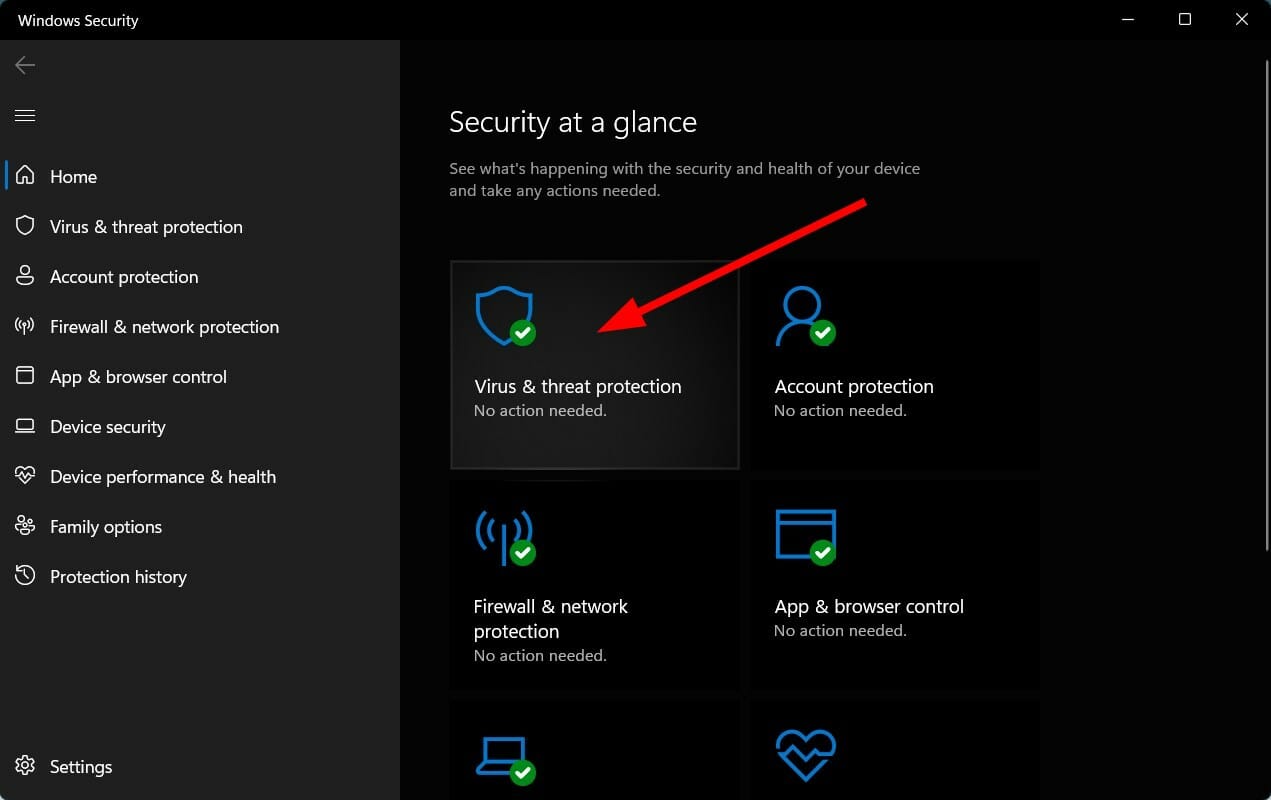
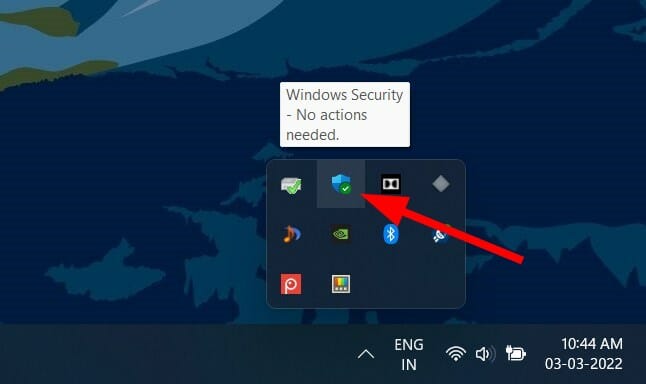
- Click on the upward arrow button on the bottom-right taskbar.

- Choose Windows Security.

- Select Virus & threat protection.
- Hit the Quick Scan button.
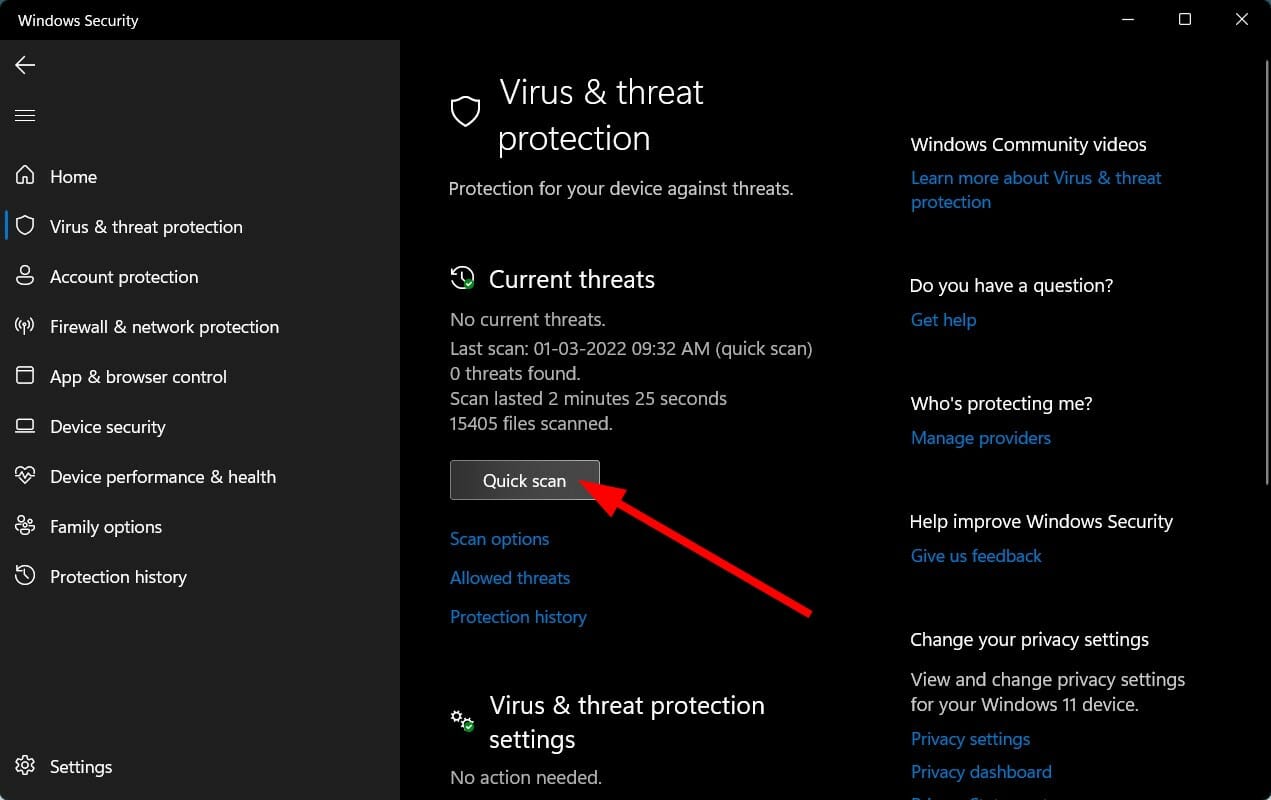
- Alternatively, you can also select the Scan options button.

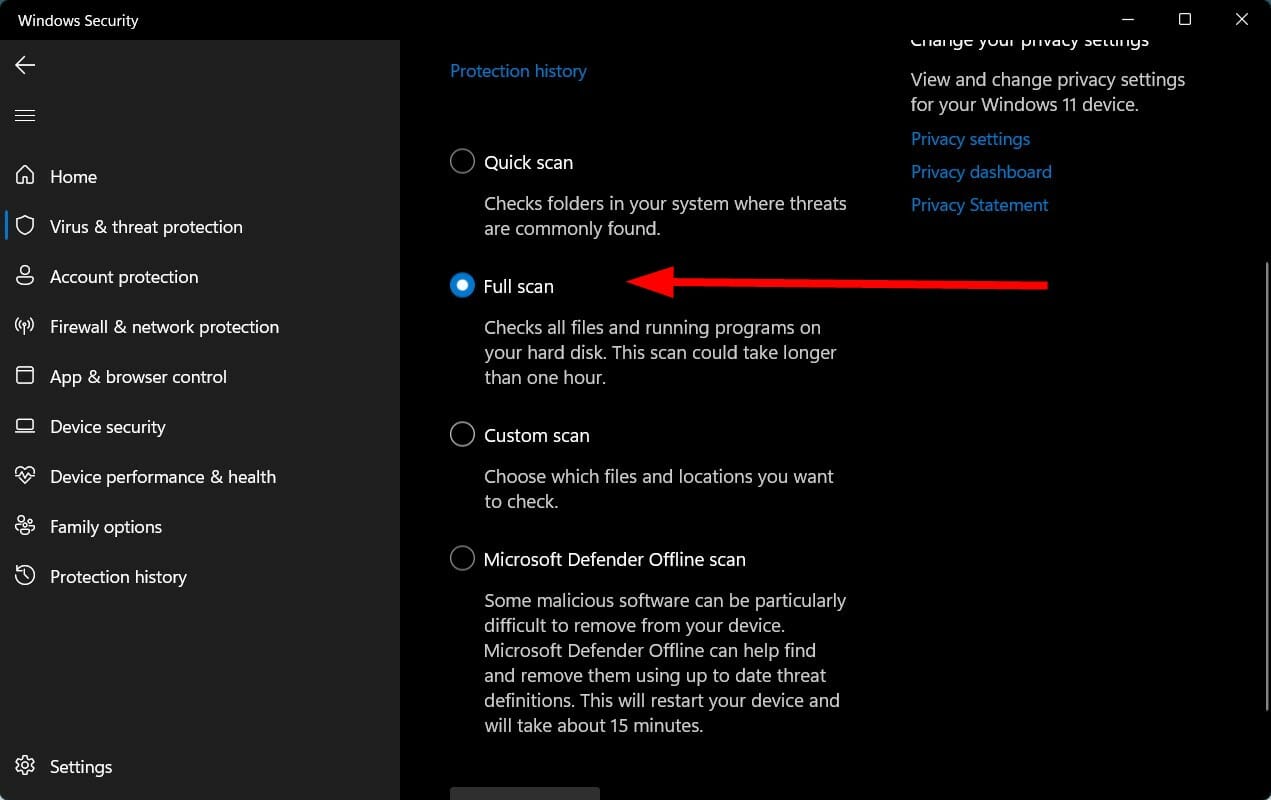
- Under Scan Options, choose Full scan to deeply scan your PC for viruses or malware.
➡ Run Disk Cleanup
The disk Cleanup tool is a good way of clearing out all the unnecessary files from disk storage.
- Open the Start menu.
- Search for Disk Cleanup and open it.

- Select C drive from the drop-down menu.
- Tick all the boxes which you wish to delete.

- You will be asked to confirm.
- Hit the OK button.
➡ Repair disk drives
If the disk drive has errors and a corrupt file system, it will also show you that your hard drive is filled for no reason.
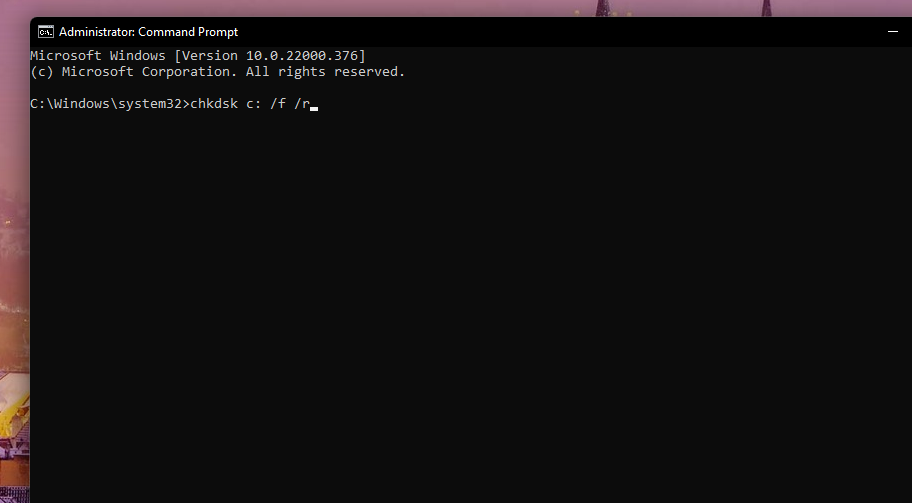
To cure this, you can make use of the Chkdsk command in the Command Prompt.
- open command prompt.
- Type the below command and hit Enter:
chkdsk C: /f /r /x - Once the process completes, enter the below command and press Enter:
DISM.exe /Online /Cleanup-image /Restorehealth - You will see “The operation completed successfully” message.
- Reboot your PC.
➡ Move huge files to another drive
If multiple huge files are lying on your disk drive, then we would advise you to move them to another drive with ample space.
Furthermore, you can shift all the huge files to an external hard disk and save space on your PC for more important files.
The solutions mentioned above will help you fix the extended volume option greyed out on your Windows 11 PC.
Let us know if some other methods or tips did the job for you and if you would like to share them with others in the comments section below.
Read our disclosure page to find out how can you help Windows Report sustain the editorial team. Read more


Improve this guide


User forum
0 messages