Gaming Features Aren't Available For Windows Desktop [Fix]
Enabling the needed gaming features should resolve this issue

You can get Gaming features aren’t available for the Windows Desktop or File Explorer while trying to use the Game Bar. You’ll most likely get this error because media files are missing or you disabled gaming features
Here’s how to fix it:
How do I enable gaming features on Windows desktop?
Before proceeding to the fixes in this guide, try to open Game Bar from the Microsoft app as a workaround. Also, keep your Windows up to date.
1. Enable Game Mode
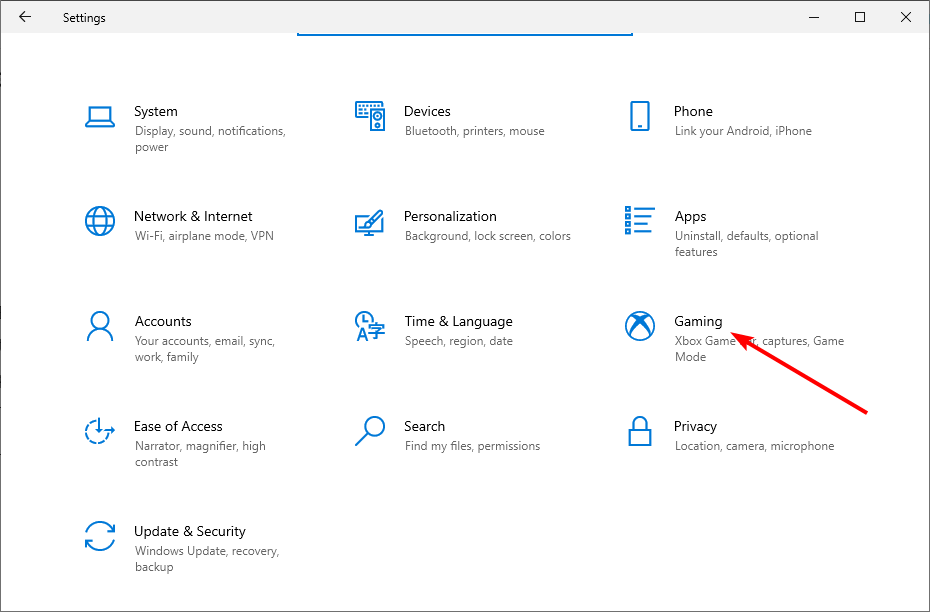
- Press the Windows key + I and select the Gaming option.
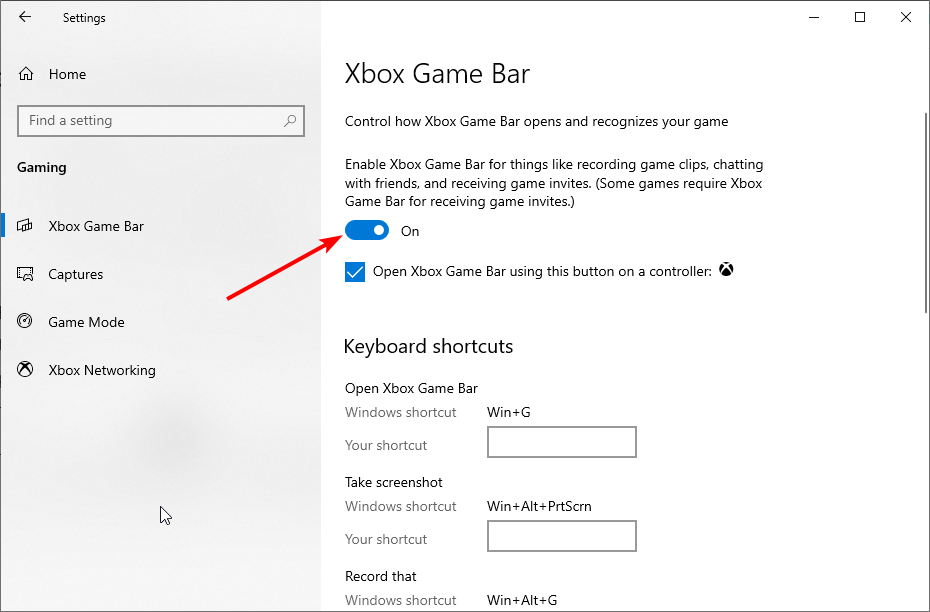
- Toggle the switch under the Game bar section forward to enable it.
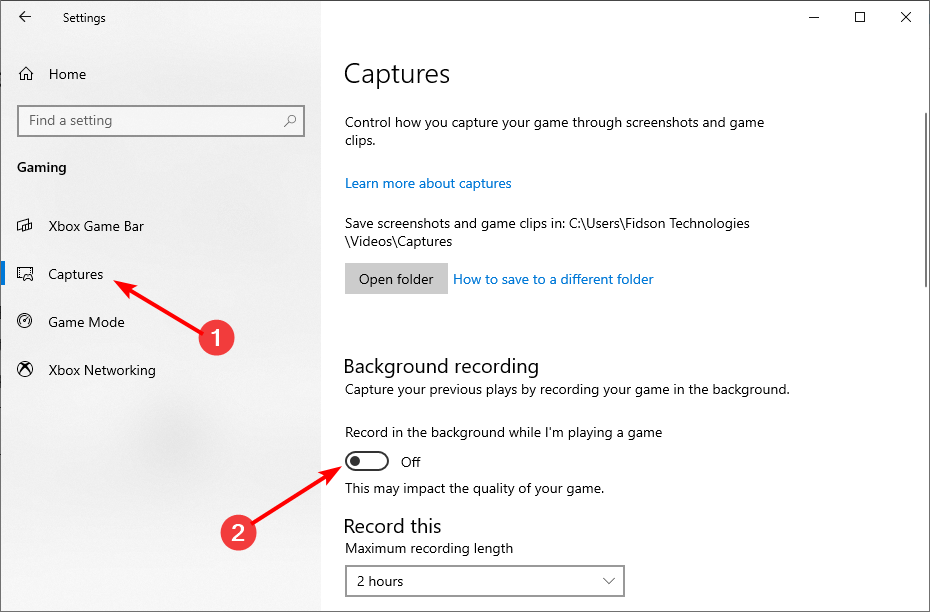
- Now, click the Capture option in the left pane.
- Toggle the switch under Record in the background while I’m playing a game forward to activate it.
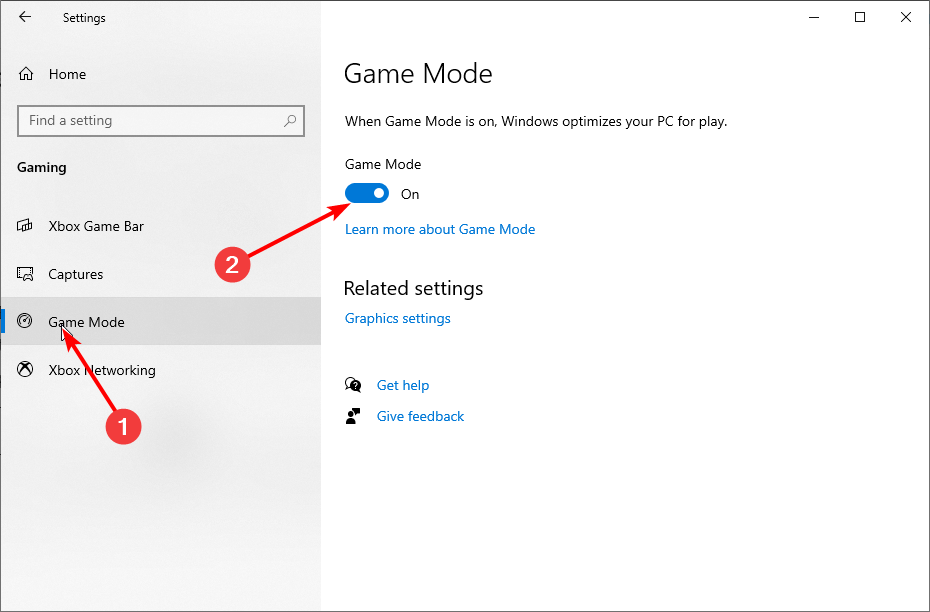
- From here, choose Game Mode in the left pane.
- Finally, toggle the switch for Game Mode forward to enable it.
Before you can use the Xbox Game Bar to record games, you need to enable the necessary features from the settings. Else, you will keep getting the same prompt.
2. Reset Xbox Game Bar
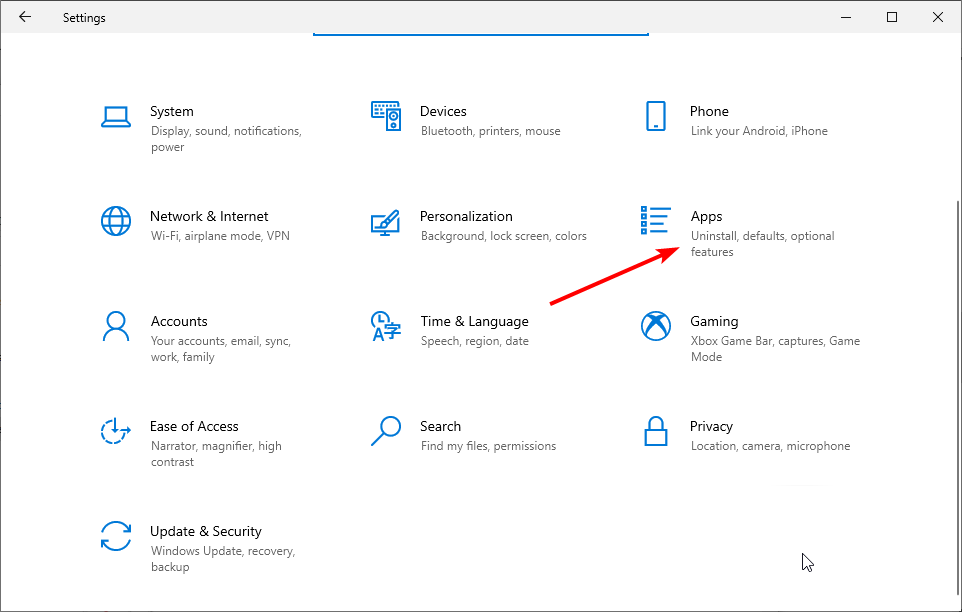
- Press the Windows key + I and select Apps.
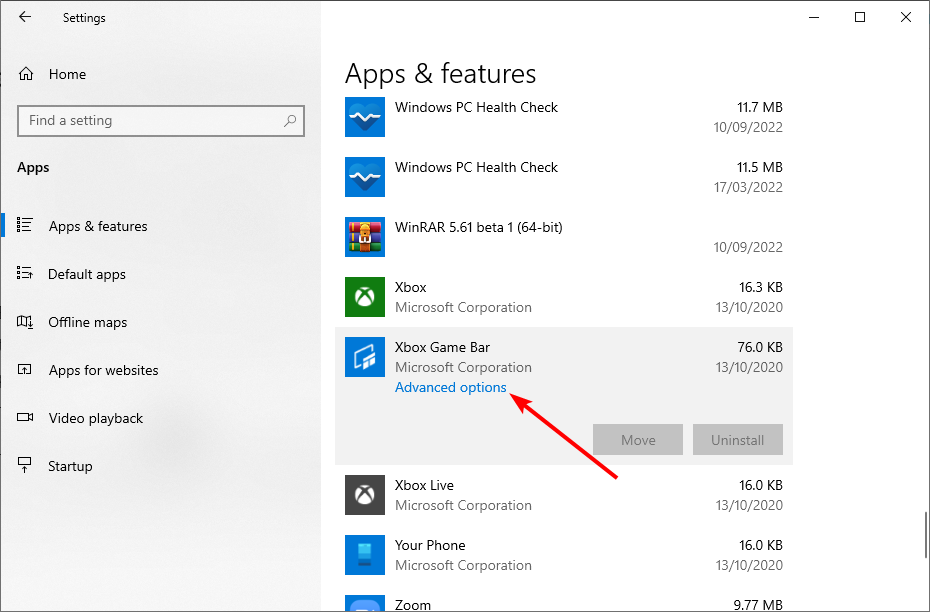
- Select Xbox Game bar from the list of apps and click the Advanced options.
- Now, click the Reset button and wait for the process to complete.
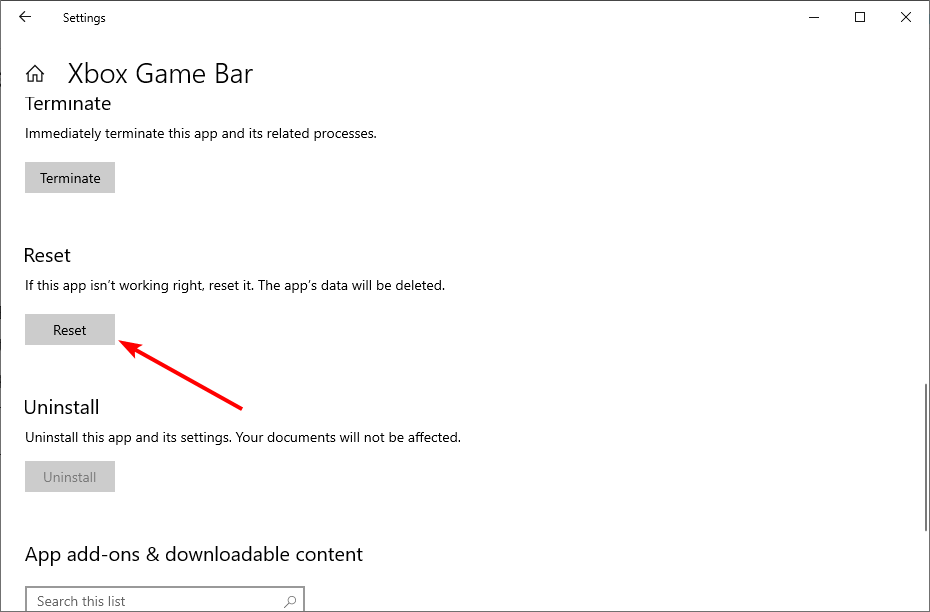
If you have been using the Xbox Game Bar in the past but suddenly got the gaming features aren’t available for the windows desktop error, then you need to reset the app.
This will reverse all the changes made to it that might have caused this issue.
3. Uninstall and reinstall the Xbox Game Bar app
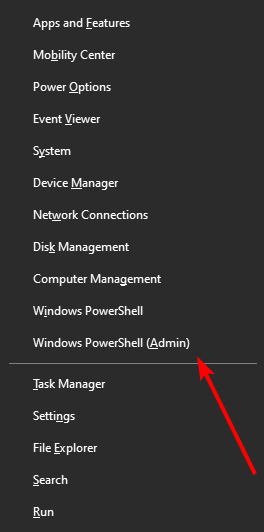
- Press the Windows key + X and select the Windows PowerShell (Admin) option.
- Type the command below and hit Enter:
get-appxpackage *Microsoft.XboxGamingOverlay* | remove-appxpackage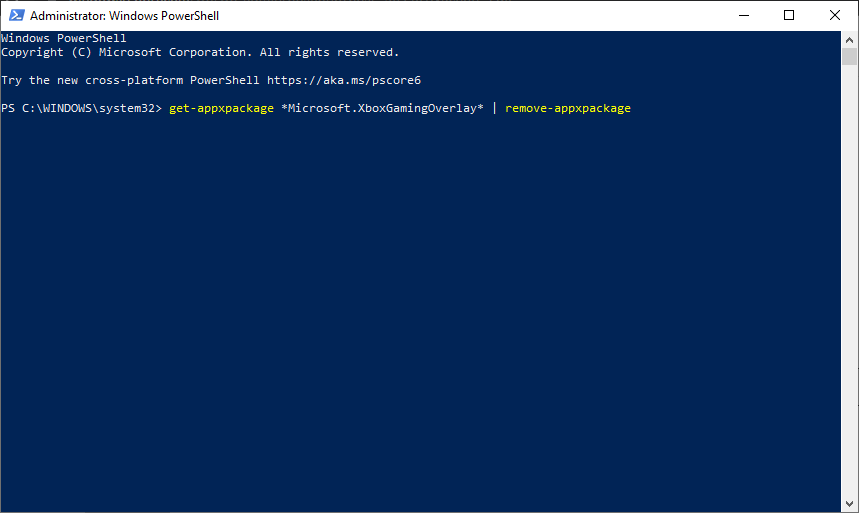
- Wait for the command to finish running, copy and paste the command below, and press Enter:
Get-AppXPackage *Microsoft.XboxGamingOverlay* -AllUsers | Foreach {Add-AppxPackage -DisableDevelopmentMode -Register "$($_.InstallLocation)\AppXManifest.xml"}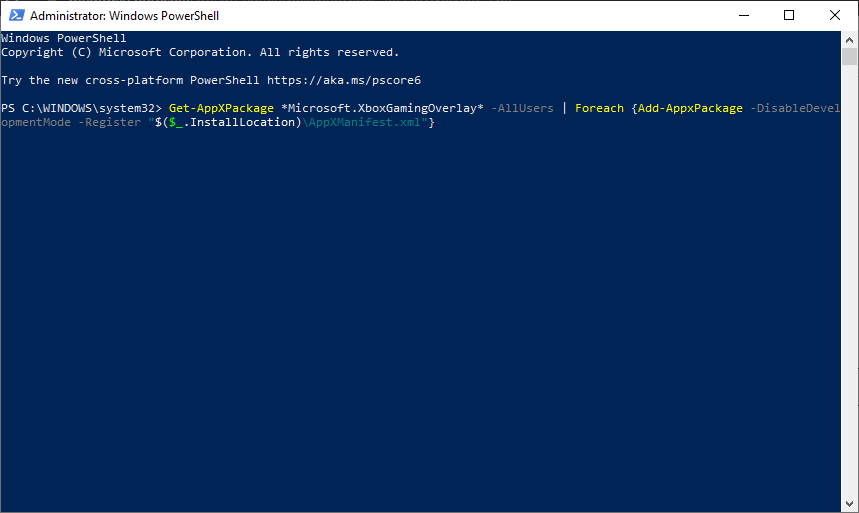
- Finally, restart your PC.
4. Add the Windows Media Pack to Windows 10 KN or N
- To do that, open the Windows Media Pack page.

- Click the Download button.
- Select an installation pack for either 32 or 64-bit Windows, and press the Next button.
- Then open the downloaded installer to install the media pack.
Windows 10 KN and N users might need to install the Windows Media Pack to ensure they have all the media technologies required for the Game bar.
This isn’t the only problem you can encounter, and many reported that Xbox Game Bar is not working for them. If that happens, and you don’t use this feature, you can always disable Xbox Game Bar.
We hope the options above helped you fix the Gaming features aren’t available error. If you need further help, let us know in the comment section below.
Read our disclosure page to find out how can you help Windows Report sustain the editorial team. Read more


Improve this guide


User forum
2 messages