PowerShell Can't Scroll up? 3 Ways to Fix it
Find out what worked for others!
3 min. read
Updated on
Read our disclosure page to find out how can you help Windows Report sustain the editorial team Read more
Key notes
- Many users can't scroll up or down in PowerShell, and a few reported that the scroll bar is missing.
- The problem may arise due to misconfigured settings or a bug in the OS.
- To fix things, increase the Screen Buffer Height or use the More command, amongst other solutions.
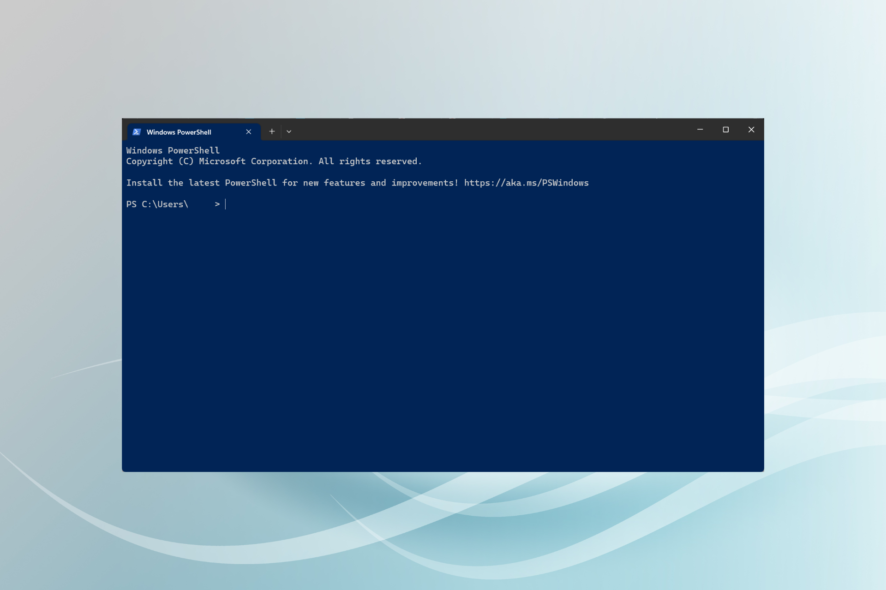
One thing many complain about PowerShell is that it often can’t scroll up, or the scrolling is not working altogether. PowerShell might be incredibly versatile, but encountering difficulties with basic functions like scrolling makes some second-guess its very purpose.
This can be an issue that takes some serious time to get past for some PowerShell users. That’s why we’ve created this guide that will give detailed information on the matter!
What can I do when PowerShell can’t scroll up?
1. Increase the Screen Buffer Height
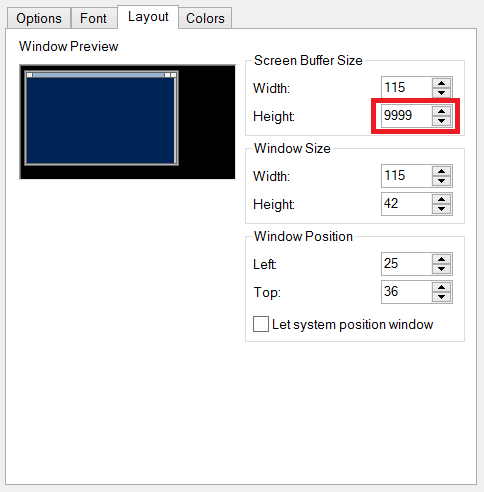
- While in a PowerShell session, right-click the upper left corner, and select Properties.
- Go to the Layout tab, and change the Height of the Screen Buffer Size.
- Confirm the change by clicking OK.
First, you need to increase the the Powershell Screen Buffer Size. Just set it to something over 1000. The choice is all yours! Then, experiment with a value that works for you.
Remember, the value you set controls how far you can scroll vertically after a command has finished running. Finally, let us add something that might just sound like music to your ears. The larger the number, the further the scrolling can get before data is overwritten.
The maximum you can scroll on a PowerShell window, though, is no more than 9999 lines.
2. Use the More command
As you might already know, this legacy command-line tool pages the output one screen at a time. It was originally intended as a way to page through large text files, so all you need to do is run your command and pipe it to more:PS Scripts:> get-process | moreg
A break is found at the end of each page:…
398 19 4796 11920 107 1.59 1628 OpenDNSUpdater
143 8 3196 10980 46 2.93 4896 OSPPSVC
767 73 176020 197744 820 29.23 4192 powershell
-- More --
Next, choose one of the following options:
- Enter – it will advance one line of data at a time.
- S – this will skip the next X number of lines.
- Space bar – it will advance to the next page.
- P – you will be prompted for the next X number of lines to advance.
- F – it will display the next file or page of data.
- Q – Quit.
If PowerShell can’t scroll up, this could be the way to go!
3. Make sure all actions are logged into the log file
If you want to enjoy extra space in a session, we have a quick tip for you. Open a new session, then run this command:Start-Transcript -Path "[YourPath]PowershellSession.log"
This will ensure all the actions you perform and see in the window are logged into the log file.
That’s all! If you earlier found that PowerShell can’t scroll up further, things should be running fine now.
If you enjoyed this tutorial, you’ll also like to read more about other fixes for some of the most common PowerShell errors.

