Is your printer asking for password? This is how to fix it
4 min. read
Updated on
Read our disclosure page to find out how can you help Windows Report sustain the editorial team Read more
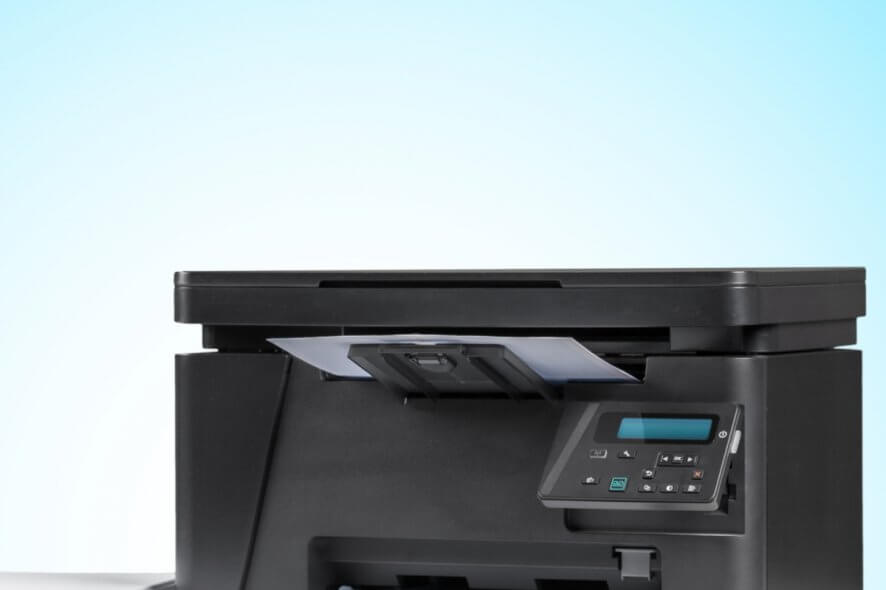
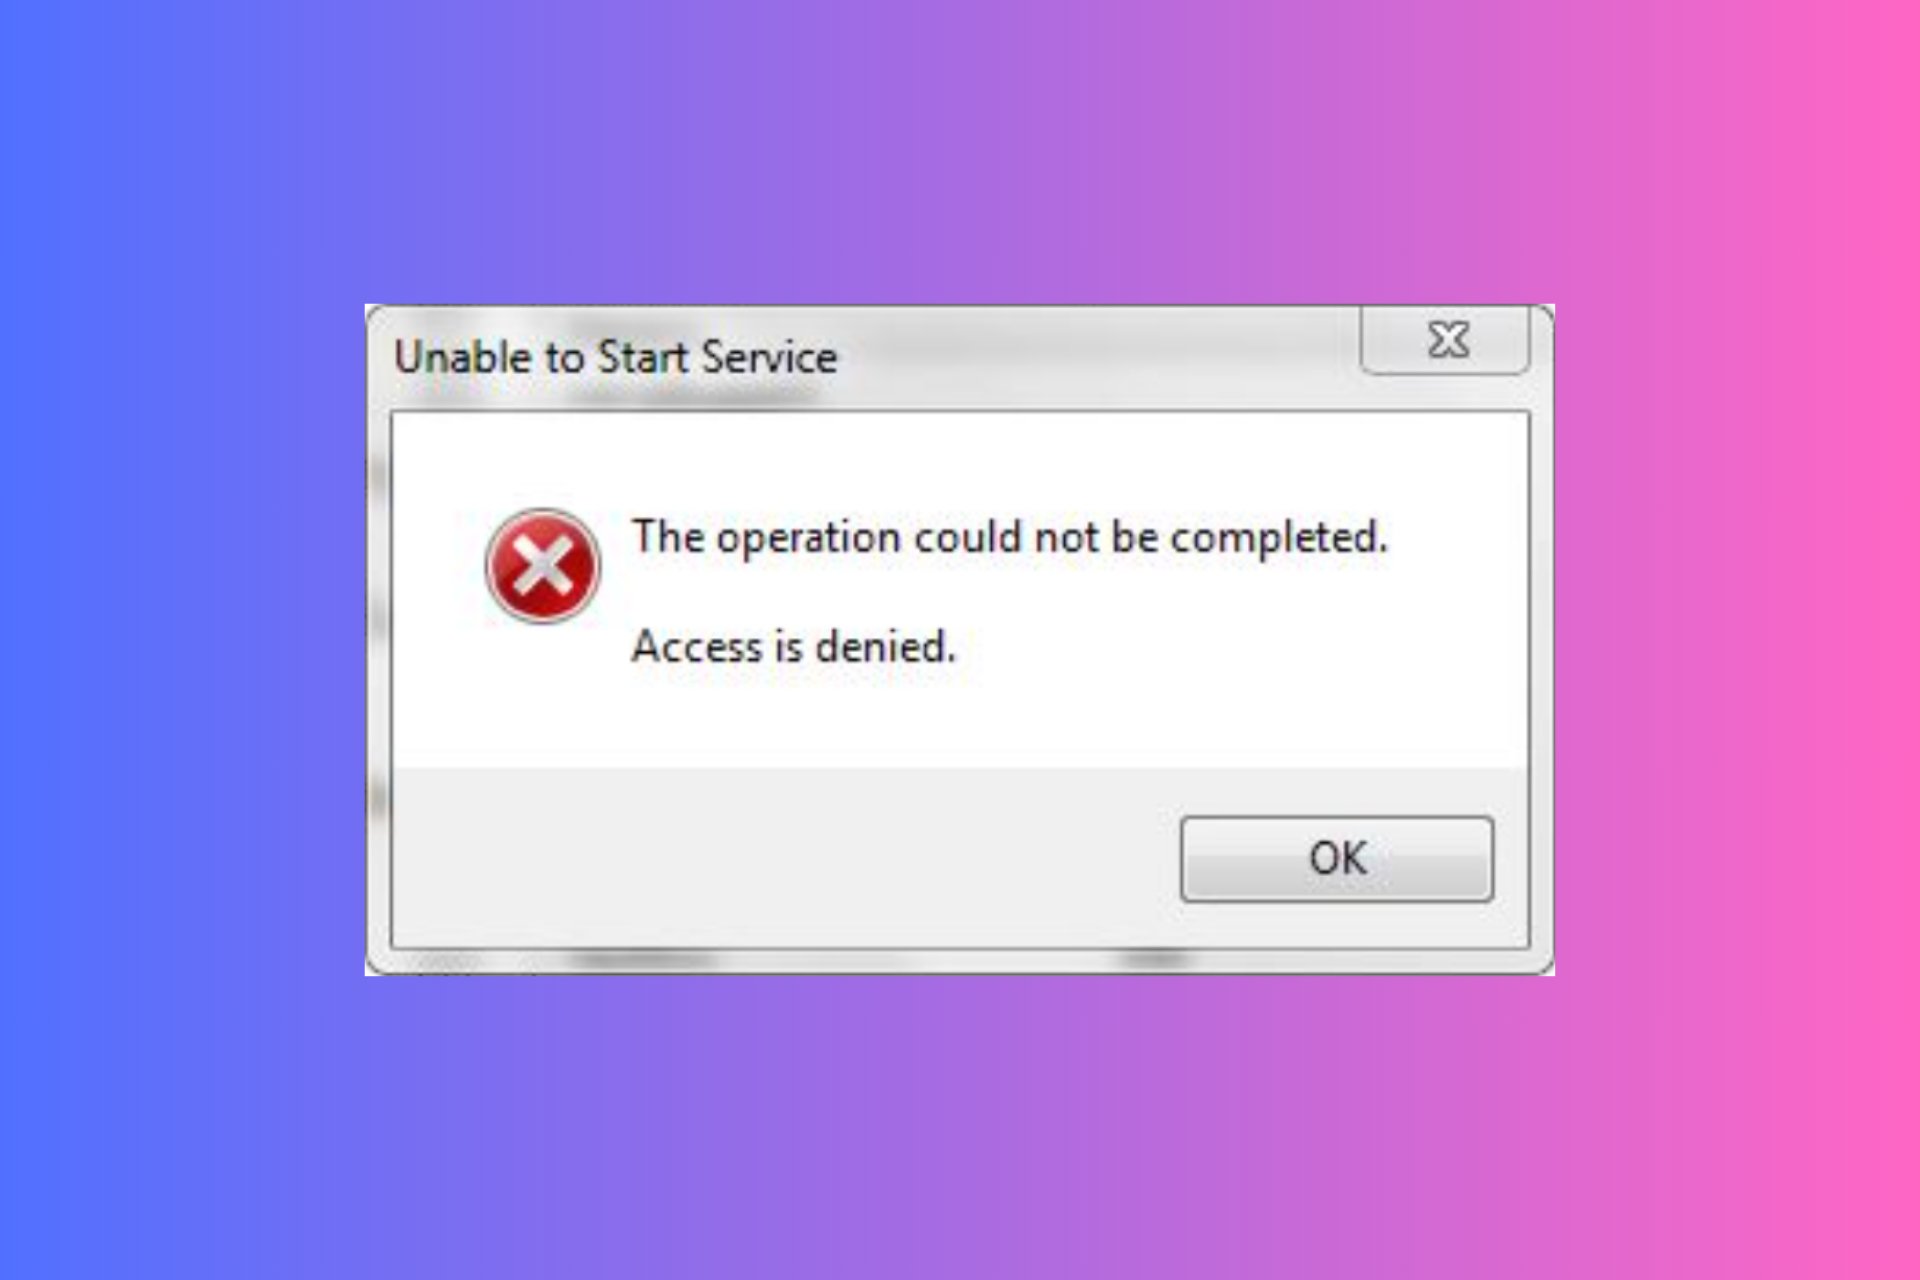
Sometimes your printer might ask you to input a password when you want to print a file or try to view the properties of the network printer. If you don’t have permission to do that, the error message Access Denied might appear on your desktop.
Don’t worry, we will guide you through each step and make this process faster, efficient and simple for you.
What to do if your printer keeps asking for password
1. Identify and fix any printing problems
Before removing and reinstalling the printer, let’s make sure there are no other existing errors.
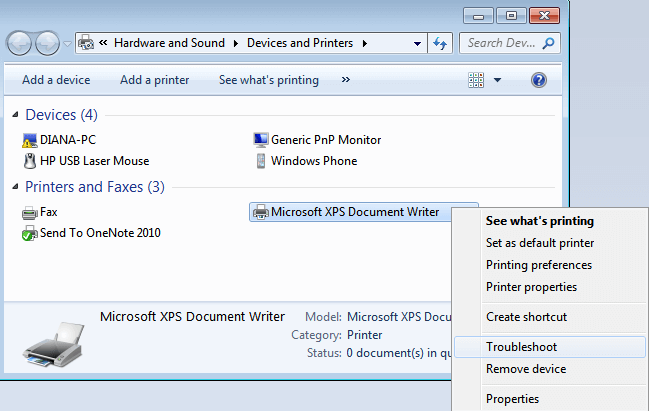
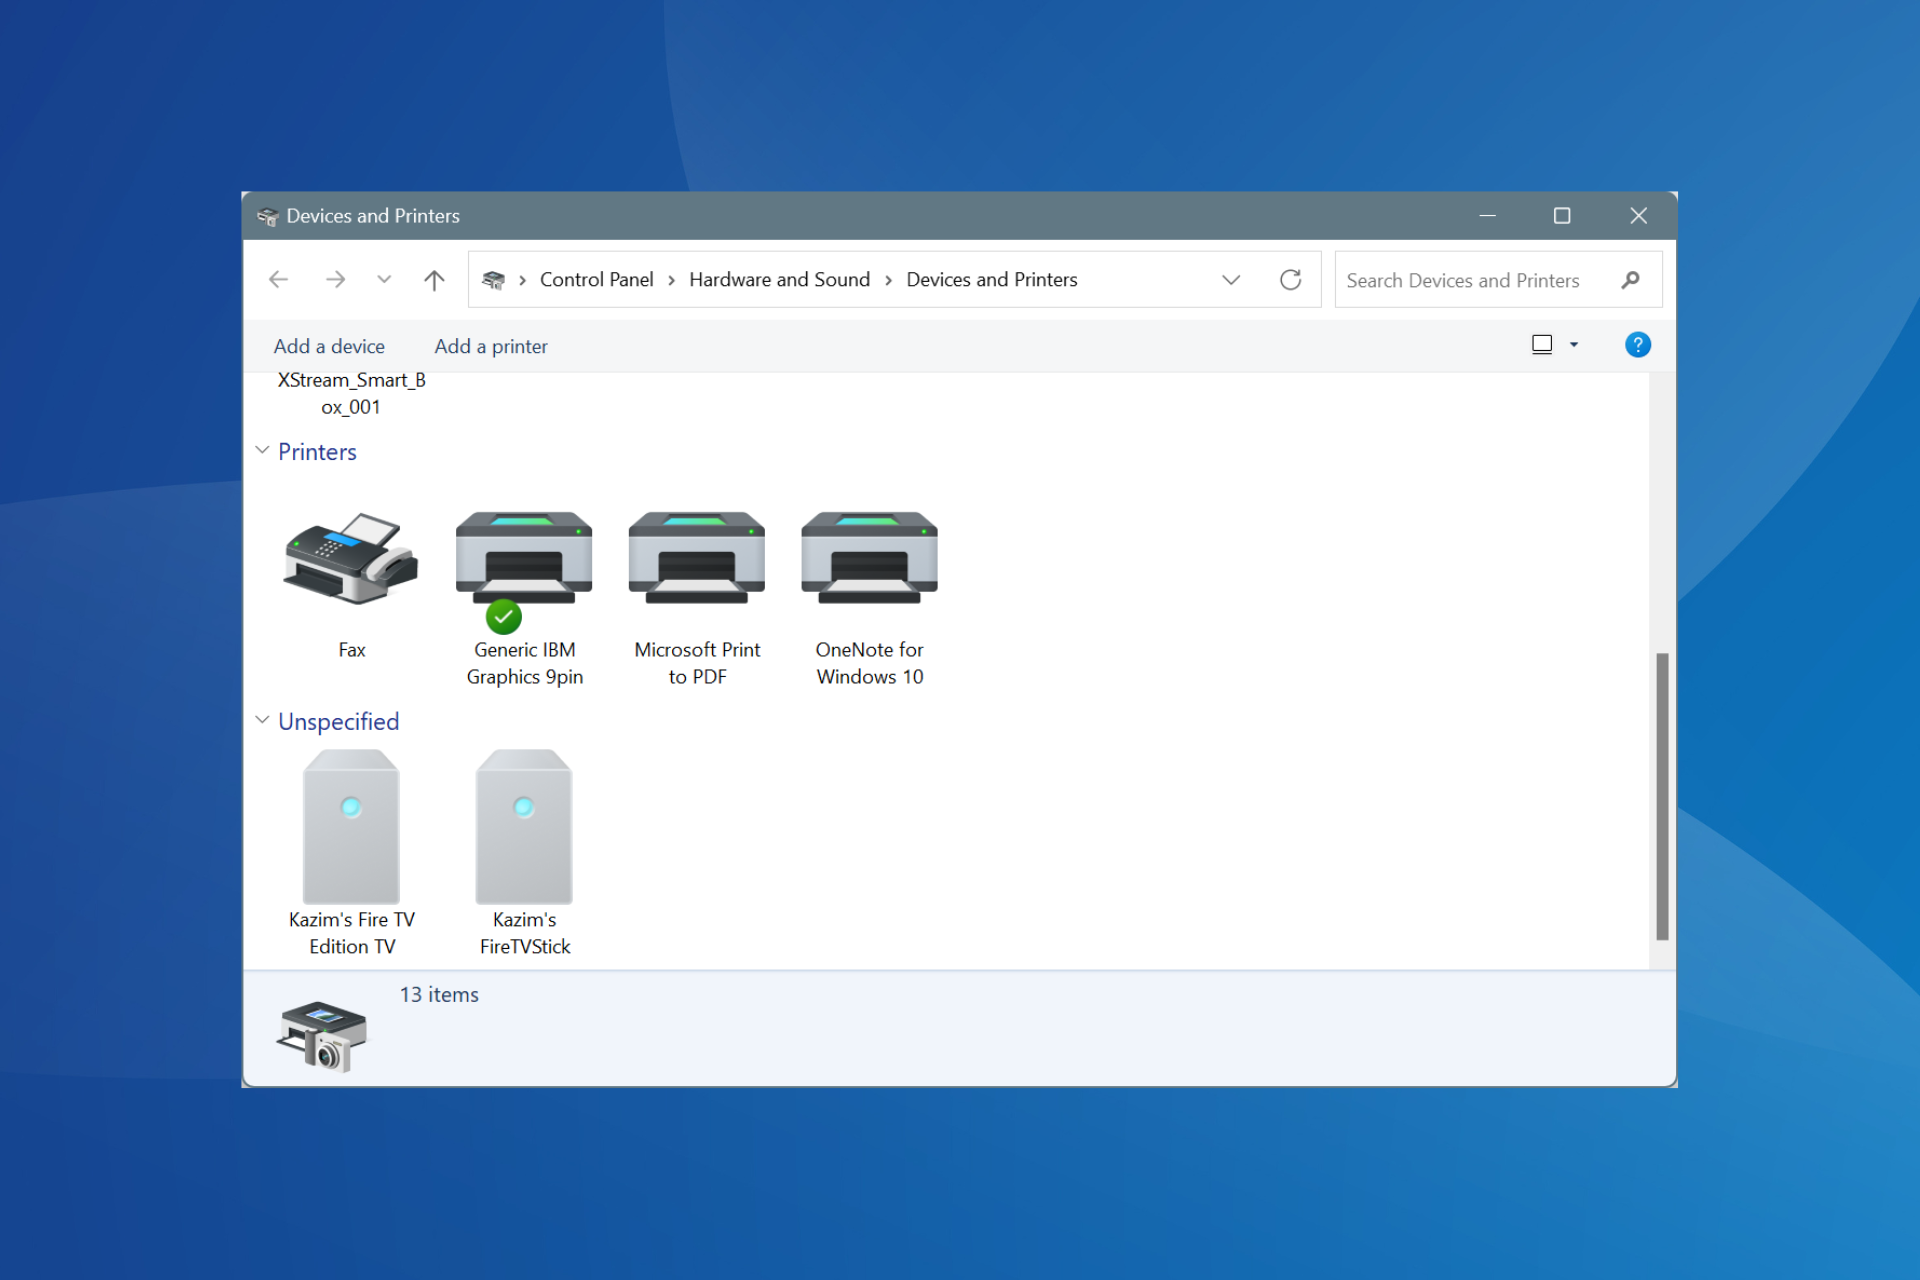
- From the Start Menu, select Devices and Printers under Control Panel.
- Identify the available printers, select the problematic one, right-click on it and then select Troubleshoot (as in the image below).
- Run the Troubleshoot Tool which will automatically identify and fix any printing problems your Network might encounter.
Does the issue persist? Then further proceed by removing and reinstalling the printer.
2. Remove and reinstall the printer
Remove and Reinstall Printer Steps:
- Click on Windows Start Button
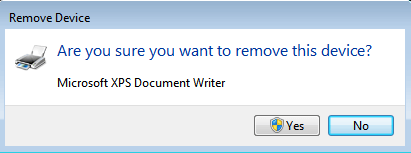
- From Devices and Printers Menu, select a device or the printer, right click on it, and select Remove Device.
- When the Yes/No question pop’s up, click on Yes.
Now that we removed the Device/Printer, the next step is to reinstall a new Printer and link it to an existing network. (You will see further in this article).
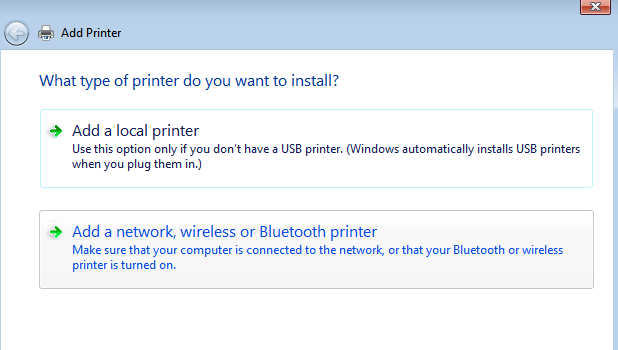
- From Device and Printers Menu, click on Add a Printer. When asked what type of printer do you want to install, chose A Network, Wireless or Bluethoot Printer as in the image below.
- Once you click on that, the PC will automatically search for available printers within your Network.
- If this is the case, select the desired printer name.
- After successfully adding the printer, the PC will ask you to do a Printing Test Page. Click on Finish.
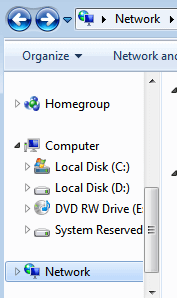
- Now, within the Devices and Printers Menu a new printer device will appear. It can be also found with the Network and Connections Tab. Once added, the printer will appear in both locations.
- Select it, and after, right click it and select “Connect”.
We have just shown you how to add a new printer to an existing network without being mandatory to enter any password. Just by linking the new printer to the existing network credentials.
If the steps above are not working in your case, or just seem like too much work for you, there is a suitable option of reinstalling the printer driver automatically using dedicated software as Outbyte Driver Updater.
3. Solution for Wi-Fi printers
In case you have a Wi-Fi printer, connected to your PC through Wifi, we have a very quick and innovative solution.
Just make sure your computer is connected to the wireless network from where you need to retrieve the printing password.
- First switch on the printer. Make sure it is on.
- Then check if the Wi-Fi light/button is on as well.
- If the button is checked, leave it like that. If it’s not, check it. A blue light should blink.
- The next step is to find the Wi-Fi password.
- Press the Wi-Fi button once.
- Press the ! button, right under the Wi-Fi button.
Now, wait for the printer to print a document. It can take some time, so you may need to wait for a few minutes. The Printer Information Page should now be printed.
Right in the page middle, below the blue icon you can see the name of the printer and the printer password written under The Wifi Direct Password.
We hope our suggestions helped you. If you have any questions, let us know in the comments below.

