How to Restore Thumbnails in Windows 10 in 6 Quick Steps

Resetting or restoring thumbnails in Windows 10 is something that users tend to do on their computers, almost now and then. This happens if the icons and/or thumbnails are in some way corrupted such that they are blank or have been taken over by other apps, or they’re just not being displayed as they should in a normal situation.
In this case, restoring the thumbnails by resetting the icon cache can help resolve the issue. The same goes also for thumbnail cache, which is usually used to keep image previews, as well as previews of videos and documents.
Windows 10 usually keeps a cache database that houses thumbnail images for each folder, document, video, and photo on your computer system, which is used to display a preview of the file quickly or help you see the contents of a folder before opening it.
This problem grows over time as more folders and files are created, so the database can get corrupted, which manifests as the File Explorer displays incorrect thumbnails the files don’t show previews of the same, or they could just not be there at all.
Thankfully, there are several solutions you can use to restore thumbnails in Windows 10 as listed below.
How to restore thumbnails in Windows 10?
1. Use Disk Cleanup
- Click Start and open File Explorer.
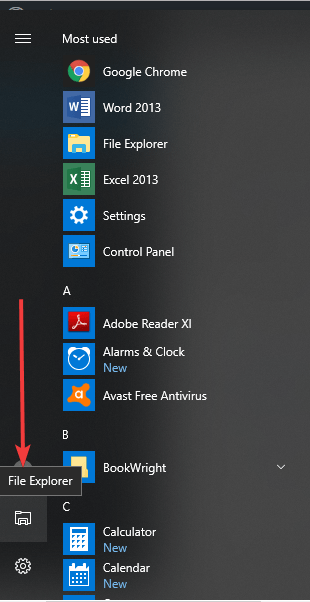
- On the left pane, click This PC.
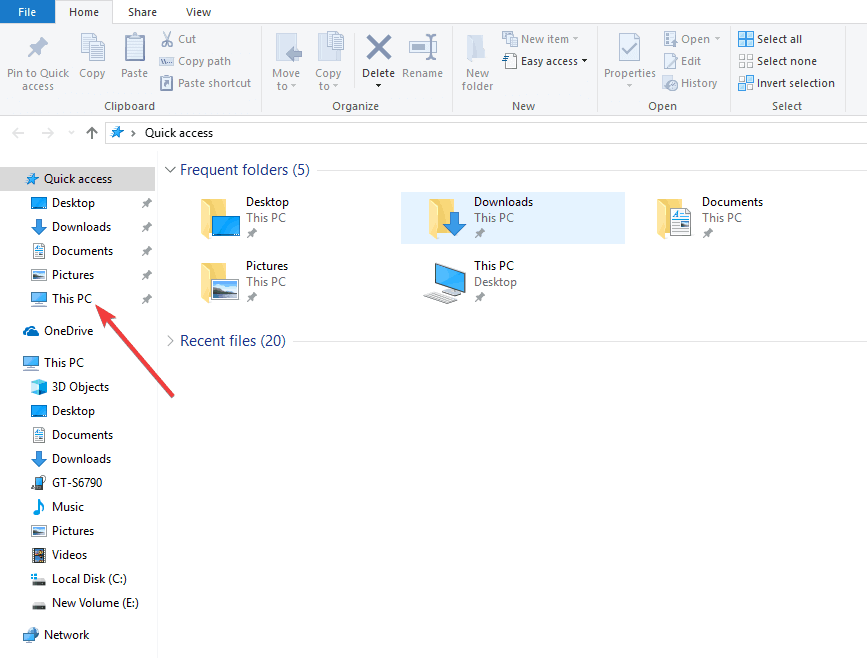
- Right-click the C:drive where your Windows 10 operating system is installed
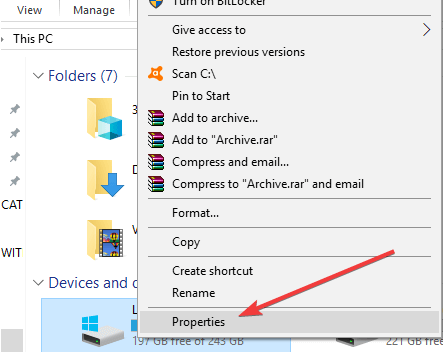
- Select Properties.
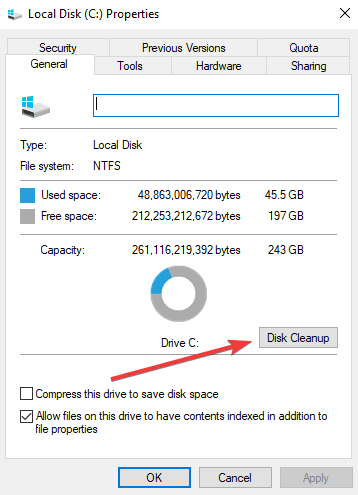
- Click the Disk Cleanup
- Check the Thumbnails option, and uncheck all the other options.
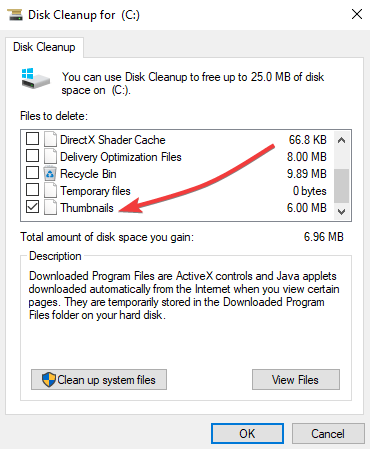
- Click OK.
- Click Delete Files to confirm and finish the task.
2. Using an elevated Command Prompt
If you try using the disk cleanup tool and it doesn’t work to restore thumbnails in Windows 10, try using command lines from the elevated Command Prompt option. To do this:
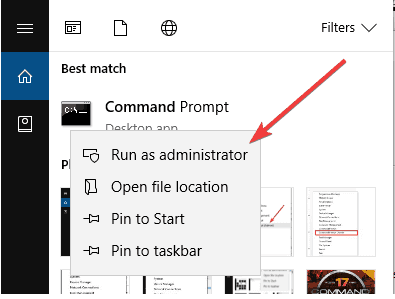
- Open Start.
- Type CMD and right-click Command Prompt.
- Select Run as administrator
- Type the following command to stop File Explorer and press enter: taskkill /f /im explorer.exe
Type the following command to delete all the thumbnail database files without asking for confirmation: del /f /s /q /a %LocalAppData%MicrosoftWindowsExplorerthumbcache_*.db
- Press enter:
- Type the following command to start File Explorer and press Enter: start explorer.exe
- Close Command Prompt to complete the task.
Your files and folders should be able to have thumbnail previews showing up properly now.
3. Check folder settings
If you still cannot restore thumbnails in Windows 10, someone may have interfered with your folder settings. In this case, do the following to fix it:
- Open File Explorer.
- Click on the View
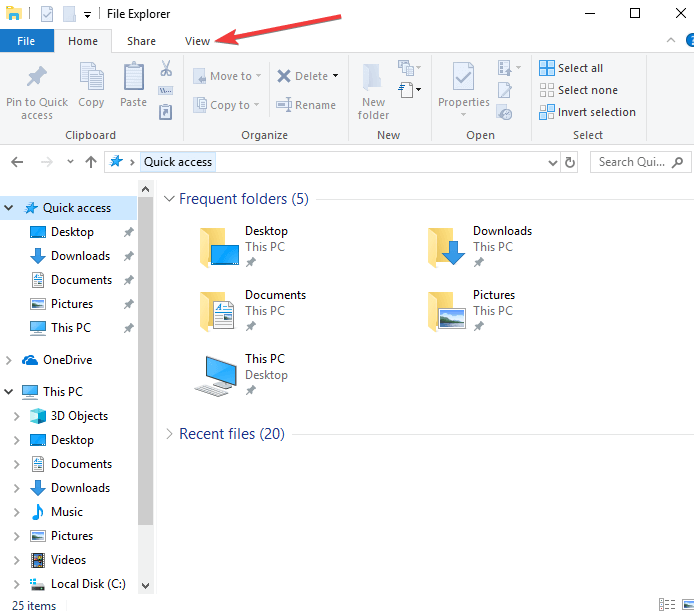
- Click Options to open Folder Options.
- Click on the View
- Make sure to clear the check mark for the Always show icons, never thumbnails
- Click Apply.
- Click OKand exit
Your files and folders should be able to have thumbnail previews showing up properly now.
4. Use the Run command
To do this:
- Right click Start and select Run

- Type: cleanmgr.exe
- Press Enter
- Scroll down and check the box next to Thumbnails and click OK
5. Use Control Panel
- Click Start and click Control Panel

- Click All Control Panel Items
- Select System
- On the left side, go to Advanced system settings and click on it
- Under Advanced tab, select Performance Settings
- Under Visual Effects tab, you’ll see Show thumbnails instead of icons, and ensure the option is checked
- Click Apply and exit, then restart File Explorer if required to
6. Reset and rebuild thumbnail cache
To do this, start by resetting and then rebuild the cache as outlined below:
Reset cache:
- Right click on empty area of the desktop and click on Personalize.
- Click on the Display Properties link.
- Under Colors, select Medium (16-bit) and click on Apply. If you already have Medium (16-bit) selected, then select Highest (32-bit) instead. Sometimes you will need to do a restart first, then proceed to the next step. Try both ways, then click yes to confirm the new settings.
- Select Highest (32-bit) and click OK. If you already have Highest (32-bit) selected, then select Medium (16-bit) instead.
- Click on Yes to confirm the new settings.
Rebuild cache
- Open Folder Options to select (dot) Show hidden files and folders
- Open a Windows Explorer window.
- Go to C:Users(User Name)ImageAppDataLocal
- Right-click on ImageIconCache.db and click on Delete.
- Click on Yes to confirm the deletion. This deletes the file to the Recycle Bin. It is safe to empty the Recycle Bin when finished.
- Close the window and empty the Recycle Bin then restart the computer.
- When you go back, you will notice the Size of the ImageIconCache.db file is smaller, and the Date Modified is now the current date. If for some reason ImageIconCache.db is not there or the size has not changed much, then just restart the computer again. You may need to restart a couple of times in some cases.
- The icon cache has been rebuilt.
Were you able to restore thumbnails in Windows 10 using the solutions above? Let us know in the comments section below.
Thumbnail issues can appear in Chrome as well, but you can learn how to bring back Google thumbnails effortlessly from one of our other guides.
Did you manage to fix this problem? Let us know in the comments.
Read our disclosure page to find out how can you help Windows Report sustain the editorial team. Read more


Improve this guide


User forum
0 messages