How to Fix the SYSTEM_UNWIND_PREVIOUS_USER (0x0000003A) Error
First, ensure you have the latest version of Windows
![]() 4 min. read
4 min. read
![]() Updated on
Updated on
Share this article
Improve this guide
Read our disclosure page to find out how can you help Windows Report sustain the editorial team. Read more

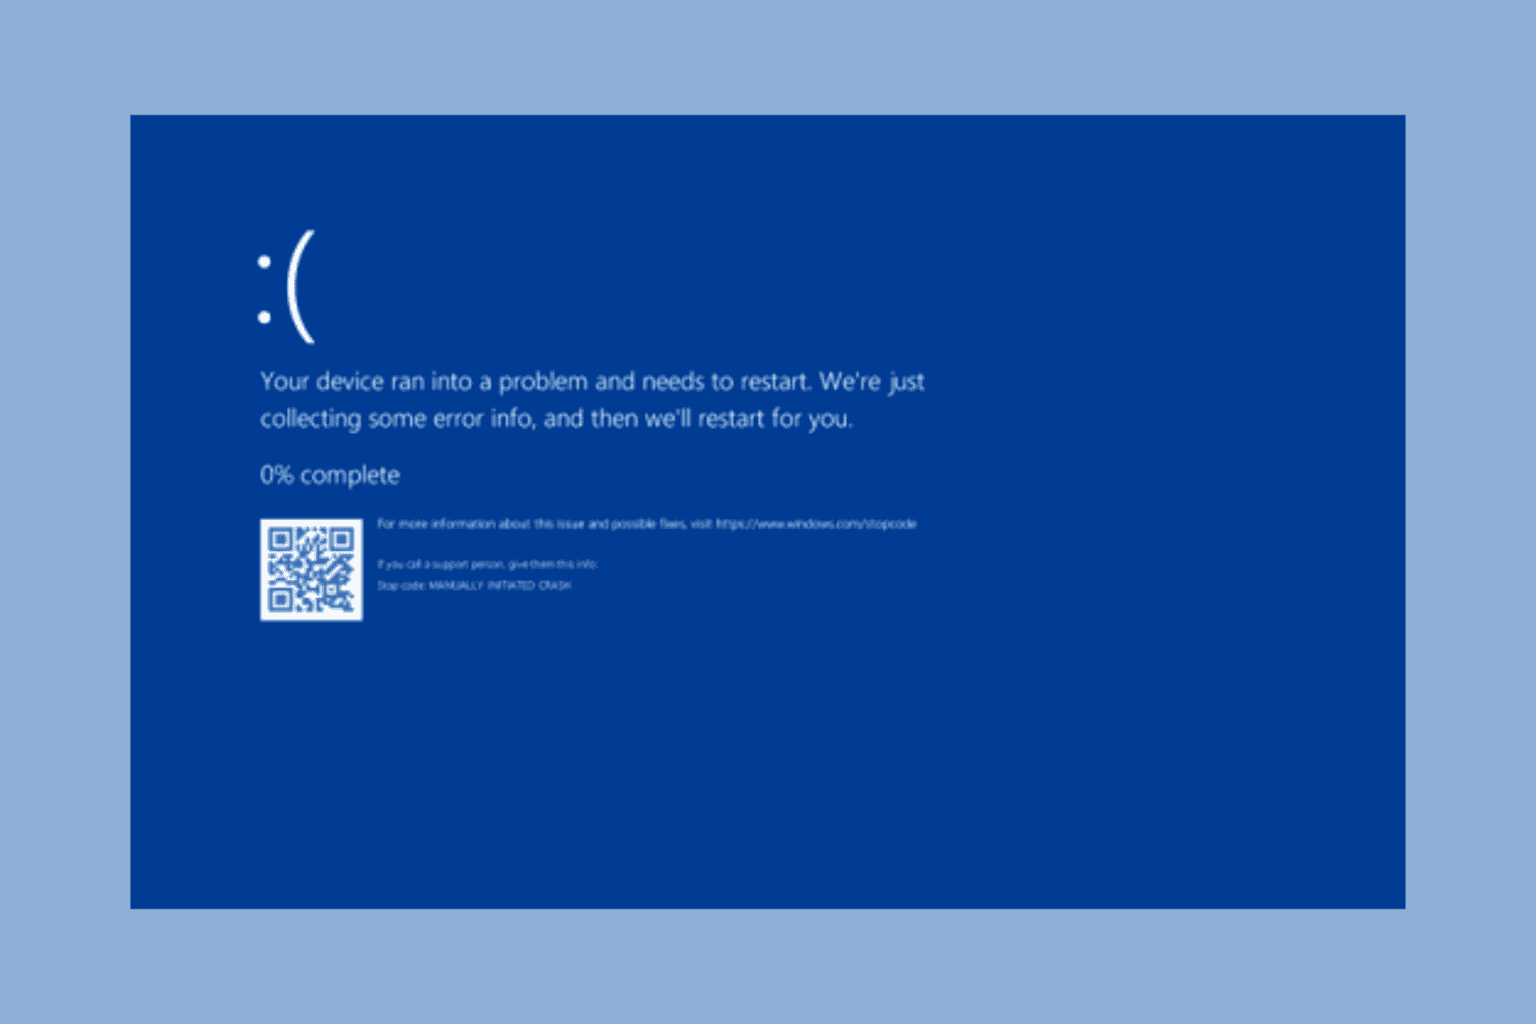
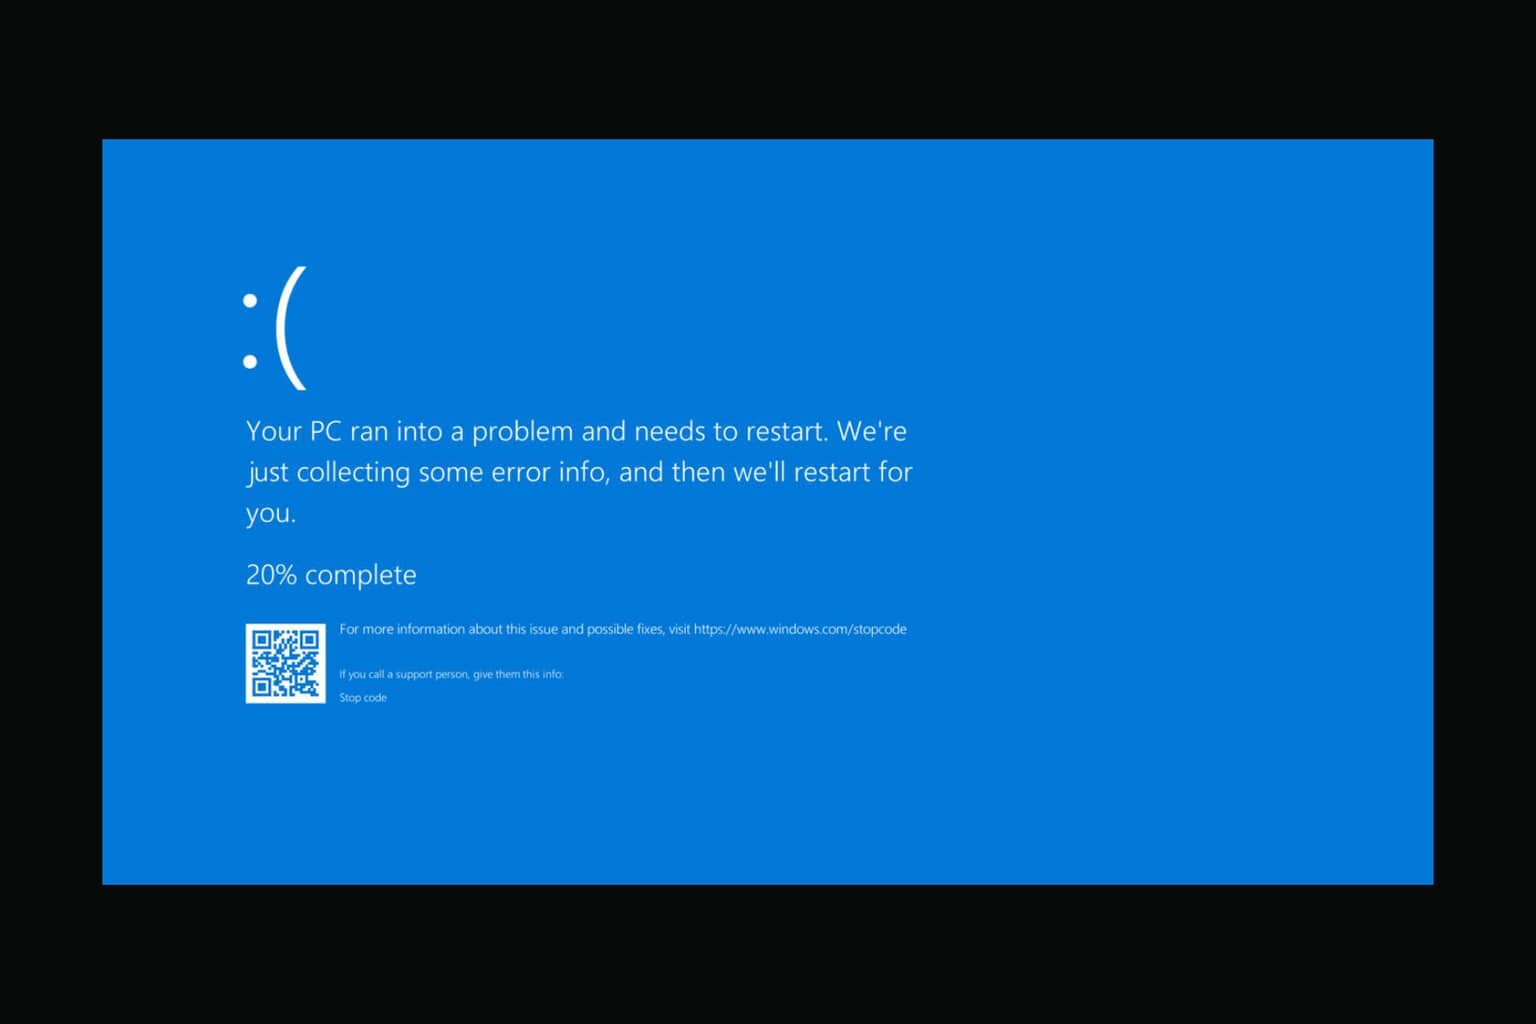
Many readers have complained about getting the blue screen error SYSTEM_UNWIND_PREVIOUS_USER with error code 0x0000003A. It could appear due to an outdated version of Windows, corrupted drivers, faulty hardware, or bad memory.
To begin with, check for Windows updates and recall the last action you performed before encountering the error to understand it better. Next, unplug all unwanted external peripherals and restart your computer before proceeding to the below steps.
How can I fix the SYSTEM_UNWIND_PREVIOUS_USER (0x0000003A) error?
1. Update the outdated drivers
- Press Windows + R to open the Run console.

- Type devmgmt.msc and click OK to launch the Device Manager app.
- Go to all the categories, click on them, and expand one by one. If you find a yellow triangle with an exclamation mark on any of the components in a category, right-click it to open the context menu and choose Update driver.

- On the next window, select Search automatically for drivers.

- Follow the on-screen instructions to complete the installation process.


Updating the drivers on your PC is a good way to fix the BSoD errors after an upgrade; read this guide for detailed solutions.
If Windows cannot find a better driver version, try using a third-party driver updater and fixer, as it is a quick solution to easily update the drivers on your computer, or head to the manufacturer’s official website and manually install the driver!
2. Run an offline scan using Windows Defender
- Press the Windows key, type windows security, and click Open.

- Click Virus & threat protection, then choose Scan options.

- Place the checkmark next to Microsoft Defender Antivirus (offline scan), then click Scan now.

- Wait for the scan to complete.


3. Remove unwanted apps
- Press Windows + I to open Settings.
- Go to Apps, then click Installed apps.
- You will get a list of apps. Locate and click the three-dot icon next to the unwanted app, and click Uninstall from the context menu.

- Follow the on-screen instructions to complete the process.


4. Turn off Fast startup
- Press the Windows key, type control panel in the search bar, and click Open.

- Go to View by and select Large icons, then click Power Options.

- From the left side of the window, select Choose what the power button does.
- Click Change settings that are currently unavailable.
- Remove the checkmark next to Turn on fast startup(recommended), then click Save changes.


5. Uninstall recent Windows Updates in Safe mode
5.1 Reboot your computer in safe mode
- Press Windows + I to open Settings.
- Go to System, then click Recovery.
- Locate Advanced Startup and click the Restart now button.

- Your computer will restart, and on the blue screen, click Troubleshoot.

- On the Troubleshoot screen, select Advanced options.

- Choose Startup Settings from the following page.

- On the next window, press the number next to Safe mode with networking to select it, then click Restart.


5.2 Uninstall Windows Updates
- Press Windows + I to open Settings.
- Go to Windows Update, then select Update history.
- On the next page, scroll down and click Uninstall updates.
- Locate the latest update, then click Uninstall and follow the on-screen prompts.


6. Perform a system restore
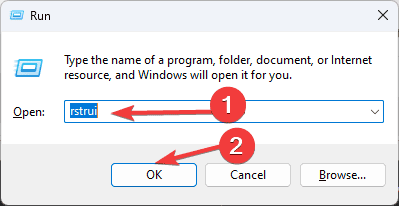
- Press Windows + R to open the Run console.

- Type rstrui and click OK to launch the System Restore window.
- On the System Restore window, click Next.

- Select the restore point from the list before your computer works fine, then click Next.
- Click Finish to initiate the process.


If you see the System Restore did not complete successfully message after your PC restarts and your system was not able to restore to the previous version, check out this guide for quick solutions.
In case nothing worked for you, you can contact Microsoft Support, explain the problem, and provide the steps you took to get more help.
In conclusion, to fix errors related to SYSTEM_UNWIND_PREVIOUS_USER, run an offline malware scan, turn off fast startup, uninstall Windows updates, update outdated drivers, or perform a system restore.
If you have any questions or suggestions about the SYSTEM_UNWIND_PREVIOUS_USER issue, feel free to mention them in the comments section below.


User forum
0 messages