FIX: Can't access TCP/IPv4 properties on PPTP VPN connection
Key notes
- PPTP VPN connections on Windows 10 can be very useful, but not if they stop functioning the way they should.
- If you notice that your VPN connection's TCP/IPv4 properties button is disabled, you should read our guide right away.
- Visit our Windows 10 Fix Hub for more guides on solving Windows 10 errors.
- Check out our VPN Troubleshooting section to discover more user-friendly VPN tutorials.

World-class 24/7 support with 82% for a 2 years plan and 2 months free
70% of our readers choose Private Internet Access
70% of our readers choose ExpressVPN
Amazing connection speed with 61% off and 4 months free for the 2-years plan.
Best security protocols with 83% off and 2 months free for a 2-year plan.
Windows 10 may be a great operating system overall, but it also has its fair share of flaws.
Reportedly, some users can’t access TCP/IPv4 properties on a PPTP VPN connection.
Although this issue is not exactly common nowadays and is specific to older versions of Windows 10, it can still happen.
With that in mind, let’s see how we can restore the functionality of the TCP/IPv4 properties button with minimum hassle.
How to fix TCP/IPv4 properties button disabled
Update Windows to the latest version

Microsoft is aware of most major problems on Windows 10, and its development team is constantly working on fixes.
If you encounter the TCP/IPv4 properties button disabled issue, make sure you download and install the latest updates for Windows 10.
As with many other issues, installing the latest updates usually fixes this problem.
Thus, you can use Windows 10’s built-in Check for Updates tool to see if there’s any update available and apply it quickly.
Edit the rasphone.pbk file
All your VPN connection settings are stored in a certain file on your Windows 10 PC, called rasphone.pbk.
In order to fix the TCP/IPv4 properties button disabled problem, you can edit the file mentioned above.
Here’s how you can do that:
- Press Windows Key + R, type %appdata%, and press Enter

- Navigate to the following path:
\Microsoft\Network\Connections\Pbk
- Locate rasphone.pbk and right-click it
- Open it with any text editor
- Edit the IpDnsAddress and IpDns2Address values
- Change the IpPrioritizeRemote=1 value to 0
If this seems a bit complicated, you can also create a rasphone.pbk file on another PC and transfer it to your computer.
Just create a VPN connection as you normally would on a different system and replace the rasphone.pbk file on your Windows 10 PC.
Create a new VPN connection

If none of the steps we’ve described above doesn’t seem to work, you can try creating a new VPN connection.
This doesn’t mean that you need to give up on using a PPTP VPN connection.
Just create a new one using the same credentials as your old VPN connection, and remove the previous, broken one.
After doing so, try accessing the TCP/IPv4 properties button on the new connection to check if everything is alright.
Use PowerShell

There’s another possible scenario where you can fix this issue by using PowerShell.
However, you should bear in mind that PowerShell is an extremely powerful tool.
If you’re not careful enough of have absolutely no idea what you’re doing, you could cause permanent damage to your operating system.
This is why we recommend you to sit this one out if you’re not confident in your PC skills.
If you’re ready to proceed and try to fix this problem using PowerShell, follow these steps:
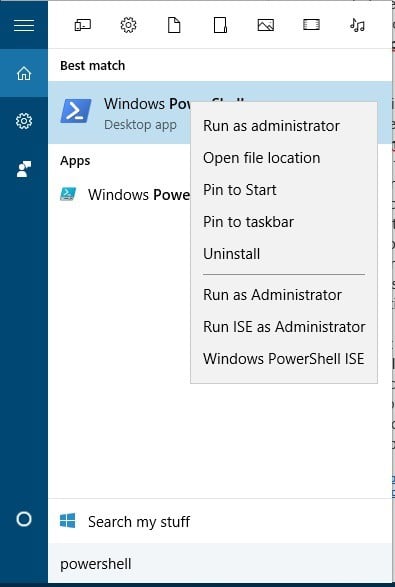
- Press the Windows Key + S keys on your keyboard
- Type powershell
- Locate PowerShell on the list and right-click it
- Select the Run as administrator option
- Type Get-VpnConnection and press Enter
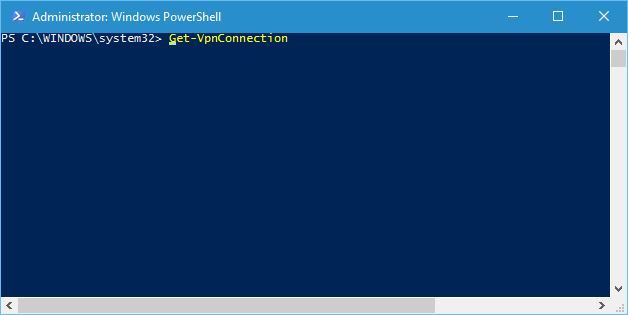
- PowerShell should display a list of all the VPN connections on your PC
- Locate your current VPN connection and note it down it
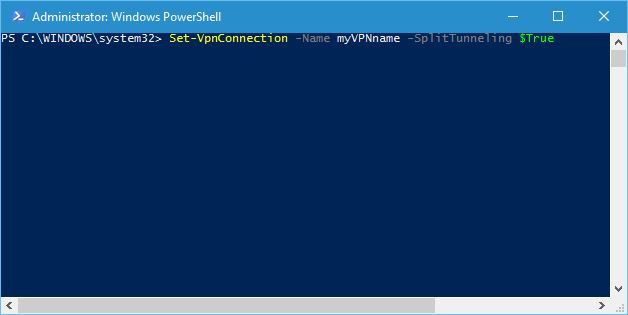
- Type Set-VpnConnection -Name xxxxx -SplitTunneling $True (replace xxxxx with the name of your connection) and press Enter
- Close PowerShell
- Restart your PC and check if there’s any improvement
Reportedly, this method only works for VPN connections that don’t allow other people to use it.
If your connection is configured in another manner, you might have to delete it and create one that meets the requirement described above.
Otherwise, you won’t be able to fix the TCP/IPv4 properties button not displayed by using the PowerShell method.
Conclusion
To wrap things up, if you can’t access TCP/IPv4 properties on a VPN connection on Windows 10, there are a few things you could do about it.
First and foremost, we advise you to download the latest updates, as it may be the best way to solve the issue.
If you notice that applying the latest Windows 10 updates didn’t work, make sure to try any or all of our remaining suggestions.
Read our disclosure page to find out how can you help Windows Report sustain the editorial team. Read more


Improve this guide


User forum
0 messages