How to enable virtual disk creation in Windows 11
Say goodbye to the hassle of using Disk Management.
2 min. read
Updated on
Read our disclosure page to find out how can you help Windows Report sustain the editorial team Read more
Key notes
- Windows 11 Insider Build 25300 brings virtual disk creation to the Settings app and other exciting features.
- It lets you add VHD/VHDX units comfortably without using Disk Management or PowerShell.
- Find out here if you can enable it just yet.
Just like what Microsoft did by revamping the File Explorer look with a new XAML-based gallery and introducing end task on taskbar on Windows 11 Insider Build 25300, the build reportedly comes with a virtual disk creation feature in its settings.
As spotted by Albacore (@thebookisclosed) on Twitter, the feature is supported but it’s still completely hidden without third-party registry tweaks here and there.
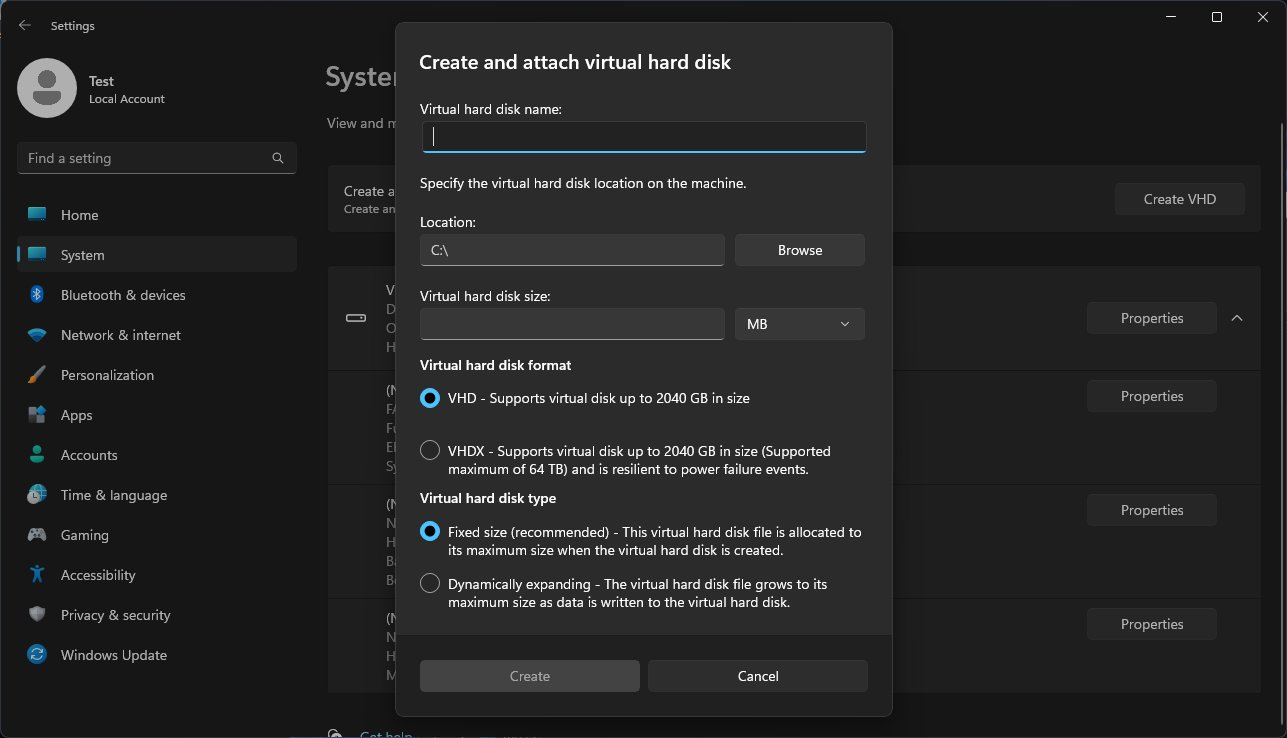
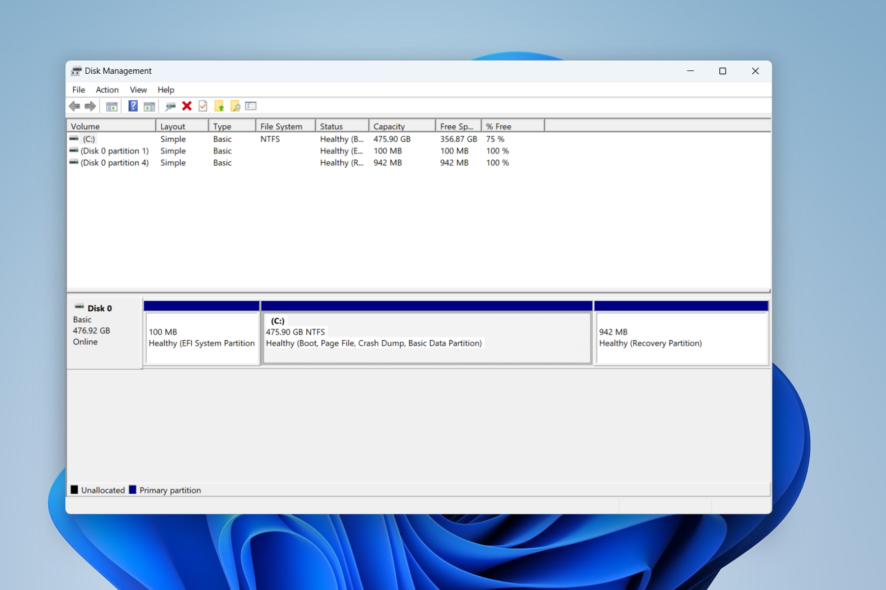
The feature to add VHD/VHDX units is now available through Disk Management from the Start menu or PowerShell, but once this feature is out for the public, you can create the units comfortably in the Settings app.
Additionally, the Windows enthusiast also says that the build comes with a brand-new look for Home in Settings, a built-in presence sensing feature that lets the device scans for sensors to detect users nearby and allow them to control apps, and a little tweak for keyboard’s settings.
A few week after 25300’s release, it seems like we’re getting somewhere with this Disk Management feature. As spotted by Windows enthusiast @PhantomOfEarth, the feature, albeit still hidden, can be activated with a third-party tool thanks to Build 25324 from Canary.
Read along to find out how you can do just that.
How to enable virtual disk creation in Windows 11
1. Make sure to join the Windows Insider Program and have the latest Windows 11 Insider Build from Canary (25324) installed in your system. If not, head over Settings ➜ Windows Update ➜ Install all.
2. Head over to download the latest ViVeTool on GitHub.
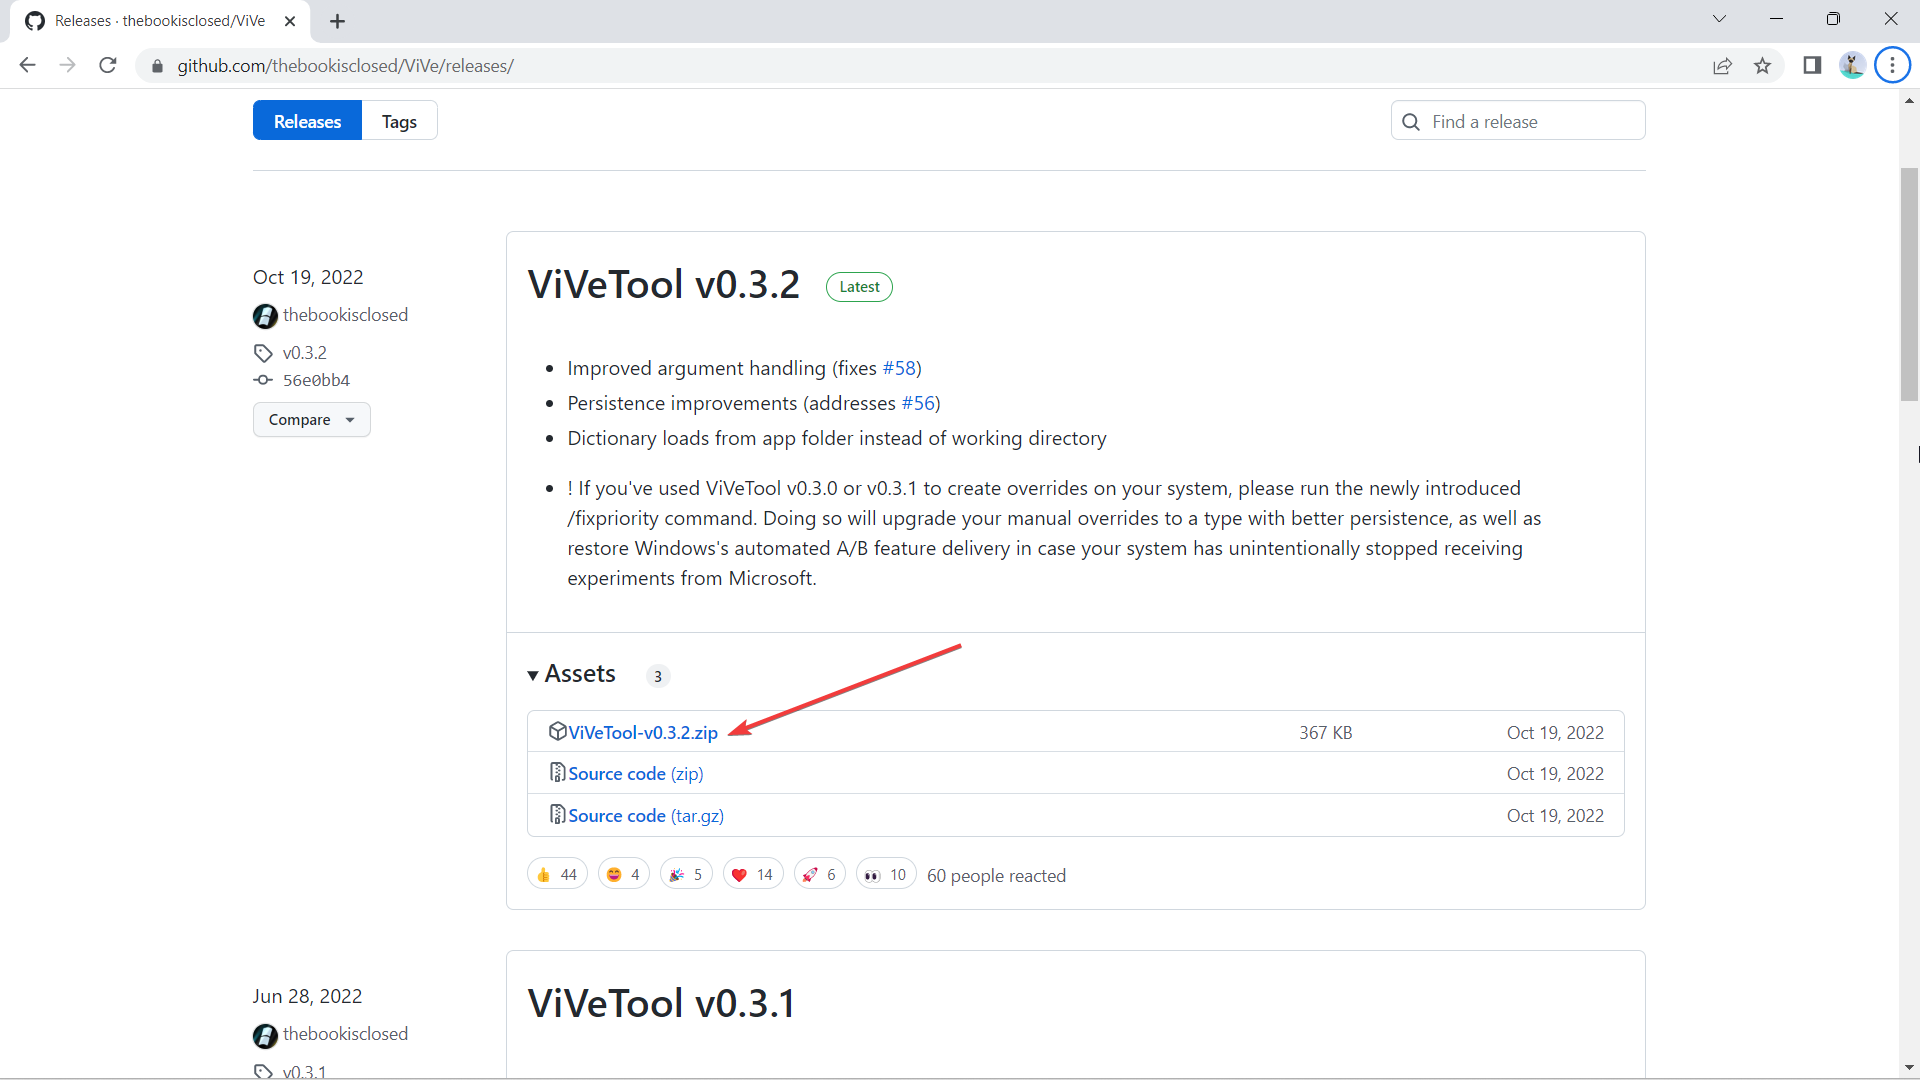
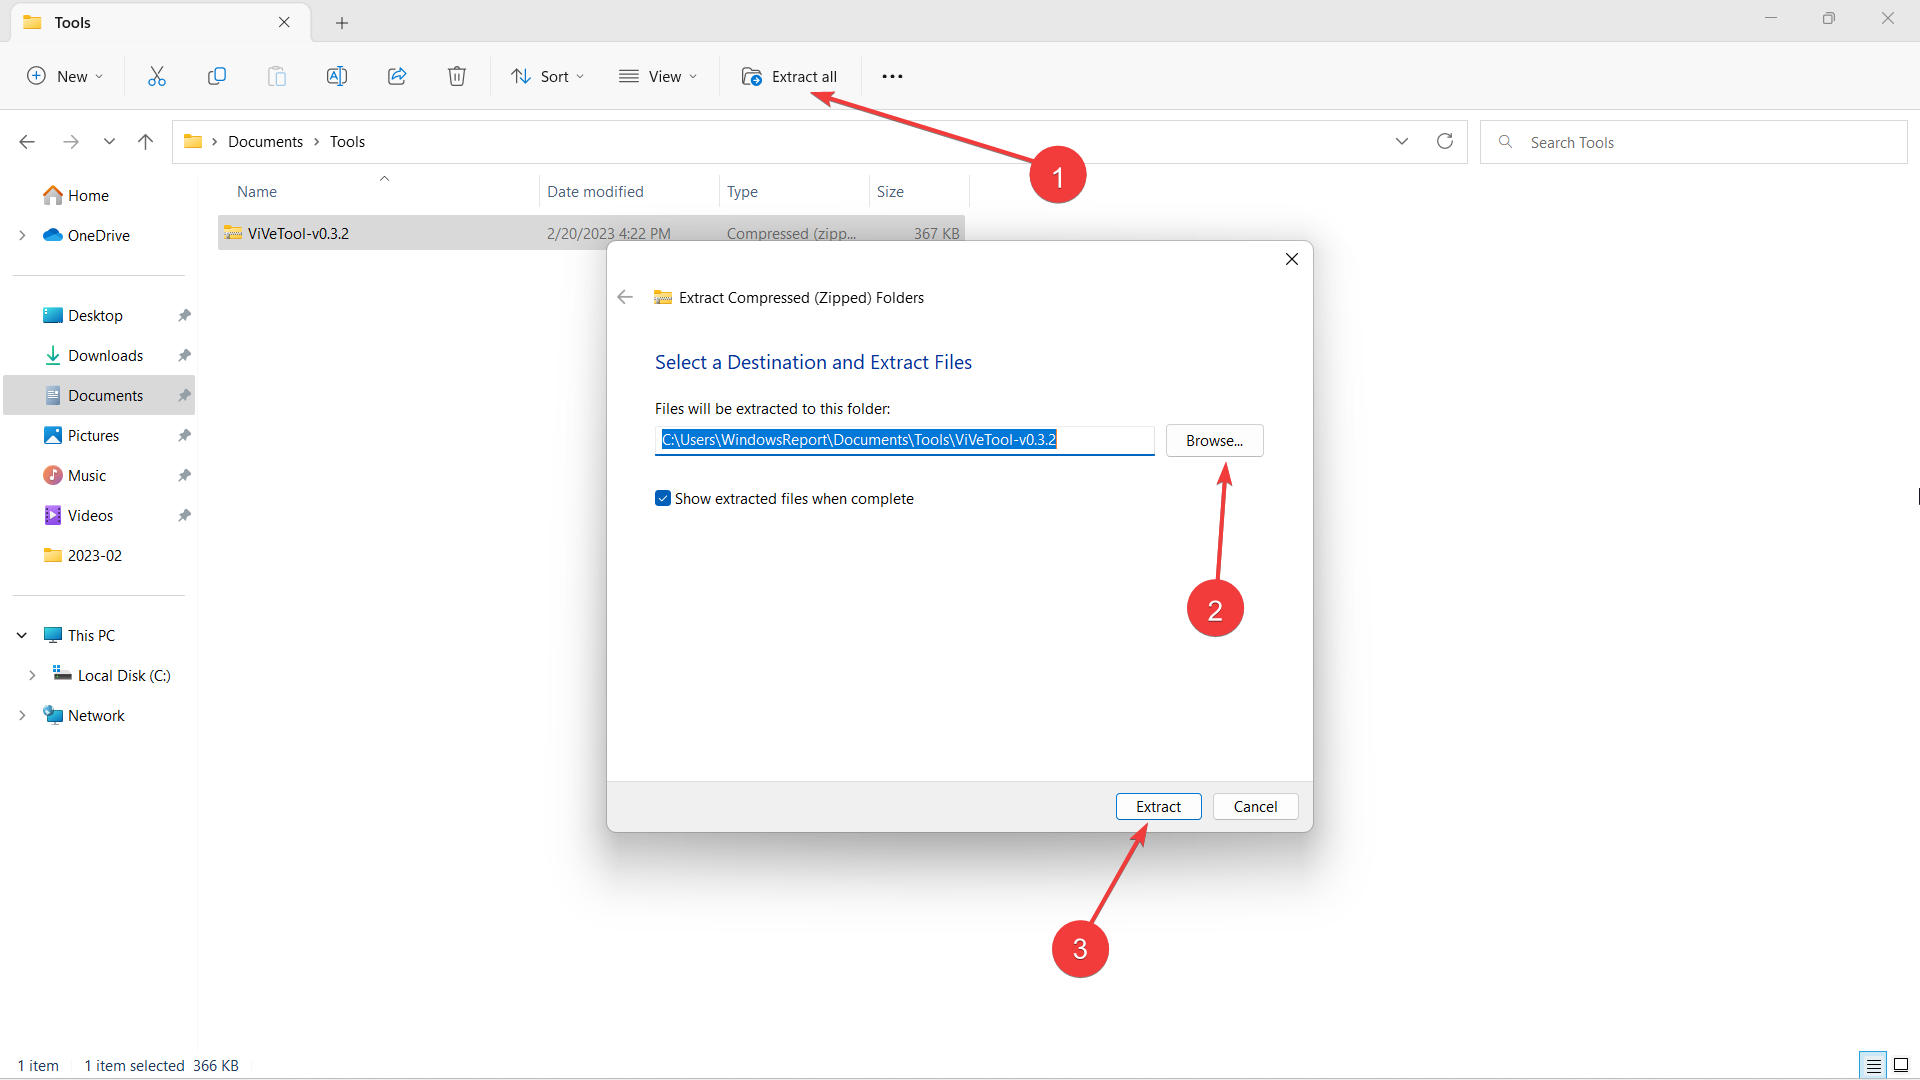
3. Once downloaded, click Extract all, select the location where you want to extract it by clicking Browse, then hit Extract. In this case, we extract it at C:\Users\WindowsReport\Documents\Tools\ViVeTool-v0.3.2.
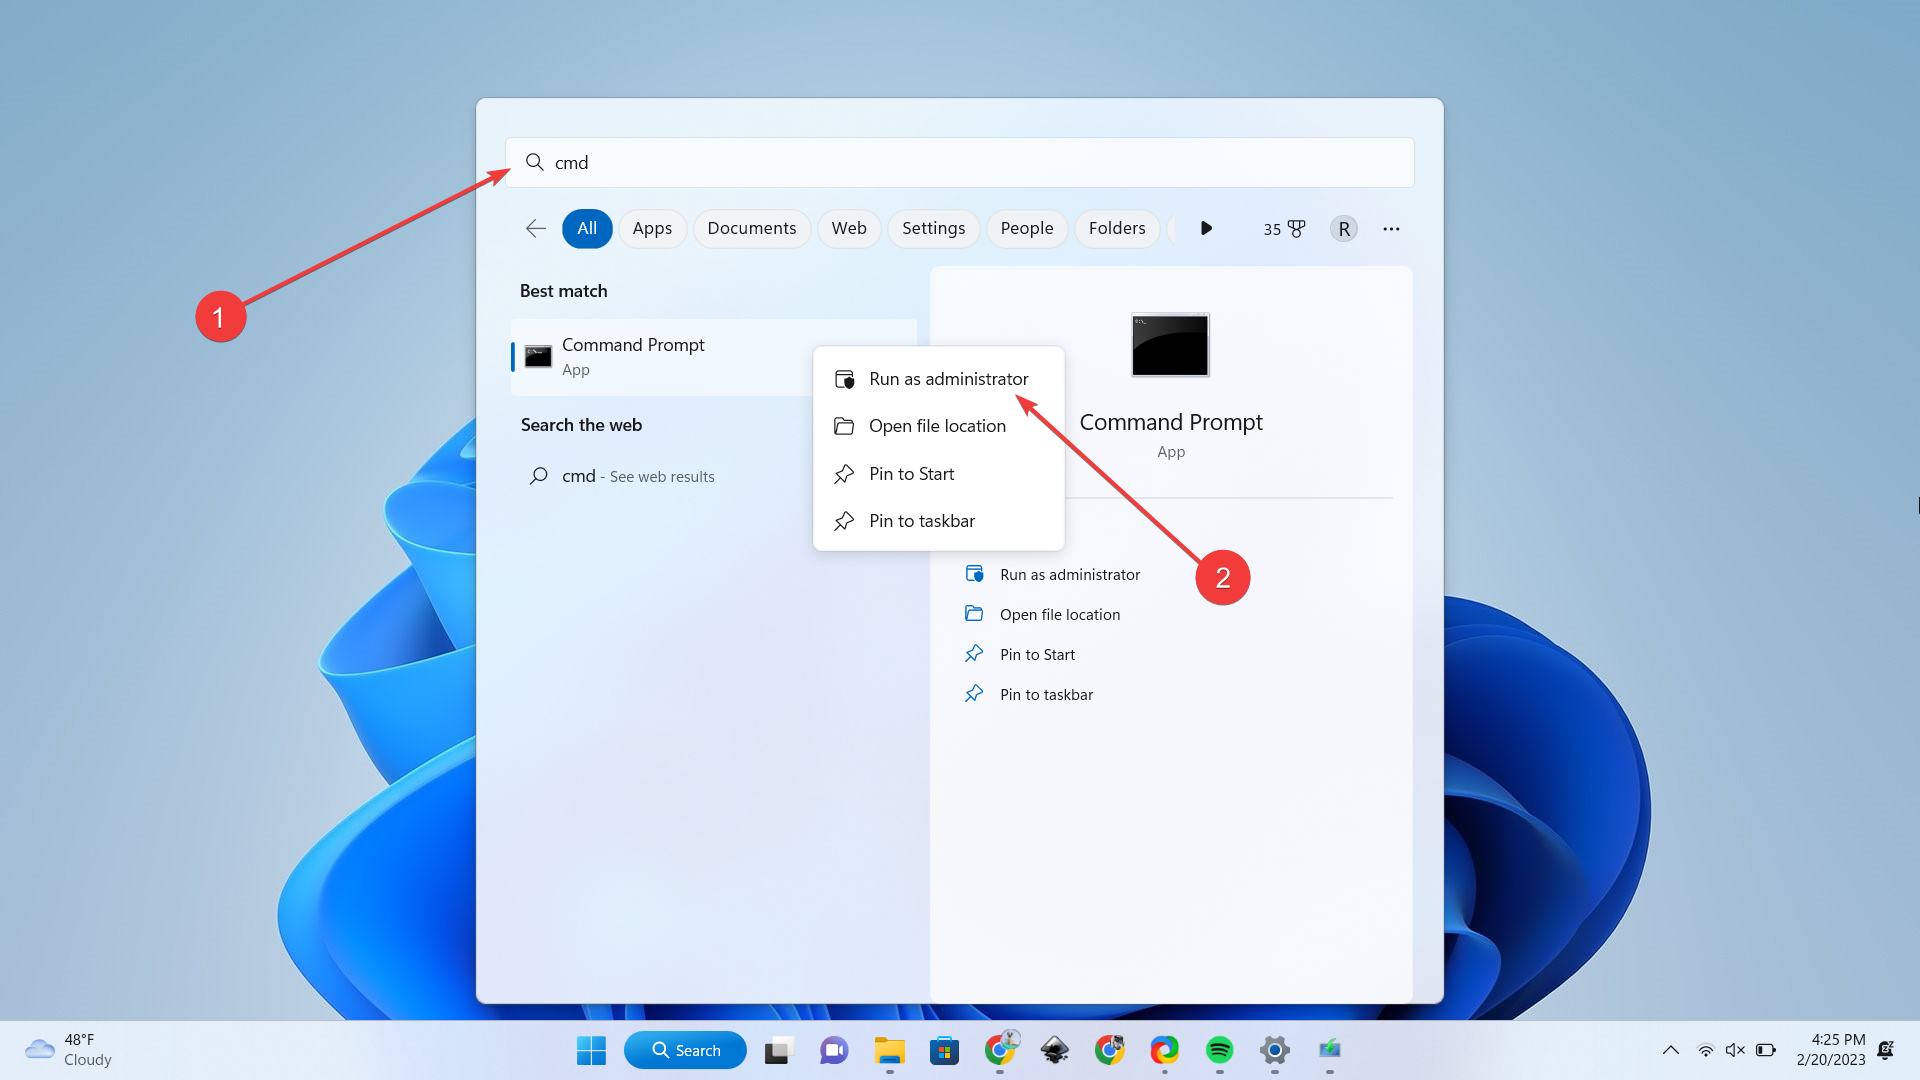
4. Hit ? on your keyboard, then type “cmd” and right-click on Command Prompt -> Run as administrator.
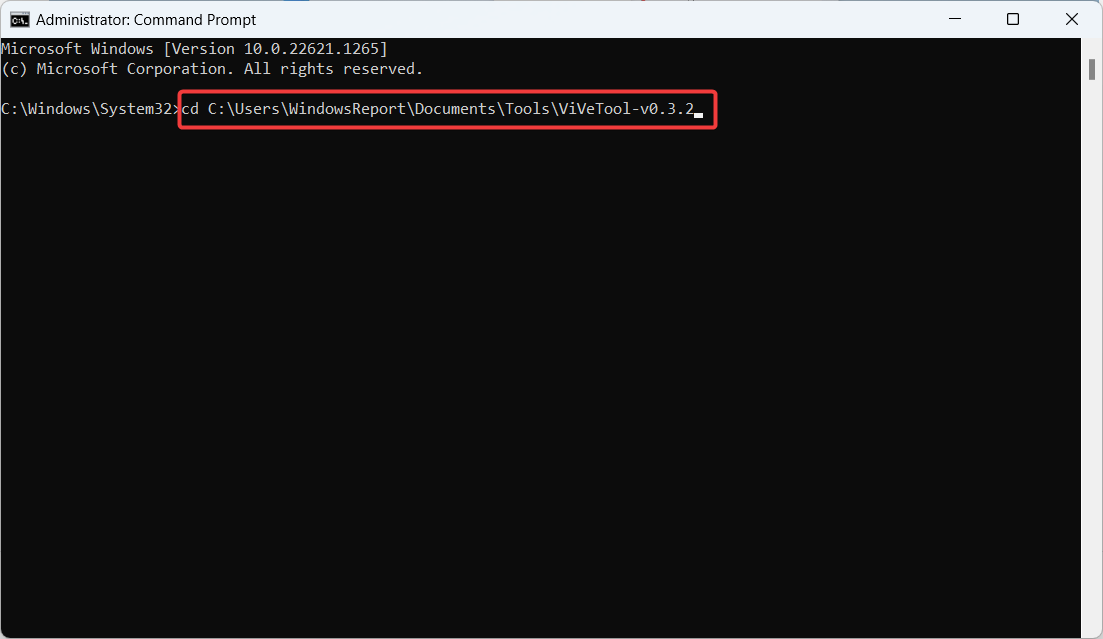
5. Type in cd + the directory where we extracted ViVeTool. In this case, it’s at C:\Users\WindowsReport\Documents\Tools\ViVeTool-v0.3.2, then hit Enter.
6. Type the following command then hit Enter.
vivetool /enable /id:42401084
7. Reboot the computer.
With that being said, it’s still worth noting that being an insider-only feature that isn’t out for primetime yet, you may be running into some performance problems here and there.
Are you excited for this feature? Let us know in the comments!

